21st Century Fashion Kit: Electrochromatic Circuits
Stitching Your Design
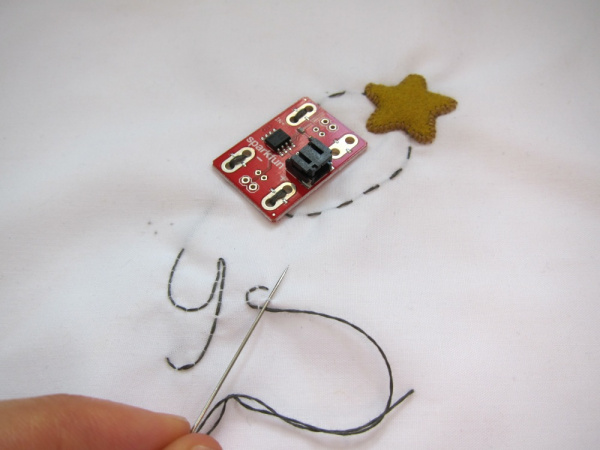
Sew conductive thread where you want your design to change color. You can use a minimum of two inches (2") and a maximum of six inches (6") of this particular steel conductive thread. Less than two inches will overheat the battery and more than six inches may not heat hot enough to make the pigment change color.
Tip: After sewing the connection to Out-, I cut my thread so that it was nine inches long. When there were only three inches left, I stitched the connection to Out+.
Start by sewing the connection at Out- by stitching through the through-holes a few times. For a secure connection keep your stitches tight.
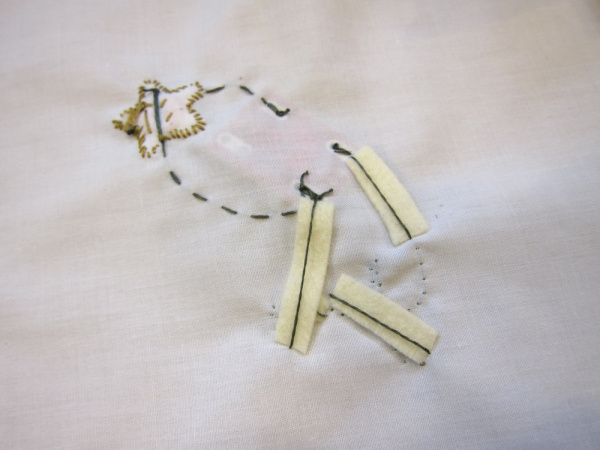
If you want there to be a little space between your board and your design, pull your thread to the back of the fabric and start stitching a little ways away from your board. If you need some extra insulation to keep this part of the thread from heating the thermochromatic pigment, you can stick some felt between the thread and the fabric.
Sew your design with an upside-down invisible stitch by sewing through a few threads of the fabric every 1/8 inch. This will keep the thread mostly on the top of the fabric so that it can heat the pigment.
Finish by sewing the connection at Out+ by stitching through the through-holes a few times.
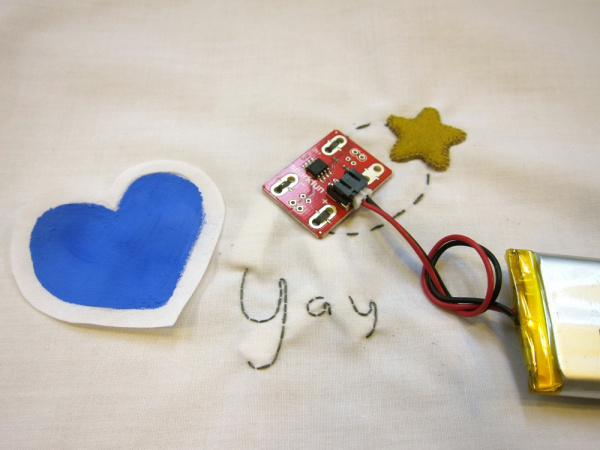
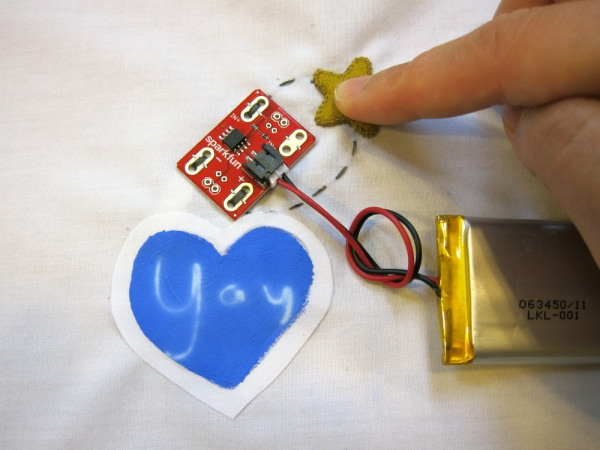
Mix the thermochromatic pigment with your paint, and paint your design on the piece of thin fabric. Put your thermochromatic design on top of your stitched conductive thread design. It is important that the conductive thread design is placed flat against the thermochromatic design, so that it will heat up evenly. You can adhere your designs with fabric glue, or very carefully stitch them to make sure they are touching evenly.
You're done! This is just one of an endless variety of applications for thermochromatic pigment. It's a beautiful way to paint everything from an evening gown to your fingernails with heat-reaction.


