21st Century Fashion Kit: Electrochromatic Circuits
 Dia, Member #313449
Fine-tuning Your Button
This is experimental fashion, so getting a working button takes some fine tuning. Be sure to unplug your battery whenever you are working on your circuit.
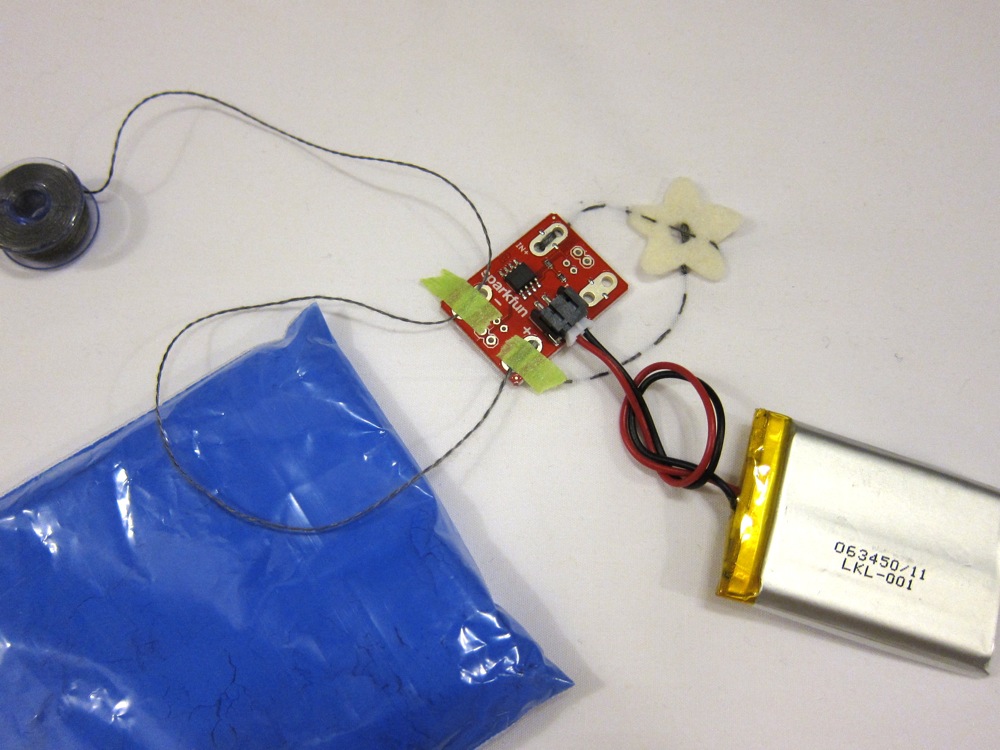
Tape four inches (4") of conductive thread between Out+ and Out – on the Power Controller. Make sure the thread lays flat against the metal part of the through-holes and is taped tightly in place.
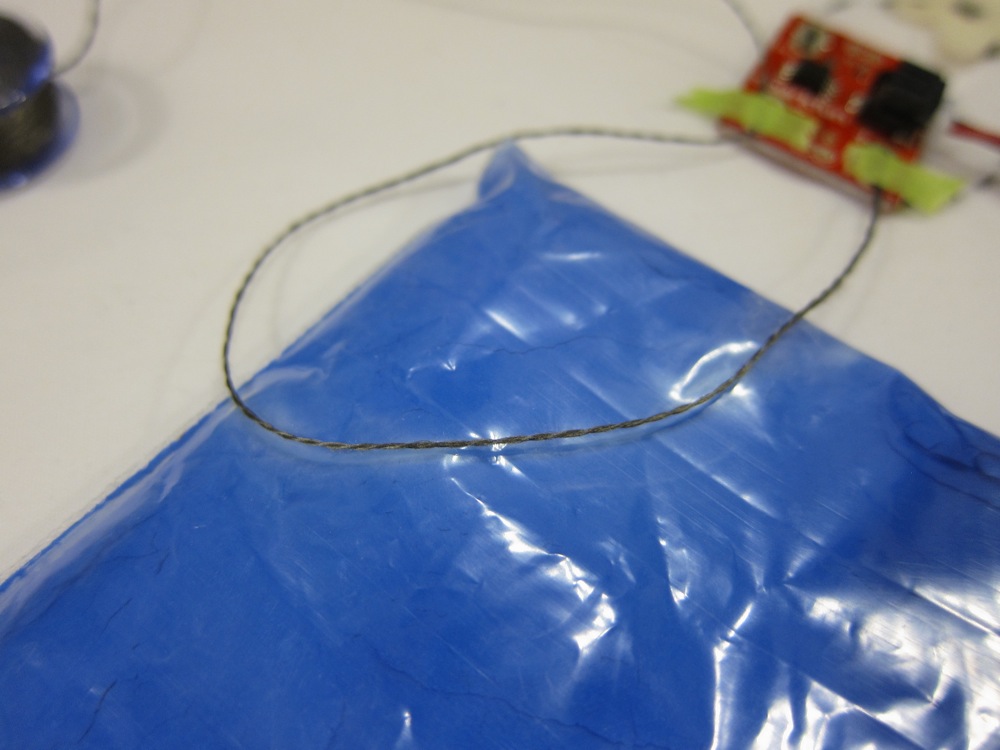
Start by making sure your button can be turned off. Plug your battery in and look to see if the thread is heating up and making the thermochromatic powder turn white. You may need to press the thread against bag of powder with your fingers to make sure the thread is close enough to the powder to heat it. If it turns white, unplug your battery immediately. This means the top thread of the button is too close to the bottom thread (it’s completing the circuit before you even press the button!). Cut a small doughnut of felt and slide it under the button felt.
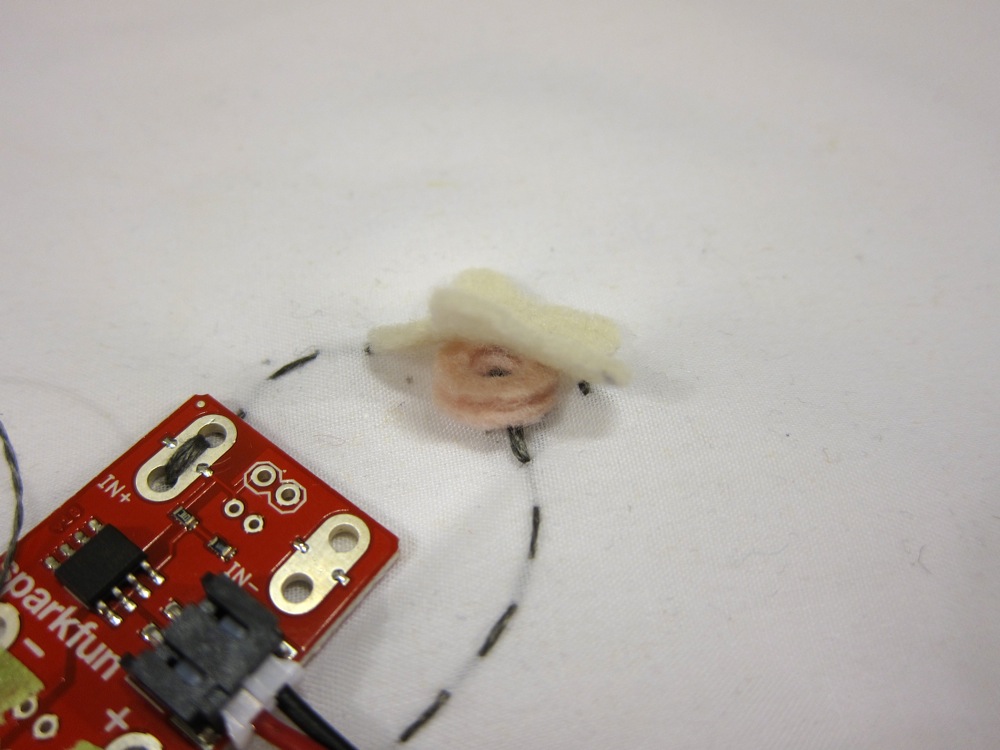
Repeat until the thread is no longer heating up and making the thermochromatic pigment turn white (I wound up adding two doughnuts of felt under my button).
Now it’s time to make sure your button can be turned on. With the battery plugged in, place the top piece of felt on the button. Then push the button. Make sure that the thread is heating and turning the powder white. If the thread is not heating, trim the holes in the felt button and felt doughnuts a little bigger. Then try to push the button again. Be patient, you will probably need to trim and test several times. Repeat until your button turns on and off at the appropriate times.
Got a working button? Great! Stitch all of your felt pieces in place with traditional thread. Be careful not to sew through the conductive thread. Give the button one more test. If it isn’t working, you may need to do some restitching and troubleshooting.