12V/5V Power Supply Hookup Guide
 bboyho
Hardware Hookup
Breakout Board
To easily connect to the 4-pin connector, we recommend using the ATX power connector (4-pin). For more information, check out the tutorial.
ATX Power Connector (4-Pin) Breakout Hookup Guide
Hacking the 4-Pin Connector
Otherwise, you can modify the cable and use a polarized connector of your choice. This requires more time and effort. The following images use the older 12V/5V power supply so the wires may be different depending on the manufacturer. Cut the cable about 1-2 inches from the 4-pin ATX connector.
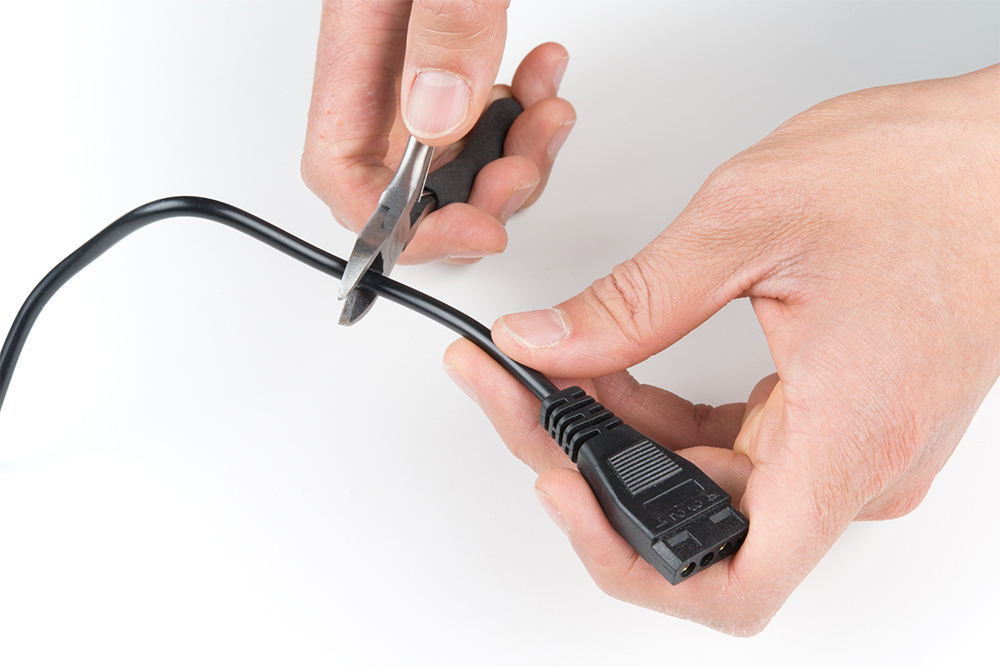
Cut into sheath with the flush cutter. Pull it back just enough so that you have enough room to work with the wires. Be careful not to cut yourself!

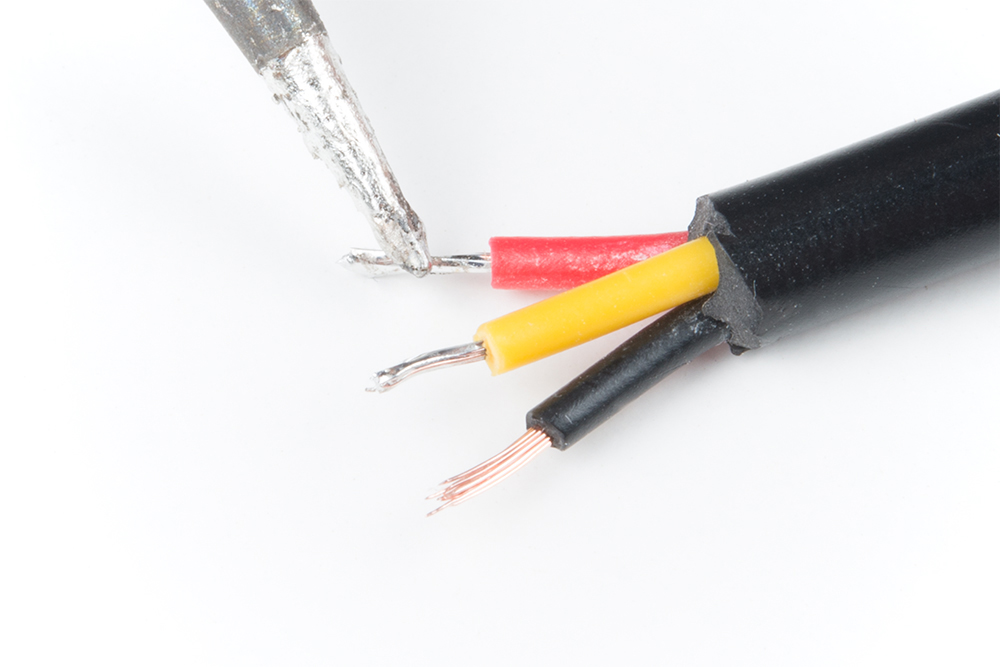
Strip the power supply's three wires. The wires are stranded so feel free to tin the wires by adding solder to the tips.
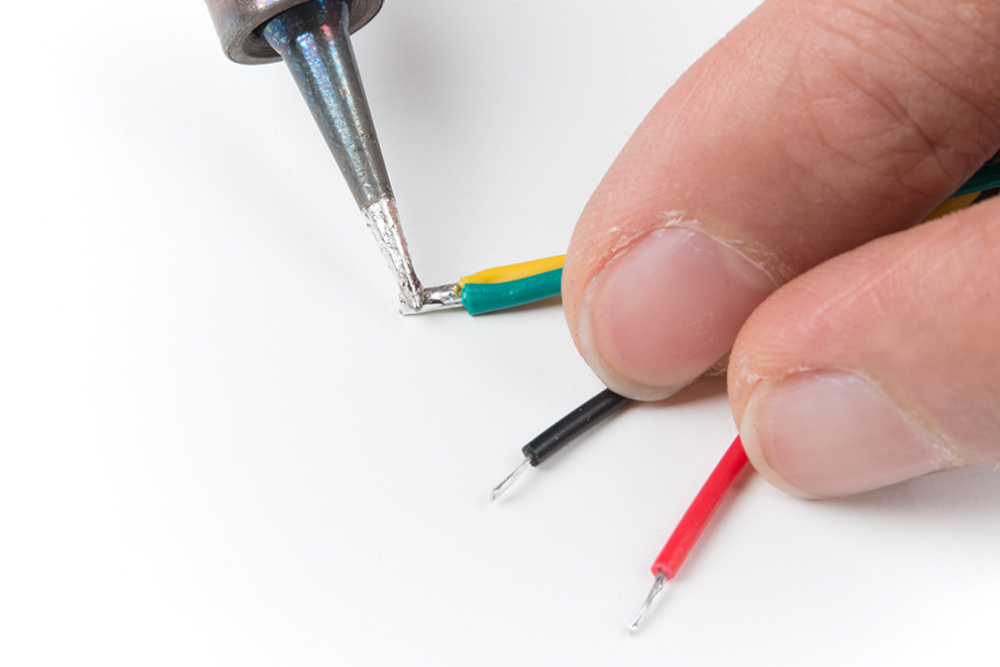
Then cut and strip a piece of hookup wire. Solder it to the ground wire.
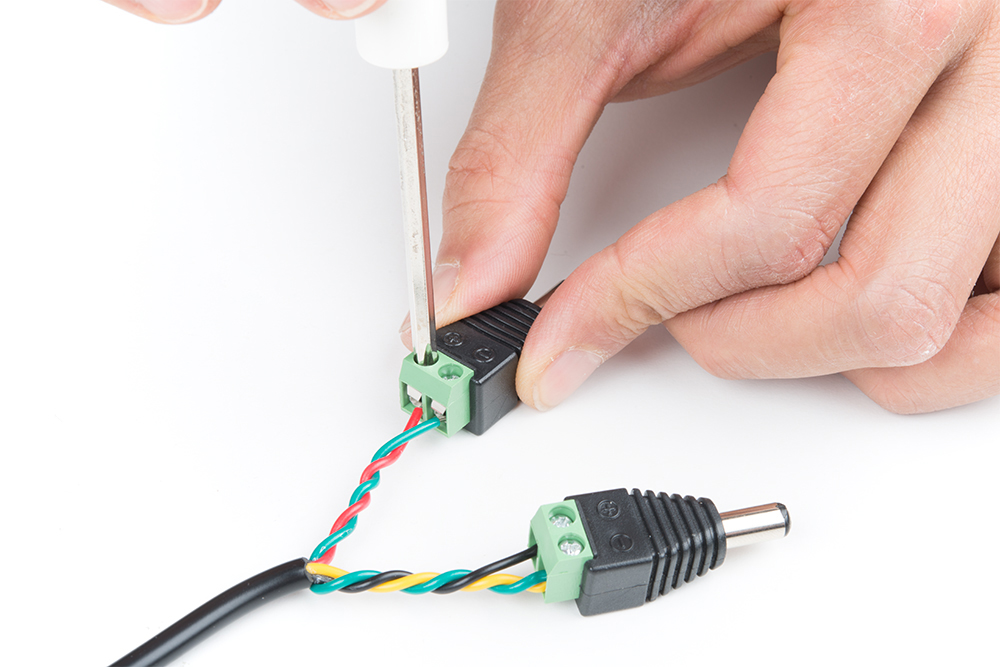
Braid the wire and insert into a barrel jack connector. Secure the wires in the screw terminal with a Phillips head. Feel free to add some heat shrink or electrical tape to the connection at this point.
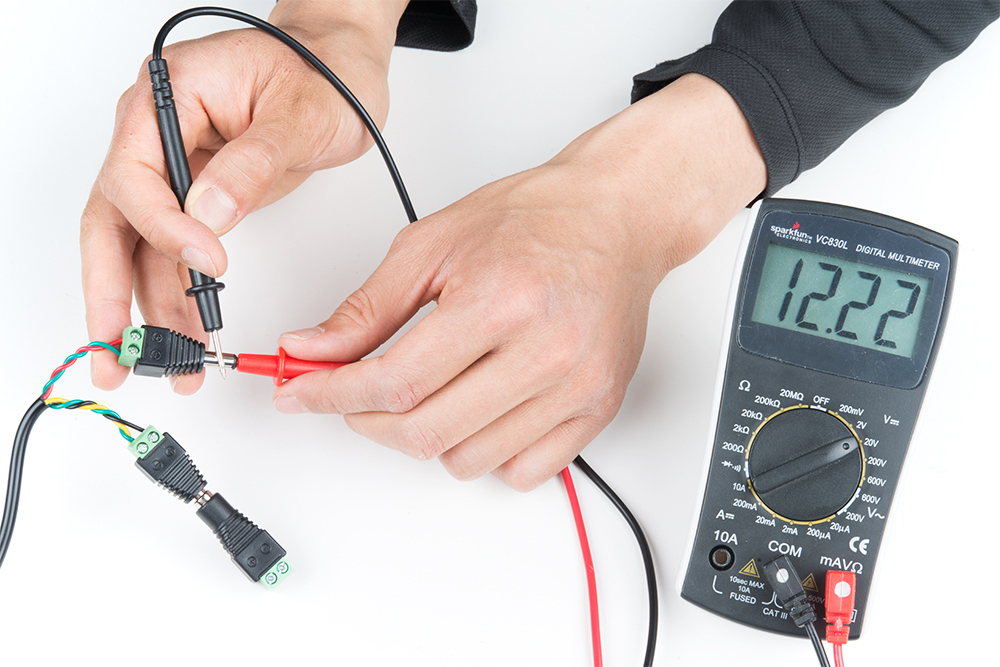
Test the Output
If you modified the cable with barrel jack connectors, power the power supply and test with a multimeter to verify the voltages. Usually power supplies are center positive so make sure that the wires were inserted correctly. Adjust as a necessary for your system.
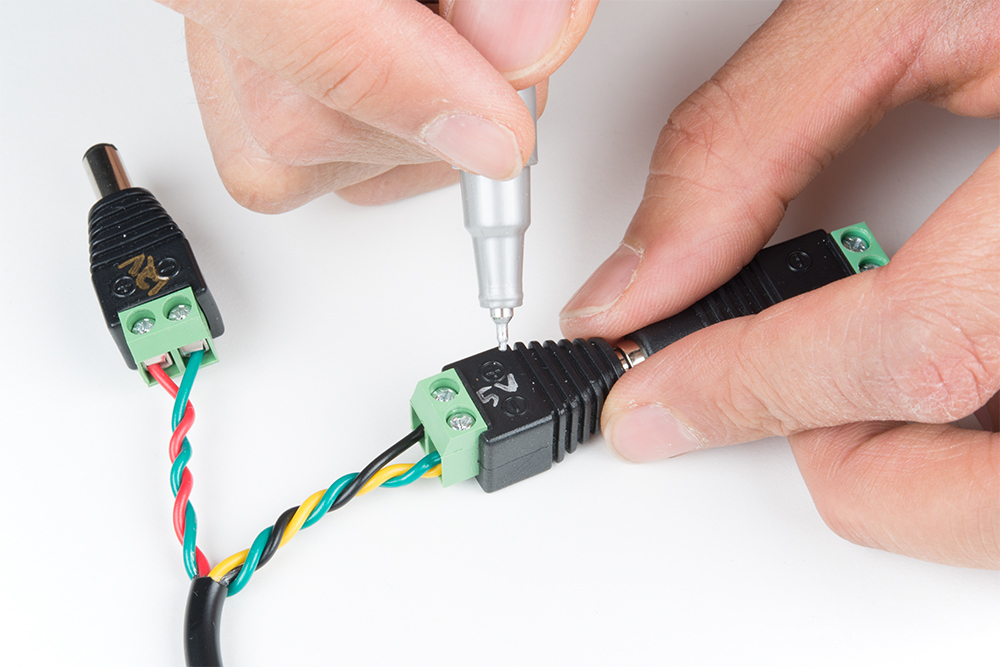
Label the Output
If you modified the cable with barrel jack connectors, we recommend that you clearly label the barrel jack connector's voltage relative to the output using a Sharpie. Feel free to add an additional barrel jack when not in use.
Power Your Circuit!
Connect the power supply to your circuit and power it up! I personally use the power supply as a tool for basic testing. Usually the 12V side is connected to an Arduino's barrel jack. The 5V output is used for more power hungry loads such as the the RGB LED Matrix or a few meters of addressable (WS2812B, APA102, etc) LEDs.
