The arctic is changing, and unfortunately we don't really know how or why. The question of why is one that people can become overly argumentative about, so let’s focus on the how instead. We've been tracking the extent of ice and snow for a long time now. NOAA has a whole division dedicated to that. However, they only track the surface area of the sea ice. This tells us clearly that the area of sea ice is shrinking but leaves out any information about the actual volume of ice. Naysayers can use this to their advantage by saying the ice could be decreasing in area but increasing in depth keeping the volume the same. Although this argument glazes over many other issues with changes in the sea ice, it can be made.
The need to determine the volume of the sea ice brought my research group from the Southwest Virginia Governor’s School and Radford University to the arctic. It is an amazing place, and anyone who has not gone should try to visit. There is nothing more invigorating than stepping off an airplane, taking a deep breath, and realizing that your entire nasal cavity has frozen together (keep in mind doing this is a bad idea).
On the initial visits to Barrow, Alaska, our group tried to use different geophysical equipment to measure the resistivity of the sub-surface structure. However, this was never enough so a few trips back some of my students from the Southwest Virginia Governor’s School came up with a new idea. They wanted to measure the surface temperature to see if there is a correlation between the thickness of the ice and the surface temperature. They had just finished the chapter on thermal conduction in my physics class a few days earlier. The idea was that if the ice is thin the warm water, which is at about -2.1C, would conduct heat to the surface, which is at around -20C faster than thicker ice. So we set out to find thermal sensors. We started with thermochrons, however, the first year we lost about five because they were so small, and they would take almost 20 minutes to come to equilibrium after they were touched for a few seconds by a glove.
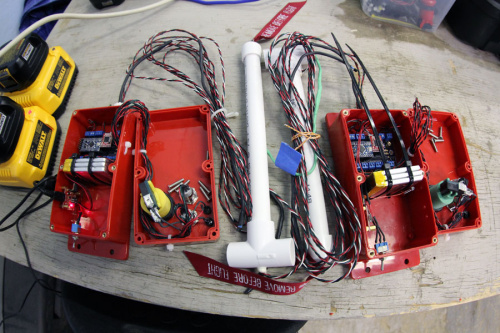
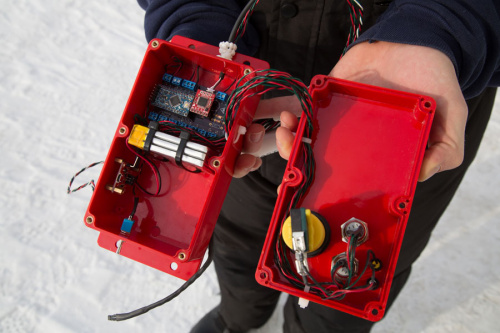
This lead my research team and me to develop an Arduino based non-contact thermal sensor and then to revise that system on subsequent trips. The final product was named Whistler, for no better reason than it needed a name, and made use of many SparkFun products. The workhorse of Whistler is an Arduino ProMini. The ProMini coordinates between the SparkFun OpenLog, switches and wires, LED indicators (it turns out knowing the thing is on is important), a linear temperature sensor, a hall sensor to determine distance traveled, a LiPo and power cell and most importantly the MLX90614. All these parts worked together fantastically, and I was able to run code that looped in under 15ms. Even with more sensors, this was over 2x as fast as version 2.0, known as Therma. I also started using Github to track all the changes so you can actually see all the files for the PCB, data sheets (I love a good data sheet), and the code for the microcontroller.
The other big change we implemented was that everyone going on the trip had to learn how to use an Arduino. Luckily our Governor’s School had 20 SIK’s from the SparkFun National Tour in which we took part. We let each student check out his or her own SIK to learn how to use an Arduino. By the time we got up to the arctic all members of the research team could successfully program an Arduino, fix code, and use the sensors that were part of Whistler.
The actual Whistler unit was relatively cheap to build, considering geophysics equipment usually starts at around $50,000, and worked well. The team used the setup for almost two weeks in the frigid cold and had little to no trouble. The SMD microUSB connector on the power cell was manhandled a little and broken off, but that's why we brought spares. In fact, they took all the equipment out one day when it was around -55F with the windchill, and Whistler was the only piece of equipment that was still working after three hours. The only reason they didn't test it longer was because the students stopped working at that point!
The best part about this was that the students had direct input on the design, development, survey techniques, data analysis, fame, and glory associated with it. Usually they only get to use something pre-built, but now they've had the opportunity to see why it’s so hard to make something that works. They found out that shadows on ice can cause a temperature difference of around -4C compared to ice that is in direct sunlight. So the next group of students will have to answer “is this albedo or emissivity that’s the problem, and how can we account for it?” Time to start planning version 4.0 (project Snobird)!
Melissa Brett examines the TMP36 with Dr. Rhett Herman before leaving for the trip.
Melissa Brett gets personal with the Redboard.
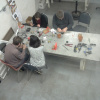
Jesse Dodson and Corey Roadcap stare longingly at the Arduino IDE.
Governor’s School students, Ashley Jordan and Austin Owen, fight for supremacy to find out who can get the TMP36 sensor to work first.
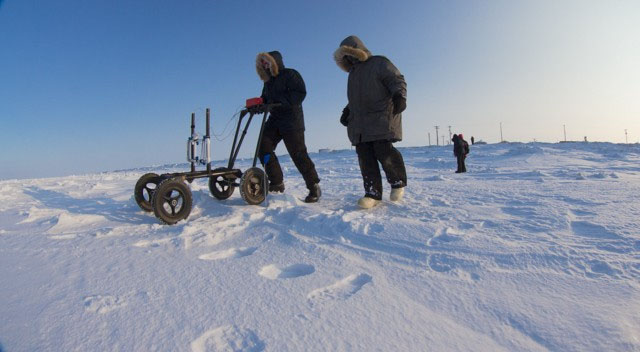
Whistler’s first trip out on the ice with Austin Owen and Erica Martin.
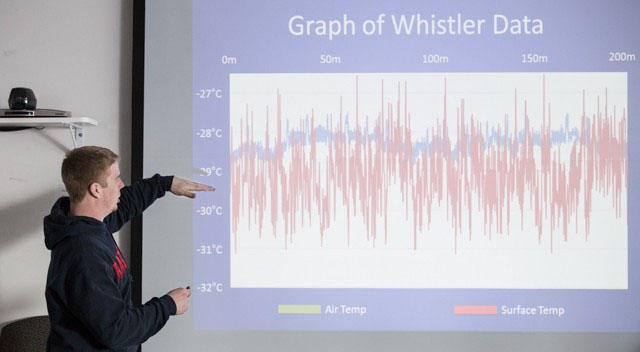
Corey Roadcap forgets what he was going to say as he shows the raw unprocessed Whistler data.
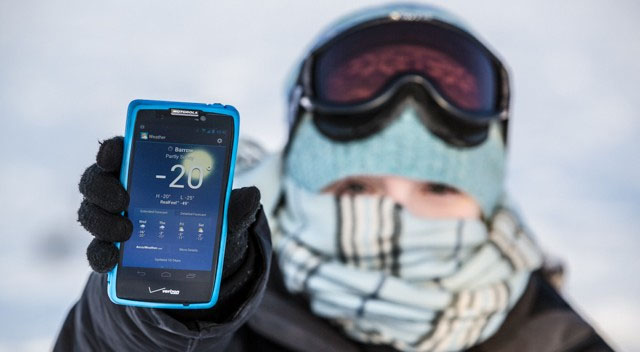
Sarah House shows the temperature, -20F (real feel -49F).
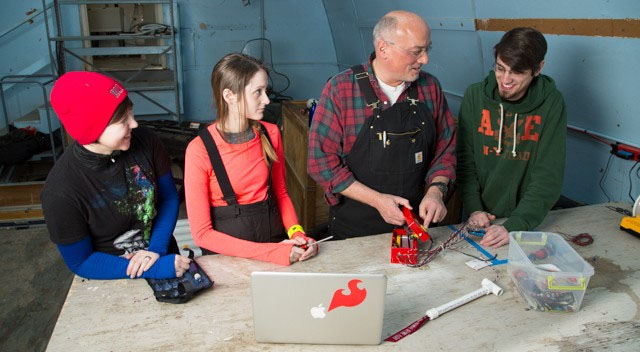
Jessi Basham, Jordan Eagle, Dr. Rhett Herman, and Jesse Dodson examine Whistler while reminiscing about arcade buttons from their childhood.
Whistler actually has a fraternal twin who is badly in need of having her zipties clipped.
The innards of Whistler!
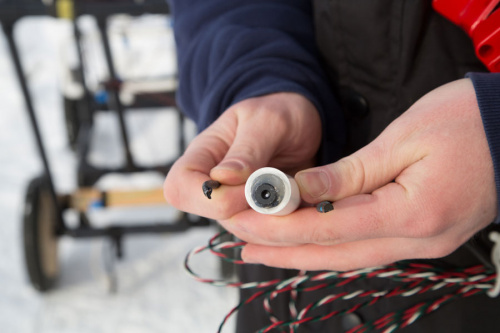
Close ups of the Hall sensor, MLX90614, and TMP36 sensors. The meat and potatoes of Whistler!
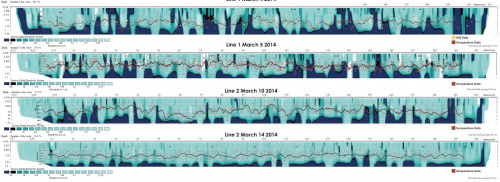
The next image is the resistivity data plotted with the thermal data on top. You can start to see the general trend in the data. Maybe the next trip will be the one that gives all the glorious data we need to confirm!





Probably because the scientific consensus assertion lost credibility when the predictive models that were the basis for the IPCC Fourth Assessment Report did not match actual world observations.