Using GitHub to Share with SparkFun
Gitting Started
We're going to use the command line tools for git for this tutorial. While it may feel a bit archaic, the git command line interface has a couple of serious advantages:
- The command line interface is truly multiplatform. Following these instructions on a Mac, PC, or Linux box will all yield the same results.
- The command line interface is stable. There are lots of gui-based interfaces out there, and they change regularly. Even the official GitHub gui changes relatively often.
- The command line interface is predictable. It doesn't do things you don't ask it to do, as some graphical interfaces do.
Install the GitHub Client
Visit the GitHub website, sign up for an account if you don't already have one, and install the client. I'm not going to go into the details of doing this here, because there are better instructions on their website. Go ahead and get this taken care of; I'll wait.
Once you've finished your installation, open a Git Shell window. Again, I'll let you follow their instructions on how to do this. I'm working in Windows 7, but the appearance of the command line window should be pretty similar no matter which operating system you're using. Regardless of the details (for example, the command line prompt you see), the git commands should behave the same way.
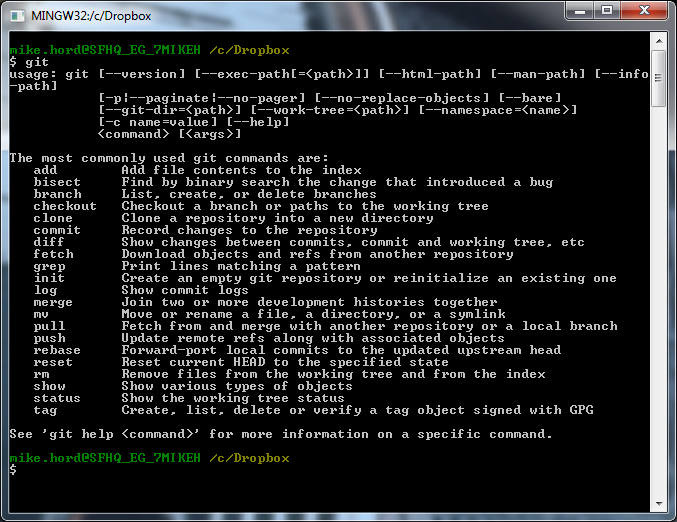
Once you've got the shell open, go ahead and type "git" and hit enter. The result should look something like this:
If you don't see the command summary, you're in the wrong kind of shell. Make sure that you launched a Git Shell, which should have installed with git.
Don't worry too much about these commands. We're really just concerned with whether or not you're in the right place to start working with git.
