Spectacle Motion Kit Hookup Guide
 SFUptownMaker
The Configuration Utility
Spectacle Button Board
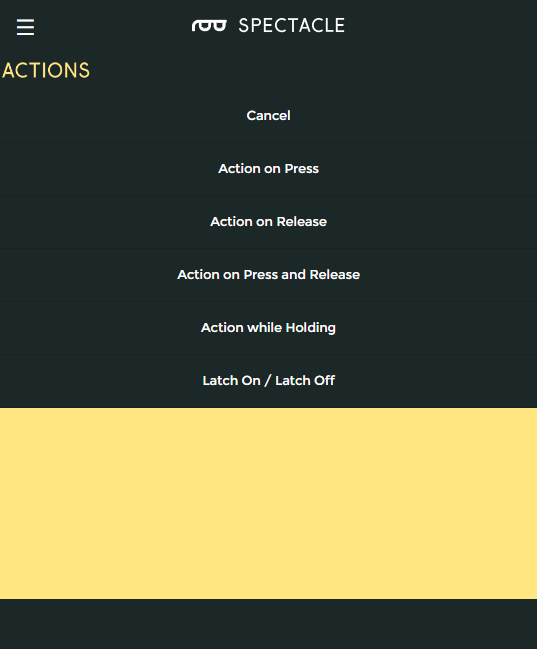
For the Button board, there are five options: three which produce a momentary pulse type output and two that produce a continuous switch type output.
Action on press
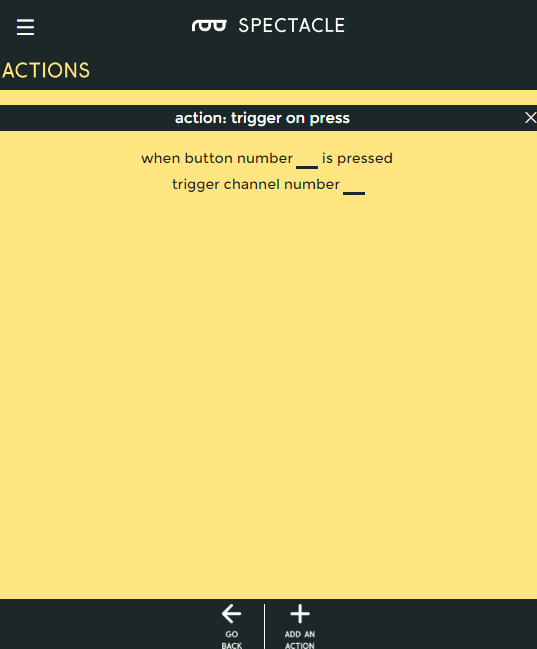
Trigger an action when a button is first pressed, regardless of how long it is subsequently held down.
- "When button number ... is pressed" - This is the number of the button we wish to assign to this action. The button numbers are printed on the board, and run from 0 through 8.
- "trigger channel number ..." - A single, momentary pulse will be sent out on this channel. It is suitable for starting a sound, initiating a motion, or setting the color of a light strip, but not for continuous sound playback or for turning on a light strip effect, for instance.
Action on release
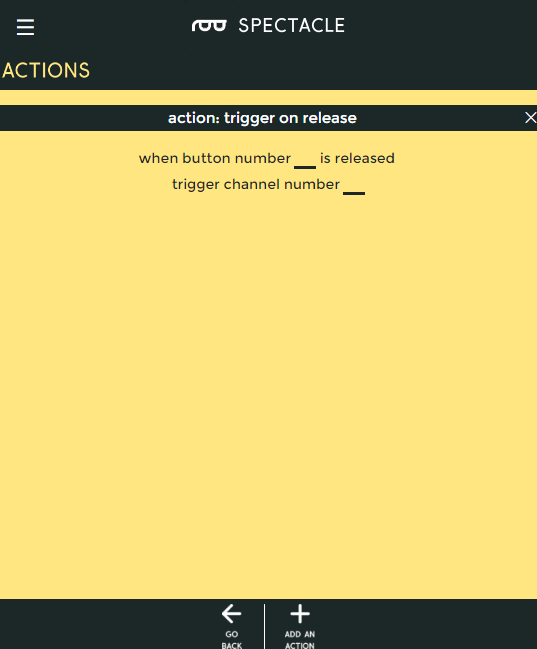
Trigger an action when a button is released, regardless of how long it has been held down prior to being released.
- "When button number ... is released" - This is the number of the button we wish to assign to this action. The button numbers are printed on the board, and run from 0 through 8.
- "trigger channel number ..." - A single, momentary pulse will be sent out on this channel. It is suitable for starting a sound, initiating a motion, or setting the color of a light strip, but not for continuous sound playback or for turning on a light strip effect, for instance.
Action on press or release

Trigger an action when a button is pressed, then trigger the same action again when the button is released.
- "When button number ... is either pressed or released" - This is the number of the button we wish to assign to this action. The button numbers are printed on the board, and run from 0 through 8.
- "trigger channel number ..." - A single, momentary pulse will be sent out on this channel both at the time the button is pressed and at the time it is released. It is suitable for starting a sound, initiating a motion, or setting the color of a light strip, but not for continuous sound playback or for turning on a light strip effect, for instance.
Action while holding
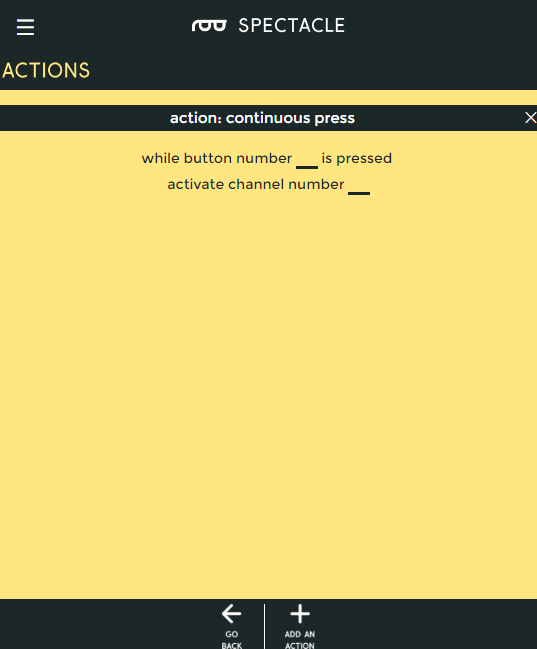
Trigger an event as soon as a button is pressed, then continue to trigger that event as long as the button is held down.
- "While button number ... is pressed" - This is the number of the button we wish to assign to this action. The button numbers are printed on the board, and run from 0 through 8.
- "activate channel number ..." - A continuous will be sent out on this channel. It is suitable for triggering and repeating a sound, or for turning on and keeping on (at least, while the button is held) a lighting effect.
Latch On/Latch Off
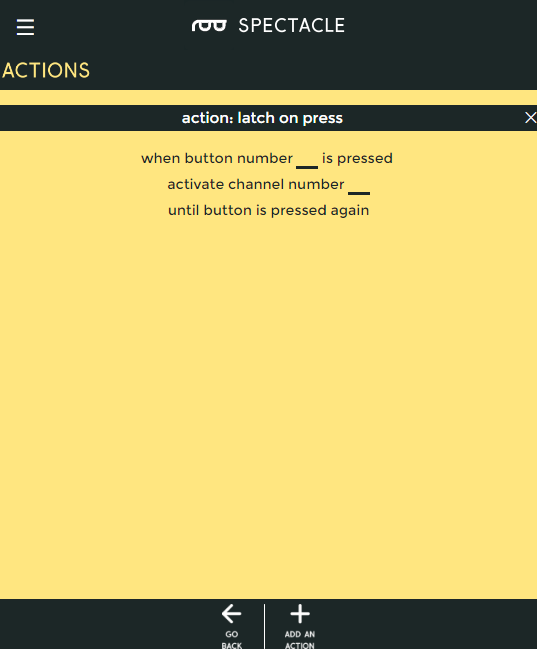
This action is like a latching power switch. One press turns the signal on, another later press turns the signal off.
- "While button number ... is pressed" - This is the number of the button we wish to assign to this action. The button numbers are printed on the board, and run from 0 through 8.
- "activate channel number ... until button is pressed again" - A continuous will be sent out on this channel. It is suitable for triggering and repeating a sound, or for turning on and keeping on a lighting effect.
Spectacle Motion Board
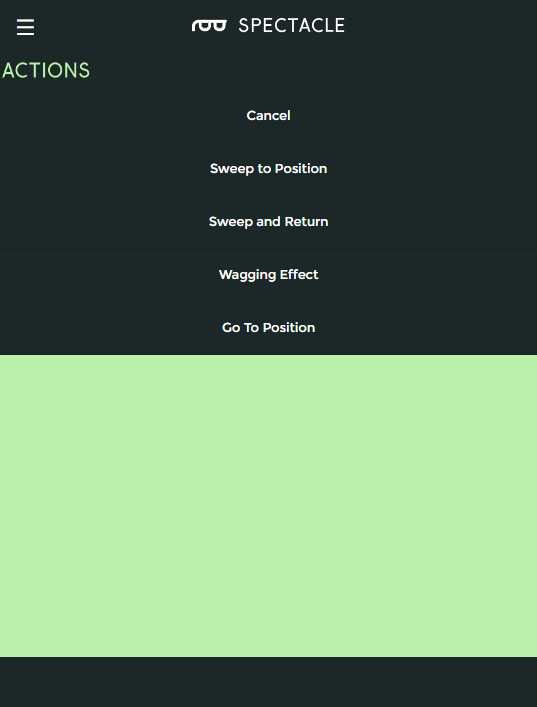
There are four actions associated with the motion board. Three of them are suitable for a momentary trigger and one for a continuous signal.
Sweep to Position
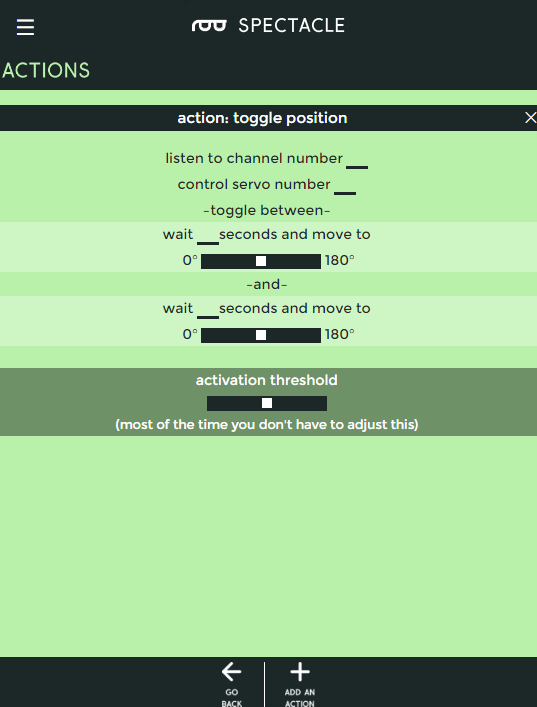
This action moves the motor between two positions, one motion on each trigger event.
- "listen to channel number ..." - This is the channel which triggers the action.
- "control servo number ..." - The servo to be controlled, numbered from 0-4.
- "wait ... seconds and move to" - Delay before motion for the first position.
- slider control - Choose the position for the first motion. The servo starts at 90° and can be rotated to 0° in one direction or to 180° in the other direction. This is equivalent to starting at 12 o'clock and turning to either 9 o'clock or 3 o'clock.
- "wait ... seconds and move to" - Delay before motion for the second position.
- slider control - Choose the position for the second motion. The servo starts at 90° and can be rotated to 0° in one direction or to 180° in the other direction. This is equivalent to starting at 12 o'clock and turning to either 9 o'clock or 3 o'clock.
Sweep and Return

This action waits for a moment, moves the servo to a position, then waits for a moment at the new position, then moves back to the first position.
- "listen to channel number ..." - Which channel controls this action.
- "control servo number ..." - The servo to be controlled, numbered from 0-4.
- "wait ... seconds and move to" - Delay before motion for the first position.
- slider control - Choose the position for the first motion. The servo starts at 90° and can be rotated to 0° in one direction or to 180° in the other direction. This is equivalent to starting at 12 o'clock and turning to either 9 o'clock or 3 o'clock.
- "wait ... seconds and move to" - Delay before motion for the second position.
- slider control - Choose the position for the second motion. The servo starts at 90° and can be rotated to 0° in one direction or to 180° in the other direction. This is equivalent to starting at 12 o'clock and turning to either 9 o'clock or 3 o'clock.
Wagging Effect
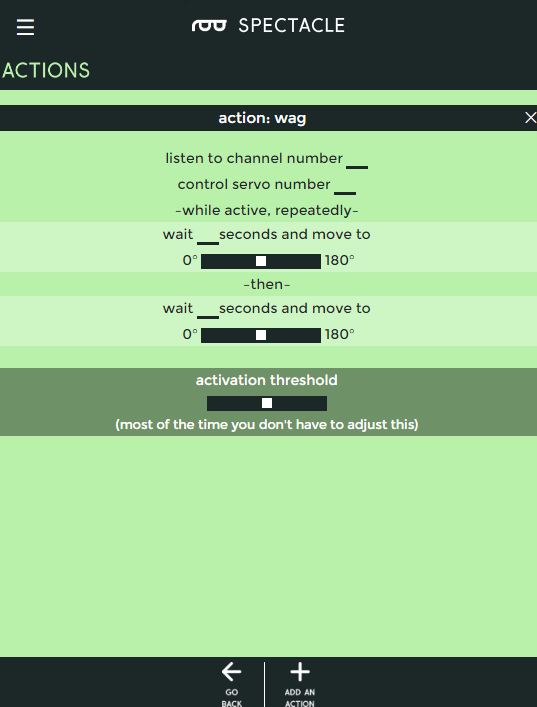
This action behaves much like sweep and return, but runs continuously until turned off by receipt of another signal pulse on the designated channel.
- "listen to channel number ..." - Which channel controls this action.
- "control servo number ..." - The servo to be controlled, numbered from 0-4.
- "wait ... seconds and move to" - Delay before motion for the first position.
- slider control - Choose the position for the first motion. The servo starts at 90° and can be rotated to 0° in one direction or to 180° in the other direction. This is equivalent to starting at 12 o'clock and turning to either 9 o'clock or 3 o'clock.
- "wait ... seconds and move to" - Delay before motion for the second position.
- slider control - Choose the position for the second motion. The servo starts at 90° and can be rotated to 0° in one direction or to 180° in the other direction. This is equivalent to starting at 12 o'clock and turning to either 9 o'clock or 3 o'clock.
Go to Position
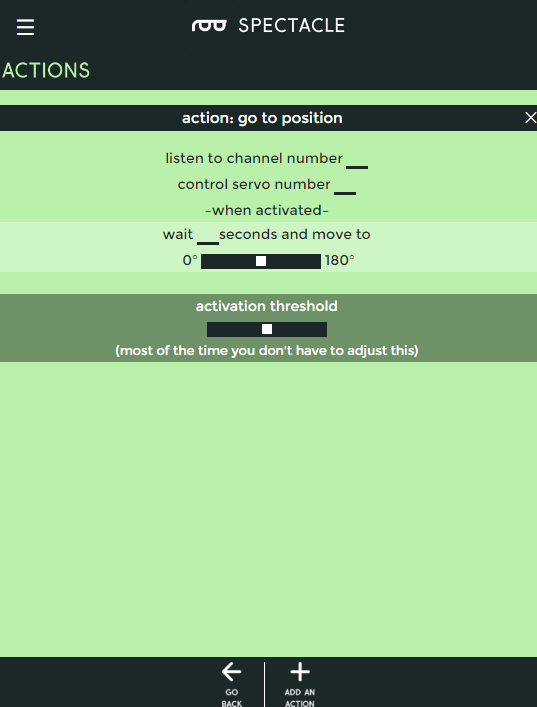
Move the servo motor from where ever it currently is to this new location after some delay.
- "listen to channel number ..." - Which channel controls this action.
- "control servo number ..." - The servo to be controlled, numbered from 0-4.
- "wait ... seconds and move to" - Delay before motion for the first position.
- slider control - Choose the position for the first motion. The servo starts at 90° and can be rotated to 0° in one direction or to 180° in the other direction. This is equivalent to starting at 12 o'clock and turning to either 9 o'clock or 3 o'clock.