
Arduino is one of the most popular physical computing platforms available today. It's an amazing tool for both experienced and budding electronics enthusiasts. It's part hardware, part software, and part community; all of which come together to create a well-supported, solidly-designed electronics platform.
The best part: the entire Arduino project -- both hardware and software -- is open-source. The schematics, hardware design files, and source code are all freely available for viewing and modification. Released under a Creative Commons Share Alike license, anyone is free to riff on the hardware design and produce their own version. That's what we've done with the RedBoard. It still looks and acts just like an Arduino Uno, but is slightly modified to make the board better-suited to our purposes.
Our introductory video glosses over some of what makes the RedBoard different from the Arduino Uno:
ReplaceMeOpen
ReplaceMeClose
In this tutorial, we'll take an in-depth look at the major similarities and differences between the two boards. Stated briefly, here's the key info:
The RedBoard, Arduino Uno SMD, and Arduino Uno PTH have a lot in common. They really share more similarities than they do differences. Here's a tabled overview:
| RedBoard | Arduino Uno SMD | Arduino Uno PTH | |
|---|---|---|---|
| Top View | 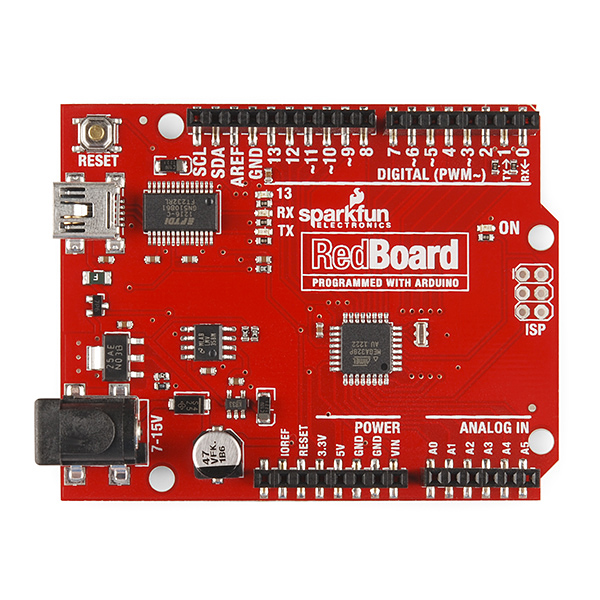 | 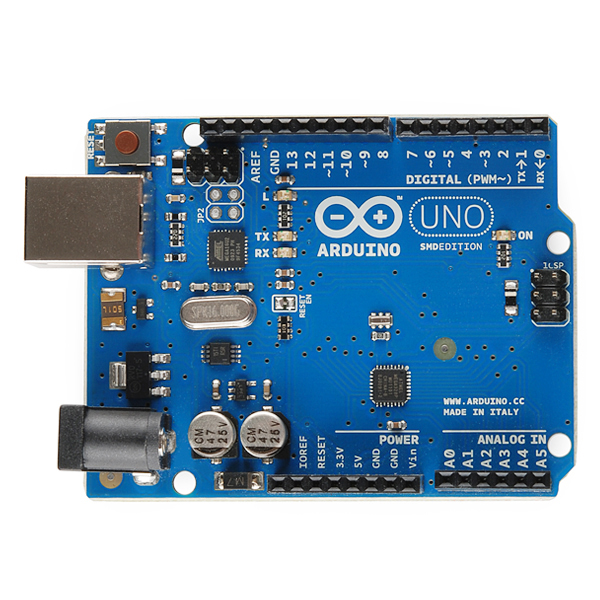 | 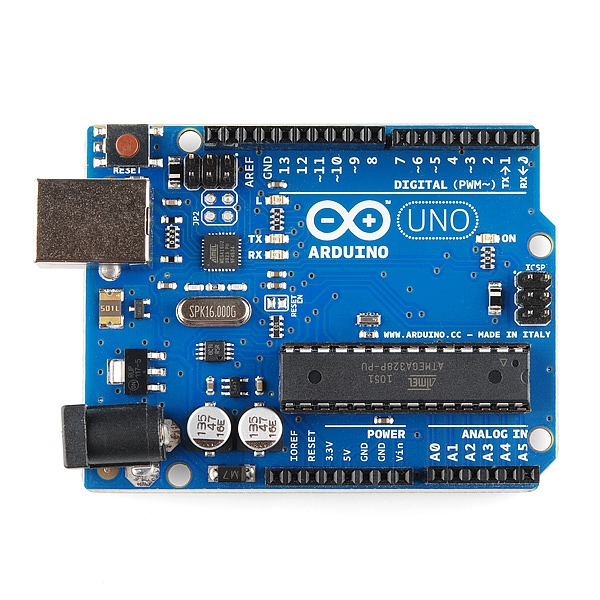 |
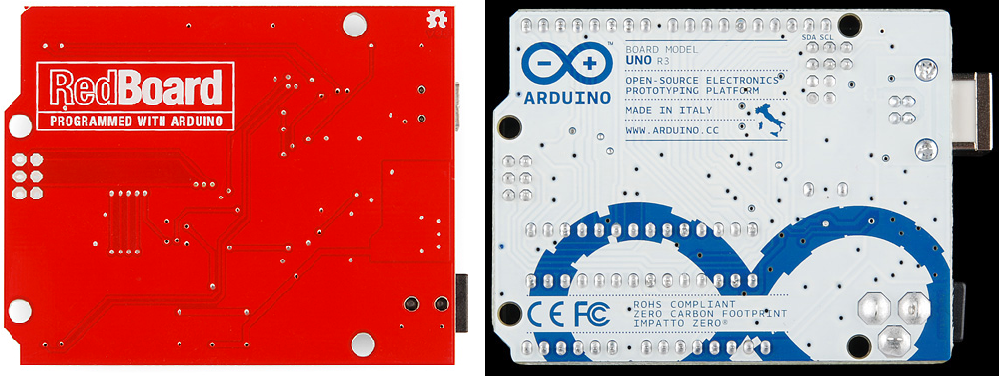
| Bottom View | 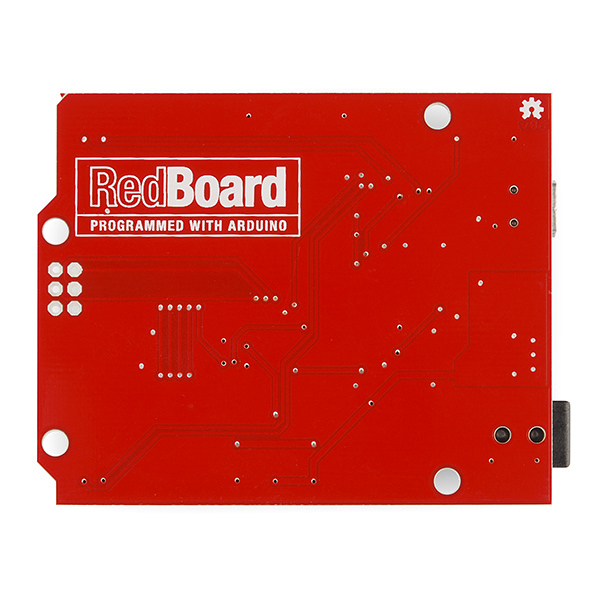 |  | 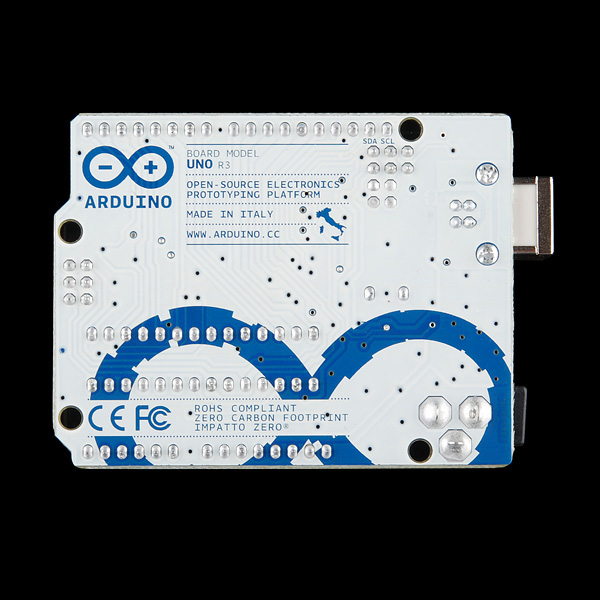 |
| Dimensions | 2.7 x 2.1" (68.58 x 53.34mm) | 2.7 x 2.1" (68.58 x 53.34mm) | 2.7 x 2.1" (68.58 x 53.34mm) |
| Color | Red | Blue/White | Blue/White |
| USB Connector | Mini-B | Type B | Type B |
| USB-to-Serial Chip | FTDI FT231X | ATmega16U2 w/ custom firmware | ATmega16U2 w/ custom firmware |
| Drivers (Windows) | FTDI VCP Drivers | Arduino USB Driver | Arduino USB Driver |
| Windows Compatibility | 8 (32 & 64-bit), 7 (32 & 64-bit), Vista (32 & 64-bit), XP (32 & 64-bit), 2000, 98 * | 8 (32 & 64-bit), 7 (32 & 64-bit), Vista (32 & 64-bit), XP (32 & 64-bit) | 8 (32 & 64-bit), 7 (32 & 64-bit), Vista (32 & 64-bit), XP (32 & 64-bit) |
| Mac Compatibility | OS X, OS 9, OS 8 | OS X | OS X |
| Linux Compatibility | Yes | Yes | Yes |
| Main Microprocessor | ATmega328 | ATmega328 | ATmega328 |
| MCU PTH or SMD | SMD | SMD | PTH |
| VIN Range (Recommended) | 7-15V | 7-12V | 7-12V |
| Operating Voltage | 5V | 5V | 5V |
| Digital I/O Pins | 14 | 14 | 14 |
| Analog Inputs | 6 | 6 | 6 |
| Arduino Board Selection | Arduino Uno | Arduino Uno | Arduino Uno |
| Retail Price | $24.95 | $29.95 | $24.95 |
Next we'll look in-depth at the most significant differences between the RedBoard and Arduino Uno.
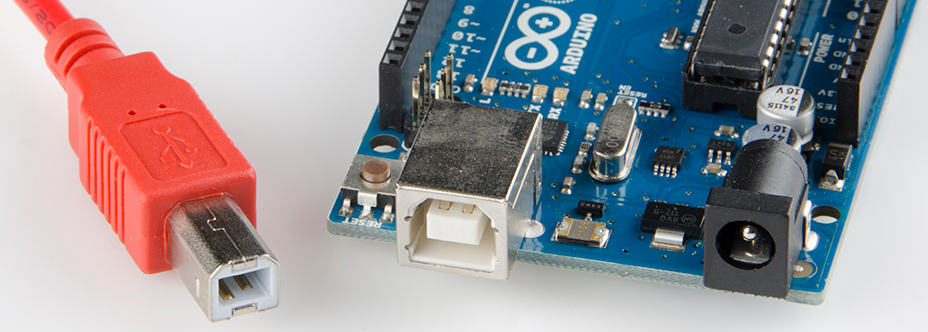
Both the Arduino Uno and Redboard interface with computers via USB, but the connectors are different. The Arduino Uno uses the larger, square-ish type-B connector. Type-B USB connectors are often found on USB printers, or other devices where size is not an issue.
The RedBoard uses a mini-B USB connector. Mini-B connectors are lower-profile USB connectors, which might be found on cameras, MP3 players, and cell phones.
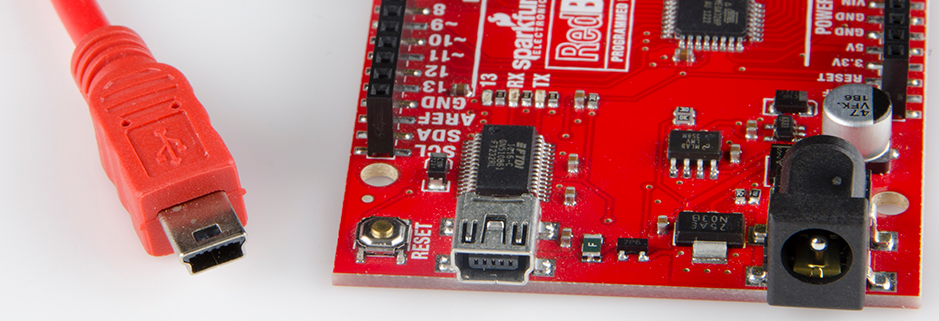
Obviously, you'll need a cable that matches the connector on the development board. The Arduino Uno would require an A to B cable, while a RedBoard would require an A to mini-B cable (or you could cover both bases with a Cerberus cable).
The second difference between the boards is how they manage to convert USB coming from your computer into a serial protocol the Arduino can understand. Arduino serial communication is critical for uploading sketches and sending/receiving information via the Serial Monitor. The Uno uses an Atmel processor -- the ATmega16U2 -- loaded with custom firmware, to convert USB to (and from) serial.
Before the Arduino Uno was released previous versions of the development platfurm used a dedicated USB-to-serial transceiver: FTDI's FT232RL. Call us nostalgic, but we really preferred the robust reliability of the FT232RL over the ATmega16U2 solution. So when we designed our own version of the Arduino platform, we decided to revert back to the FT232RL for our USB-to-serial needs.
About 99% of the time these ICs should be of no concern to your everyday Arduino hacking. Once drivers are installed, each should transparently convert data between your Arduino and computer. The difference between the two USB/Serial transceivers is most apparent when you're first connecting the board to your computer.
For Windows users in particular, each board requires a unique driver to be installed before being usable. There are plenty of installation tutorials for both chips (our guide on installing FTDI drivers and Arduino's guide for theirs).
The most up-to-date version of the FTDI drivers can be downloaded directly from the chip manufacturer's webpage where they host installation guides of their own. There should be no shortage of driver-installation support out there.
Once the board is connected to your computer and the drivers are installed, the two chips should be almost invisible. For the most part, we don't really care how the Arduino communicates with our computer, just that it does.
The Arduino Uno comes in two forms: surface mount (SMD) and through-hole (PTH). Both versions are very similar, the only significant difference comes from what package the ATmega328 processor comes in. SMD components are generally easier to mass assemble (though harder to manually assemble), so the SMD version of the Uno is either cheaper, more readily available, or both.
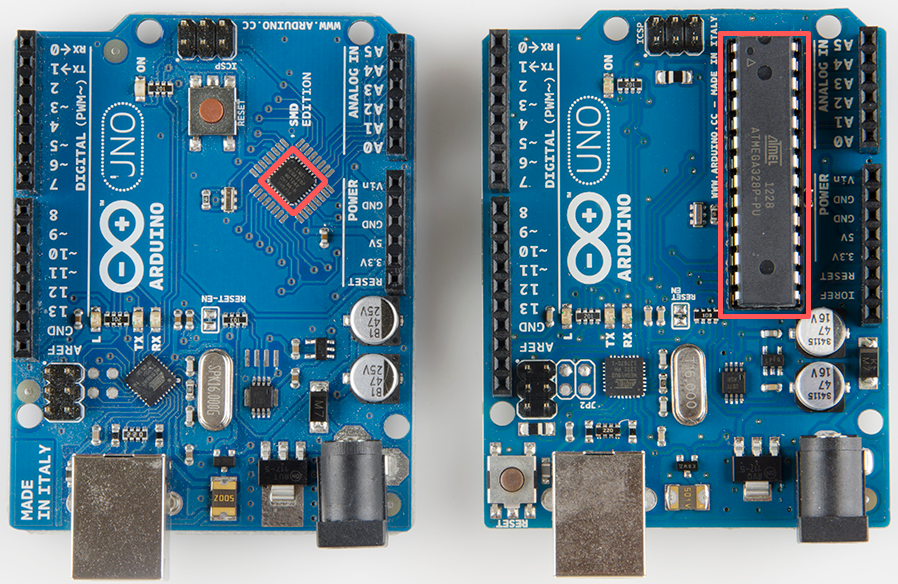
The RedBoard is only offered in one form: surface mount. The design actually takes the SMD choice even further by making every component SMD (the Arduino UNO SMD still has PTH connectors, for example), but the main focus of the SMD vs. PTH debate centers around the package of the microcontroller (as highlighted in the image above).
The absence of PTH components on the RedBoard means a nice, smooth surface on the bottom of the board -- there's no danger of being pricked by pointy solder joints.
On top of that, eliminating exposed joints on the bottom of the board also protects the components from accidental shorts. As any hobbyist with a messy desk could attest, stray wire clippings and other metals strewn across workbenches are a common source of accidental short circuits. Standoffs or Arduino holders will help prevent against this if you're using an Arduino board.
Microcontrollers (µCs) -- in this case the ATmega328 -- are usually the most expensive component in a design. A µC failure* is hard to overcome, and it usually requires either replacing the component or just recycling the board.
The nice thing about the PTH Arduino is the ATmega328 is socketed, so if it blows up* replacing the chip is as easy as prying it out and sticking in a new one.
The ability to easily remove the ATmega328 has other advantages as well. For example, if you're looking to build a project using the IC, you can prototype in the development board and eventually transfer the microcontroller out of the Uno to a custom board.
*: Microcontroller failure on all of these boards is a big "if". The ATmega328 is a very resilient microcontroller. You really have to try to fry the IC, or even just a single I/O pin on it. A failure in the power circuitry (voltage regulators specifically) is much more likely.
Now that you feel comfortable with your development board selection and the advantages and disadvantages that go with it, it's time to explore the world of Arduino!
Here's a few simple tutorials to get you started:
And here's some more advanced tutorials, if you're ready to take on more of the Arduino world!
For more information on the SparkFun Redboard, check out our product page. We've also got:
learn.sparkfun.com | CC BY-SA 3.0 | SparkFun Electronics | Niwot, Colorado