Qwiic Twist Hookup Guide
Introduction
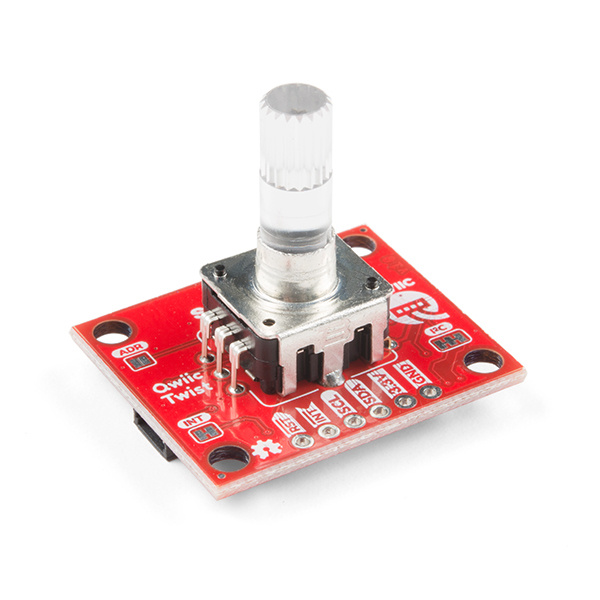
Sometimes you just need a volume knob. The Qwiic Twist is a digital RGB encoder, also known as a continuously rotating knob that is read and controlled over I2C.
What does that mean? Send the command twist.getCount() and you’ll get the number of steps the user has twisted the knob. For example, 312 or -23 depending on the direction and amount the user and turned the knob. The Twist takes care of all the various interrupts, switches, PWM'ing of LEDs and presents all those features over an easy-to-use I2C interface. The Qwiic Twist was designed to get rid of the large mass of wires that are needed to implement an RGB encoder in a breadboard. Now you can get encoder position with something as twist.getCount(); and your microcontroller can keep focused on other more important tasks.
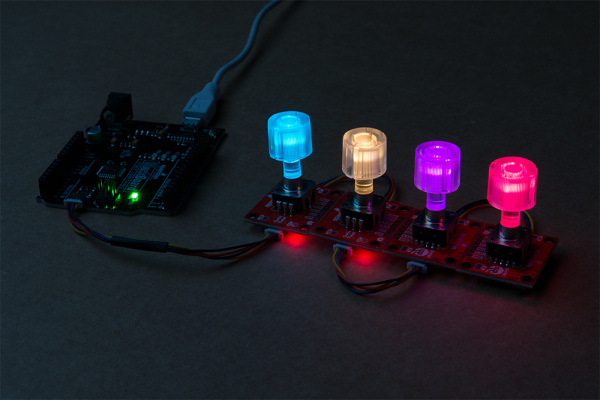
The Qwiic Twist has an indent type encoder which gives the user a great 'clicky' feel as they turn. The Qwiic Twist also has an RGB LED and a built-in button. We’ve written an Arduino library to make controlling these features as easy as:
language:c
twist.setColor(255, 0, 0); //Red
if(twist.isPressed() == true) Serial.println(“Pressed!”);
And finally, the I2C address of Qwiic Twist is software configurable which means you can hookup over 100 Twists on a single I2C bus!
Required Materials
To follow along with this hookup guide, you will need one of the following Qwiic shields with an Arduino. You may not need everything though depending on what you have. Add it to your cart, read through the guide, and adjust the cart as necessary.
You will also need a Qwiic cable to connect the shield to your Twist, choose a length that suits your needs. The Qwiic to breadboard cable is good if you want to easily plug the Qwiic Twist into a 3.3V platform such as Teensy.
Qwiic Cable - 100mm
PRT-14427Qwiic Cable - Breadboard Jumper (4-pin)
PRT-14425Qwiic Cable - 50mm
PRT-14426Qwiic Cable - 200mm
PRT-14428Qwiic Cable - 500mm
PRT-14429Tools
The Qwiic Twist is designed to be easily connected to a Qwiic bus without soldering. But if you choose to connect to the I2C pins directly you may need a soldering iron, solder, and general soldering accessories.
Weller WLC100 Soldering Station
TOL-14228Suggested Reading
If you aren't familiar with the Qwiic system, we recommend reading here for an overview.
 |
| Qwiic Connect System |
We also recommend checking out these tutorials before continuing.
I2C
Qwiic Shield for Arduino & Photon Hookup Guide
Additionally, we’ve got a great video on how the inner workings of encoders work and why they’re important.


