Processor Interrupts with Arduino
Contributors:
 JordanDee, Ell C
JordanDee, Ell C Hardware Hookup
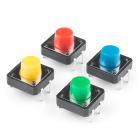
In the following sections, we'll look at a simple example to make more sense of interrupts and how they work. If you'd like to follow along, grab a Sparkfun RedBoard, an LED, a button, 330Ω resistor, jumper wires, and a cable to power it all.


Connect the LED to pin 13 and the button to pin 2 as you see in the Fritzing diagram below:
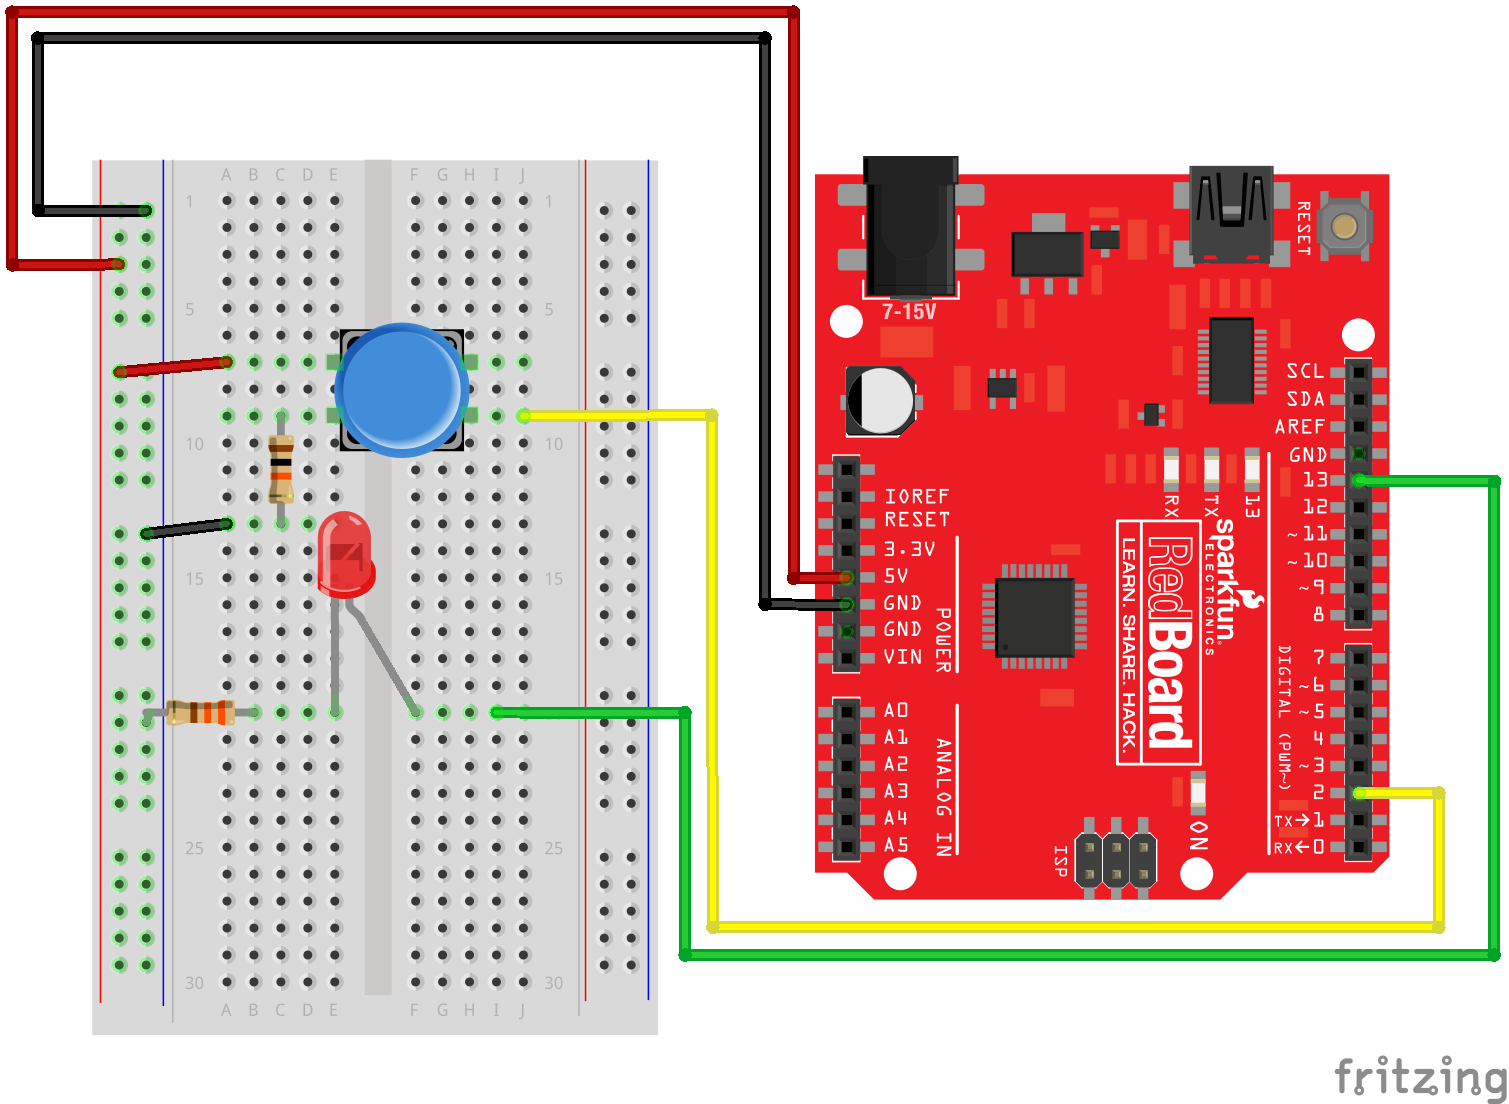
If you take a good look at what you've just hooked up, you'll notice that the LED is actually redundant. We could just use the built-in LED on pin 13, but for visual purposes, we added the external LED.