Nest Thermostat Teardown
 Nate
Nate 
Cracking It Open
The packaging of the device is on par or above what one would expect for $250 - I even got a Nest branded screw driver. Neat. But we are not here for a packaging review now are we?
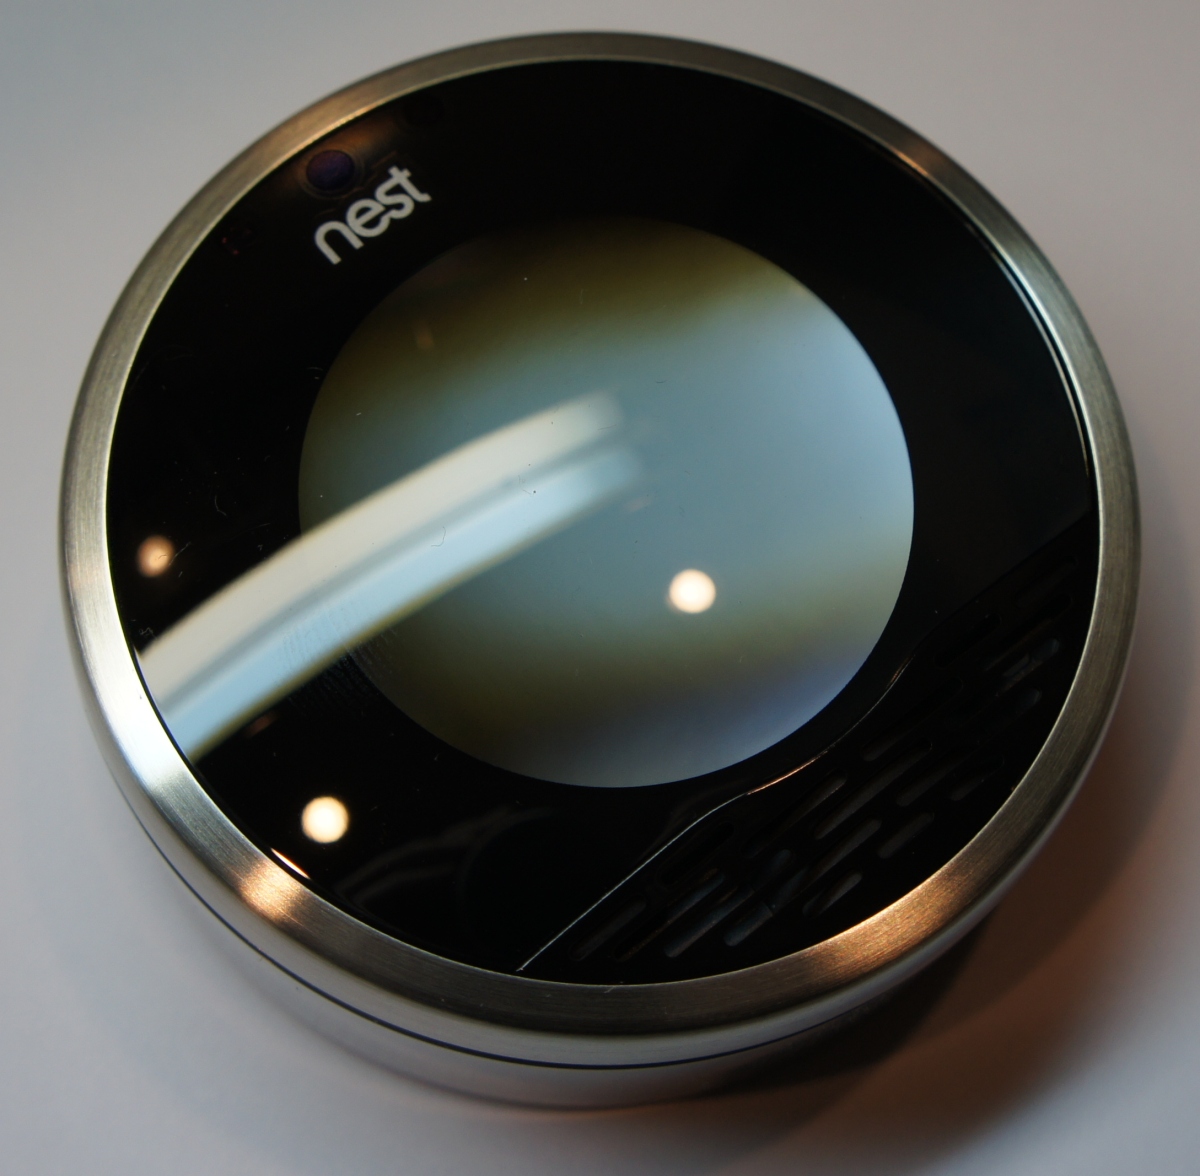
Here's the nest shortly before meeting the business end of a Phillips head screw driver. Did I mention they included their own disassembly tools? They get a +1.
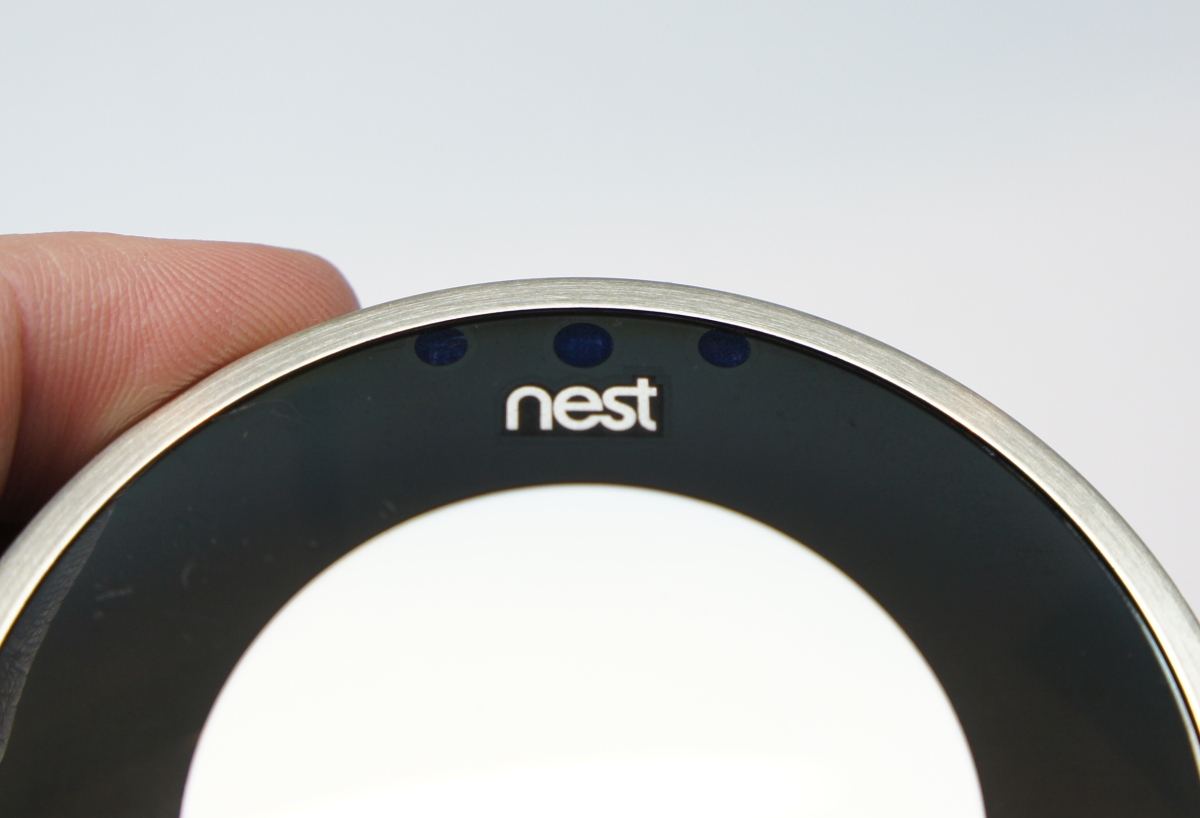
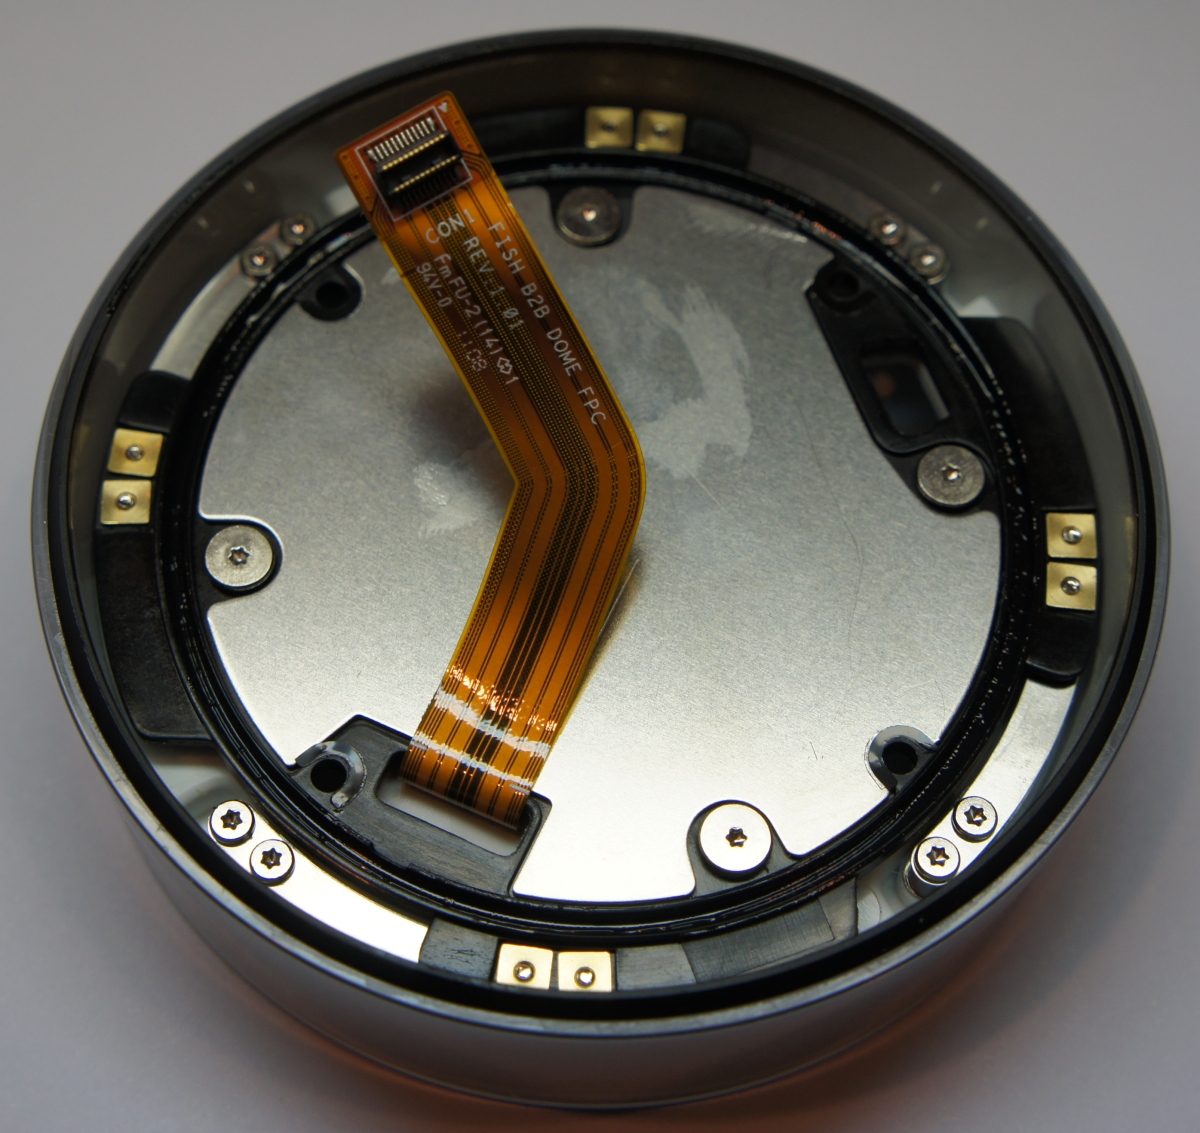
The camera was playing funny reflections with the glass and the apertures. Here we can see where the IR LEDs and sensor are exposed.

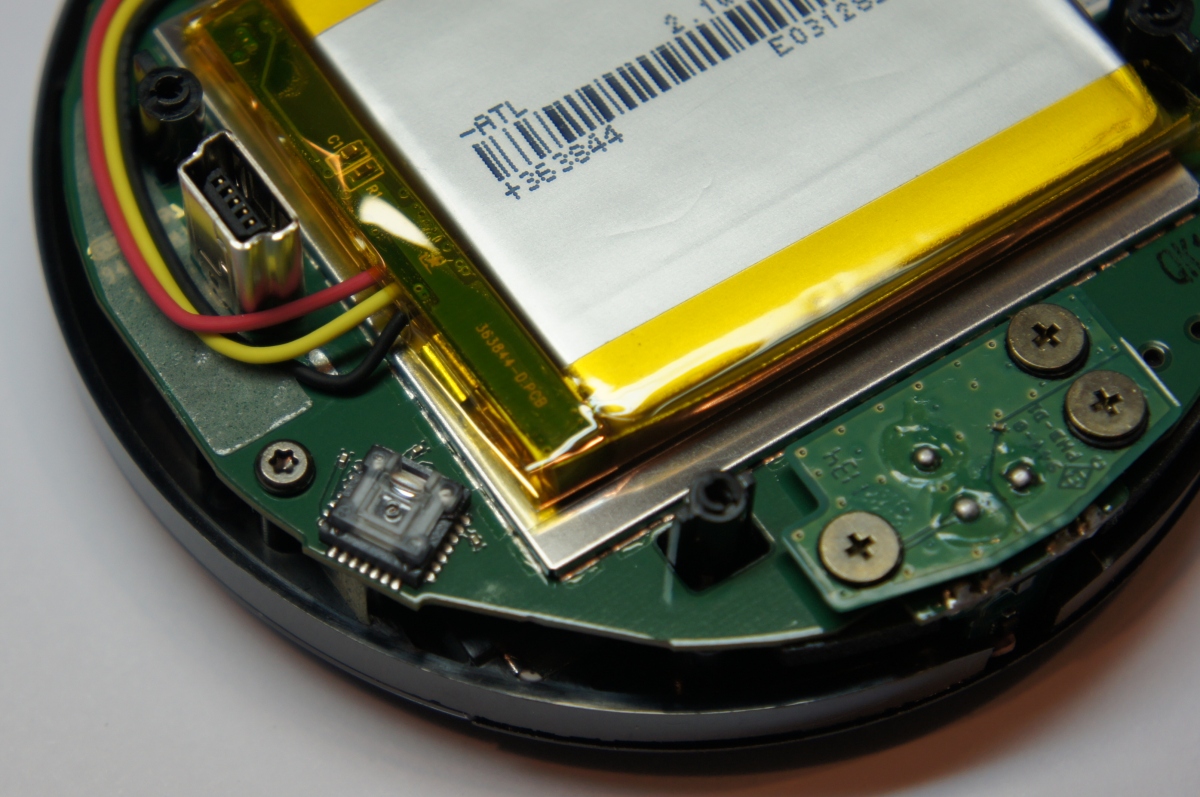
Back side. If you've read some of my other tutorials, this miniUSB connector is completely surprising! Thank you Nest for including an external connector. I don't want to completely hack/reprogram/re-purpose the thing today, my goal is just to show off the internal hardware. But by making it easy to plug in you are opening the door way to good things.
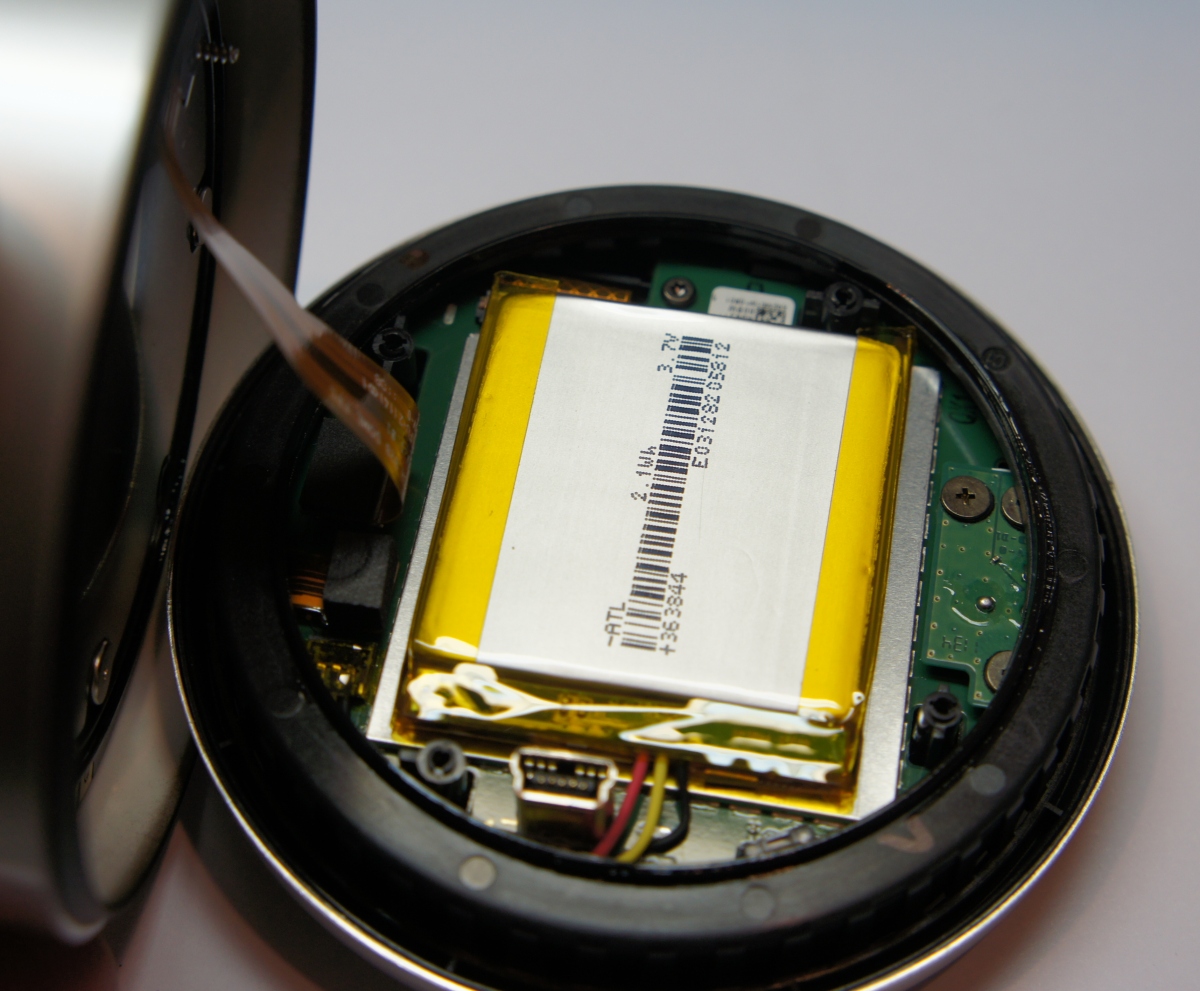
This thing has an internal LiPo battery? Really? 2.1Wh over 3.7V = around 567mAh battery. That's fairly sizable for a thermostat. My guess is that the unit may need more power than the HVAC wiring can provide when WiFi is broadcasting and the display is on. The LiPo acts as a very large capacitor.
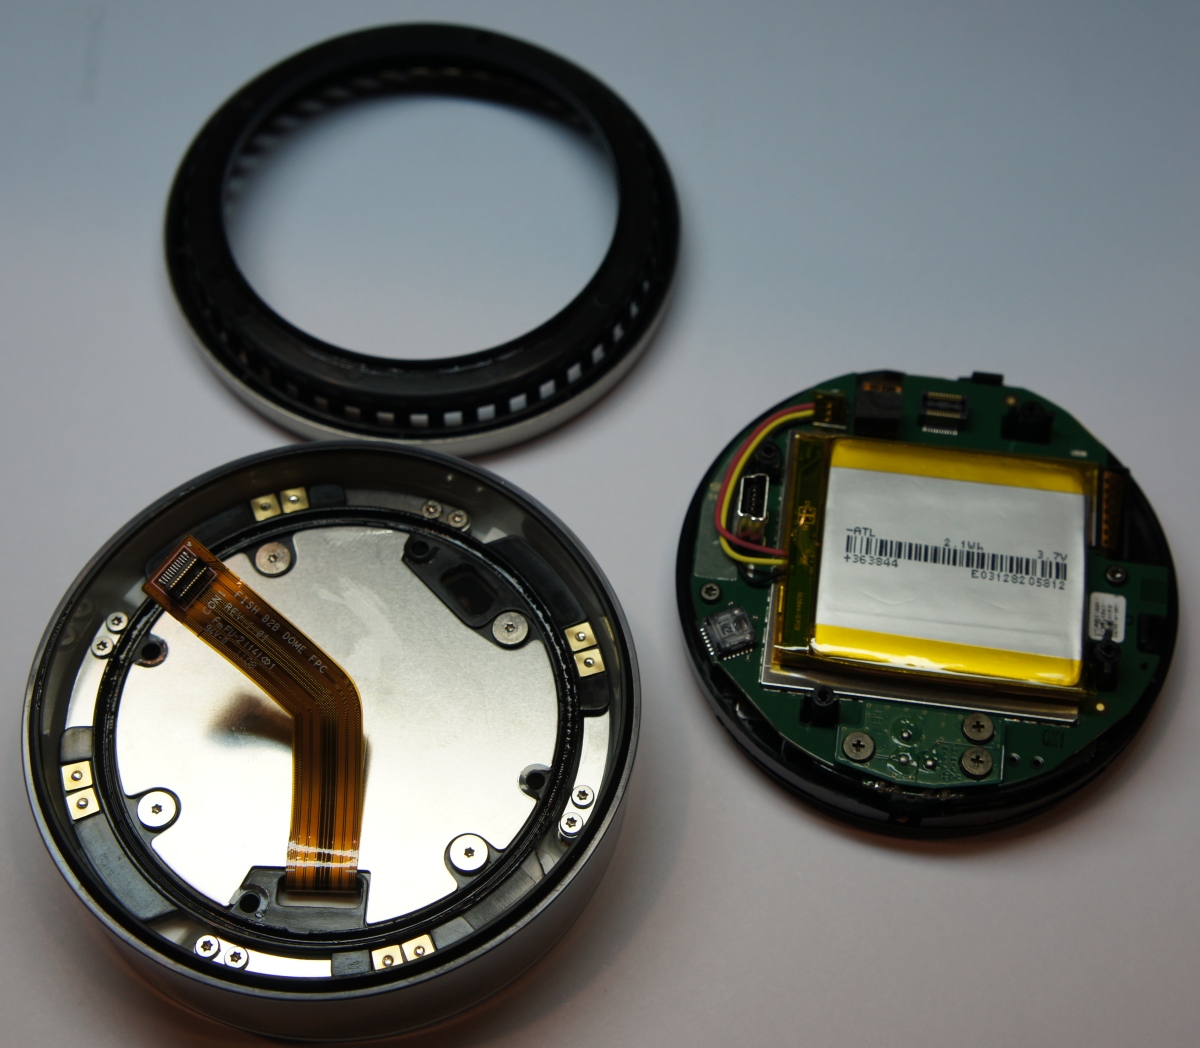
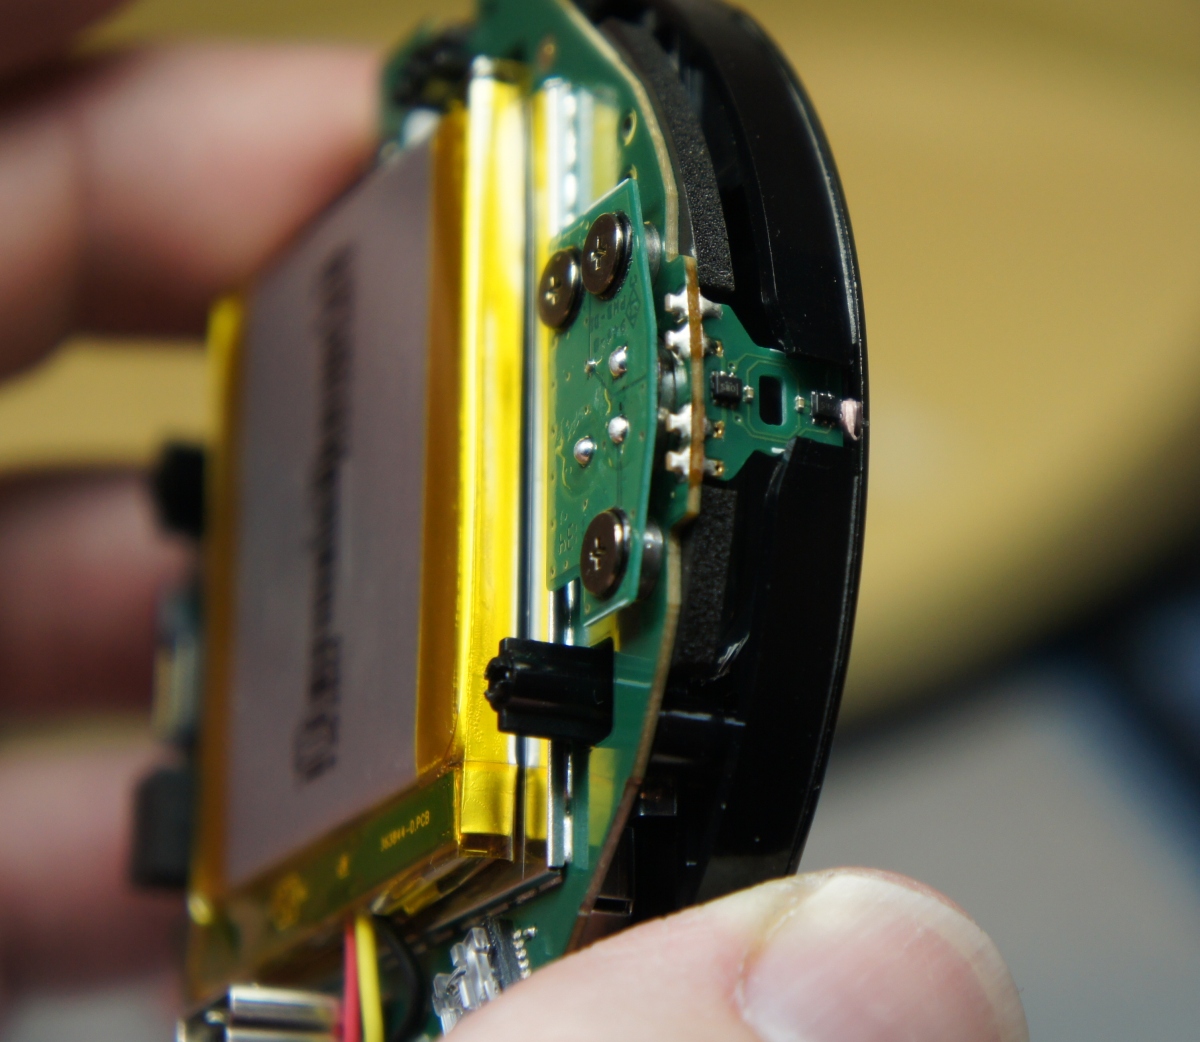
Here we have the head unit on the right. In the lower left we have the first layer of the housing - the bit that actually attaches to the wall. This includes the user press-able button as well as the 8+ connector to the house wiring. When you snap this thermostat to the plate on the wall, there is a multipin connector that connects through the first layer to the head unit. That said, there's an awful lot of exposed gold pads on the first layer. I'm not entirely sure what they are there for but my first impression: This thing is extremely well designed and produced. The ribbons, connectors, battery, and hardware are all of very high quality.
Hi Fish. Must be the manufacturer?

Up close on the head unit. Note the three wires coming from the battery: 3.7V, GND, and what else? A temperature sensor on the battery? A third wire on a LiPo is sort of odd for such a low current application.
A few things are cool here. Note the IC in lower left. I don't know what that is! It is facing towards the wall when the Nest is installed onto the wall. It doesn't read the dial, proximity, motion or anything I can fathom but it's a clear epoxy encased IC which usually indicates visible spectrum or light (IR) sensing - but why is it pointing at the wall? A dust sensor? Humidity? Nah.
Also you'll notice three Phillips head screws holding a small board south of the LiPo in place. That is the PIR. The small daughter board is powered and sensed through the screws (three screws = VCC/GND/Signal). I've seen this technique before but I'm not sure what they used it here. Perhaps it's because three screws are cheaper than three screws and a 3-pin connector.
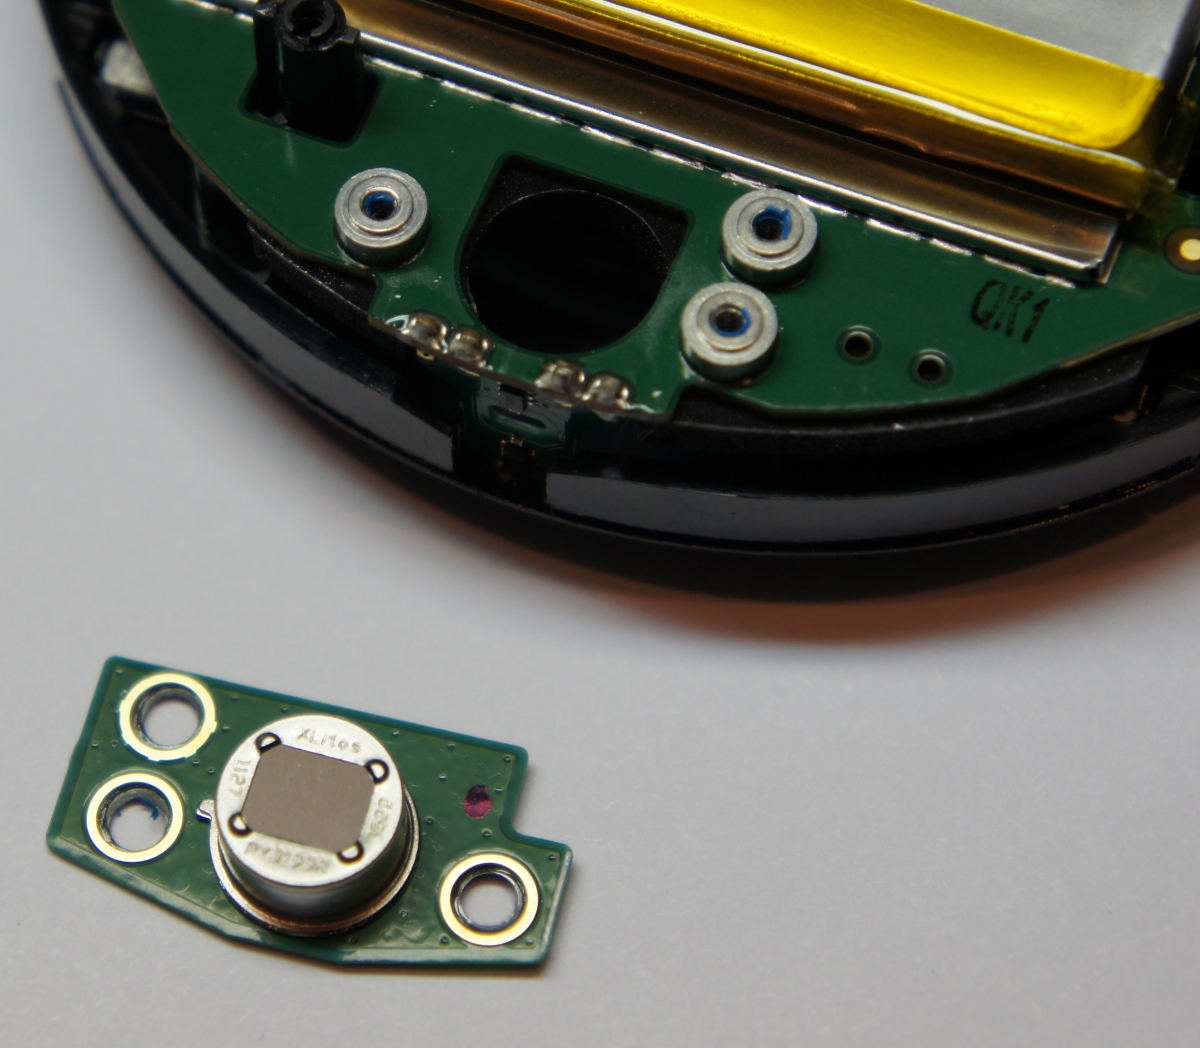
Here is the PIR removed. The IC reads XLitos. Used to detect motion in a room.
Check that out! I've seen magneto sensors like this before on the trackball for the Blackberry Pearl. We used the same type of sensors for the Trackballer Breakout. I am assuming these two sensors are reading the notches on the dial via magnetic field but I could be wrong. I love how they used a very tiny vertical board. This is one heck of a design, all for a thermostat!

The included Phillips screw driver got me this far, at this point I had to break out the Torx bits.
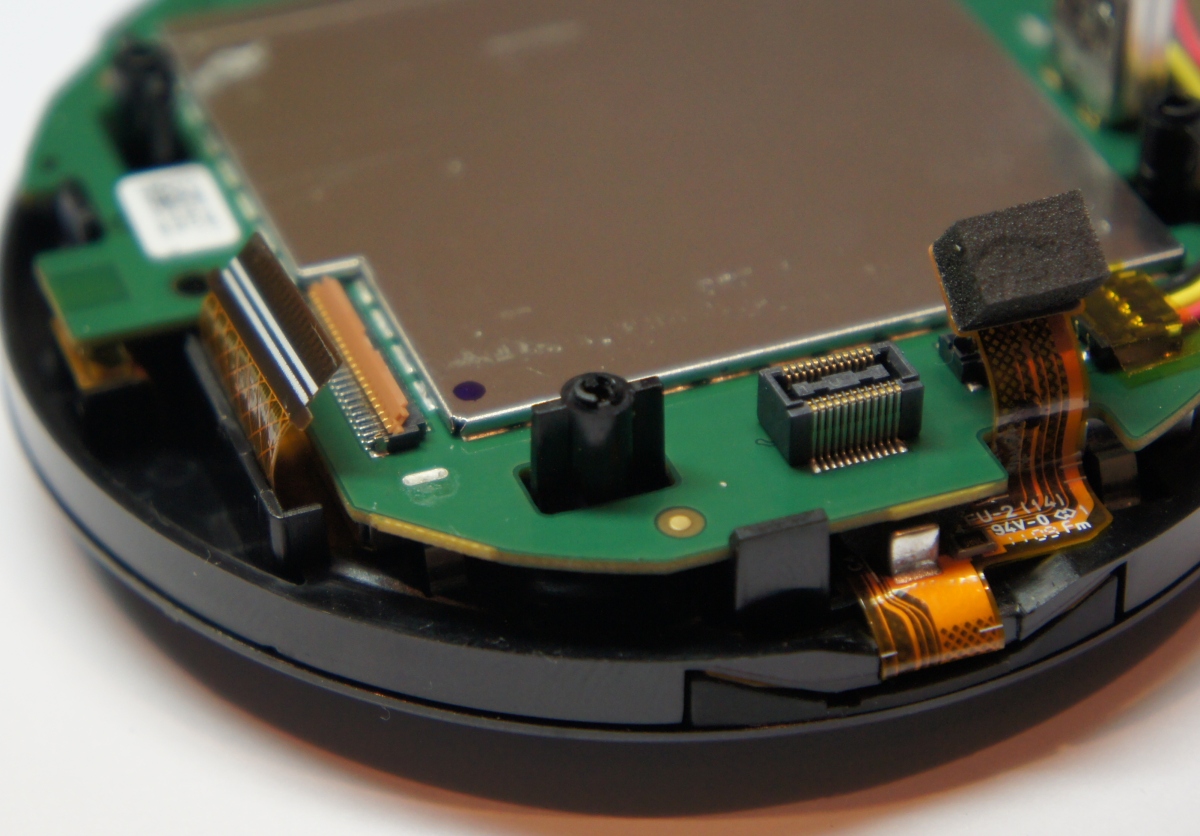
Note the high density connector on the left. It was something like 40 pins in a tiny ribbon cable. Look closely if you need to know how to flip up the connector to release the ribbon.
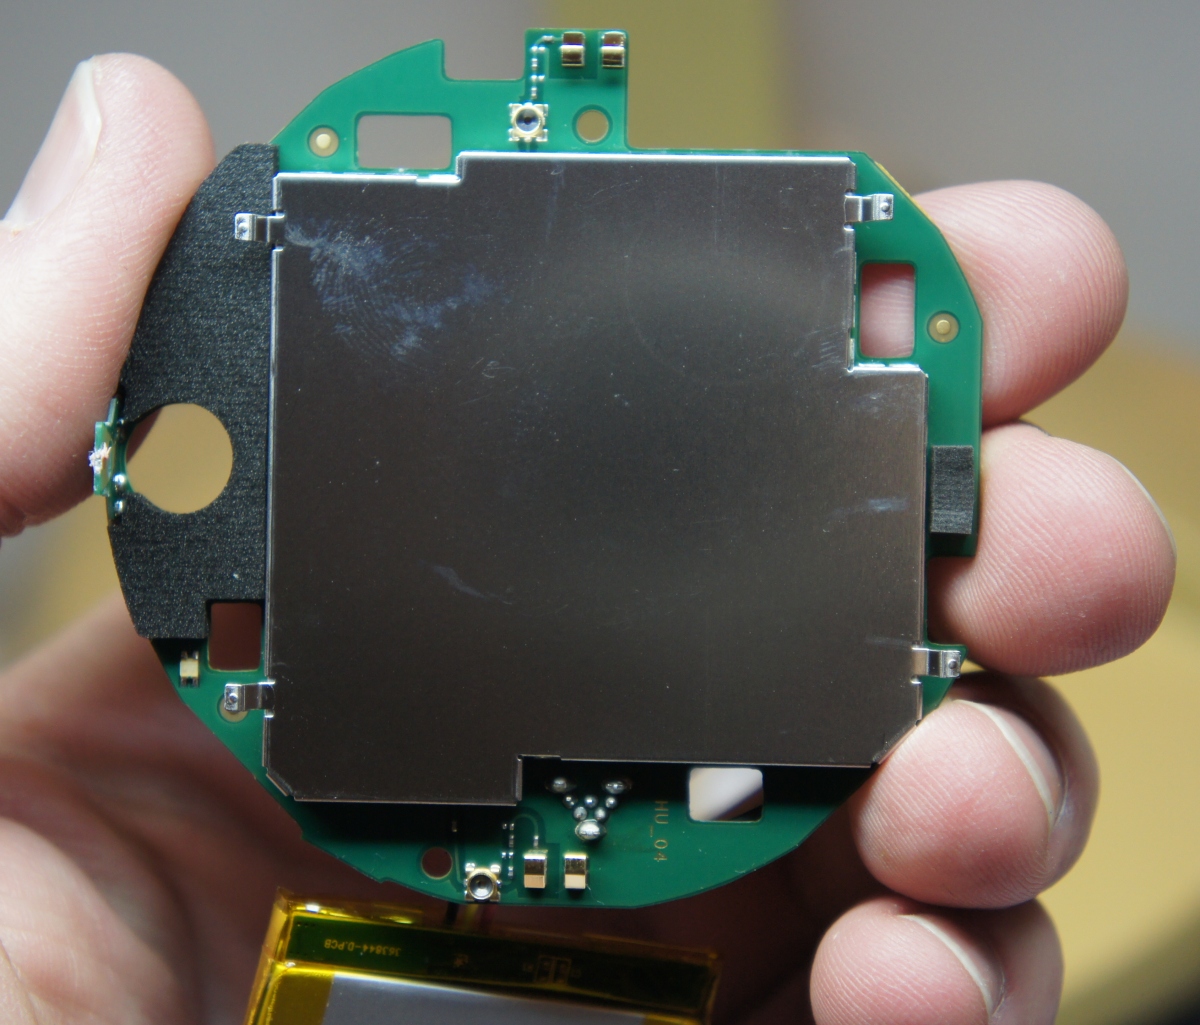
Here we can see the main board covered in a massive RF shield (and my thumb print). Is it cheaper just to throw a metal shield on everything than to risk FCC testing failure? Also note not one but two antenna connectors. It's odd to see external U.FL connectors on the board. They must be there for ease of testing? Next to the connectors you should see some gold clips. These actually make a compression contact to the dual flexible antennas embedded into the face of the unit.
Although I failed to capture them on the camera, there was two flexible PCB antennas in a vertical configuration. One antenna was marked 'Zigbee'. Now this has my interest piqued. I assumed there was two antennas for better reception but perhaps one antenna is Wifi and one antenna is for something else? Zigbee? No way. Really? Could Nest be planning on adding other equipment control such as lighting or refridgeration? After using the Nest and its accompanying website, I certainly hope so.