MPR121 Hookup Guide
This Tutorial is Retired!
This tutorial covers concepts or technologies that are no longer current. It's still here for you to read and enjoy, but may not be as useful as our newest tutorials.
 Toni_K
Capacitive Touch Keypad
The SparkFun Capacitive Touch Keypad is very similar to the MPR121 breakout board, but instead of having to attach your own electrodes, this board comes with a 12-pin keypad built-in.
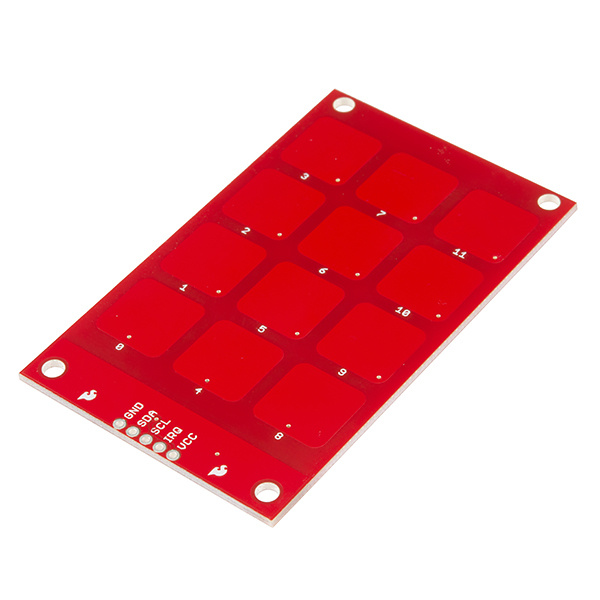
The keypad has 5 lines that need to be connected to your microcontroller, including the power lines, the IRQ line and the I2C lines.
Connections
MPR121 Keypad → Arduino Uno
- 3.3V → 3.3V
- SCL → A5
- SDA → A4
- GND → GND
- IRQ → D2
Check out the Fritzing diagram below to verify your connections.
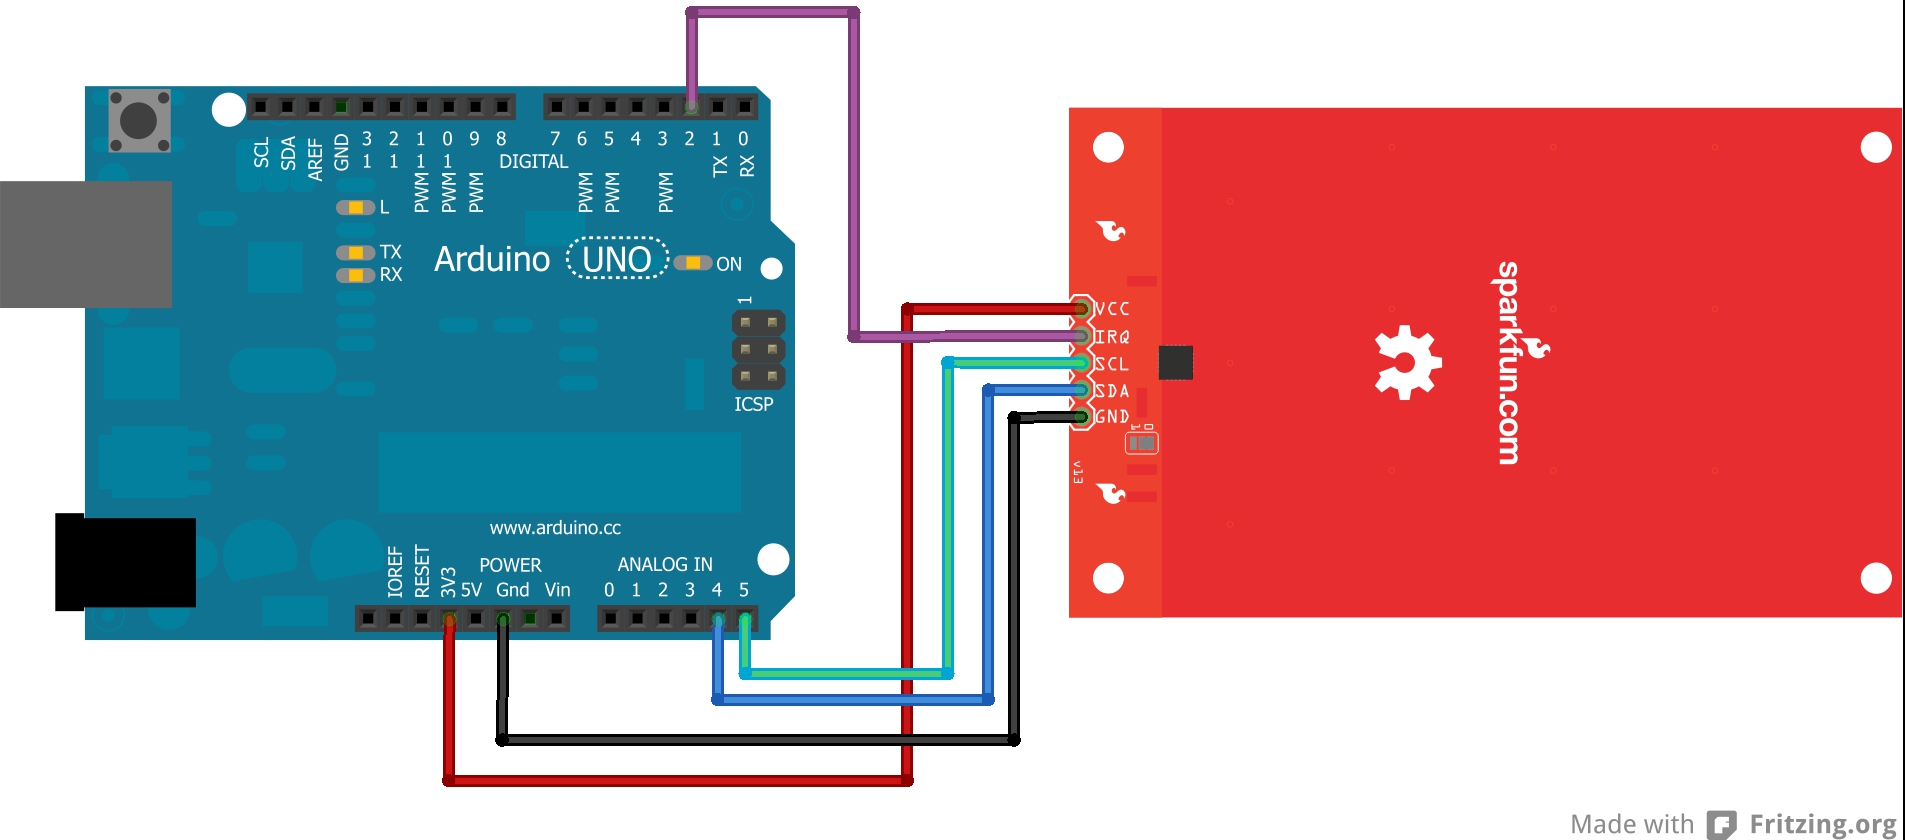
This diagram shows the bottom side of the keypad, in order to show you the location of the I2C address jumper. In this diagram, the jumper is set to 0, but if you need to have 2 keypads on the same I2C bus, you can change one of them to be set to 1.
Now that you've got your keypad hooked up properly, let's get communicating with it!