Makey Makey Classic Hookup Guide
Remapping Keys
The Makey Makey v1.2 Classic has an option if you ever need to change the default keys. To remap the key, you will need to go online and head over to JoyLabz using any internet browser. Click on the button below to open a new window.
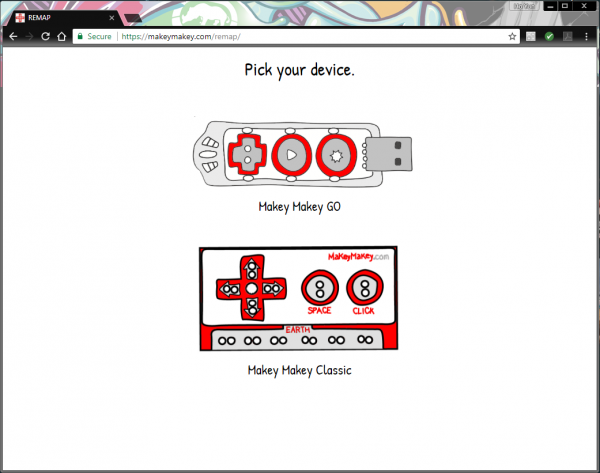
Following the instructions provided by JoyLabz is pretty straightforward, but we also outlined the instructions below. By clicking on the link, it should have opened up a new tab or window. You will have two options. Click on the Makey Makey Classic.
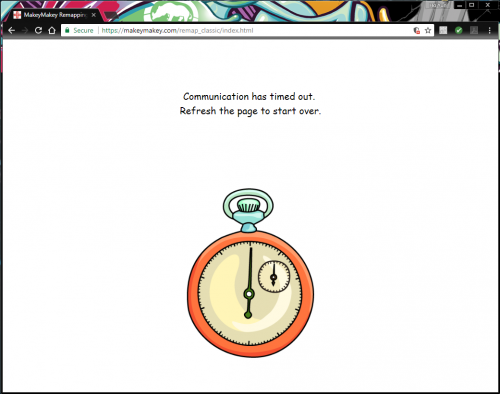
The page will also time out if you take too long of a break. When this happens, you will need to start at the beginning.
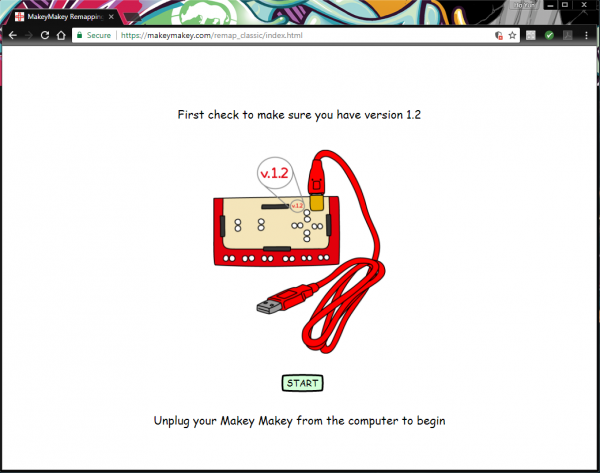
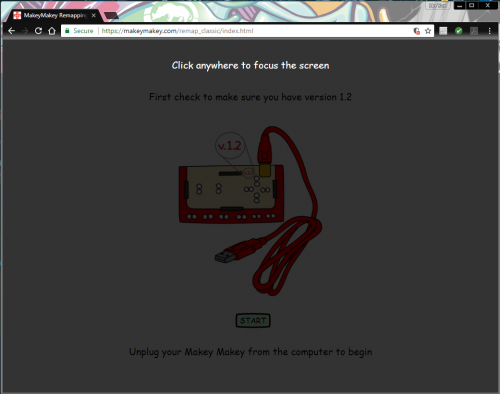
Once selected, the prompt will ask you to check and ensure that you have the correct Makey Makey version. On the back side with the black female headers, you will notice that the board has a version number printed as v.1.2 If you do not have that version, you will not be able to remap the keys with these instructions. If it is v.1.2, proceed by connecting the Mini-USB cable to the Makey Makey and clicking on the START button. For now, do not connect the other end to your computer's USB port.
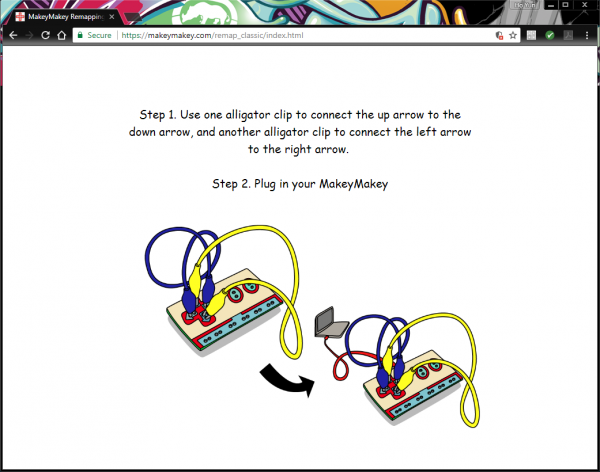
Grab two alligator clips and connect the up (↑) and down (↓) arrows together. Then connect the left (←) and right (→) arrows. Once connected, connect the other end of the USB cable to your computer's USB port. You will notice the green LEDs begin to fade in and out, indicating that the Makey Makey is in programming mode.
The browser will eventually respond with a note indicating that the Makey Makey is detected. If you do not see the message, you may need to unplug the USB cable from your computer and start again. Also, make sure that the browser to remap keys is active. Otherwise, follow the prompt by removing the alligator clips if the Makey Makey is in programming mode.
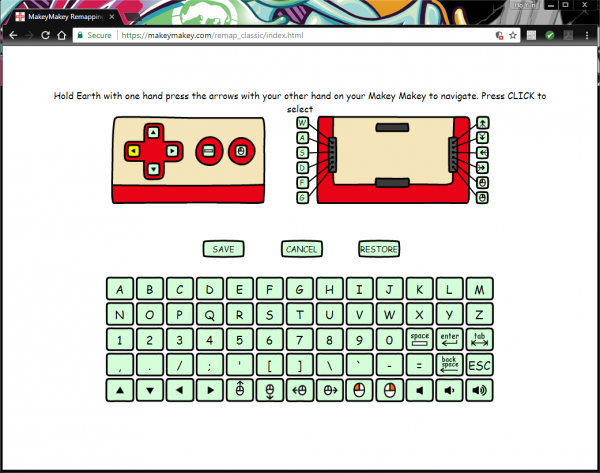
With one hand, ground yourself by touching the exposed GND pads. With the other hand, touch the left or right keys to navigate to the key that you are interested in remapping.
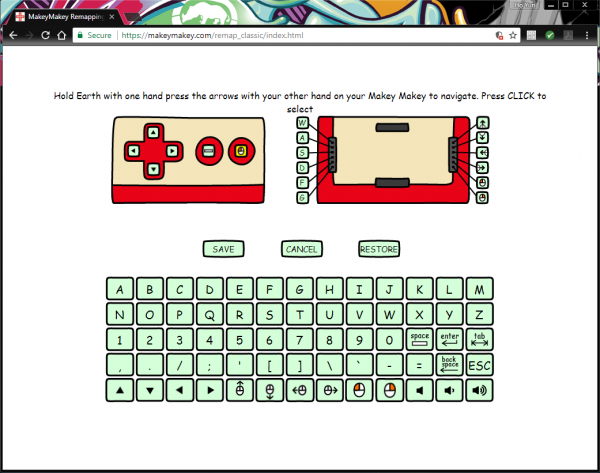
The key that will be remapped will be highlighted yellow. Let's remap the left mouse "CLICK" on the Makey Makey. Navigate to the left mouse "CLICK" button. Once selected, keep one hand on GND and touch the "CLICK" pad to remap the key.
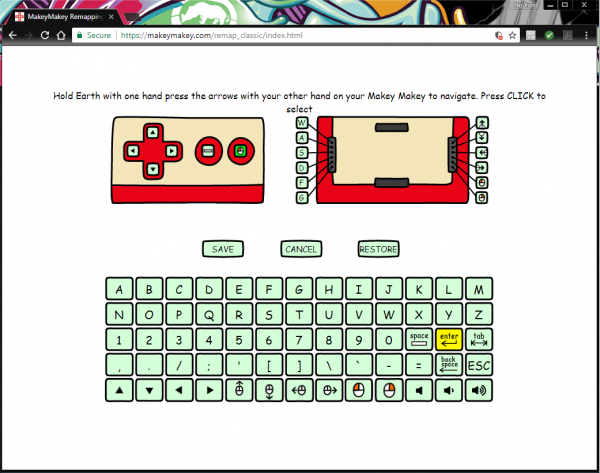
The key that is being remapped will be highlighted green. The replacement key will be highlighted yellow. At this point, you can select the replacement key located at the bottom of the browser. Navigate through the keys using the Makey Makey's arrow pads. Let's select the "enter" key by moving to its icon and touching the "CLICK" pad.
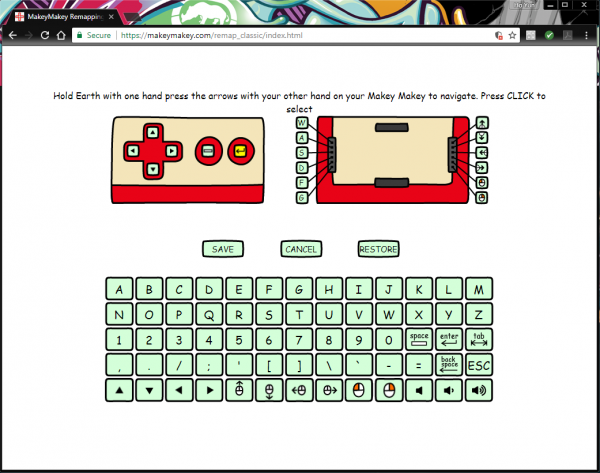
The browser will have a nice animation and replace the old key with a new key. At this point, you can continue to remap the other keys. For now, we will just remap one key.
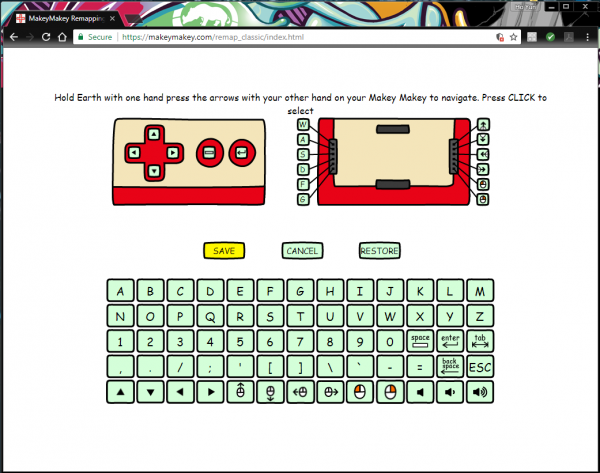
Navigate to the SAVE button by pressing on the down pad. Here, you will be able to SAVE the remapped key, CANCEL any changes that you have made, or RESTORE the Makey Makey default keys. Let's save the remapped key by pressing on the "CLICK" pad.
A prompt will pop up asking you to confirm the save. Use the left arrow pad to highlight "YES". Click on the "CLICK" pad to confirm.
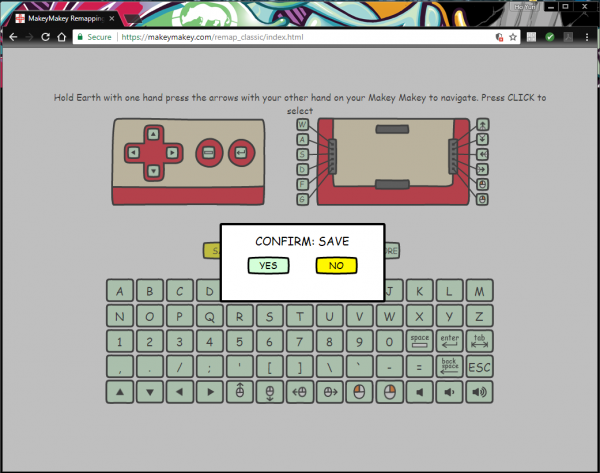 |
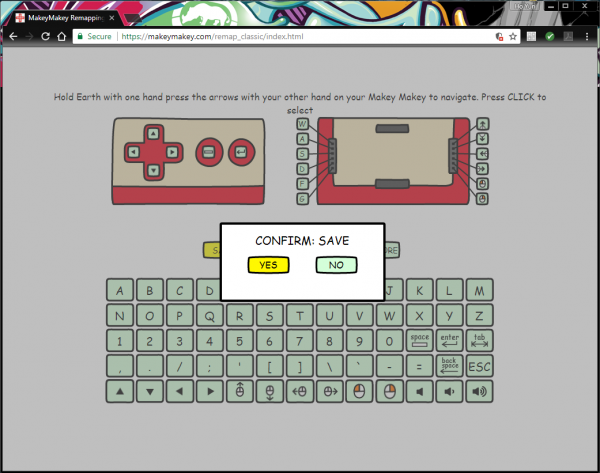 |
The settings will save and you will be greeted with a "SUCCESS!"
