$18.50
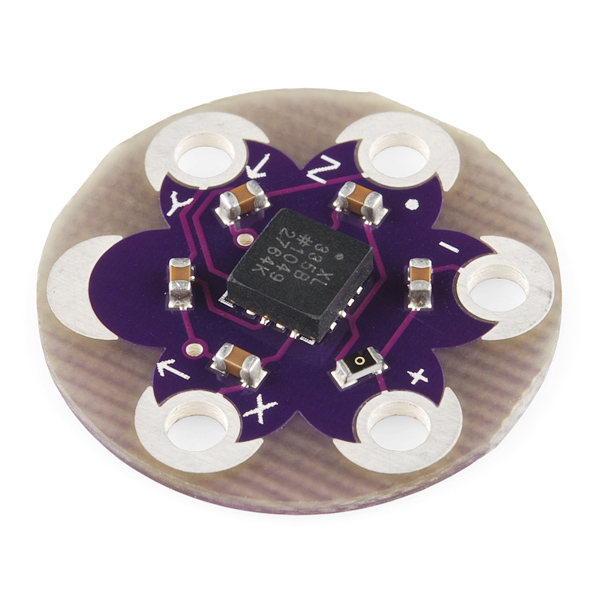
The LilyPad Accelerometer is a three axis accelerometer made for sewable applications. Based on the ADXL335 MEMS accelerometer from Analog Devices, the LilyPad Accelerometer can detect joint movement as well as inclination and vibration.
The ADXL335 outputs a 0V to 3V analog signal on each of the X, Y, and Z axis. You will need to convert this analog voltage to a gravity amount and use trigonometry to calculate a true ‘angle’. If you are not looking for tilt, it is very easy to use this sensor for basic motion sensing.
We won't be covering the basics of accelerometer technology in this tutorial, just adding this sensor to a project. For more detailed information on accelerometers check out these tutorials:
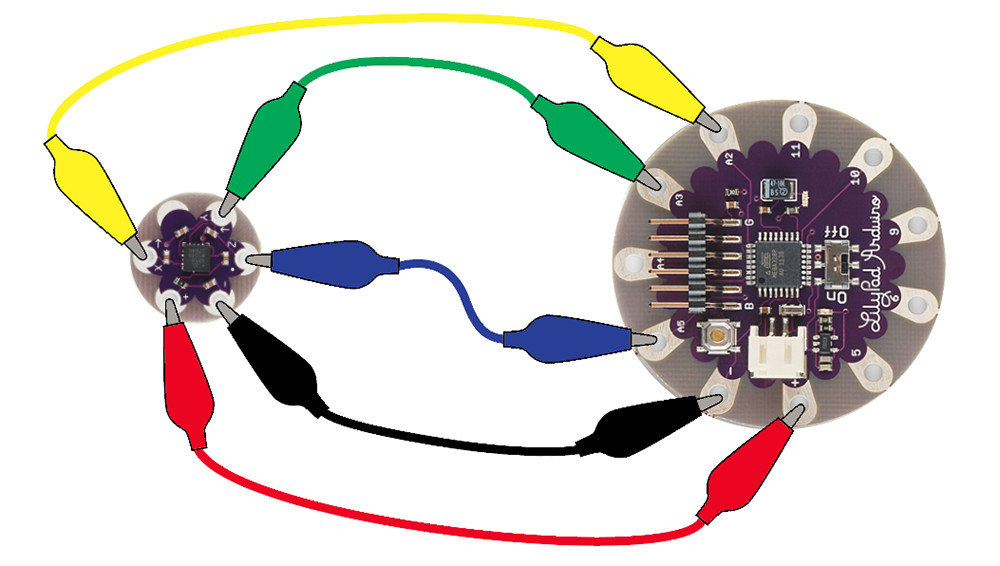
The LilyPad Accelerometer has five pins: Power (+), Ground (-), X, Y, and Z. Connect + to the + pin on a LilyPad Arduino and - to the - pin. To read the values from the X, Y, and Z pins, they need to be connected to an analog pin on the LilyPad. In this example, we're using the A2, A3, and A5 tabs on the LilyPad. The A4 tab is difficult to clip an alligator to while the FTDI board is connected.
To follow along with the code examples in this tutorial, connect the accelerometer to a LilyPad Arduino as shown below.
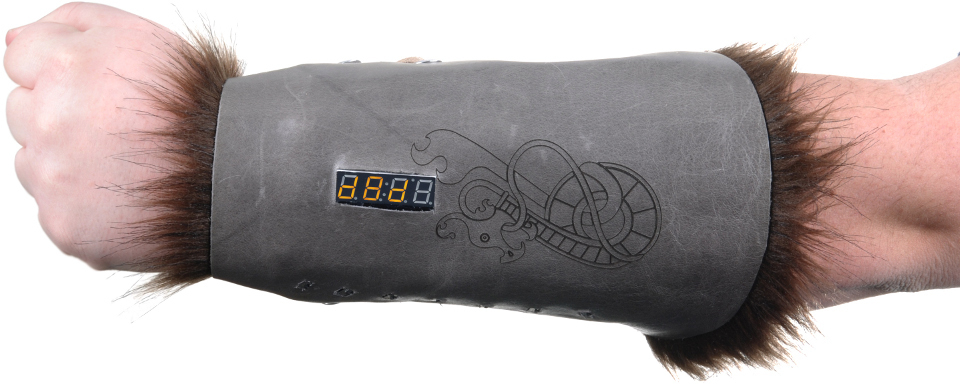
The Dungeons and Dragons Dice Gauntlet incorporates a display that will randomly generate numbers between 1 and 4, 6, 8, 10, 12, 20, or 100 in response to arm movement.
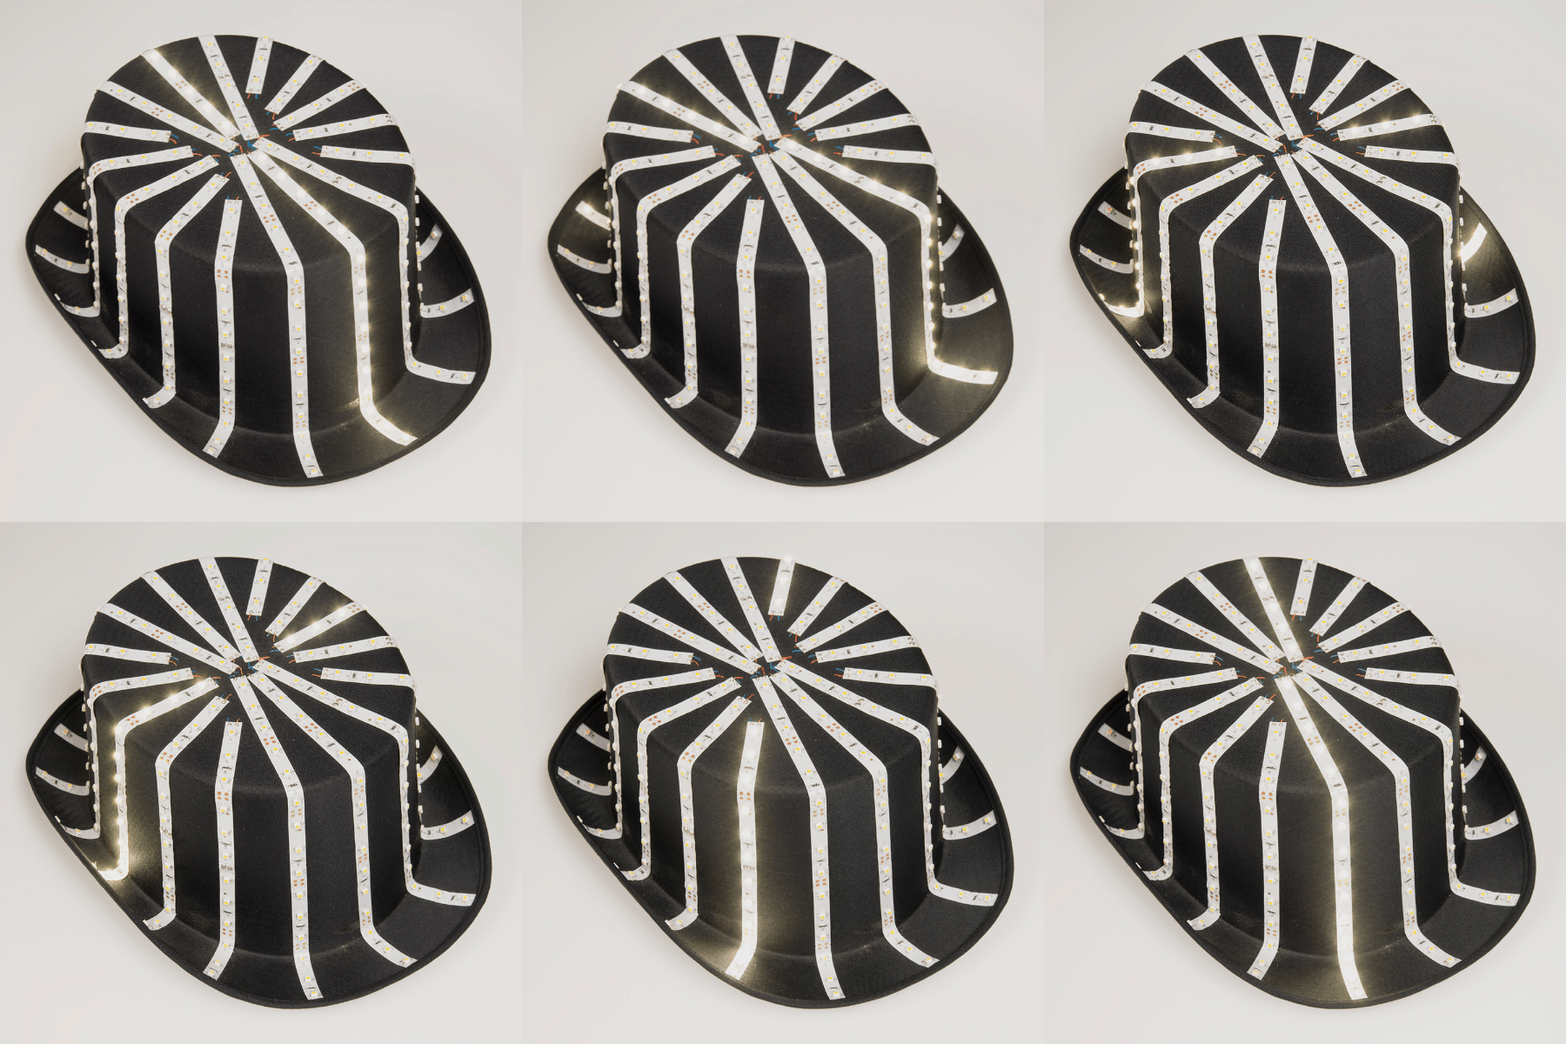
The Das Blinken uses the SparkFun Triple Axis Accelerometer Breakout - ADXL335 Breakout Board to control lighting effects on the hat. While not a sewable project, this is a great example of wearable electronics.
In this video, Creative Technologist Nick Poole uses LilyPad sensors (accelerometer, temperature, and light) with a Particle Photon and Photon Wearable Shield to create a fitness tracker bracer.
The Audience Jacket combines a LilyPad Accelerometer with XBee modules to wirelessly communicate movement data to a computer. When the wearer claps, the movement triggers a cheering sound effect.
Here are some resources for e-textiles and planning a project with the light sensor:
Or, you can check out these other great light-based tutorials:
learn.sparkfun.com | CC BY-SA 3.0 | SparkFun Electronics | Niwot, Colorado