How LEDs are Made
 Nate
Nate 
Machines
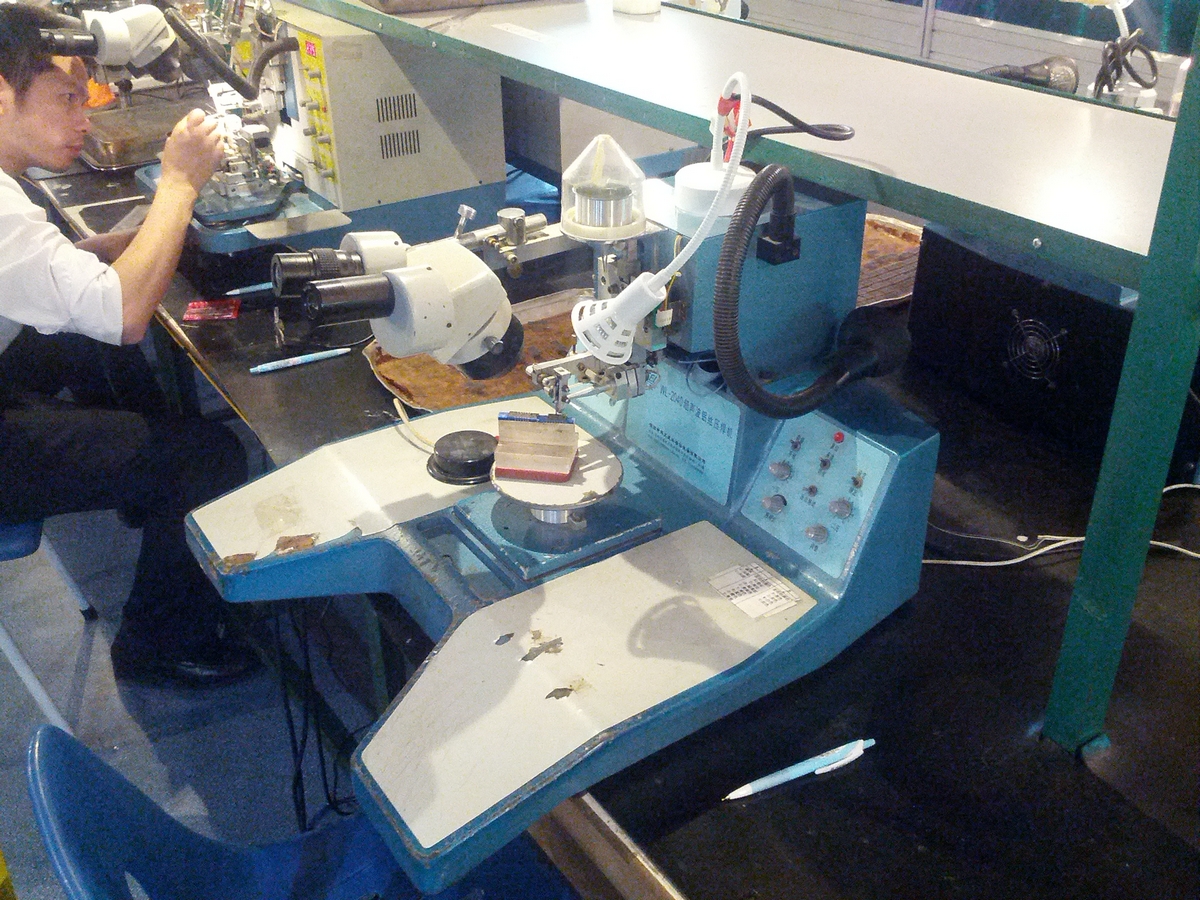
The first machine takes the lead frame and applies a small drop of adhesive to each of the cups at the top of the cathode terminal.
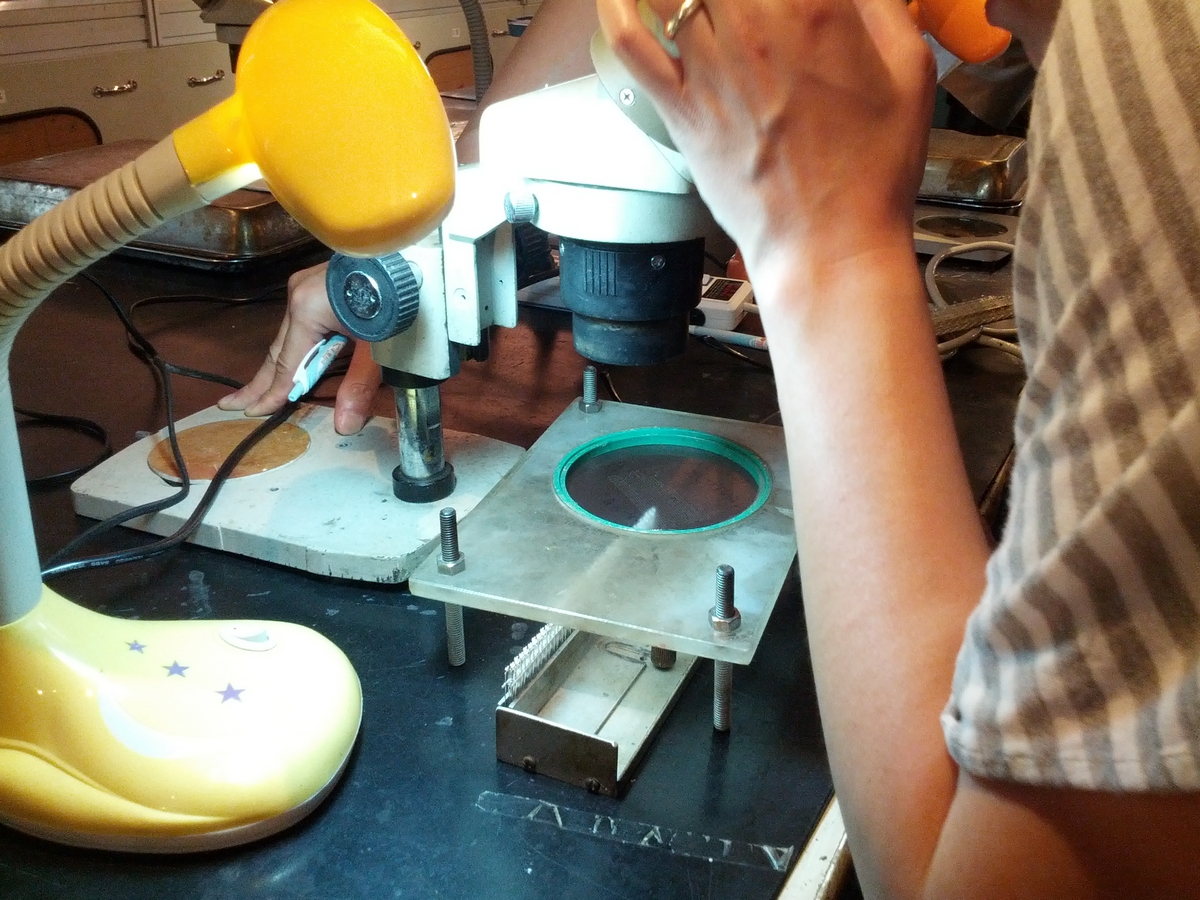
As shipped on the paper sheets, the LED dies are too close together to manipulate. There is a mechanical machine (not pictured) that spreads the dies out and sticks them to a film of weak adhesive. This film is suspended above the lead frames, as shown above. Using a microscope, the worker manually aligns the die, and, with a pair of tweezers, pokes the die down into the lead frame. The adhesive in the lead frame wins (is more sticky), and the worker quickly moves to the next die. We were told they can align over 80 per minute or about 40,000 per day.
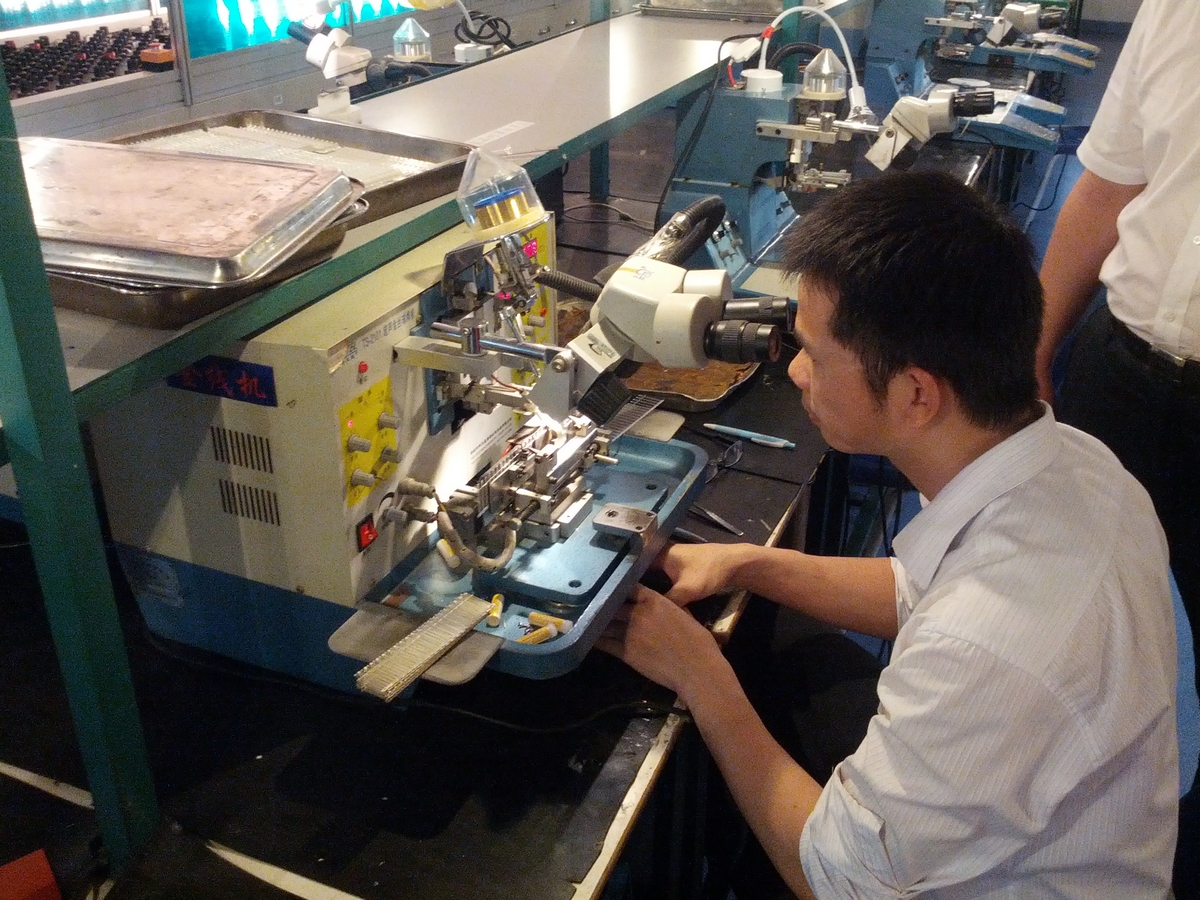
Above is the LED wire bonding machine. This attaches a hair-thin gold wire from the top of the LED die to the anode lead.

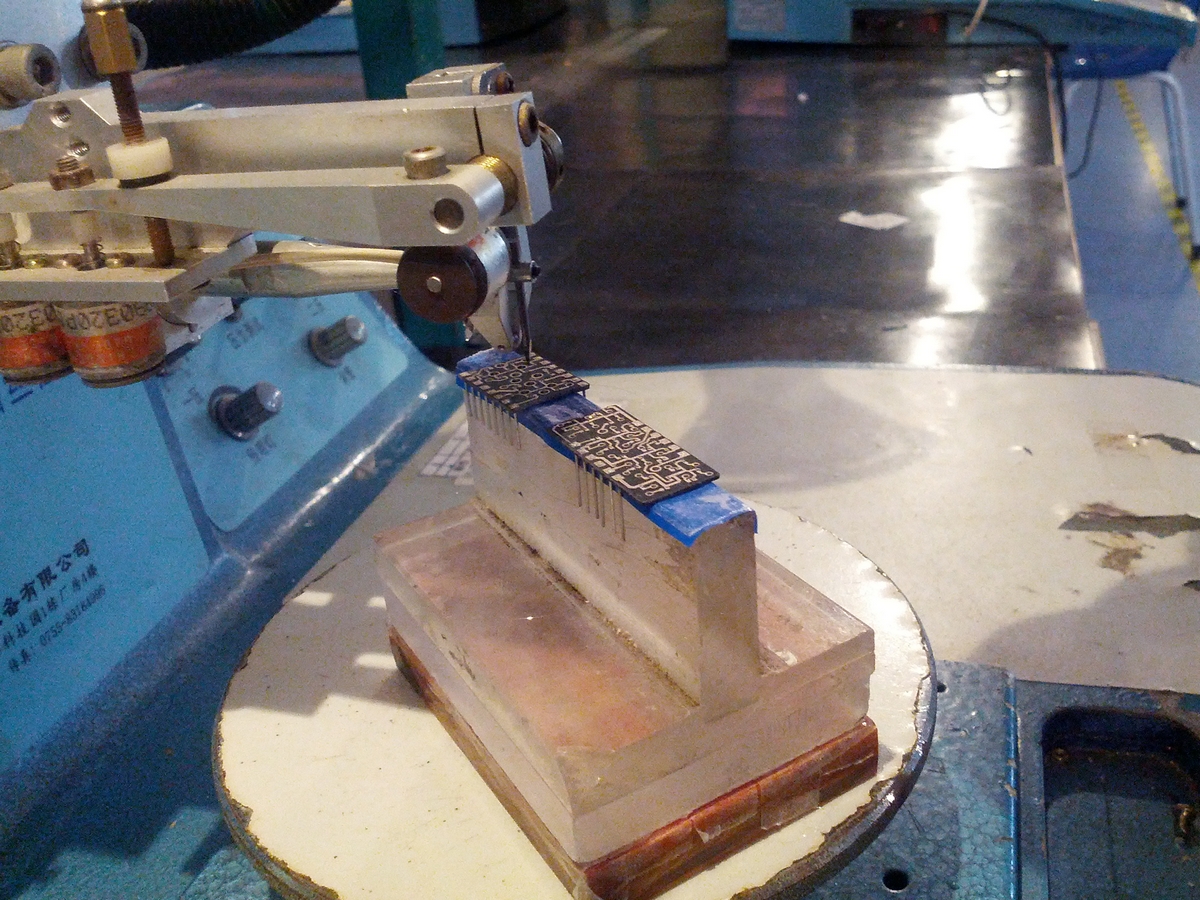
One of the first things that surprised me on this tour was that the entire operation was done in open air. For some reason I assumed manipulating silicon dies required clean room technology. I could do this in my basement! Hmm...
ReplaceMeOpen
ReplaceMeClose
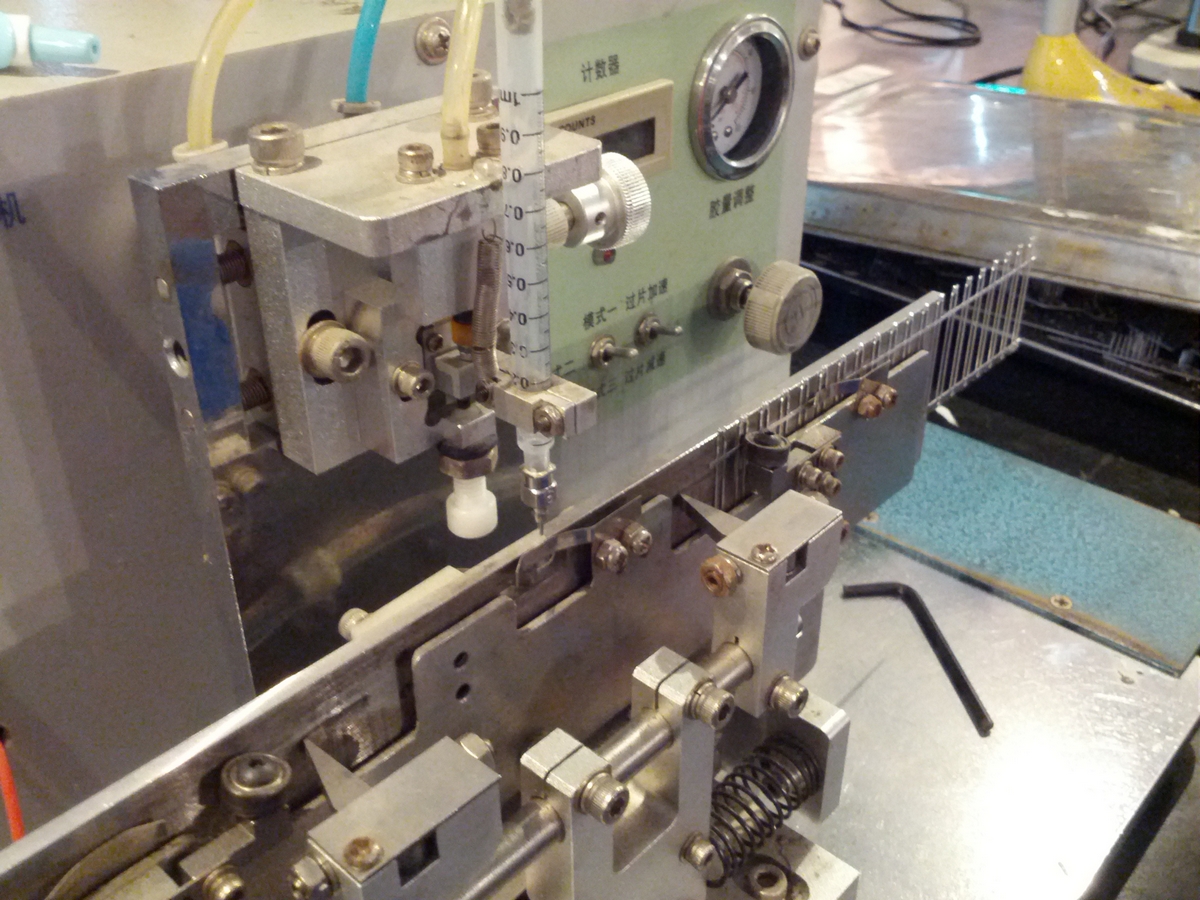
This machine took quite a bit of tuning and tweaking to get setup, but once it was up and running, it was impressive to see the unit work automatically without computer aided alignment.
Since there is only one lead being bonded to the silicon die I assume the adhesive on the cathode is conductive. The adhesive sets in about 30 minutes before it goes to the next step.
Here was another surprise. These are 7-segment displays. For some reason, I always thought there was full blown 3mm (or some size) LEDs behind the segments of the display. In retrospect, I was obviously wrong, but it didn't hit home until I saw the 7-segment PCBs with dies directly attached to the board.