Electronics Assembly
 Nate
Nate 
Reflow
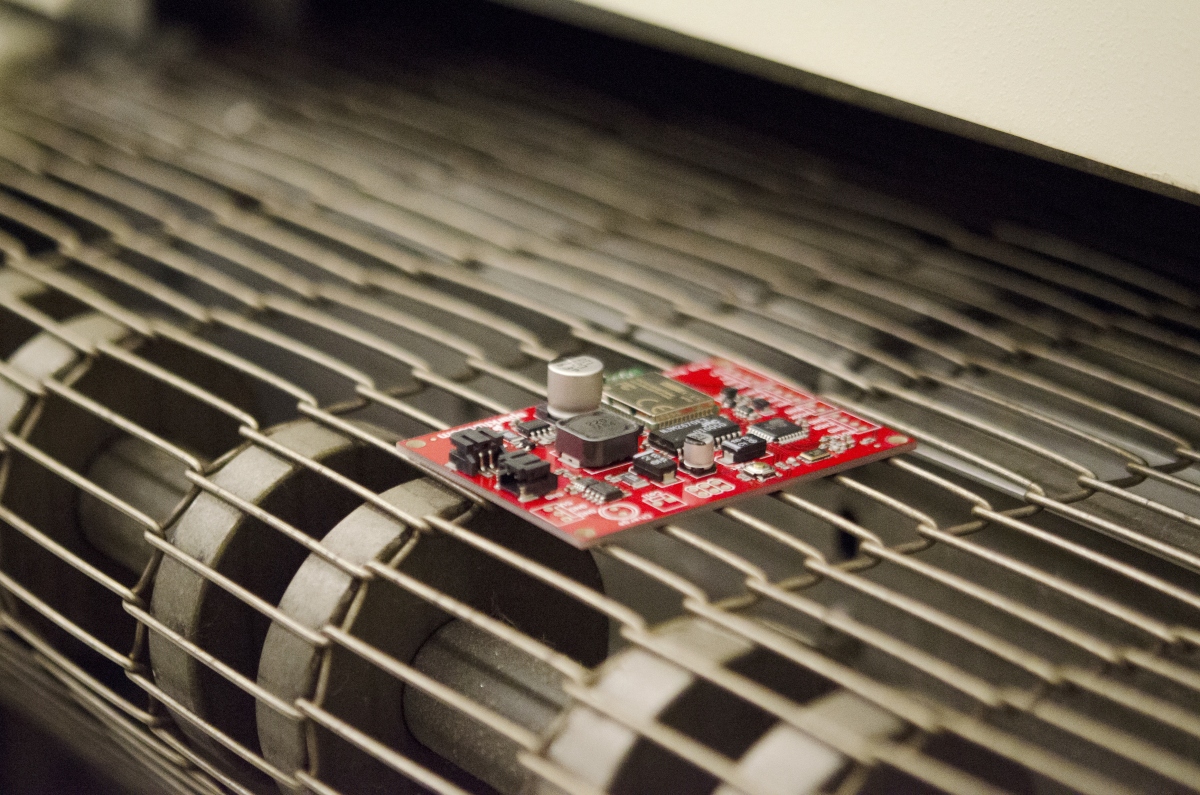
After pick-and-place, the paste must be reflowed to create a solid solder joint. The boards are put on a conveyor belt that moves slowly through a large oven, exposing the boards to enough heat to melt the solder (about 250°C!). As the board moves through the oven, it encounters different temperature zones, allowing it to warm up and cool down at a controlled rate.
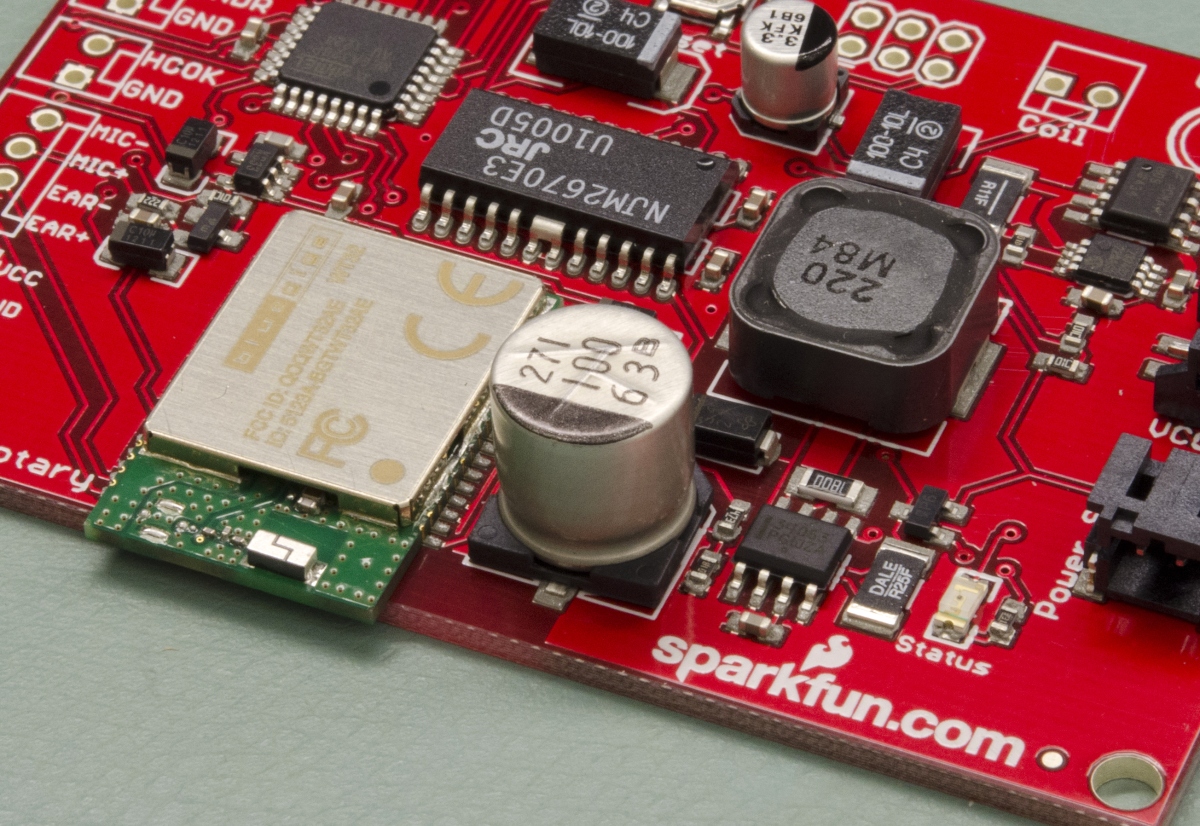
Here we have the control board for the infamous Portable Rotary Phone with components placed on the solder paste. The paste is tacky like butter sticking to a dish. The components stay in place while the board slowly moves through the reflow oven.
The reflow oven is kind of like a pizza oven. The board is raised in temperature to about 250°C (~480°F) at which point the paste turns to liquid metal. As the board exits the reflow oven, it quickly cools soldering all the components in place.
The video shows a DIY toaster oven showing the various stages of reflow. At the beginning, you can see the little gray blobs of solder paste on the various pads. This paste was probably hand applied rather than stenciled on; you'll see why that sloppiness factor doesn't matter so much later in the video. At about 1:05, the first milestone is passed: the flux within the paste gets runnier and begins to form puddles. The metal solder has not yet melted. At about 3:10, the solder starts to melt, and the surface tension of the molten solder causes the puddles of melted solder to form the smallest possible object: a blob centered on a pad.
You can also see the degree to which the solder can move the parts around as it reflows. Some of the parts end up misplaced and will need to be reworked later. However, this tendency to contract and move parts means that small misalignments and stray solder tend to be largely self-correcting problems. With really tiny parts, however, if one end of the part is pulled harder than the other, the result can be a part standing on end; that's called tombstoning, and it causes a functional defect in the board.
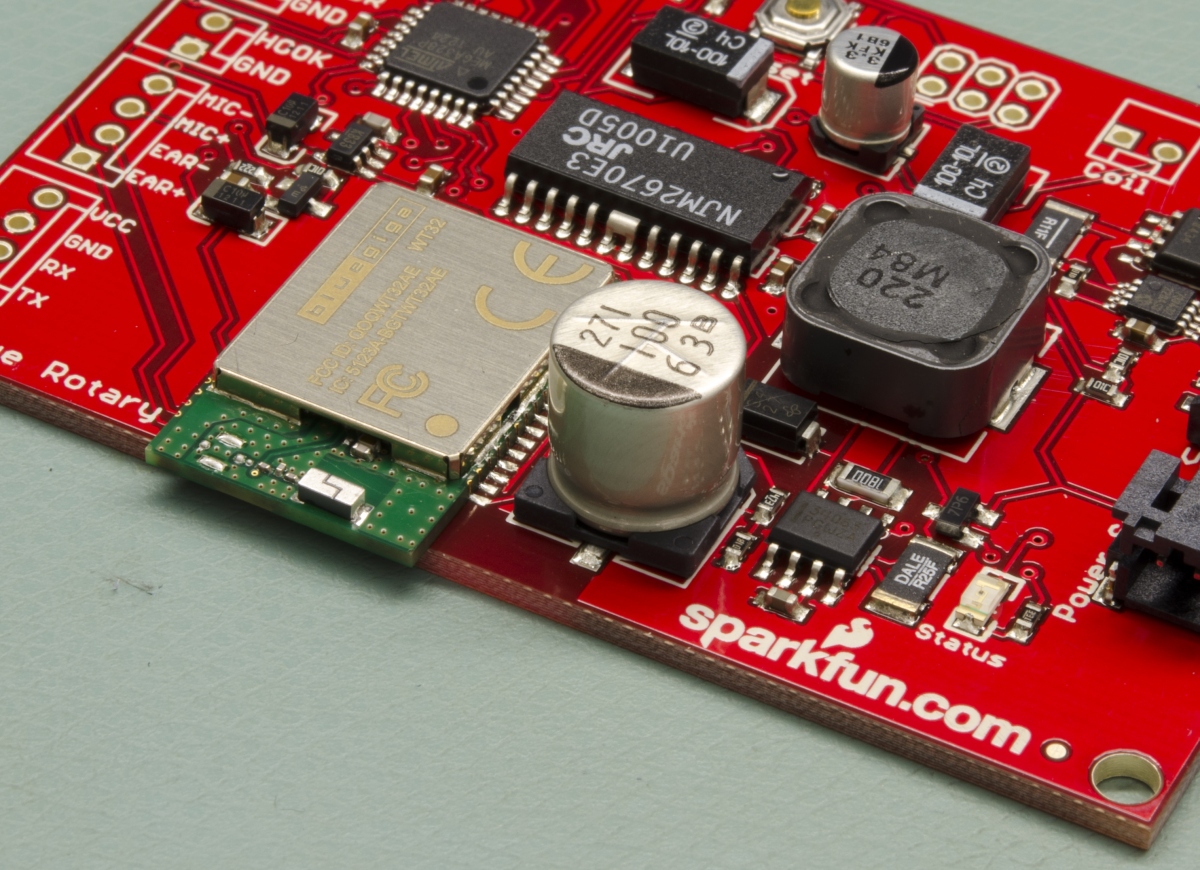
Cool to the touch, this board now has all the SMD components fully soldered to the PCB. The board is now ready for the next step!
How do you do two sided boards?
A few of our assemblies (the Arduino Fio for example) have parts on both sides of the board. In those cases, the side with the fewest and smallest components is stenciled and reflowed first. Once the board is out of the reflow oven it is stenciled on the second side, placed, and reflowed. The surface tension of metal is very high and holds everything in place. In factories with larger, more complex assemblies various bits of the board may be glue in place during the pick and place step to insure the component doesn’t move during reflow.