Electronic E-craft Terrarium
Arduino Code
Before we begin building this project, we need to first program the ATtiny, because we will be soldering directly to its legs, making it much more difficult to reprogram afterwards. If you would like to not solder directly to your ATtiny so as to be able to reprogram it or to reuse it in a later project, you can use a DIP Socket as well, soldering all the parts to it and then inserting the ATtiny into it.
Program the code onto the ATtiny using the Arduino or ISP Programmer shown above. If you have never programmed an ATtiny using the Arduino IDE before, have a look at this tutorial about how to work with ATtiny. Alternatively, if you are using the TinyAVR Programmer, take a look at this tutorial.
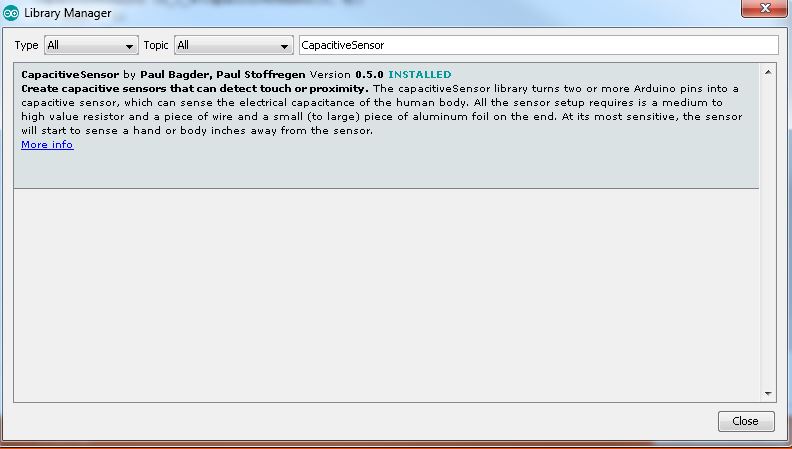
You will also need to add the Capacitive Sensor library to your Arduino IDE in order to compile the sketch. This can be added using the Library Manger.
Copy and paste the code from below.
language:c

/*Electronic Terrarium
Code by Kehui Liu
December 2015
From the Performative Sculpture class of Parsons DT
Project tutorial available here: https://learn.sparkfun.com/tutorials/electronic-terrarium
Released under the MIT License (https://opensource.org/licenses/MIT)
*/

#include <CapacitiveSensor.h>

CapacitiveSensor cs_3_4=CapacitiveSensor(3, 4);
int heat = 0;
int led = 1;
long total;
void setup(){
    cs_3_4.set_CS_AutocaL_Millis(0xFFFFFFFF);
    pinMode(heat, OUTPUT);
    pinMode(led, OUTPUT);
}

void loop(){
    long start = millis();
    total = cs_3_4.capacitiveSensor(30);
    if(total>200){
        digitalWrite(heat, 255);
        for(int i = 0; i<255;i++){
        delay(10);
        }
        for(int i = 0; i<255;i++){
            analogWrite(led,255-i);
            delay(10);
        }
    }else{
        analogWrite(led,255);
        digitalWrite(heat, 0);
    }
    delay(300);
}