Craft a Holiday Greeting with Love to Code
Contributors:
 bboyho
bboyho 
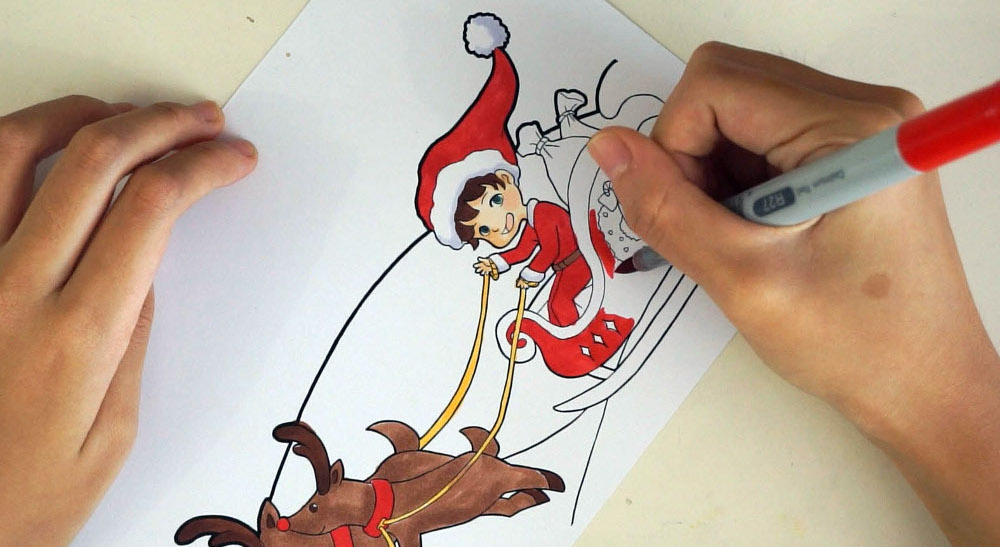
Step 2: Decorate
Color in the foreground scene.
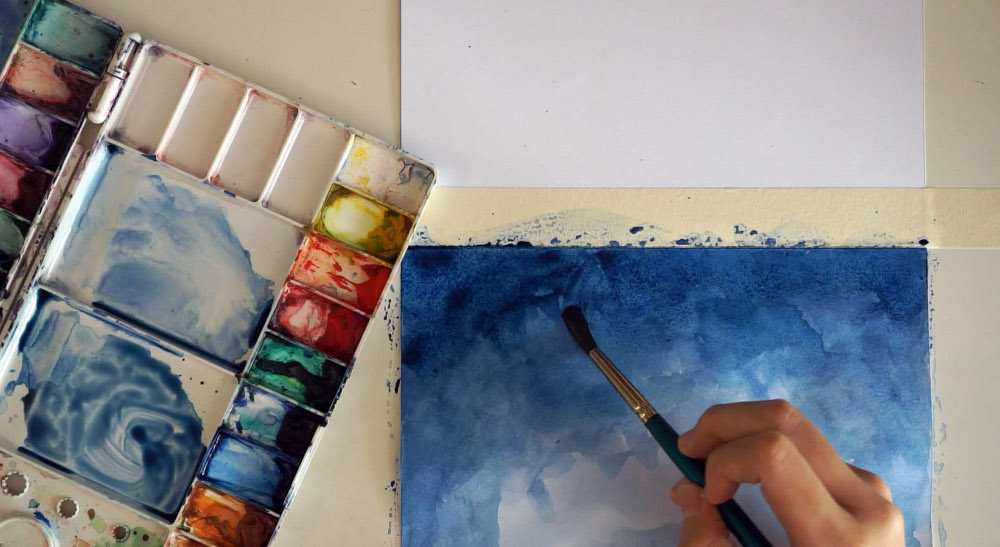
Next, paint the background scene. The background is the “sky” of the template, so in this case Shicheng is using watercolor to paint a nighttime sky.