Choosing an Arduino for Your Project
 jimblom,
  bboyho
 Internet of Things!
SparkFun ESP8266 Thing
The ESP8266 Thing is a low cost microcontroller with built-in WiFi. By default, the board comes with a trace antenna but you could also connect an external antenna to the u.FL connector. The board breaks out the ESP8266 pins for development and includes a LiPo charge IC. Perfect for connecting your thing to the cloud. Best of all, there is an ESP8266 board add-on so that it can be used with the popular Arduino IDE.
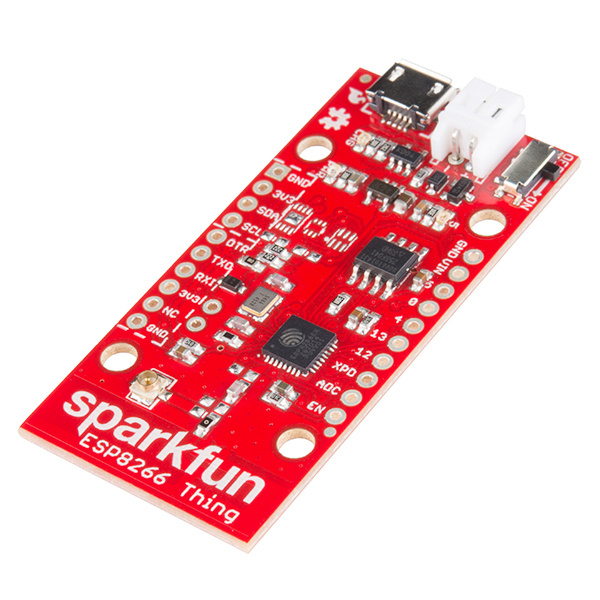
While there are not as many I/O pins as the Arduino Uno (it has 11 I/O pins), it has a clock speed of 80MHz, 512kB of flash memory, and all pins can output a PWM at about 1kHz. You will need a 3.3V FTDI and cable to upload code to the board. Since the chip is 3.3V, a logic level converter is required to connect any device higher than the system voltage. The board does not come populated with headers.
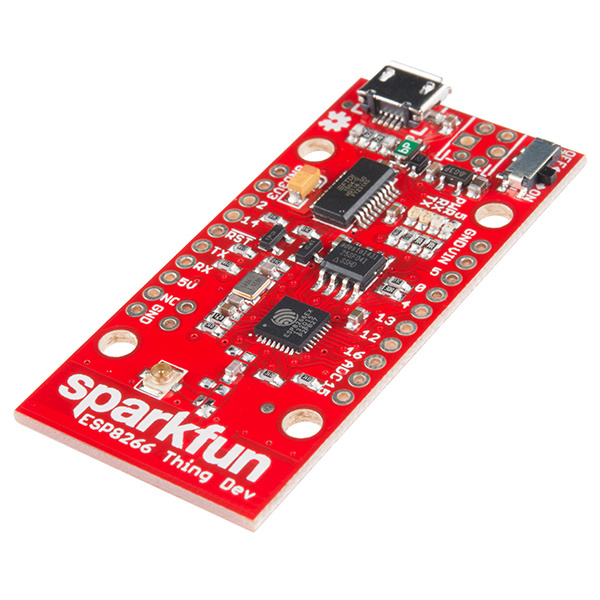
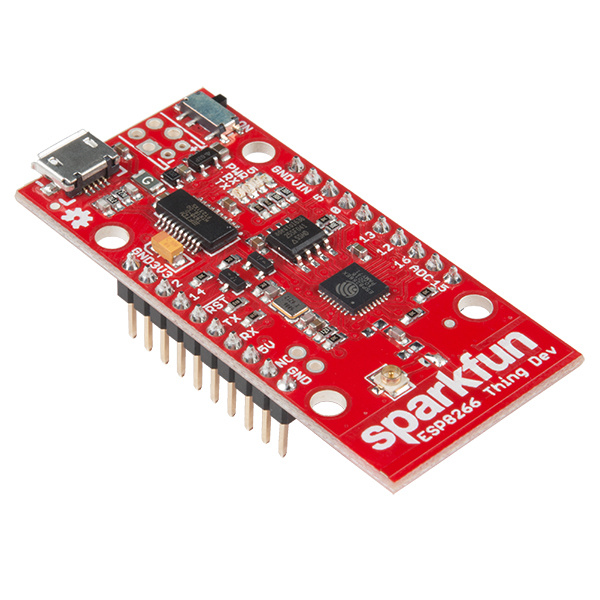
SparkFun ESP8266 Thing Development Board
The ESP8266 Thing development board is basically the same as the original ESP8266 Thing. One difference is that there is no JST connector and LiPo charge circuit. Also, the development board comes populated with an FTDI to upload code and there is an option to include headers.
SparkFun Blynk Board (ESP8266)
Looking for an app with your ESP8266? The Blynk board was designed for mobile phones and includes the popular ESP8266. With the Blynk app, you can start building projects with the graphical interface by dragging and dropping widgets to control or monitor your thing!
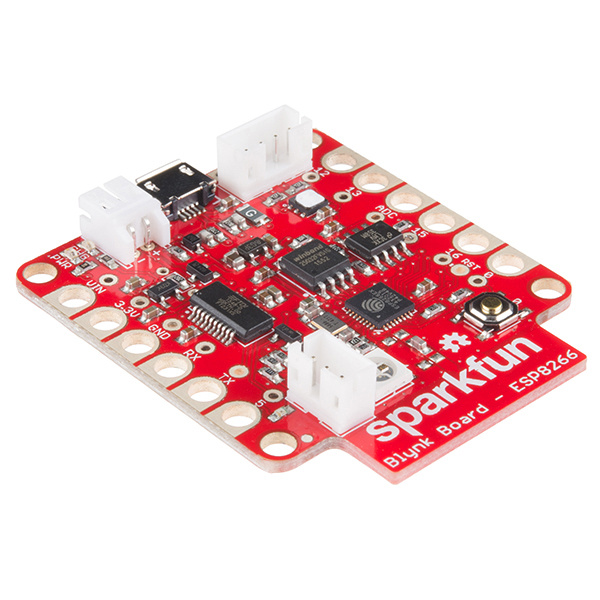
SparkFun Blynk Board - ESP8266
WRL-13794While the board was built for the Blynk app, the default firmware can be modified in the Arduino IDE. The board includes built-in trace antenna, FTDI, an addressable WS2812 RGB LED, Si7021 temperature and humidity sensor, and an analog-to-digital converter. The board does not come populated with headers. However, there is an option to use connect using alligator clips or the polarized connectors.
Arduino Ethernet
There are innumerable Arduino-compatible boards out there which make use of the ATmega328. Many, like the Arduino Pros, require an FTDI Basic to receive code, but they add on extra hardware to make them unique. The Arduino Ethernet, where the Arduino Uno and an Ethernet Shield are smashed onto a single board, is a good example of this.
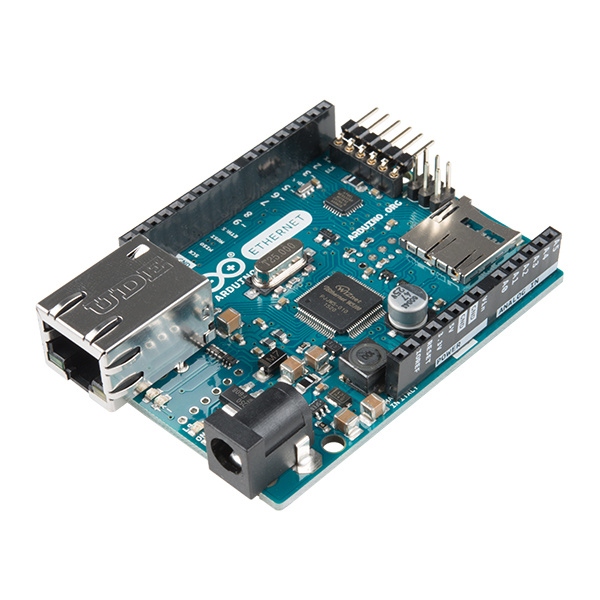
Arduino Ethernet w/o PoE
DEV-11229Pins 10, 11, 12 and 13 are reserved for interfacing with the Ethernet module and should not be used otherwise. This reduces the number of available pins to 9, with 4 available as PWM outputs. Operating voltage is 5V; recommended input voltage range is 7-12V. There's also an on-board microSD card reader for extra storage space!
Arduino Industrial 101
The Arduino Industrial 101 is essentially a stripped down version of the Arduino Yún with an even smaller footprint than both the Yún and the Uno R3. It has an ATmega32u4 microcontroller integrated into the baseboard and the Atheros AR9331 microprocessor supports the LininoOS embedded Linux operating system. With almost half the board taken up by a module sporting a U.FL connector, not only does this board run Linux but it also operates over Wi-Fi!
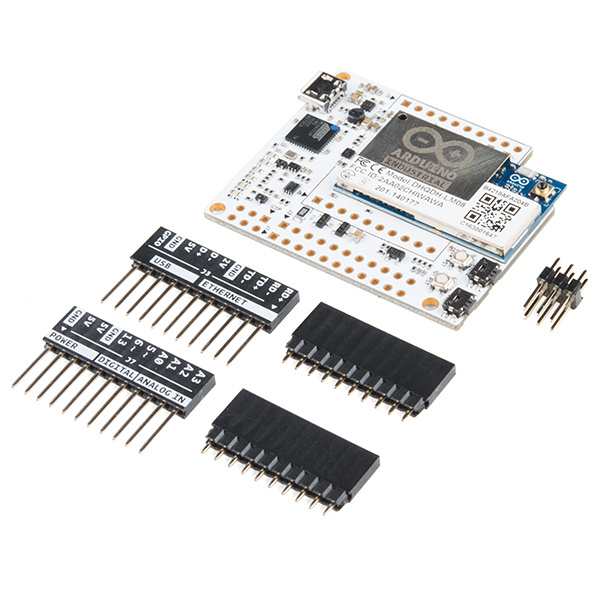
Arduino Industrial 101
DEV-14134There are 3 GPIOs (2 of which can be used as PWM Outputs), 4 Analog Inputs, 1 Ethernet signal on pin headers (no standard ethernet port!) and a built-in DC/DC converter. While the ATmega32u4 operates at 5V, the AR9331 and associated pins that are broken out operate at 3.3V. An on-board regulator provides the 3.3VDC supply for the AR9331 but be mindful of your connections. It is recommended to power the board via the micro-USB connection with 5VDC.
It has 16MB of flash memory which comes preloaded with the Linino OS; which allows you real-world connectivity to Linux hosted applications. By making a local connection and pointing your browser at the Industrial 101’s configuration panel (default 192.168.240.1), you can choose your Wi-Fi network and then use PuTTY or terminal to access the Linino OS command line.
You can upload your code either online or offline. With a built in CDC, no FTDI breakout is required for uploading code. This board does not come pre-populated with its headers so you'll need to do some soldering but it is absolutely worth it for your IoT projects!