Bare Conductive Musical Painting
 I am Detour
 Assembly
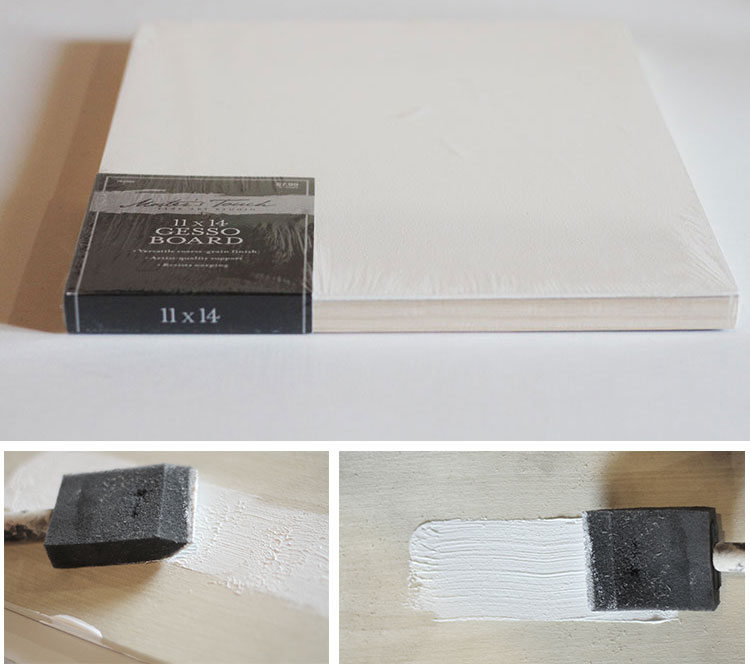
First, we need to prep the canvas for the paint. To do this, we need to unpack the wood panel canvas, and cover it in a layer of gesso. This will help create a consistent surface on which the acrylic paint can adhere. Let's use our foam brush to spread a thin layer of gesso across the canvas. You can do this multiple times, after a layer dries. Wood panel canvases that are pre-gessoed are available at art shops as well. In this case, you can skip this step.
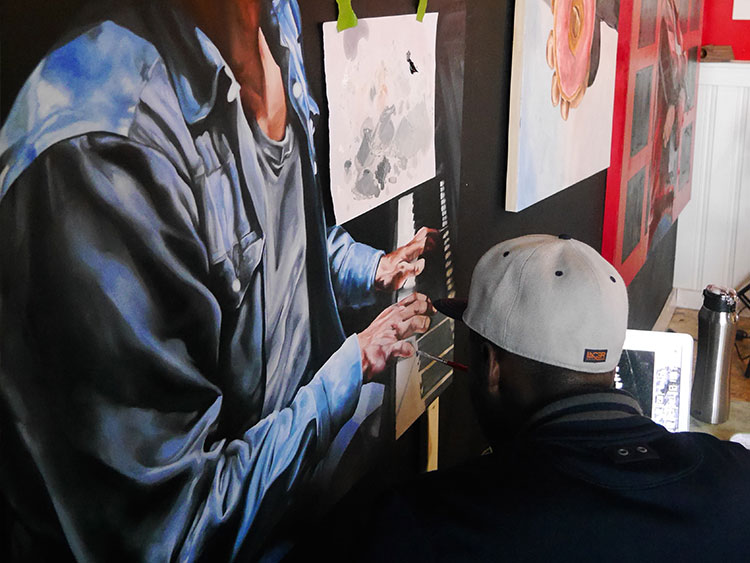
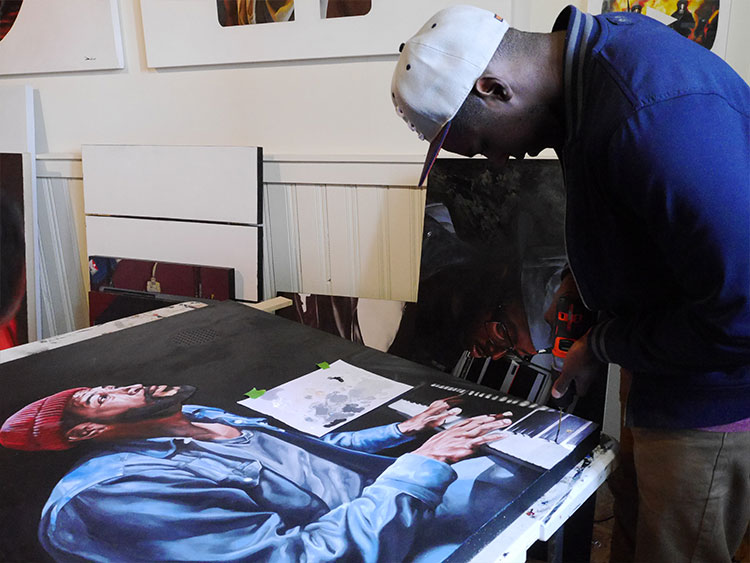
Use this step to paint anything that you would like. The goal is to create a painting where you are able to add the solid black Bare Conductive paint without compromising the image that you painted. I just took a few minutes to whip up a painting of one of my favorite artists, Marvin Gaye. OK, I’ll be honest, it took about a 2 hours to paint this.
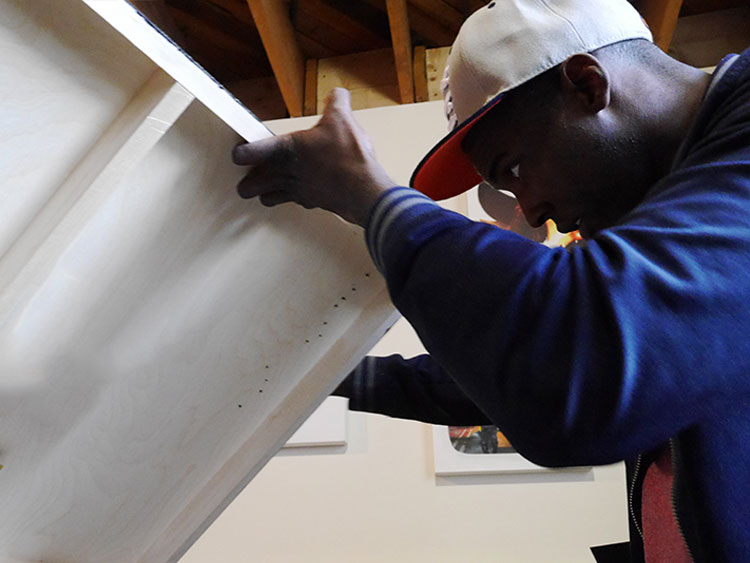
Now that your painting has had time to dry, it’s time for the real fun to begin. Look at your painting, and decide where there are opportunities to place the interactive paint. Once you decide on the areas, drill small 1/16" holes into the canvas with the power drill.
I decided to drill mine in the area of the keypad, because it seamlessly blends in with the image.
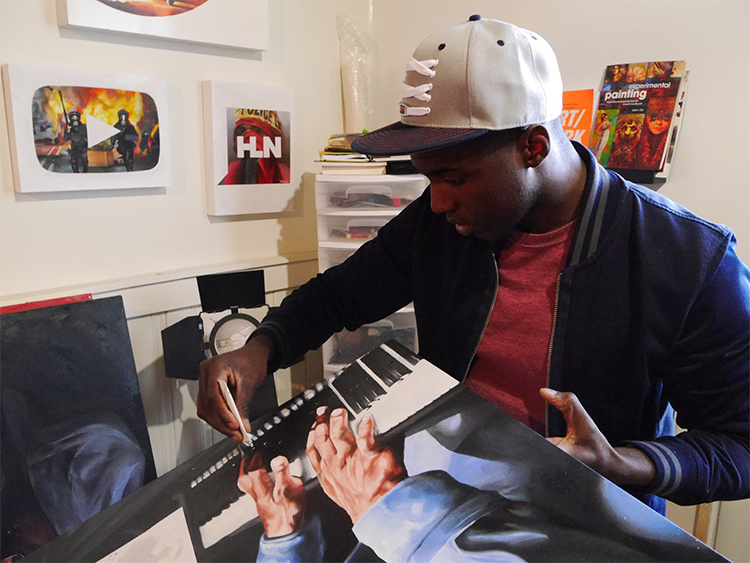
Using the interactive pen, fill the holes you just drilled such that paint comes out of the other side of the canvas. Once complete, paint the front side of the your painting using a brush and the jar of Bare Conductive paint. Allow time to dry. This will conceal the holes you drilled.
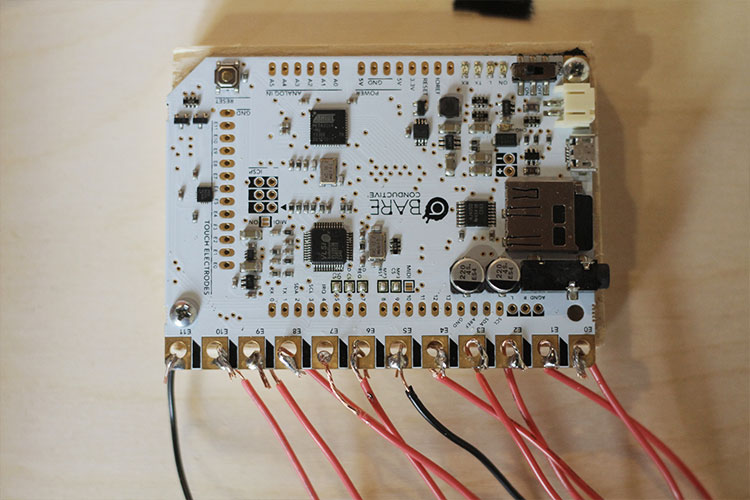
Attach the Touch Board the the back of the canvas. I accomplished this by using a small 3.5” x 2.5” block of wood that I affixed to the bottom of the canvas using wood glue. I then attached the Touch Board with 3 small screws. Be careful not to use too long of a screw, or it will poke through the front of the canvas.
Run 12 strips of wire from the 12 electrodes on the Touch Board to each of the drilled holes. Use the Guerrilla Tape to hold down the wires so that they don't move. Connect the wire to the drilled holes using a glob of the interactive paint
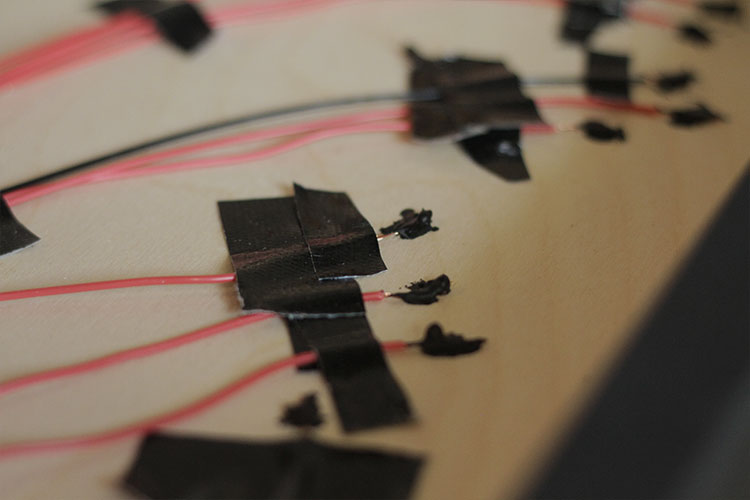
Solder the wires to each of the electrodes.
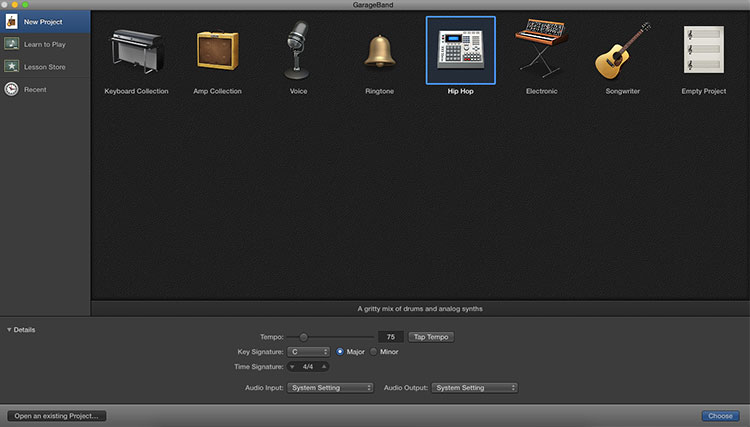
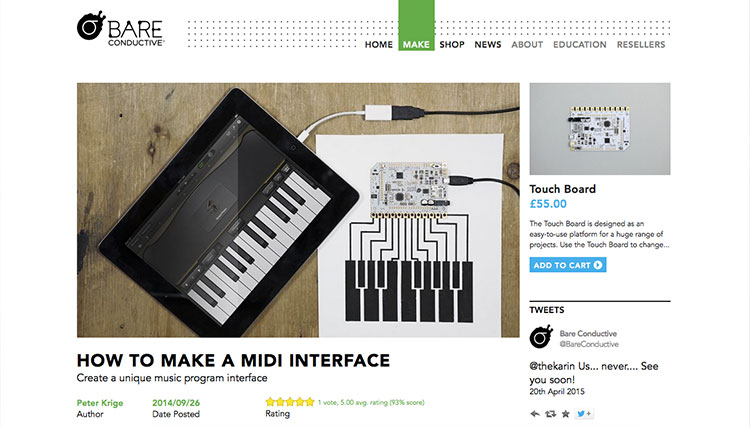
Time to get creative. Setup your Touch Board to be a midi Controller interface by following the Bare Conductive’s midi interface tutorial.
Now that you have all the right programs loaded onto your touch board, we are ready to rock-n-roll. Connect your iPad or Mac to the touch board using the micro USB. Open up the Garage Band program. Garage band should prompt a dialogue informing you that it sees a new MIDI input. Create a new project, and select an instrument to use. I love using the Hip-Hop drum machine. From there, it's just a matter of selecting sounds for each of your conductive paint pads and loading them on the Touch Board SD Card.
Once you have completed this step, enjoy your hard work! Here is a painting from my current collections.