8-Pin SOIC to DIP Adapter Hookup Guide
Using The Adapter
Adapter Orientation
The pins of the DIP footprint are rotated 90° in relation to the pins of the SOIC. We covered the pin-1 markings for the SOIC in the assembly section.
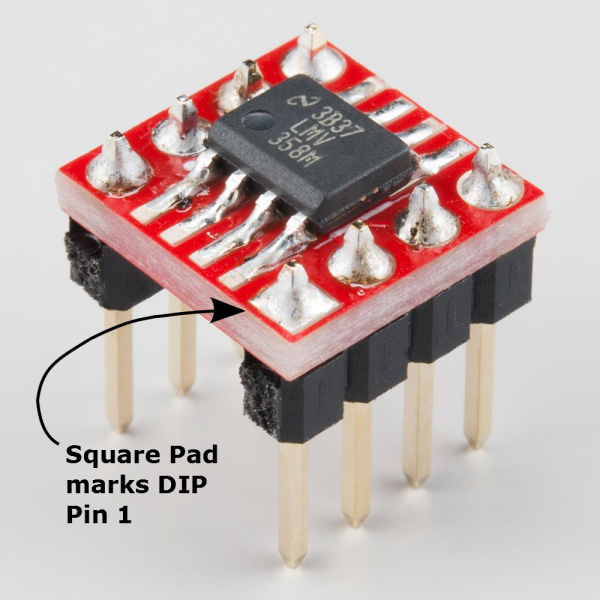
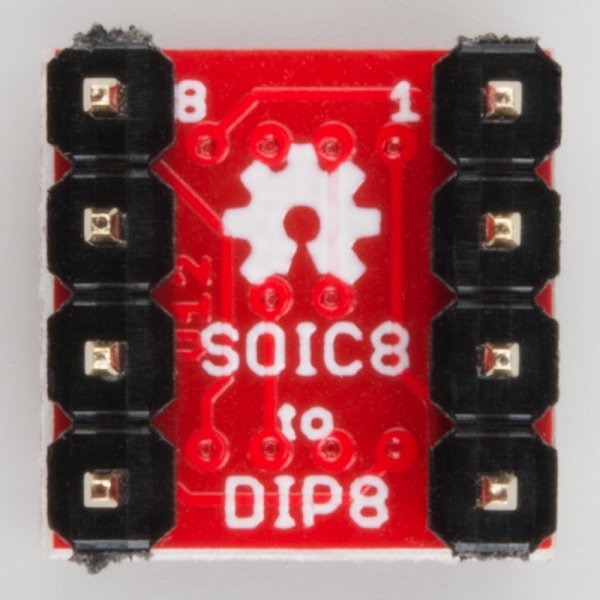
Pin 1 of the DIP footprint is marked two ways.
First, the solder pad for pin 1 is square, while the others are round.
Second, pins 1 and 8 are marked in the legend silkscreened on the bottom of the board.
Case Studies
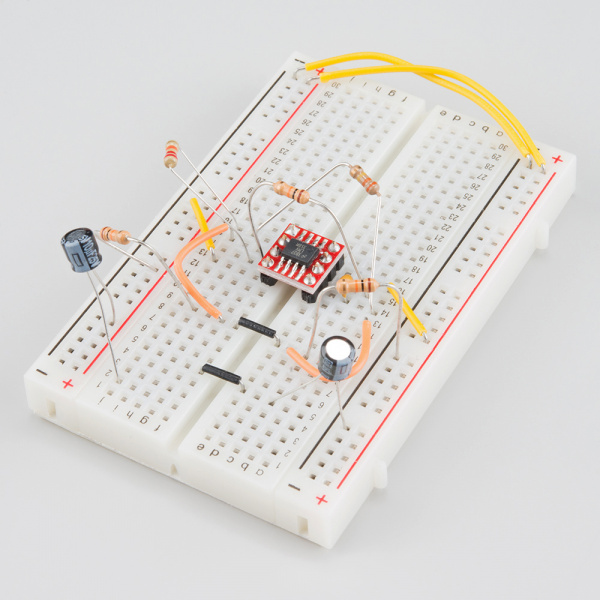
On a Breadboard
This adapter is useful when you want to build a breadboard prototype using a chip that's only available in SOIC. It allows the chip to properly fit the rows of the breadboard.
Upgrading Old Devices
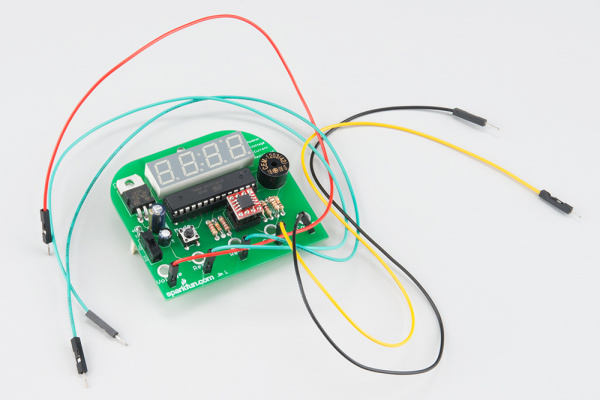
Another common use of a SIOC-to-DIP adapter is upgrading or modifying existing equipment.
At one time, this was a way to update the BIOS on a PC motherboard, though more recently DIP-8 EPROMS have been less prevalent, and surface-mount memories are more commonplace, which are usually reprogrammable without being removed from the motherboard.
Chip substitution is also a common practice among hi-fi and pro audio enthusiasts, sometimes called chip rolling or POOGE-ing (Progressive Optimization Of Generic Equipment). Many of these devices are filled with single or dual operational amplifiers in DIP-8 packages. It can be an easy, inexpensive upgrade for an older device to put in newer opamps, which feature lower distortion, less intrinsic noise, and lower DC-offset. Sometimes these newer amplifiers are only available in surface-mount packages, such as the Texas Instruments OPA1641/1642.
When doing modifications of this sort, there are a couple of things to be aware of.
- First, note whether the original equipment has the IC in a socket. If so, it should be easy to remove the old chip, and install the adapter.
- If there is no socket, and the old IC is soldered directly to the board, take care in removing the old IC, to prevent damaging the PCB. It might be easier to cut the legs off the old IC, and desolder them one-by-one.
- If there wasn't a socket, you might consider installing one as part of the upgrade.
- Finally, note the orientation of the IC before you begin, so you can be certain to get the replacement in properly.


