SparkFun Qwiic Dual Solid State Relay Hookup Guide
Hardware Assembly
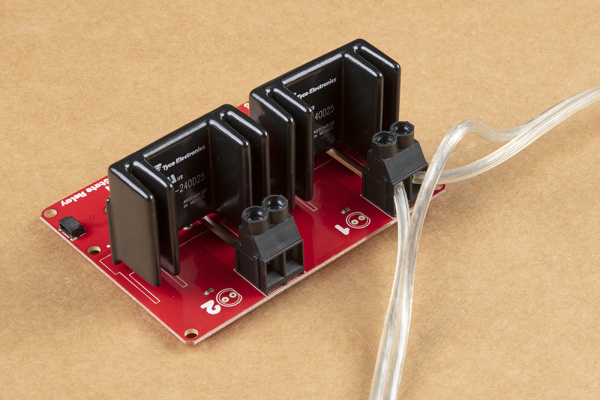
With SparkFun's Qwiic ecosystem, connecting the Dual Solid State Relay to your circuit is a breeze! Before we connect the Dual SSR to your microcontroller circuit, we'll want to prepare and assembly our AC load(s) and connect them to the screw terminals for each relay.
Output Load Assembly
Next up we'll want to prepare our AC load we are controlling with the relays. This assembly requires you to cut and strip wire for your AC load. If you need help or tips for working with wire take a look at this tutorial:
Working with Wire
You'll have to cut and strip one of the wires on your load AC line and then connect the cut ends to the relay you intend to use with your load. Make sure the cable is NOT plugged into the wall as you cut into the wire. After your wire is cut and stripped, connect the ends to the screw terminal for one of the relays and use a screwdriver to tighten them securely. Repeat the process for your second AC load.
If you need tips or help on safety and insulation on high voltage circuits, check out the notes about Safety and Insulation from our Beefcake Relay Control Kit.
Connecting to Microcontroller
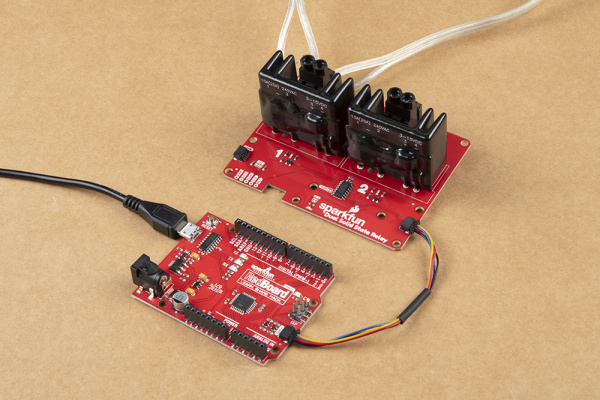
Once the AC side of your circuit is assembled, we can go ahead and plug everything in. Plug one end of a Qwiic cable into your Relay board and the other into the Qwiic connector on your microcontroller. If your chosen microcontroller is not Qwiic-enabled, you can use something like this Qwiic adapter cable to make the proper connections to your microcontroller's I2C pins.
Alternatively, you can use the PTH pins broken out on the board but you will need to solder to them for a proper connection. If you are not familiar with through-hole soldering take a look at this tutorial:
How to Solder: Through-Hole Soldering
Now that our Qwiic Dual Solid State Relay connected to the microcontroller and the A/C load(s) is prepared and connected securely to a relay, it's time to upload some code to switch it on and off.

