Sound Detector Hookup Guide
 Byron J.
Configuration
Care and Feeding Of The Capsule
The heart of the Sound Detector is the electret microphone capsule -- without it, we couldn't convert acoustic energy into electrical energy. These capsules have a couple of quirks that we need to understand in order to apply them successfully.
Inside the capsule is the diaphragm, which is actually one plate of a small capacitor. That capacitor forms a voltage divider with the external bias resistor. The diaphragm moves in response to sound, and the capacitance changes as the plates get closer together or farther apart, causing the divider to change. Since capacitors are sensitive to loading, it's internally buffered with a JFET (junction field-effect transistor).
Due to the mechanical and electronic tolerances involved, some capsules are more sensitive than others. Also, the JFET is rather sensitive to noise on the power supply. Both of these factors need to be accounted for when deploying the Sound Detector.
Power Supply
The Sound Detector is an analog circuit, and as such, it's more sensitive to noise on the power supply than most digital circuits. Since the capsule is effectively a voltage divider sitting across the power rails, it will transcribe any noise on the supply lines onto the capsule output. The next circuit in the chain is a high-gain amplifier, so any noise on the supply will then be amplified. Therefore, the Sound Detector may require more careful power supply configuration than many circuits.
In testing with various supplies, a significant degree of variability was discovered - some supplies are less noisy than others. One exhibited as much as 30 mV ripple on the supply output, an as a result, the the Sound Detector was rather sensitive and unstable. You can check how clean a power supply is by checking it with an oscilloscope or volt meter, set to the AC Volts (or, if provided, the AC millivolts) range. A truly clean supply will show 0.000 VAC. Based on the supplies used in testing, ripple of more than about 10 mV is problematic.
Powering my Arduino with a 9V external supply, which allows the onboard regulators to function, the Arduino's 5V output was sufficiently clean. However, powering it from the 5V available on the USB port on a PC, the regulators are bypassed, and the results were somewhat less usable, and vary greatly between different ports on different PCs. A powered USB hub will probably provide cleaner power than the ports on the PC itself.
If all else fails, three 1.5V batteries in series make a nice, clean source of 4.5V.
Amplitude Calibration
The Sound Detector comes set for moderate sensitivity - speaking directly into the microphone, or clapping your hands nearby should cause the gate output to fire. If you find that it doesn't work well in a specific application, you can change the circuit to be more or less sensitive.
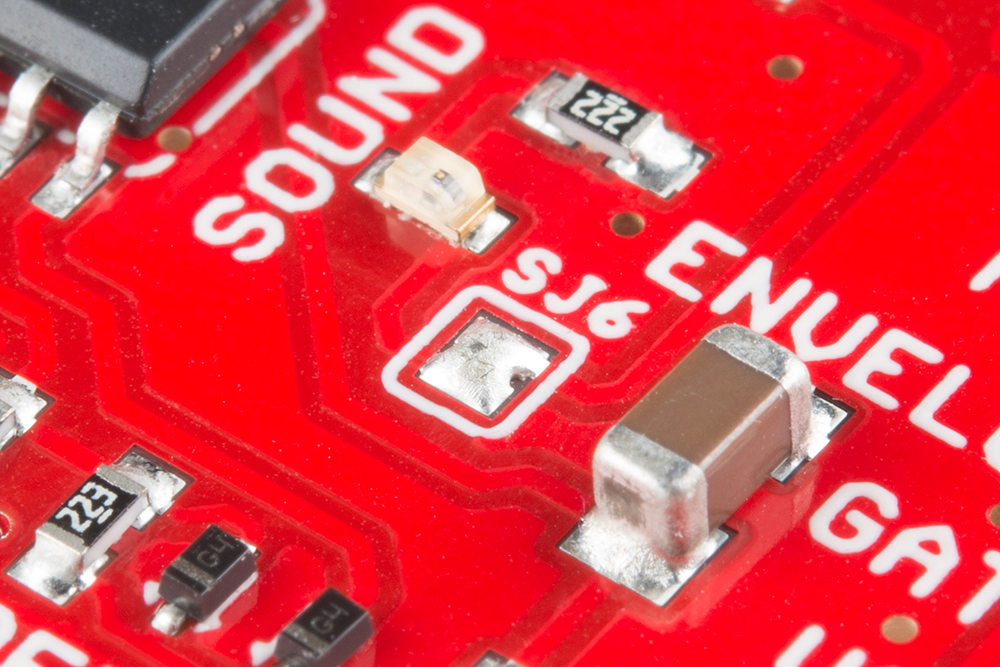
The gain is set by changing the feedback resistors in the preamp stage. The resistors are marked in the silkscreen on the PCB.

R3 is a surface mount part, with 100K Ohm populated by default. R17 is an unpopulated position for a through hole resistor.
Lowering The gain
It's most likely that you'll find the detector to be too sensitive. In testing the board for this writeup, noisy air conditioning and music in the next office were enough to set it off. To make the board less sensitive, you can lower the preamplifier gain by populating R17 in parallel with R3.
| R3 Value | R17 Value | Arithmetic Gain | Gain (dB) |
| 100K | - | 100 | 40 |
| 100K | 100K | 50 | 33 |
| 100K | 47K | 32 | 30 |
| 100K | 22K | 18 | 25 |
| 100K | 10K | 9 | 19 |
| 100K | 4.7K | 4 | 13 |
| 100K | 2.2K | 2 | 6 |
Raising The Gain
If you want to make the sound detector more sensitive, so that it will be activated by quieter sounds, you can remove R3, and populate R17.
| R17 Value | Arithmetic Gain | Gain (dB) |
| 100K | 100 | 40 |
| 220K | 220 | 46 |
| 470K | 470 | 53 |
| 1Meg | 1000 | 60 |
Lights Out
In some applications, the onboard LED may be distracting or undesirable. To disable it, simply use a solder sucker or wick to remove the solder blob from the jumper near the LED.
Physical Considerations
The electret capsule on the Sound Detector is also sensitive to mechanical vibration and wind noise.
The Sound Detector will pick up handling noise. Mounting it with a resilient material can help absorb vibration -- placing it on a piece of open-cell foam helped reject vibration conducted through the testing workbench. Other resilient mounting strategies would include suspending it using rubber bands, or building shock absorbers using #4 machine screws and heat-shrink tubing.
Wind noise is caused when blasts of air enter the capsule. Examples would be a windy day, or the sharp exhalation that often accompanies syllables such "p," "b" and "t." The capsule come with a thin fabric covering, but it may not be enough to prevent stronger blasts. You can craft a more robust windscreen with open-cell foam or synthetic fur (like the covering that sneaks into the frame when a boom mic accidentally enters a film scene).