Single Cell LiPo Battery Care
 bboyho
 Disconnecting a LiPo Battery
Now disconnecting the LiPo battery is a different story. Earlier, we talked about some locking tabs on the side of the JST connector which can make it difficult to disconnect it from a female JST connector. Depending on the manufacturer, the material of the female JST connector can add an extra layer of difficulty if it is rigid. Below are a few options if you decide to disconnect the LiPo battery.
- Using Your Bare Hands Fingers!
- Needle Nose Pliers
- 3D Printed Battery Removal Tool
- Diagonal Cutters
- Shaving Off Locking Tabs
3D Printed JST Battery Removal Tool
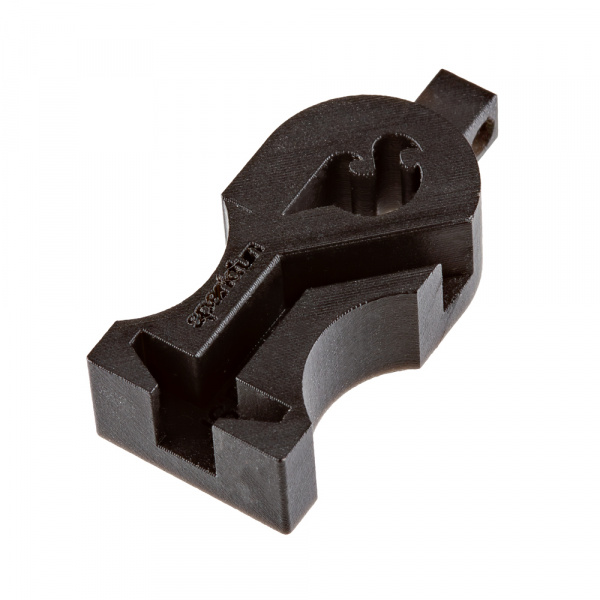
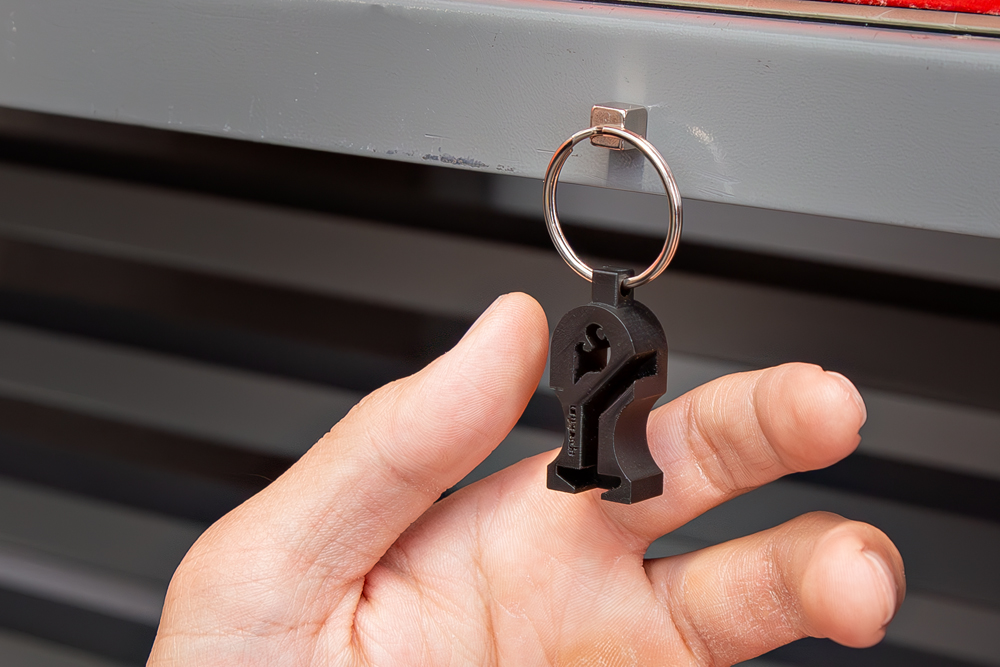
You can use a specialized 3D printer tool dedicated to disconnecting LiPo batteries with a JST-PH connector. We highly recommend ordering the SparkFun JST Battery Removal Tool like the one below.
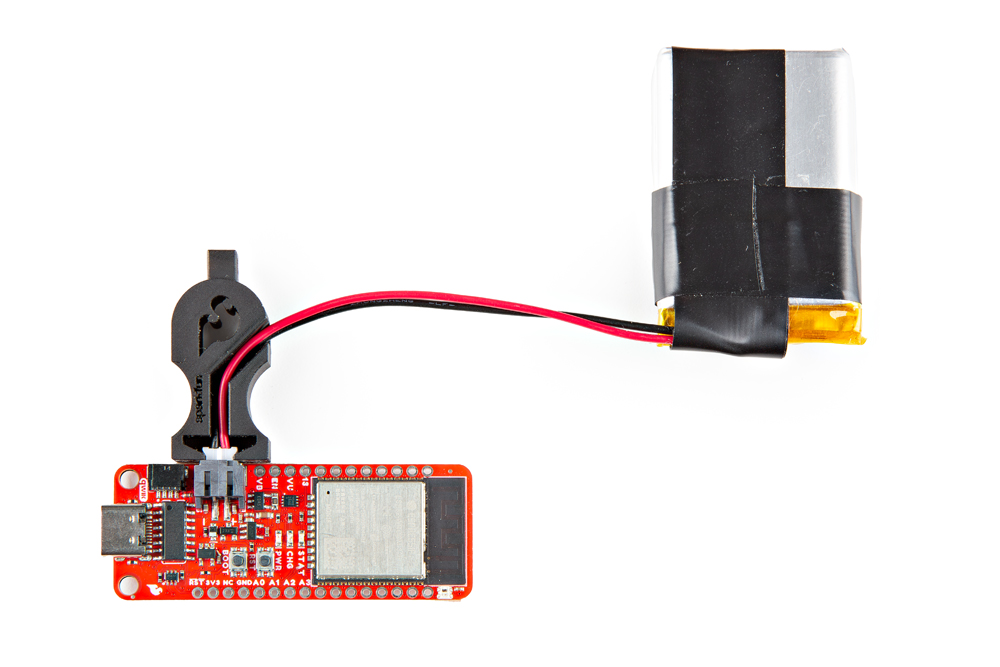
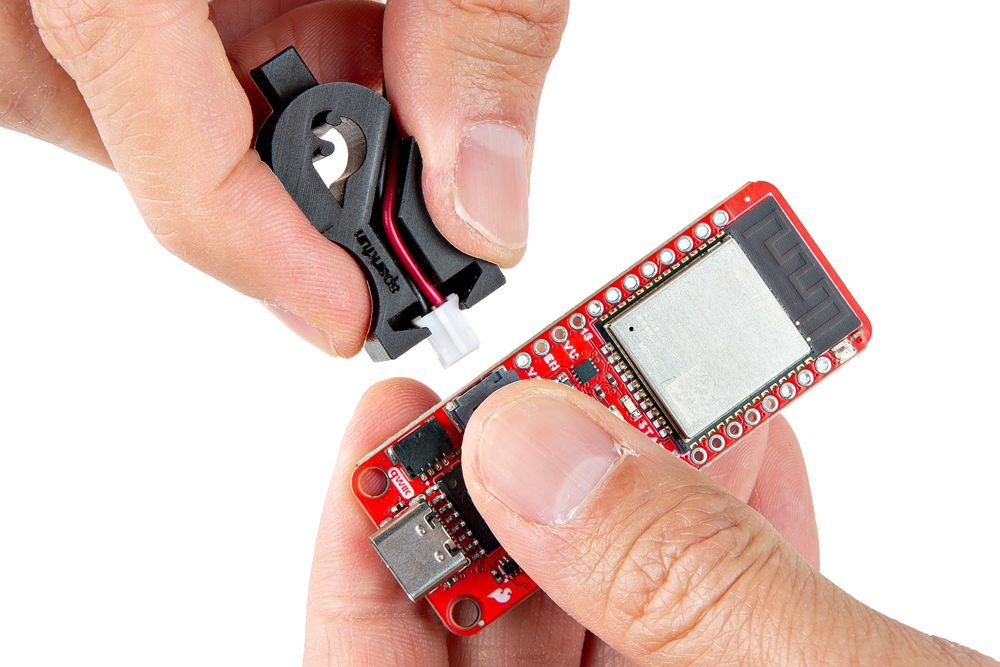
Slide the tool between the JST female and male connector. You can slide the tool from the bottom or the top side as shown below.
 |
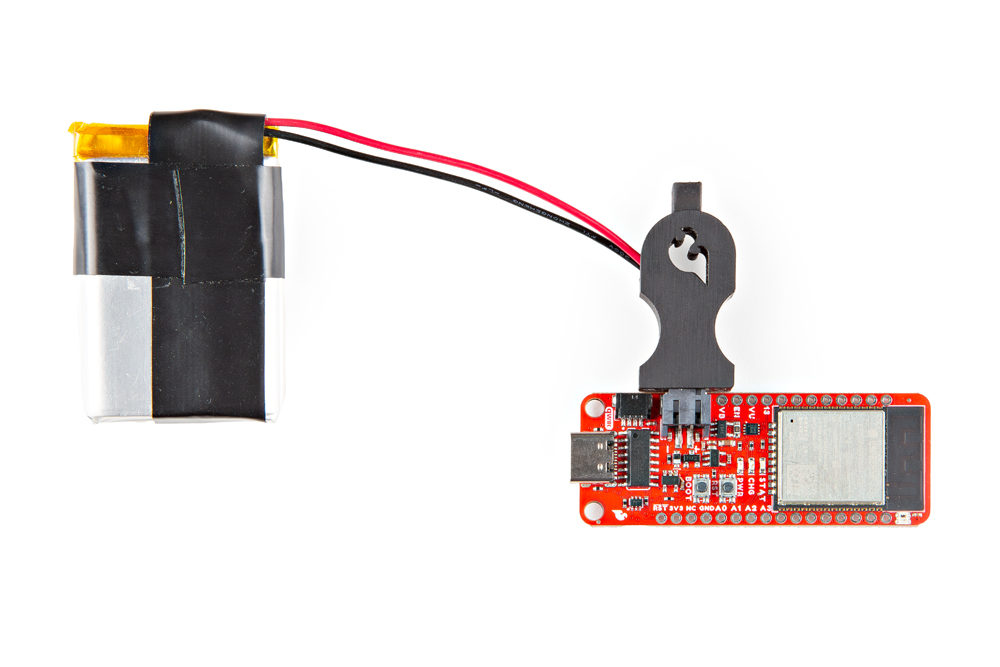 |
| JST Battery Tool Inserted from Bottom | JST Battery Tool Inserted from Top |
In this case, we chose to slide the JST Battery Removal Tool from the bottom side. With your other hand, hold down the JST male connector. If necessary, place the wires through wire channel.
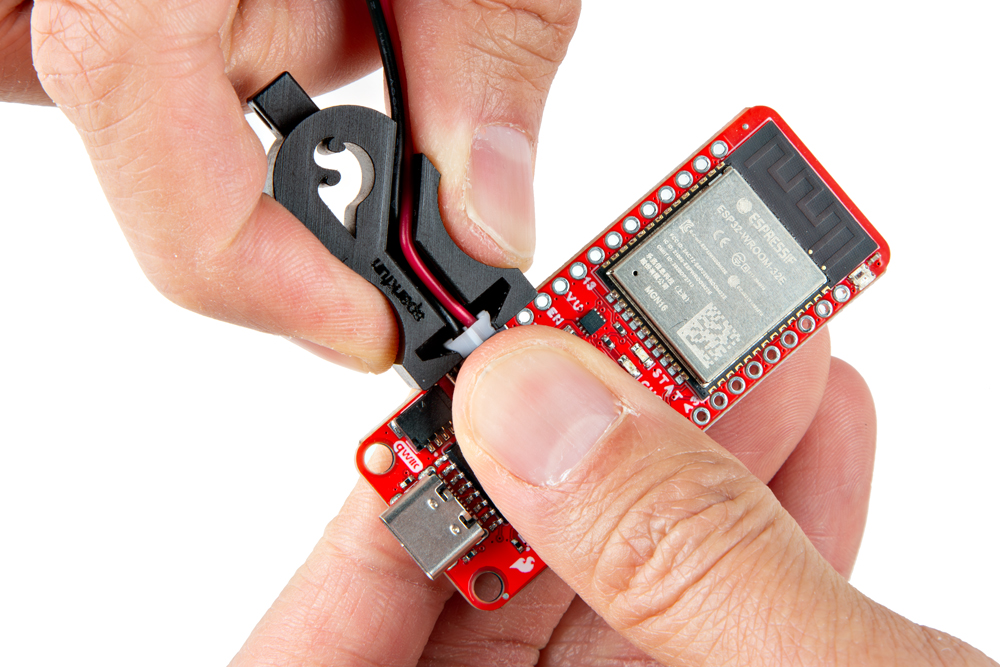
Wiggle the JST female connector side to side while carefully pulling away the connector from the board.
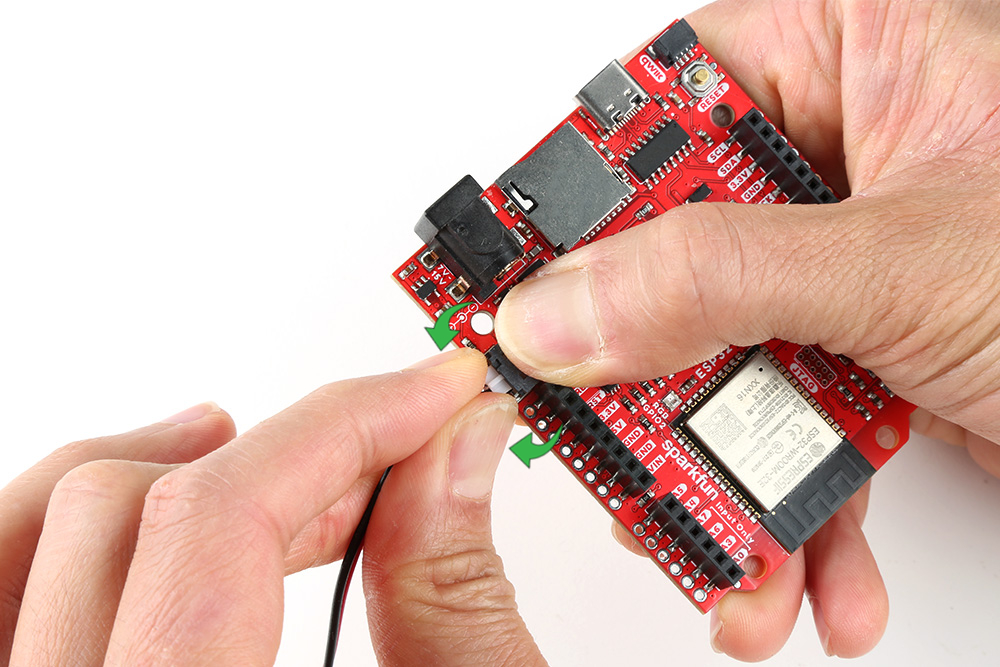
Using Your Bare Hands Fingers!
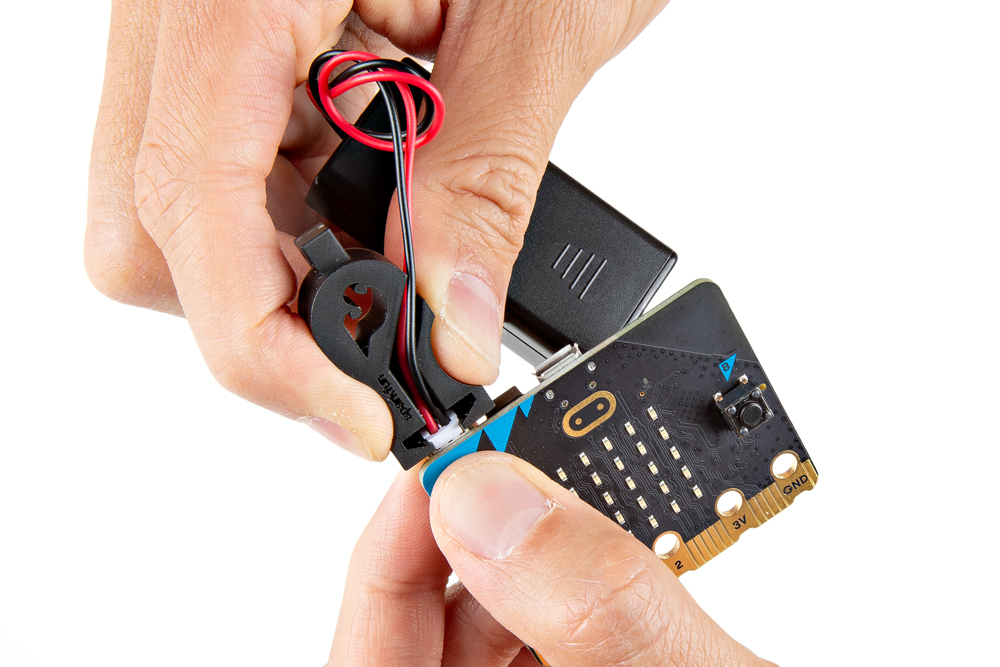
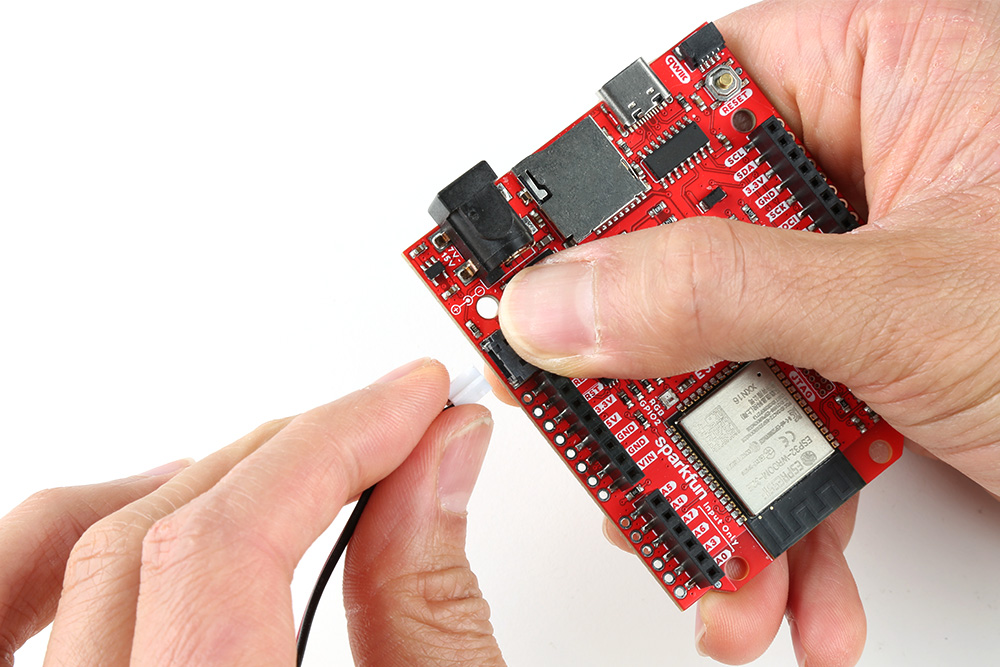
You will need to carefully remove the connector out by pinching the sides of the JST female connector with your index finger and thumb. With your other hand, hold down the JST male connector.
Wiggle the JST female connector side to side while carefully pulling away the connector from the board.
The JST connector will slide out of the socket. Congratulations! You have successfully disconnected the LiPo battery from your board.
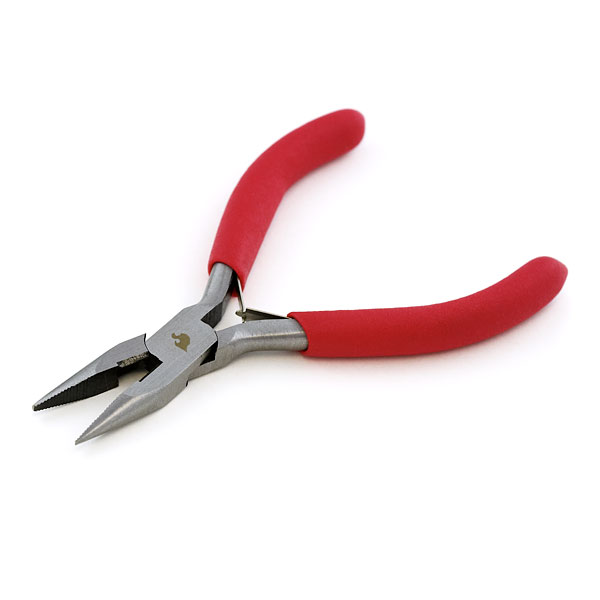
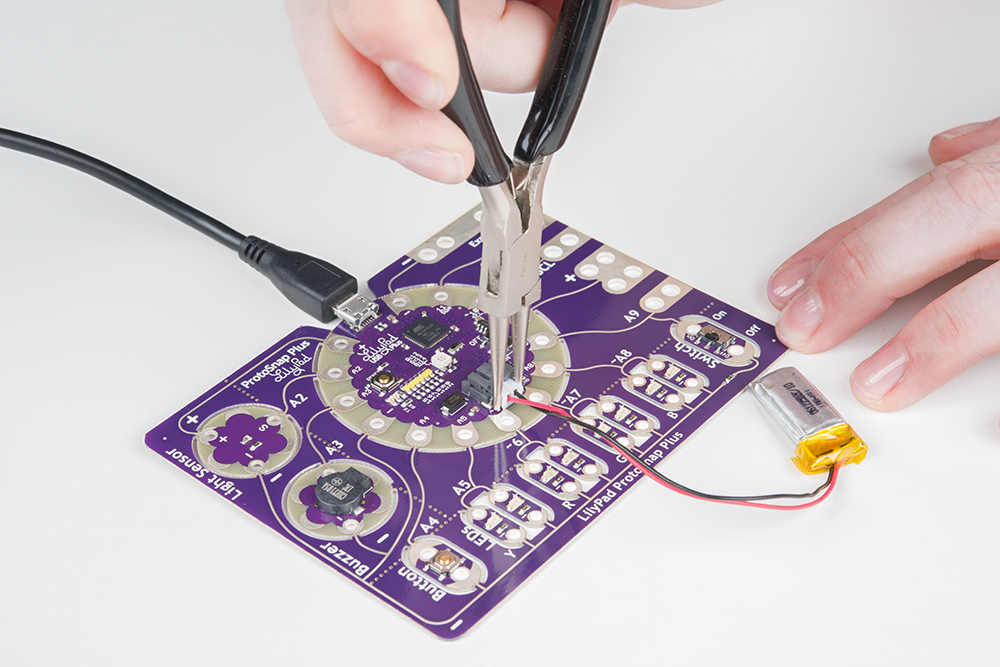
Needle Nose Pliers
For those with long nails, you will want to use some needle nose pliers. We recommend using needle nose pliers with teeth like the one below:
Grip the sides of the JST female connector using the needle nose pliers in one hand. With your other hand, hold down the JST male connector.
Wiggle the JST female connector side to side while carefully pulling away the connector from the board. Using needle nose pliers will make it easier to remove but make sure to not angle the tool too much as the pins can be damaged if you angle the connector at an extreme angle.
The JST connector will slide out of the socket. Congratulations! You have successfully disconnected the LiPo battery from your board.
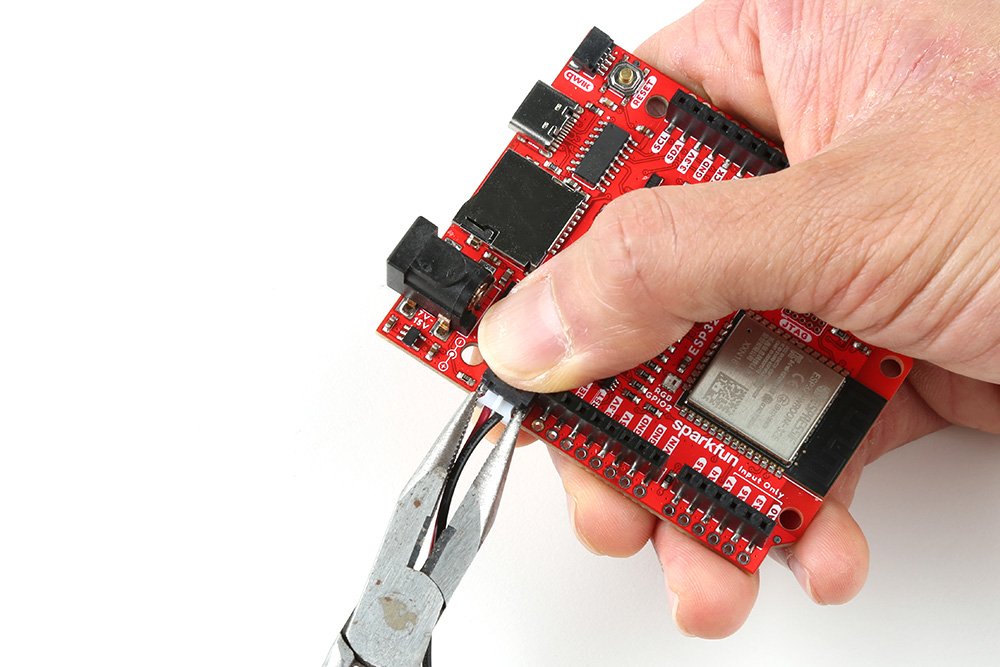
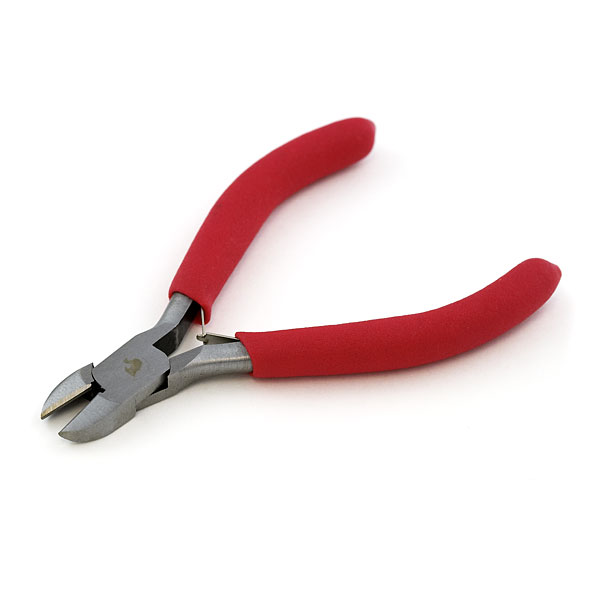
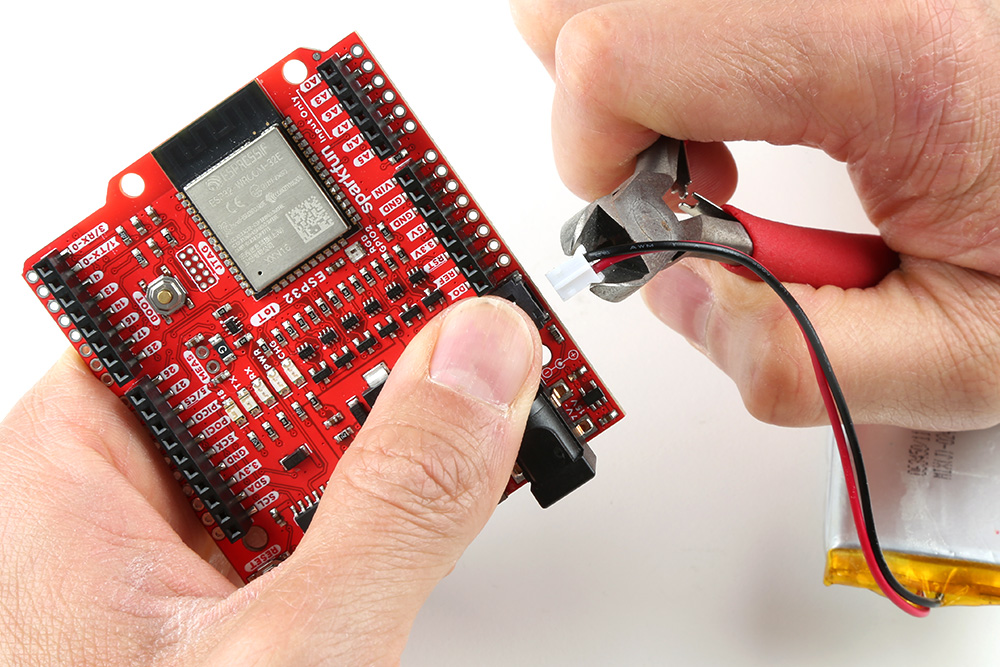
Diagonal Cutters
Of course you could also use some diagonal cutters as well. Wire cutters have thin jaws that allow you to grip the head of the connector. However, there is a risk of cutting the wires if the diagonal cutters slip.
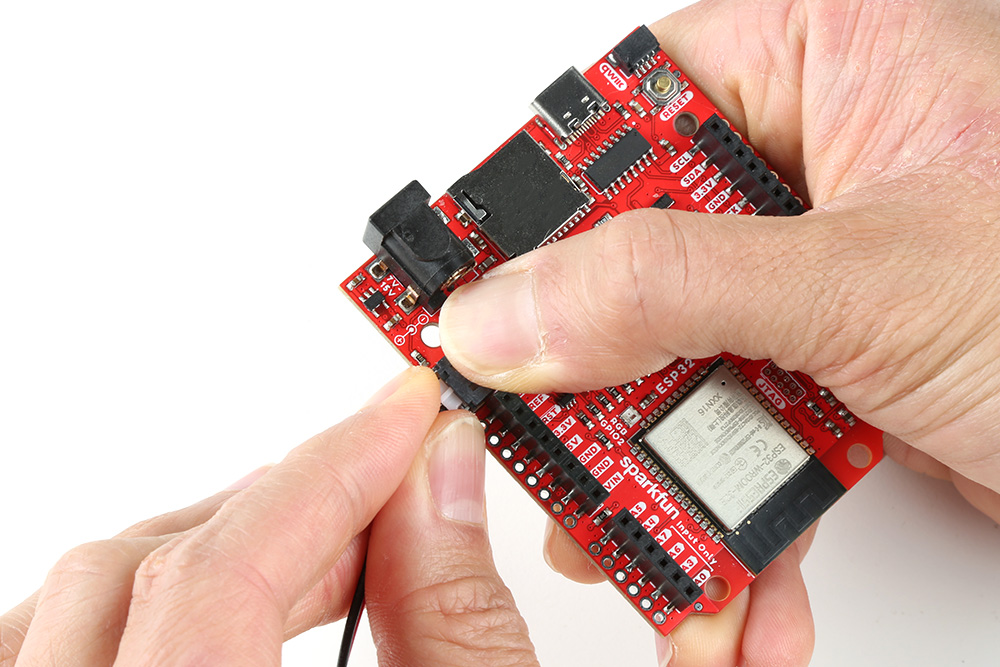
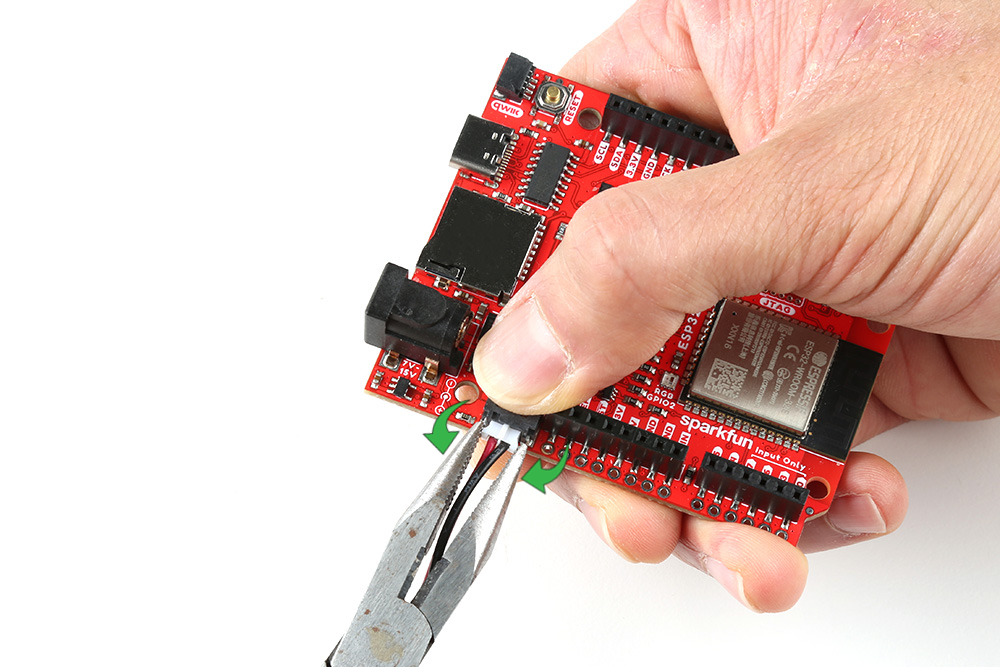
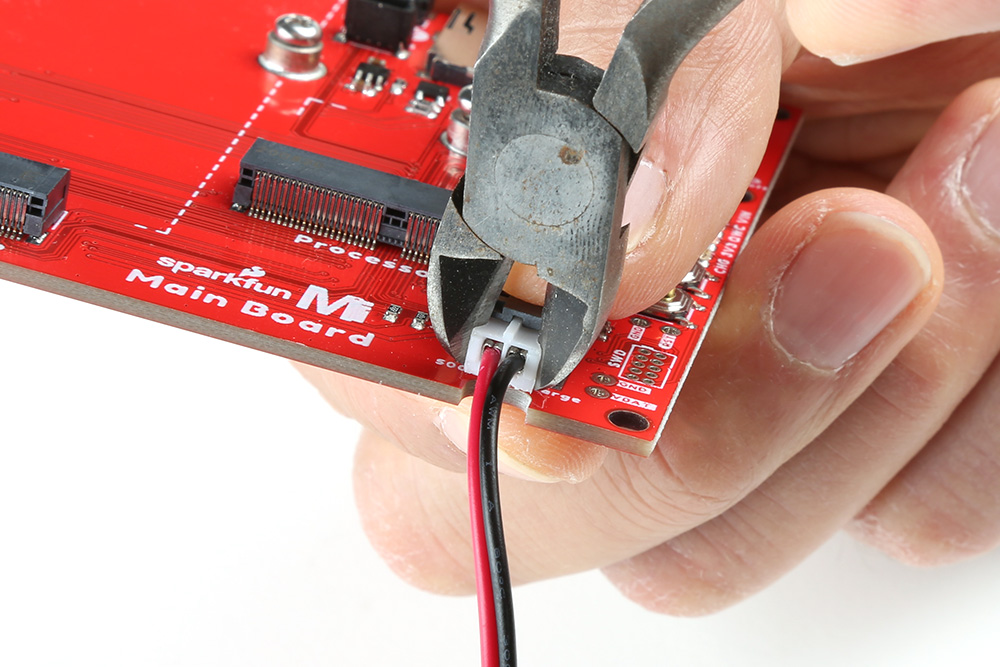
Depending on the design of the board, you may need to grip from the top or bottom of the JST connector. We'll show in the following images how to remove the connector from the bottom. Position the wire cutter between the between the JST female connector's flanges on the side and the JST male connector's socket. With your other hand, hold down the JST male connector. Don't go squeezing hard on the wire cutters either. They are simply there to grip the edge of the connector.
 |
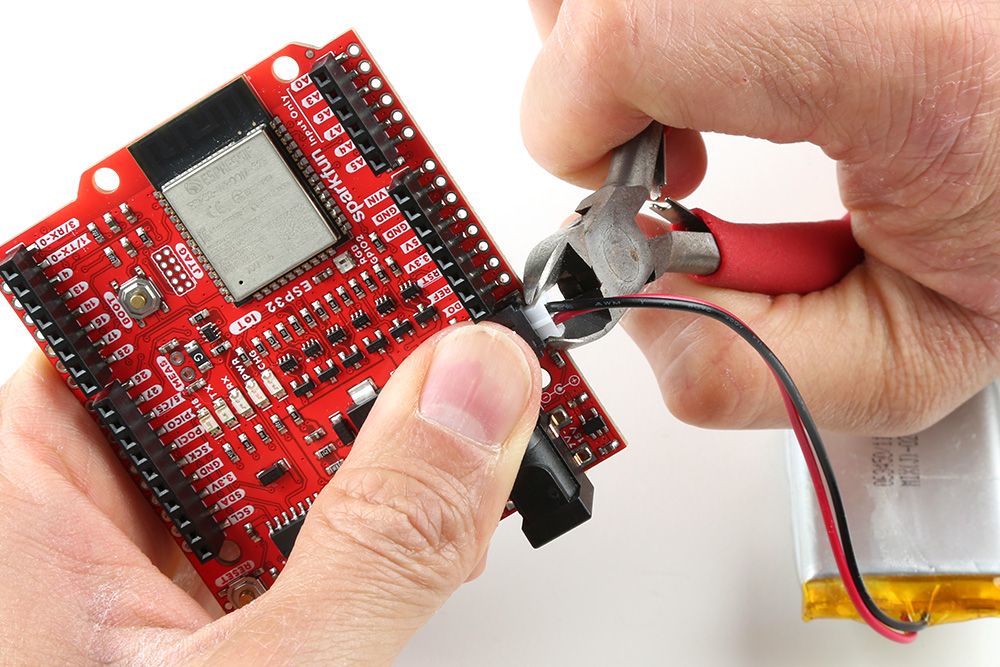 |
| Diagonal cutters holding JST connector from the top of a PCB | Diagonal cutters holding JST connector from the bottom of a PCB |
Use the edge of the PCB as a fulcrum point and lever out the connector. Pull the JST female connector away from the board by wiggling the connector sideways back and forth

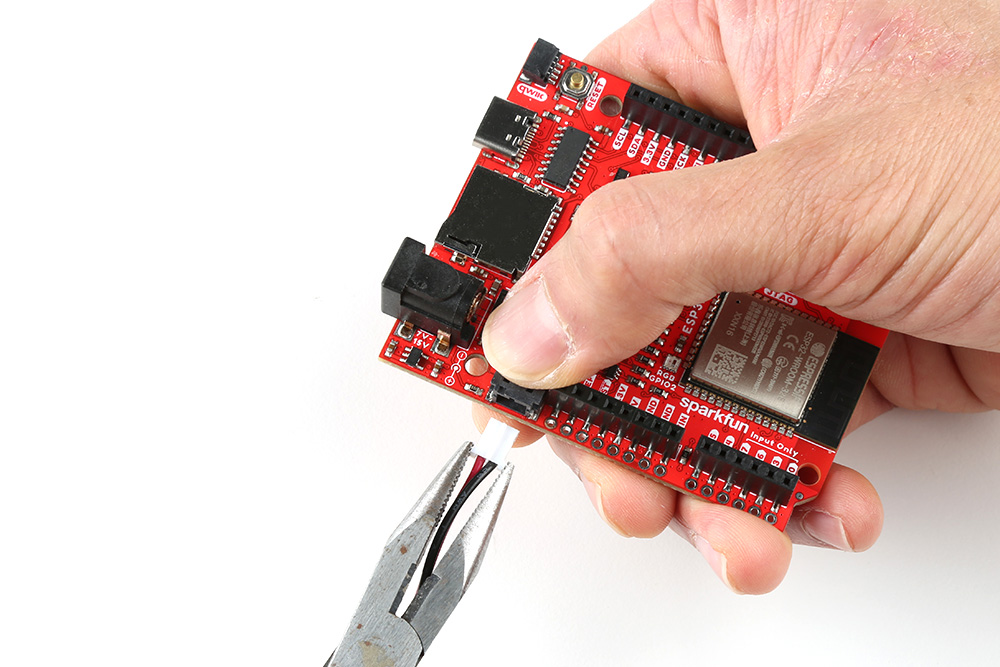
The JST connector will slide out of the socket. Congratulations! You have successfully disconnected the LiPo battery from your board.
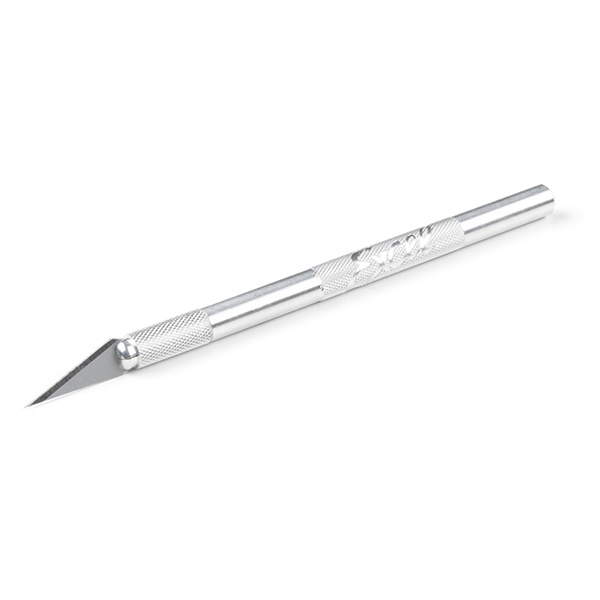
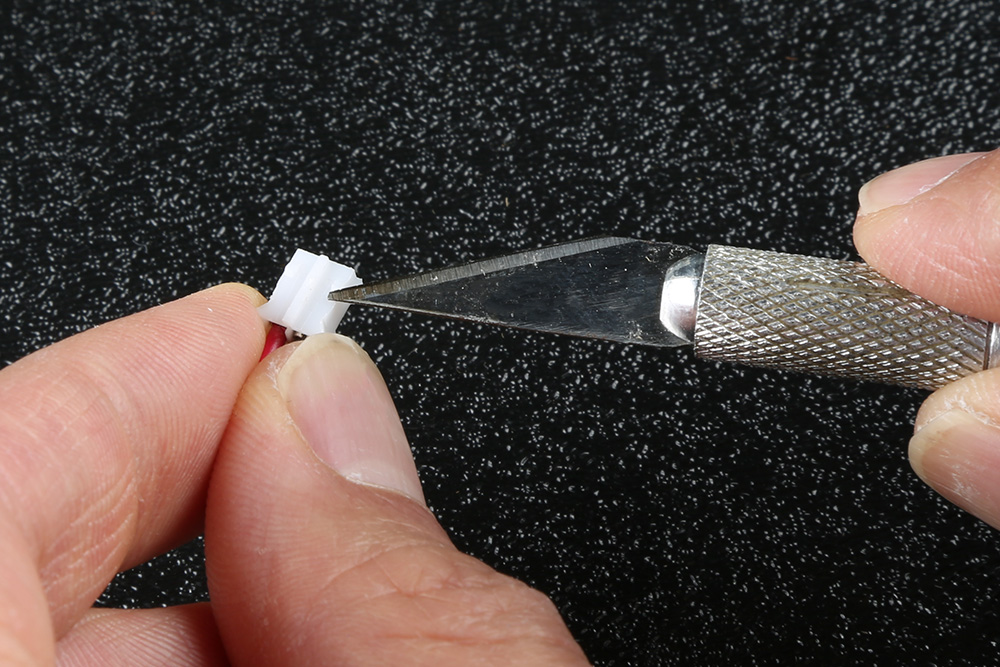
Removing the Locking Tabs
Another option is to removing the locking tabs using a hobby knife. Cutting the tabs will make it easier to remove by hand. While it will not be as secure as it was before, we have found that it still holds pretty well in the JST male connector socket.
Pinch the sides of the JST female connector with your index finger and thumb. With the hobby knife, slice the locking tabs off each side of the JST female connector until it is flush with the top of the connector. There's not a lot of space to work with so make sure to not cut your fingers and angle the hobby knife away from your finger tips!
The JST connector on the left shows the locking tabs intact. The JST connector on the right shows the locking tabs removed after. If the connector is still too tight, you can also cut down part of the fin (the slot between the two locking tabs) on the top of the connector as well.
