$244.95
The SparkFun OpenLog Artemis (without IMU) is an open source data logger that comes preprogrammed to automatically log GPS, serial data, and various pressure, humidity, and distance data as well as the ability to expand out to any number of our Qwiic sensors. This makes it ideal for data collection, but what about data display? In comes Machinechat and JEDI One!
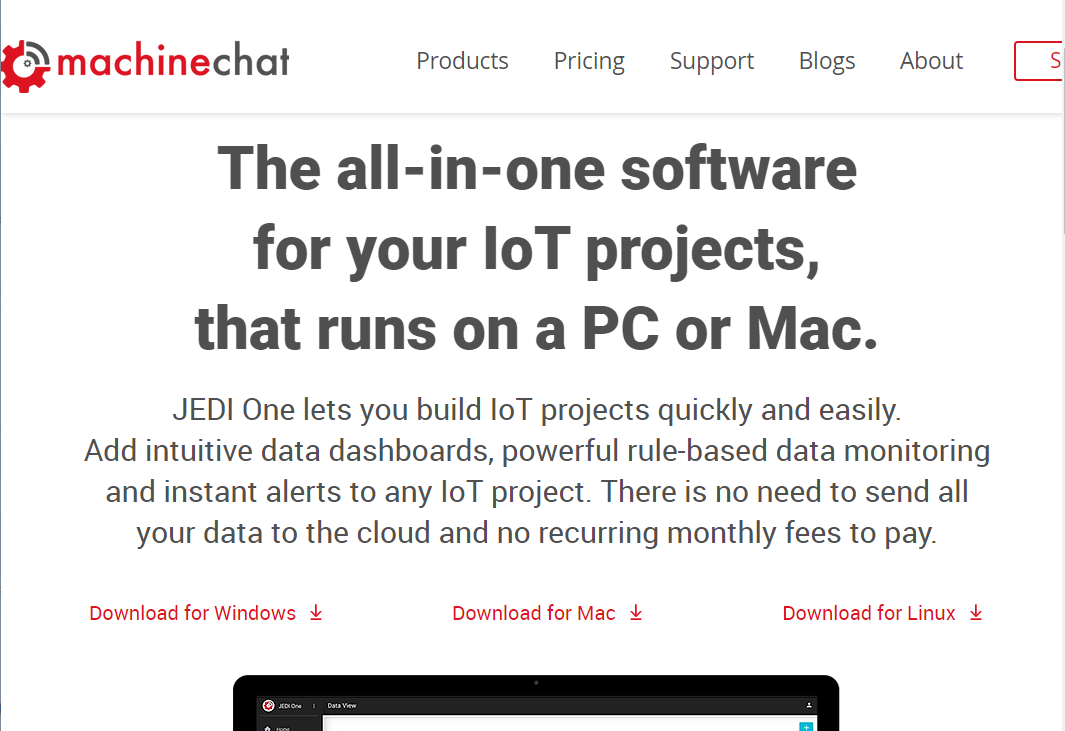
Machinechat's JEDI One provides an easy-to-use, customizable, one stop dashboard solution for IoT data collection, transformation, visualization, and reporting. Built-in HTTP and TCP servers allow you to start collecting data from sensors and devices in minutes, and custom plug-ins allow you to collect data from virtually any sensor or device. In addition, a fully integrated and self-contained MQTT broker makes it easy to integrate any MQTT based device or sensor. No need to set up a separate broker or use Azure or AWS for MQTT. Just configure and go!
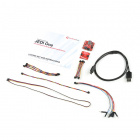
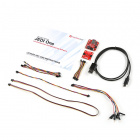
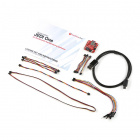
To get started, you really only need the SparkFun OpenLog Artemis (without IMU) and a Jedi One License, but you can also get going with any of these kits:
If you aren't familiar with the Qwiic system, we recommend reading here for an overview.
We would also recommend taking a look at the following tutorials if you aren't familiar with them. Depending on which kit you have, or which Qwiic board(s) you are planning to use, you may want to read through their respective Hookup Guides as well.
Machinechat has a number of installation packages, depending on your platform. For this guide, we're using the JEDIOne PC Mac installation on Windows. The button below will redirect you to the Jedi Download page:
Go ahead and download the correct installation package for your platform.
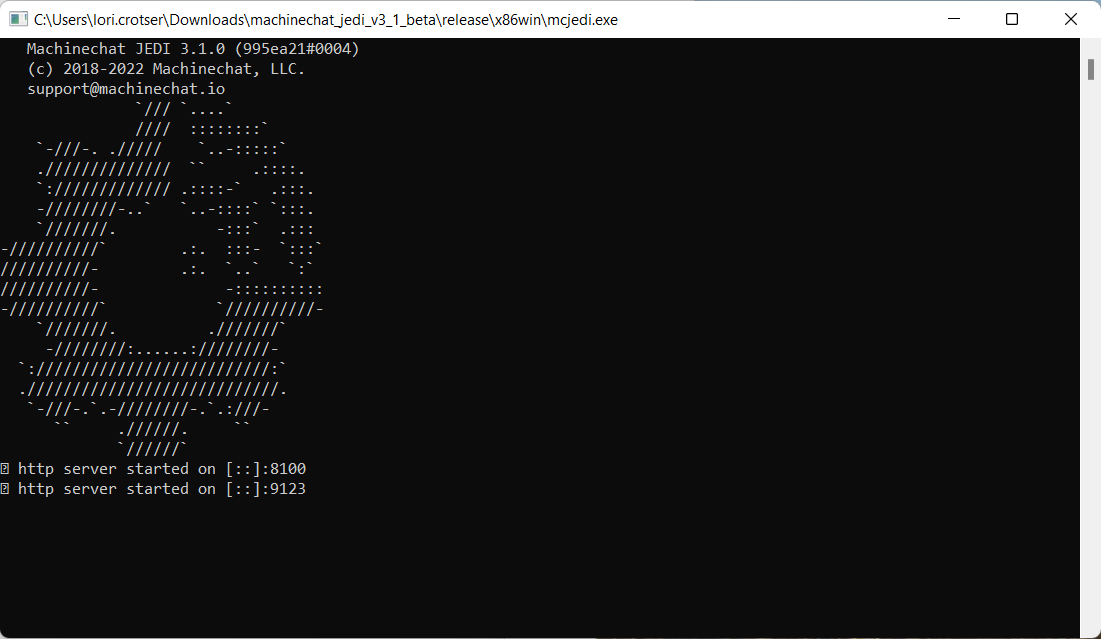
Extract your installation install, and click on that mcjedi executable and you should see the MachineChat server start running. It should look something like this:
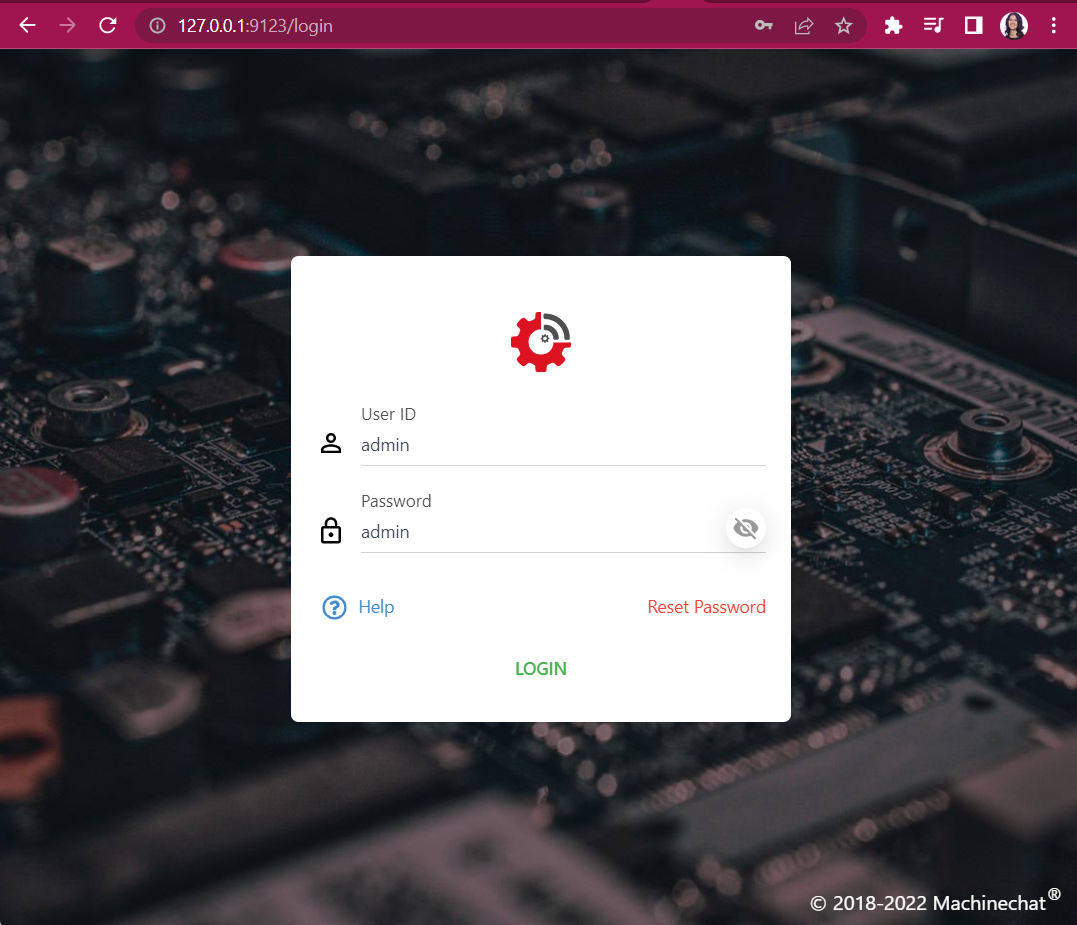
Once you've got the server running, you can view your dashboard in your web browser. To navigate to your dashboard, you'll need to go to http://<ipaddress>:9123/ - if you are running your web browser on the same machine as your server, you can simply type in http://127.0.0.1:9123/.
When logging into JEDI One for the first time, you'll use "admin" as both the login and the password. Once you've logged in for the first time, you'll be prompted to change your password for future use. More details can be found here: Log in to JEDI One for the first time.
In order to use the OpenLog Artemis with MachineChat, you'll need to make sure your OpenLog Artemis board has Firmware v2.4 or later. If you don't know what version you have on your OpenLog Artemis, go ahead and plug in your board and open a Serial Monitor on the correct port. The data that spits out will tell you what version you are running:

If you DO need to update your firmware, the stable version 2.4 can be found here or by clicking the button below:
Instructions on how to update the firmware are included in the OpenLog Artemis Hookup Guide.
There's a lot of really great information in this tutorial, but if you want to skip all that and go directly to the "Updating Firmware" section, feel free to click the button below:
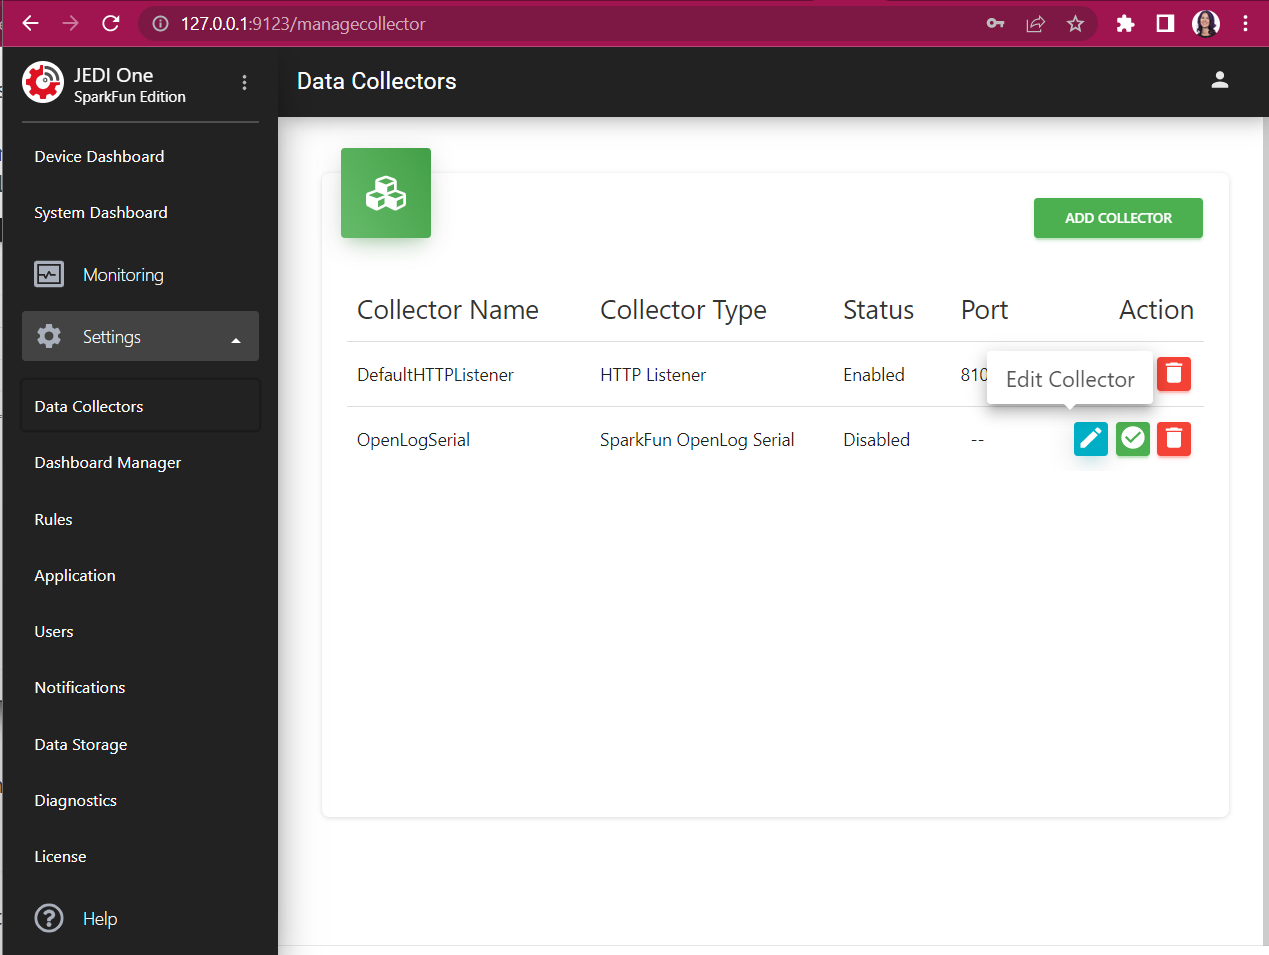
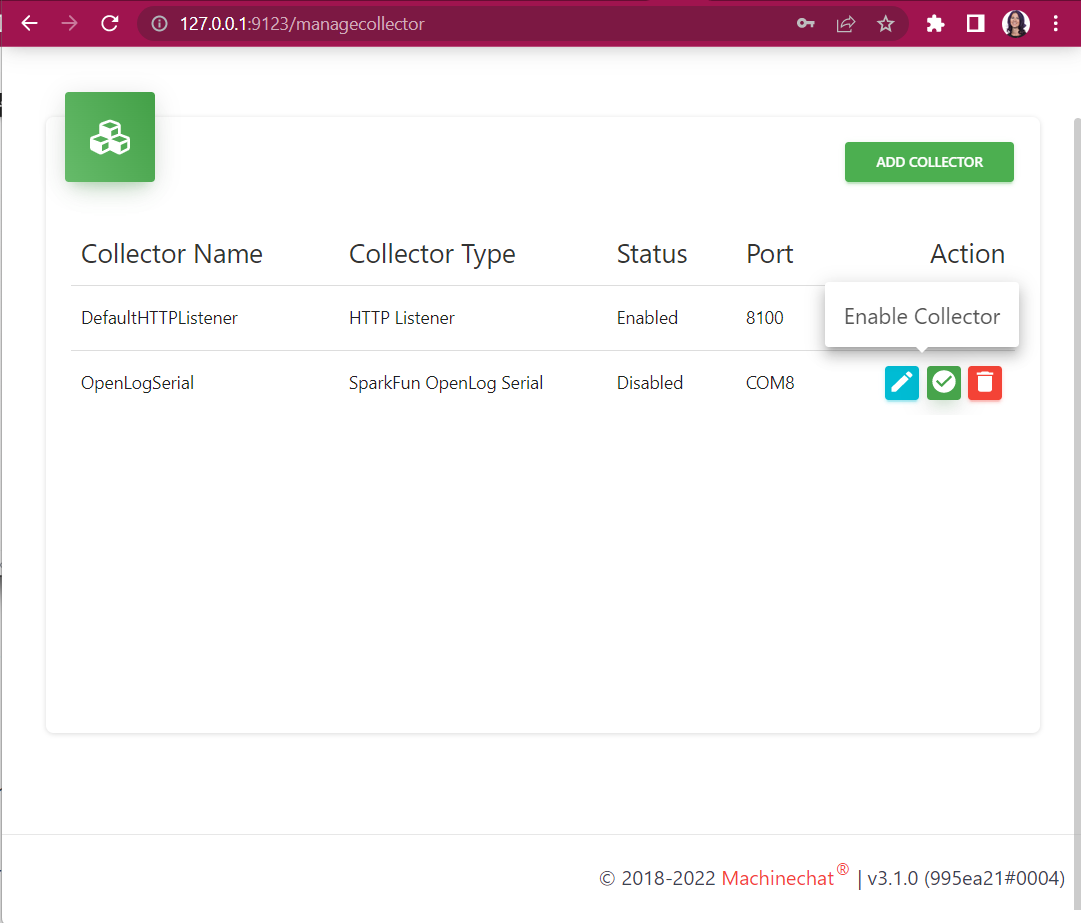
Once you're logged into Machine chat, you should be able to click on Settings -> Data Collectors and the OpenLogSerial will be listed. Go ahead and click on that Edit Collector button.
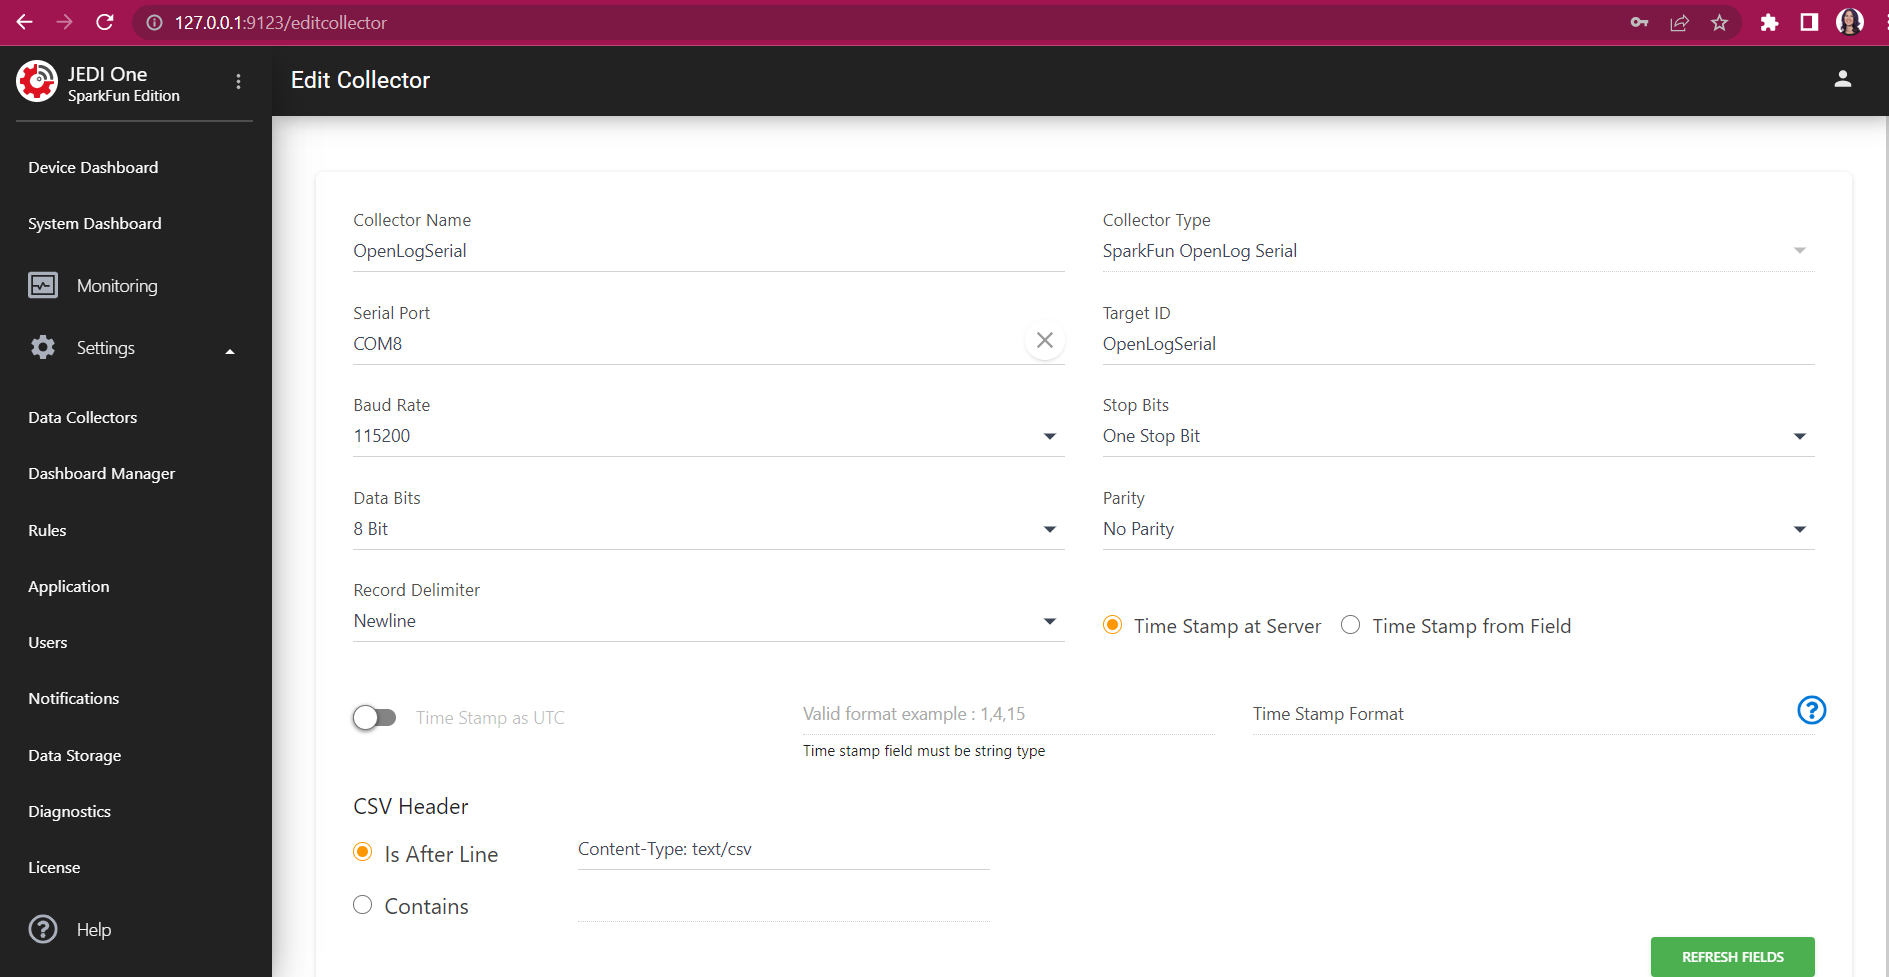
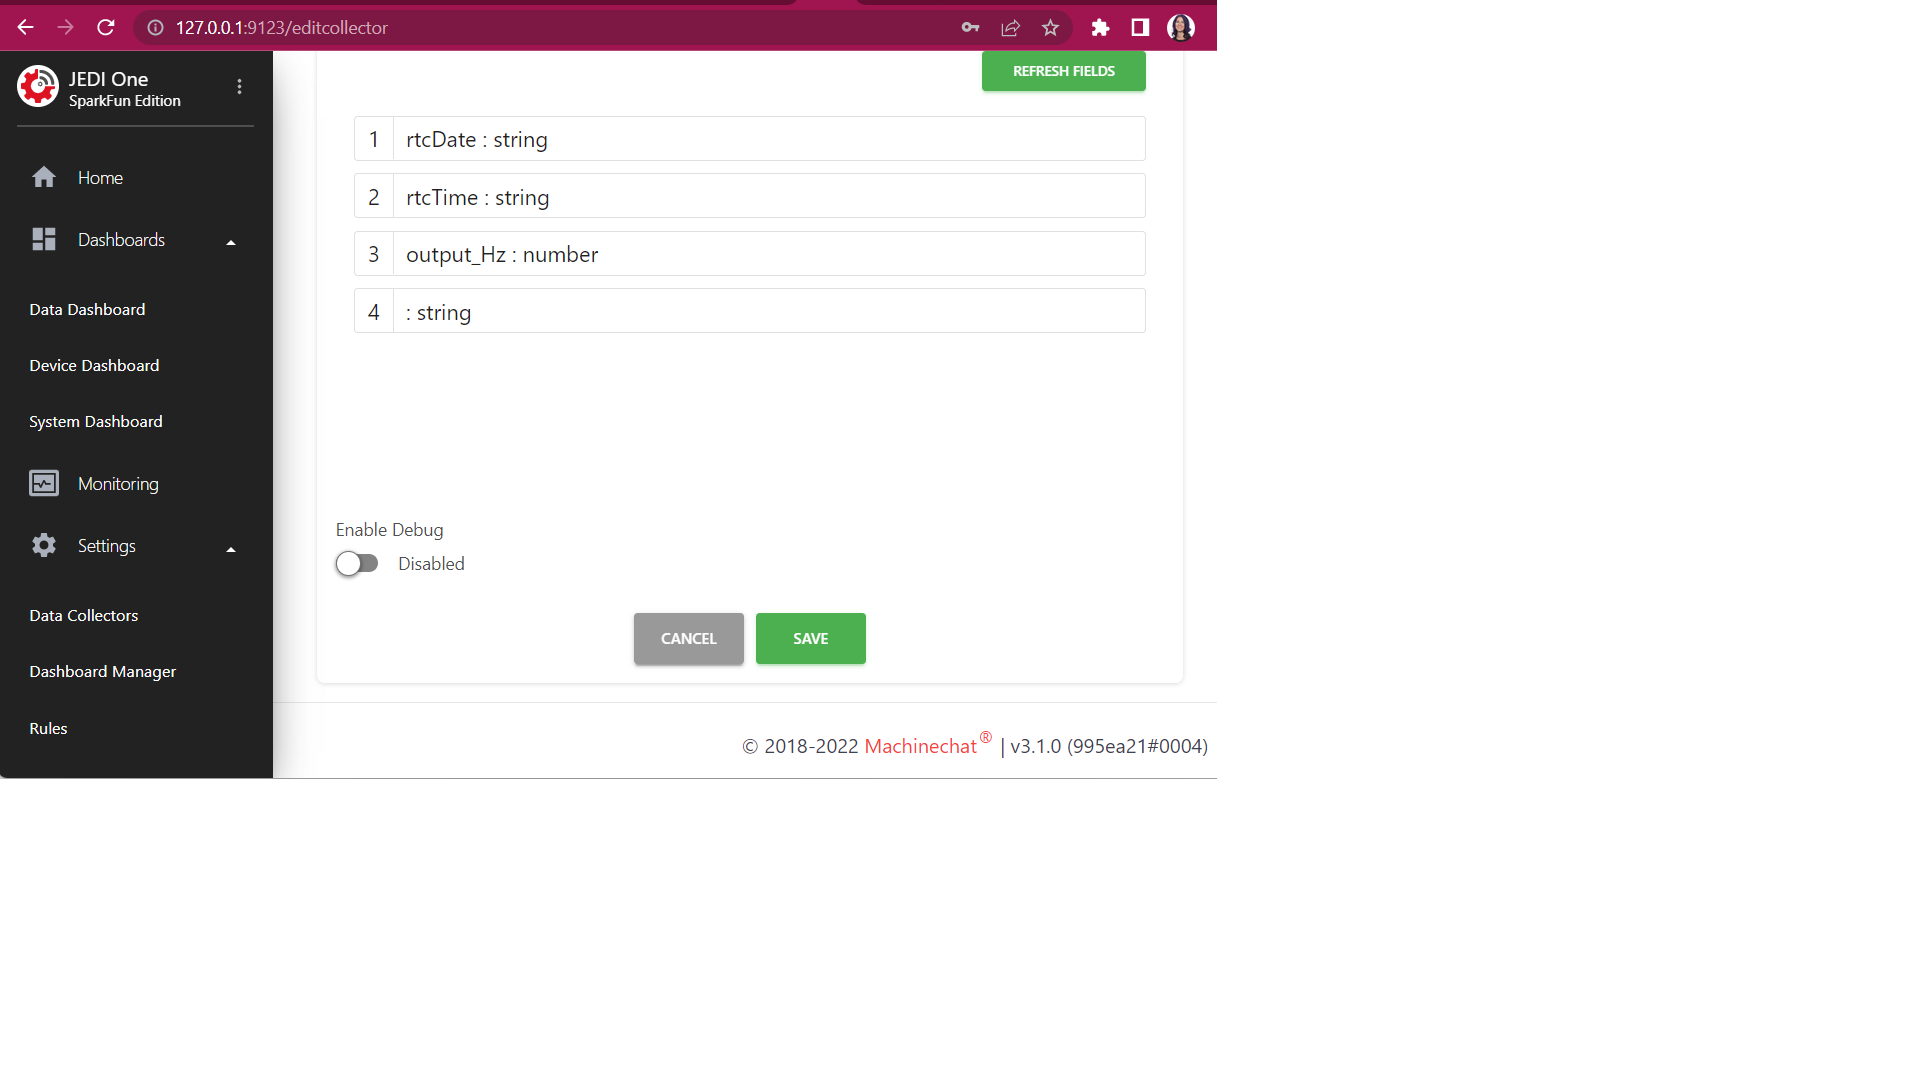
You may need to change some settings - verify that you've got the correct Serial Port selected, and set the rest of the settings as so:
Once you've checked all the above, go ahead and click Save at the bottom of the page.
You'll be redirected back to the Data Collectors page; if the OpenLog Collector is disabled, click on the green Enable Collector icon.
If you click the Edit Collector button again, you should be able to scroll down and see the variables and data that are being collected from the OpenLog Artemis. These are the variables we'll use to create dashboard views!
Now we get to do the fun stuff!
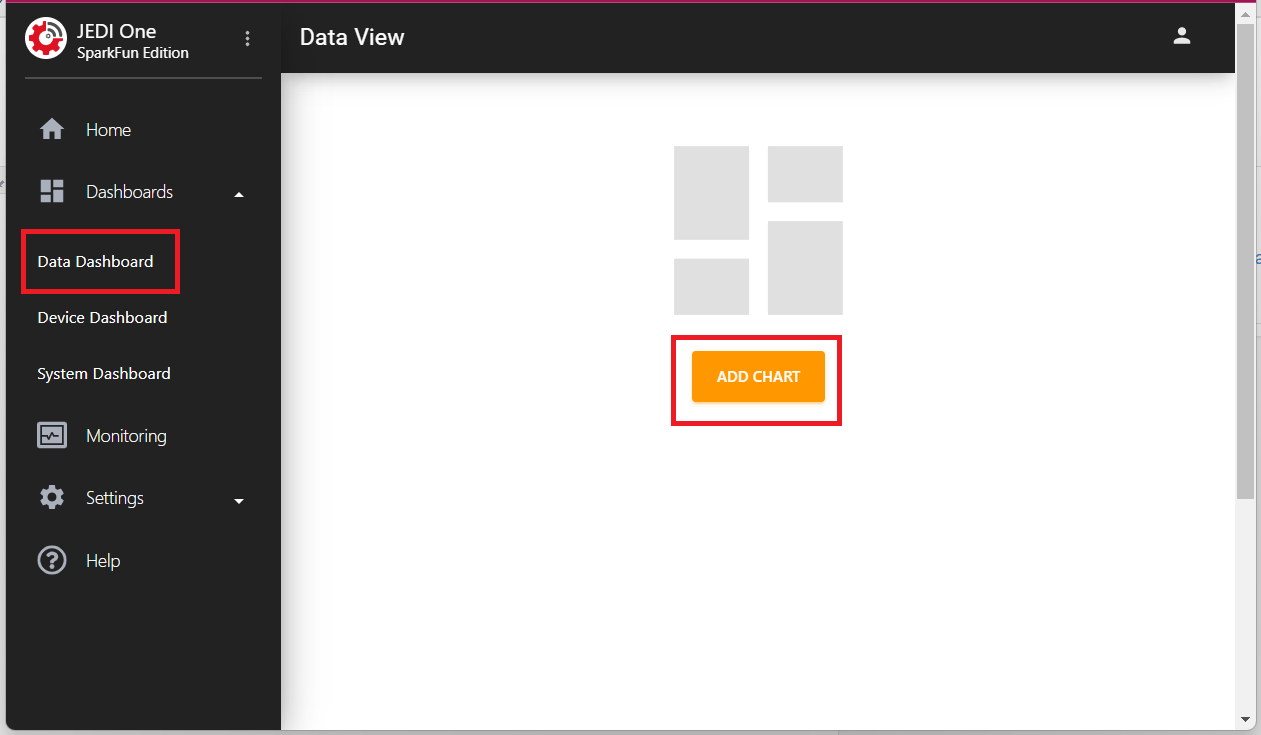
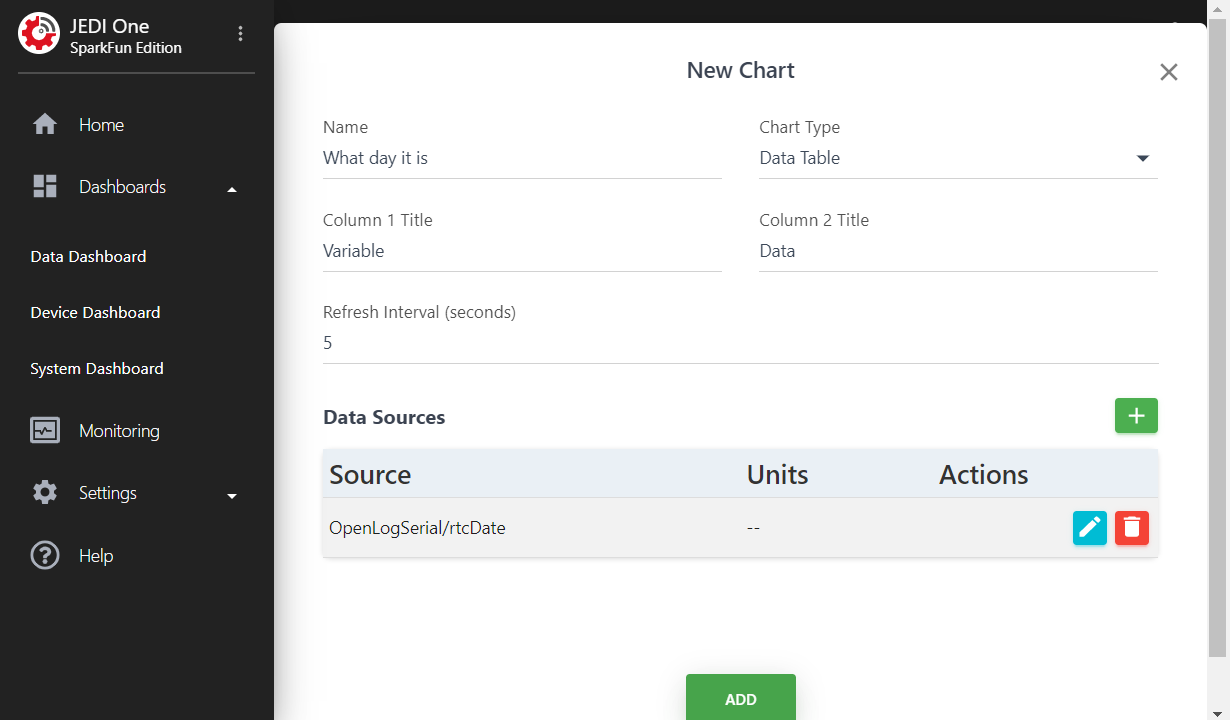
Go to Data Dashboard, and click on the Orange ADD CHART Button.
Go ahead and fill in as you see fit. You'll need to click on the green plus button to add a Data Source:
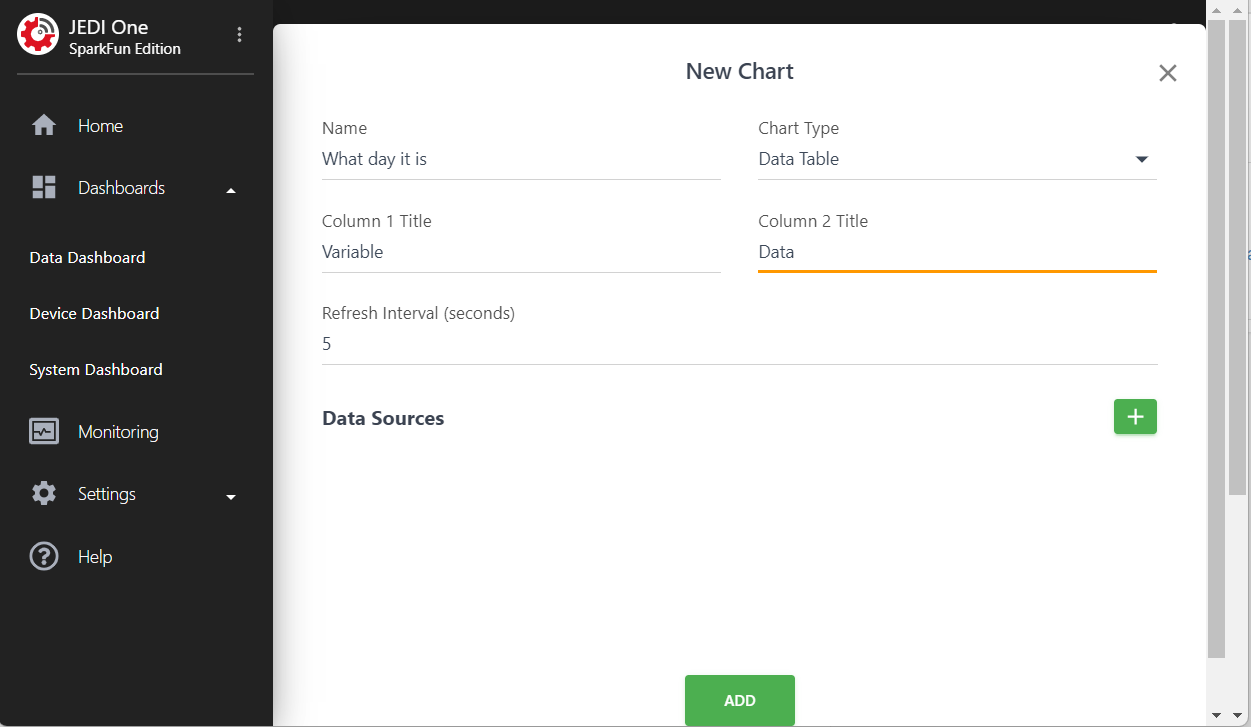
Click on the Green Plus button to the right of Data Sources to add your Data Source for your Data Table and then click ADD:
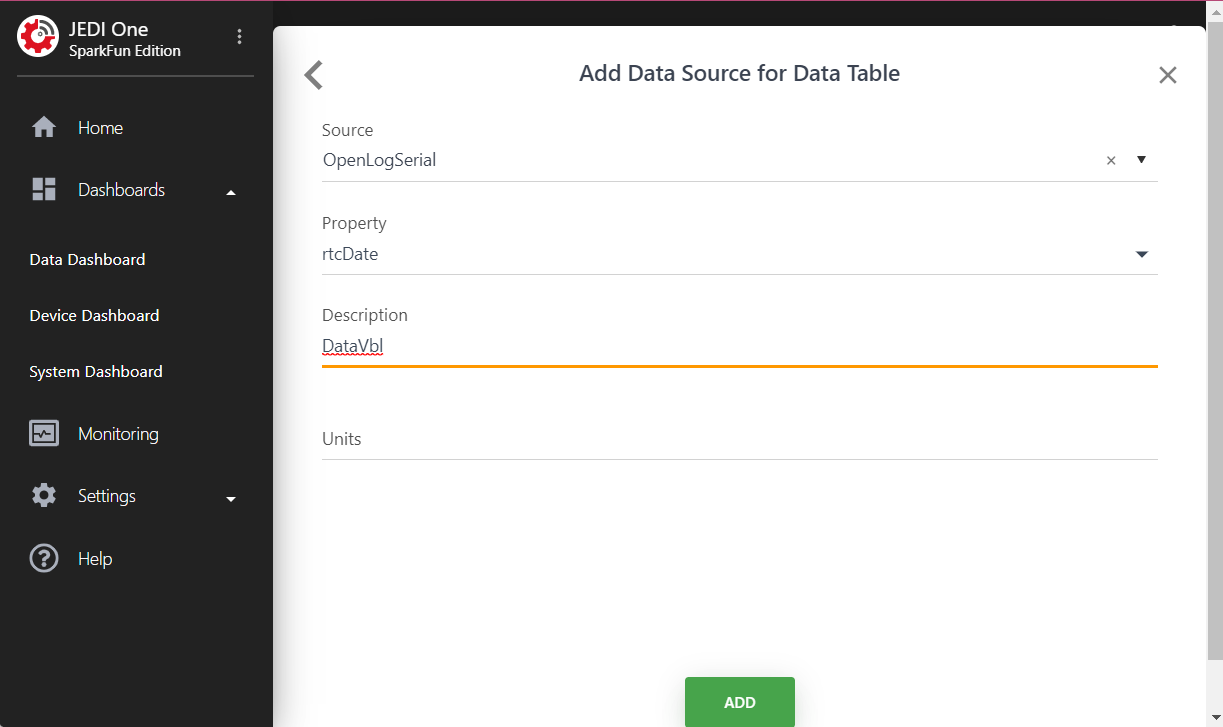
Make sure you've got this page filled out to your satisfaction, and then click the green "ADD" button.
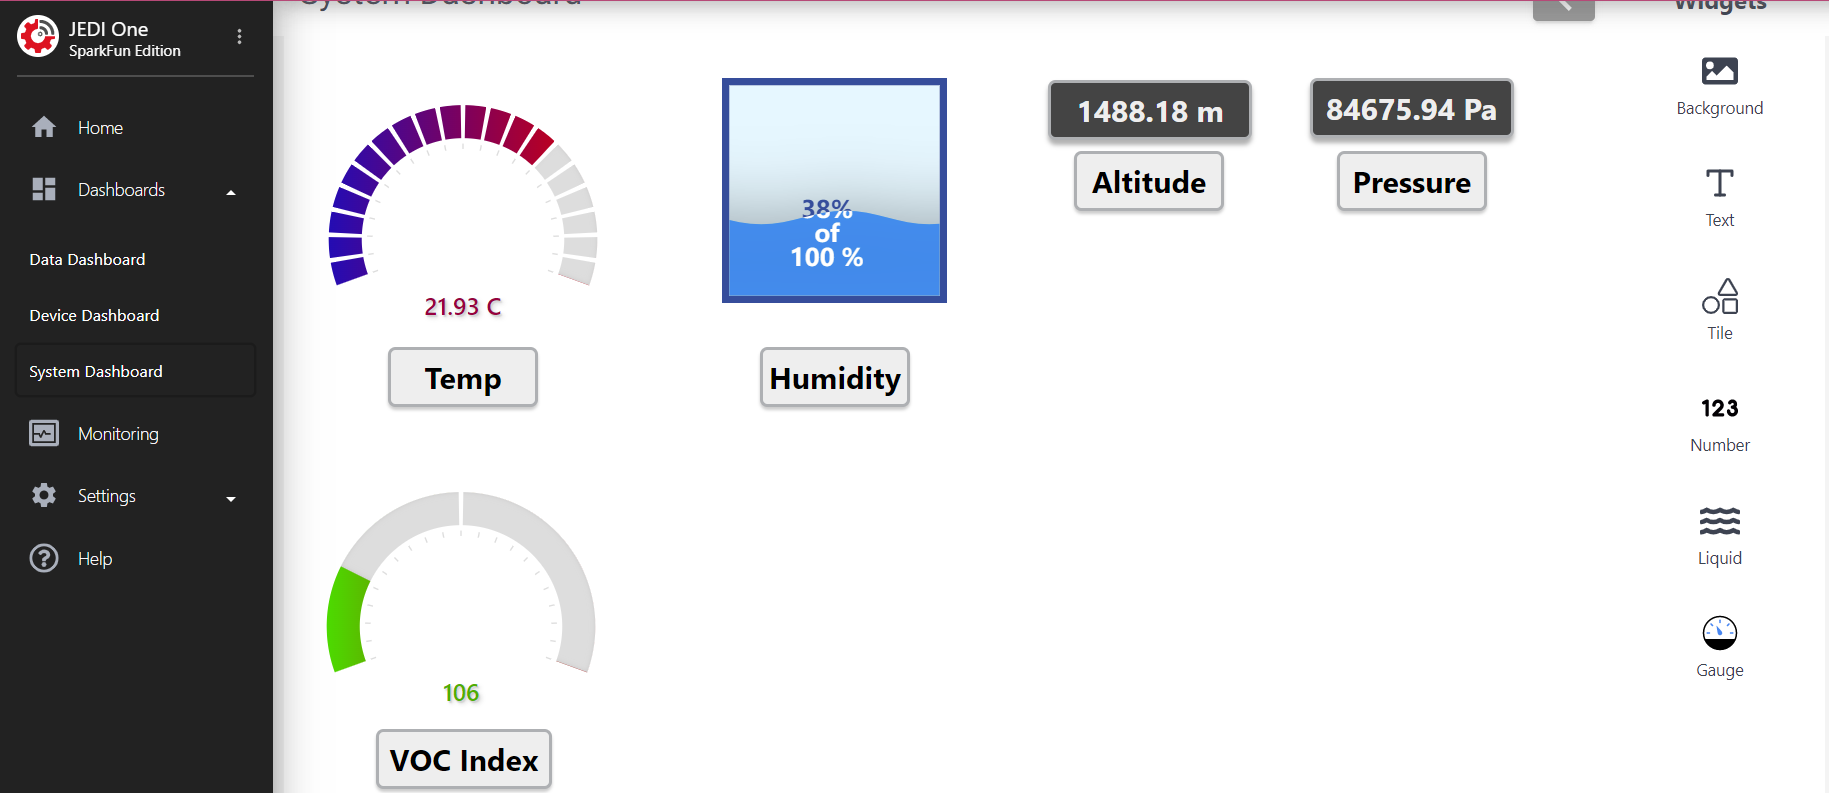
Aaaaand VOILA!

Take some time to poke around - you can add charts and data as you see fit - including data from Qwiic breakout boards. Here's a System Dashboard with some of the data from our Environmental and Air Quality sensors:
The Artemis OpenLog Hookup Guide has a wonderful section on troubleshooting this board. If you need help with your Artemis OpenLog, head over to the [OpenLog Artemis Hookup Guide] (https://learn.sparkfun.com/tutorials/openlog-artemis-hookup-guide) or click on the button below to be redirected directly to the Troubleshooting and FAQ section of the hookup guide:
MachineChat has its own Troubleshooting and Support channel - click the button below to be redirected to their website:
Now that you've got the basics down, it's time to expand! Check out some of our Qwiic Environmental Sensors, Qwiic Distance Sensors, or Other Qwiic Sensors!
MachineChat has some wonderful resources - check out some of the following:
Need inspiration? Check out some of our Qwiic or other Artemis projects!
learn.sparkfun.com | CC BY-SA 3.0 | SparkFun Electronics | Niwot, Colorado