Getting Started with Electroluminescent (EL) Wire
Hardware Hookup - EL
Recommended Materials
At a minimum, you'll need the following to power EL. We will be using the following components to get started. You may not need everything though depending on what you have. Add it to your cart, read through the guide, and adjust the cart as necessary.
- EL Component -- 1x-2x Strands of EL Wire of any color
- Inverter -- 1x EL Inverter Battery Pack.
- Power -- 2x AA Batteries is required to power the inverter pack.
Depending on your inverter, you may also need the following:
- Wires (Optional) -- Depending on your setup and inverter being used, you may need wires.
- Insulation (Optional) -- Electrical tape, heat shrink, hot glue, or epoxy to seal the exposed pins and wires connected to the AC side.
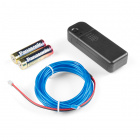
EL Wire Starter Kit
RTL-11421EL Inverter - Battery Pack
Using the EL is about as simple as it gets when using the EL inverter battery pack.
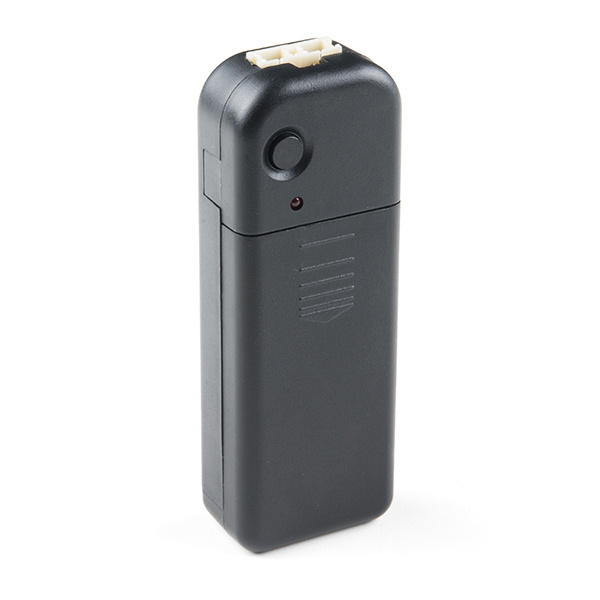
EL Inverter - Battery Pack
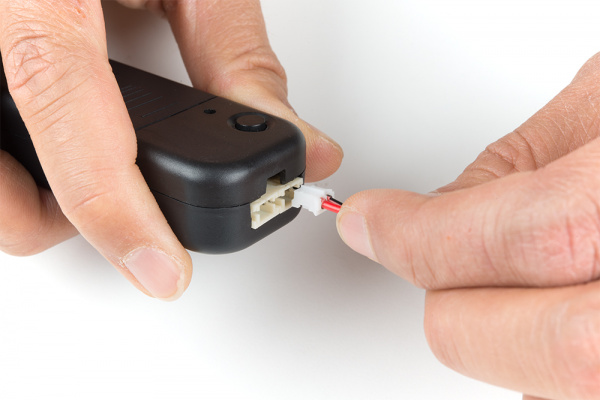
COM-11222Take the battery cover off by sliding in the direction indicated on the pack. Place your two AA batteries in the battery pack inverter, and put the cover back on. Plug in the male JST connector from your EL wire into one of the two female JST connectors on the inverter battery pack. Make sure there is a solid connection between the two.
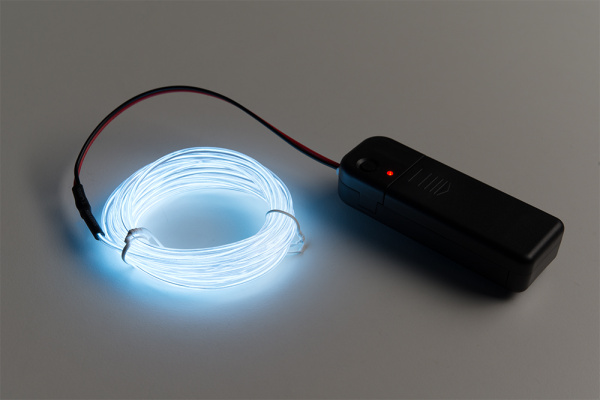
Press the button on the case and your EL wire should illuminate. Press it again for a slow blinking effect, and press it once more for a fast blink. This inverter pack allows you to connect two EL products of your choice at a time. You can mix and match colors as well as shapes. You could have a red panel with blue wire, green tape with a pink wire, or two yellow and purple wires. The possibilities are endless!
- Single Strand Always On: 190mA to 260mA
- Single Strand Blinking: 90mA to 120mA
- Two Strands Always On: ~300mA
- Two Strands Blinking: ~150mA
Different color strands were used but the lengths were identical. Your mileage may vary.
EL Inverter - 3V
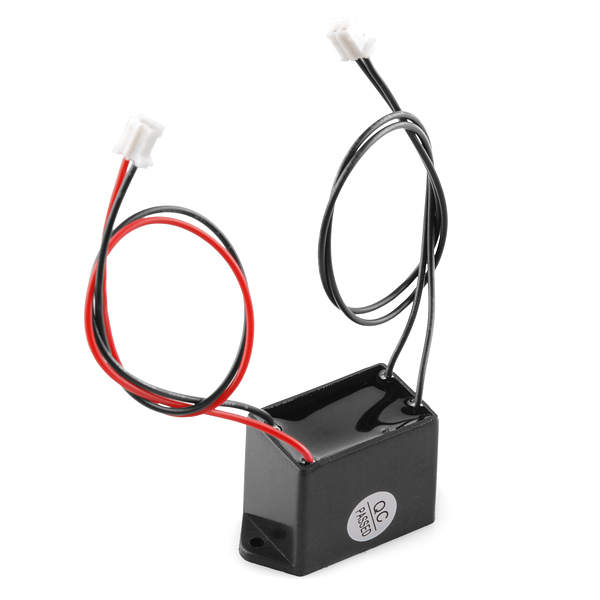
We also have a 3V inverter. The wires are terminated at the end with JST PH connectors. These require a little bit more work to get started since they are designed to plug directly into our EL Escudo Dos or EL Sequencer. They are ideal for small EL displays.
EL Inverter - 3v
COM-10201This particular EL inverter accepts an input (on the red/black pair of wires for +Vcc and GND, respectively) anywhere from 2.5V-4.2V, so you can use them with batteries. Once powered, it can output up to 110VAC (on the black/black pair of wires) to drive EL wire.
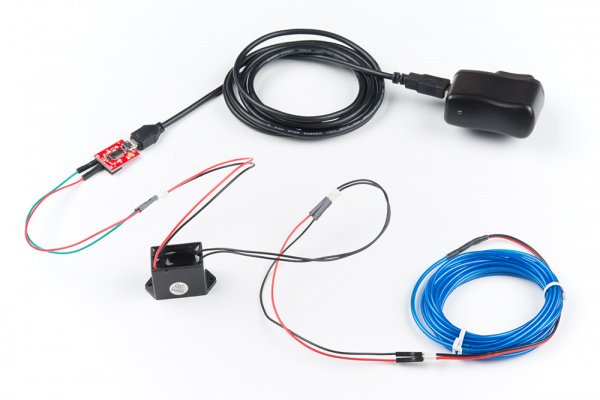
With the 3V inverter, you can drive EL wires directly without using an EL Escudo Dos or EL Sequencer. However, you may need to re-terminate them, make an adapter, or possibly regulate the voltage down from your power supply. Below is a simple connection if you are just powering one strand for an installation using a 5V USB power supply, 3.3V FTDI to regulate the voltage down, M/M jumper wires, and one strand EL wire. The pins of the jumpers are small enough to be inserted into a JST connector.
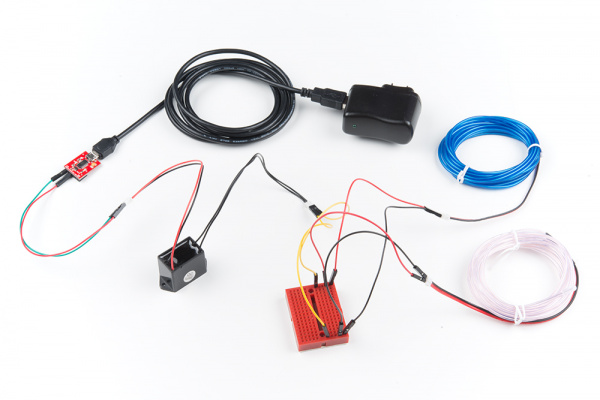
You can even connect two strands together by making a parallel connection. For testing purposes, the circuit was placed on a breadboard. It should not matter what color of wire is connecting on the inverter's output since it is AC. The wire colors were connected together for consistency.
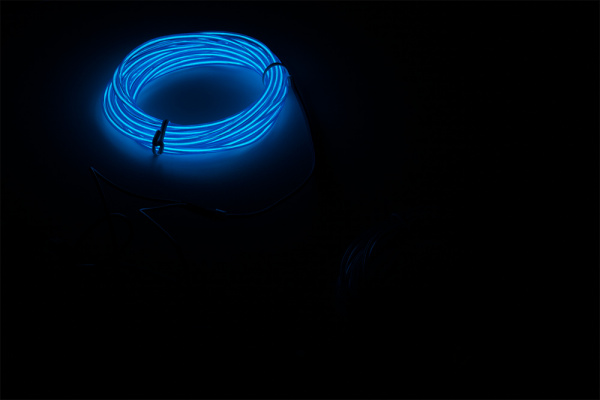
As you can see from the images below, connecting more EL wire in parallel with the 3V inverter will cause both EL wires to dim. The brightness can depend on the length of EL you are using, how you are wiring the EL, and the type of inverter.
 |
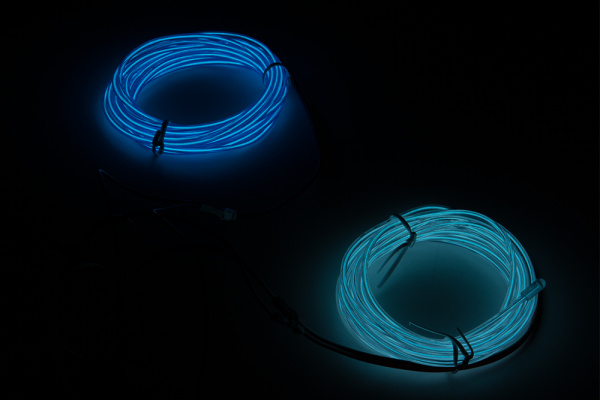 |
| One 3m EL Wire Lit Up | Two 3m EL Wires Lit Up But Dimmer |
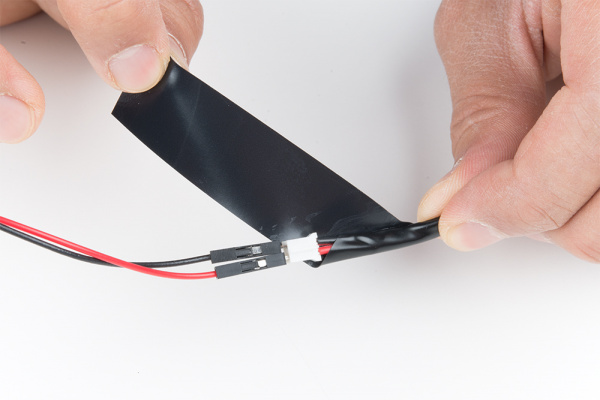
When you are done testing and integrating the EL wire in a project, make sure to seal any exposed EL wire or connections on the AC side. Electrical tape is a good option to secure the connection and insulate any exposed pins should you decide to continue using M/M jumper wire between an inverter and EL wire.
EL Inverter - 12V
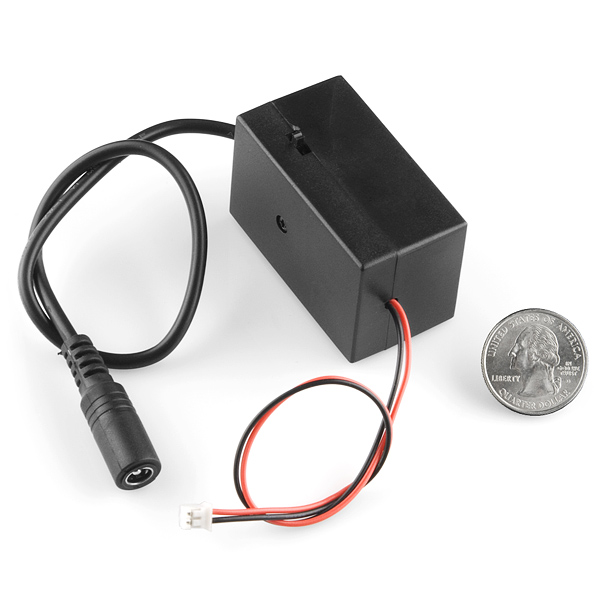
When using several strands of EL, you may want to consider using the 12V inverter. The inverter consists of a barrel jack connector and a pair of wires terminated with a JST PH connector. These are ideal for the biggest, brightest display possible!
EL Inverter - 12v
COM-10469This particular EL inverter accepts an input via the 5.5mm x 2.1mm barrel jack connector. Simply connect a power source with a center positive barrel jack connector. The output (red/black pair or wires) was designed to connect to a mating JST connector on the EL Escudo Dos or EL Sequencer board. There is also a small switch on the side which allows you to switch between "on", "blink", and "off" settings.
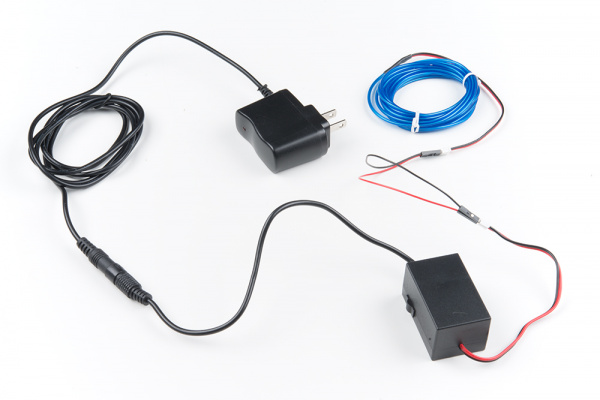
As with the 3V inverter, you can drive EL wires with the 12V inverter directly. However, you may need to re-terminate them or make an adapter. Below is a simple connection if you are just powering one strand for an installation using a 12V power supply, M/M jumper wires, and one strand EL wire.
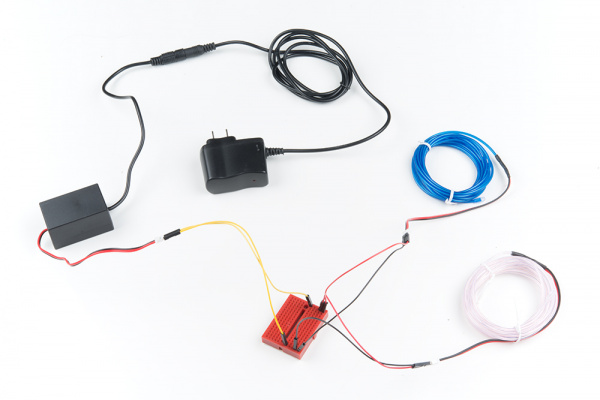
Again, you can connect two strands together by making a parallel connection. For testing purposes, the circuit was placed on a breadboard. It should not matter what color of wire is connecting on the inverter's output since it is AC. The wire colors were connected together for consistency.
Remember to seal any exposed EL wire or connections on the AC side when you are done.
