$6.95
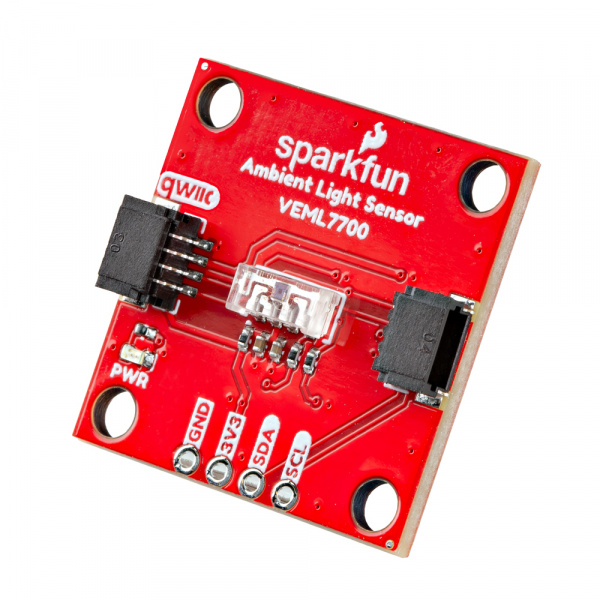
In this tutorial, we’ll walk through how to use the SparkFun Ambient Light Sensor - VEML7700 (Qwiic) to accurately detect the brightness of your surroundings. This sensor measures light intensity in lux, giving output values that closely match human eye sensitivity from very dim to direct sunlight. With its easy I²C Qwiic connection, the VEML7700 makes it simple to integrate ambient light sensing into your projects for display dimming, energy-efficient lighting systems, or environmental data logging.
If you are looking for the full Hookup Guide for the SparkFun Ambient Light Sensor - VEML7700 Qwiic, click the button bellow. This guide only covers a simple project to get you started quickly, while the full Hookup Guide goes over every detail of the sensor.
For this project, you'll need:
This guide assumes users are utilizing the latest version of the Arduino IDE on your desktop. If this is your first time using Arduino IDE, library, or board add-on, please review the following tutorials:
You can now copy and paste the code below into a fresh Arduino sketch:
#include <Wire.h>
#include <SparkFun_Qwiic_Button.h>
#include <SparkFun_VEML7700_Arduino_Library.h>

QwiicButton button;
VEML7700 lightSensor;

void setup() {
    Serial.begin(115200);
    Wire.begin();

    // Initialize the button
    if (!button.begin()) {
        Serial.println("Button not found!");
        while (1);
    }
    Serial.println("Button found.");

    // Initialize the ambient light sensor
    if (!lightSensor.begin()) {
        Serial.println("Light sensor not found!");
        while (1);
    }
    Serial.println("Light sensor found.");

    button.LEDon(0); // Start with LED on, but low brightness
}

void loop() {
    // Check if button is pressed
    if (button.isPressed()) {
        // If pressed, turn off LED regardless of light
        button.LEDoff();
        Serial.println("Button pressed, LED off.");

        // Wait until released
        while (button.isPressed()) {
            delay(10);
        }

        Serial.println("Button released.");
    } else {
        // Read light level
        float lux = lightSensor.getLux();

        // Clamp lux to a usable range (0 to 400 for mapping)
        if (lux > 400) lux = 400;
        if (lux < 0) lux = 0;

        // Invert lux to brightness: lower light → higher brightness (0–255)
        uint8_t brightness = map(lux, 0, 400, 255, 0);

        // Apply brightness to LED
        button.LEDon(brightness);

        Serial.print("Lux: ");
        Serial.print(lux);
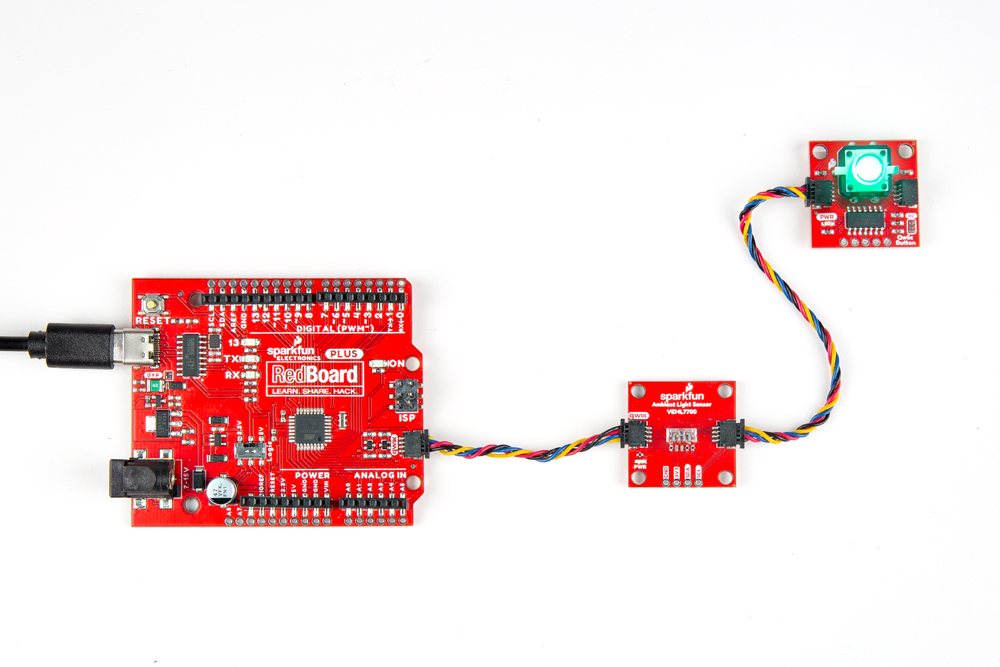
Once you have the sketch and libraries installed, you can upload the code to your development board. After uploading, the Qwiic button will be fully lit when the room is dark and will turn off when there is enough light. To adjust how sensitive the brightness control is, you can change the value 400 to any number between 100 and 1000. This number sets the light threshold needed to turn the button on or off.
If you need technical assistance or more information on a product that is not working as you expected, we recommend heading over to the SparkFun Technical Assistance page for some initial troubleshooting.
If you can't find what you need there, the SparkFun Forums is a great place to search product forums and ask questions.
Account Registration Required: If this is your first visit to our forum, you'll need to create a Forum Account to post questions.
You’ve successfully set up the SparkFun Ambient Light Sensor - VEML7700 (Qwiic) to detect and measure the brightness of a room. This tutorial provided the foundational steps for connecting, configuring, and reading lux values from the sensor. With this setup in place, you can now build on this knowledge to develop projects like automatic brightness adjustment, smart lighting, or environmental monitoring.
Watch how it works here:
learn.sparkfun.com | CC BY-SA 3.0 | SparkFun Electronics | Niwot, Colorado