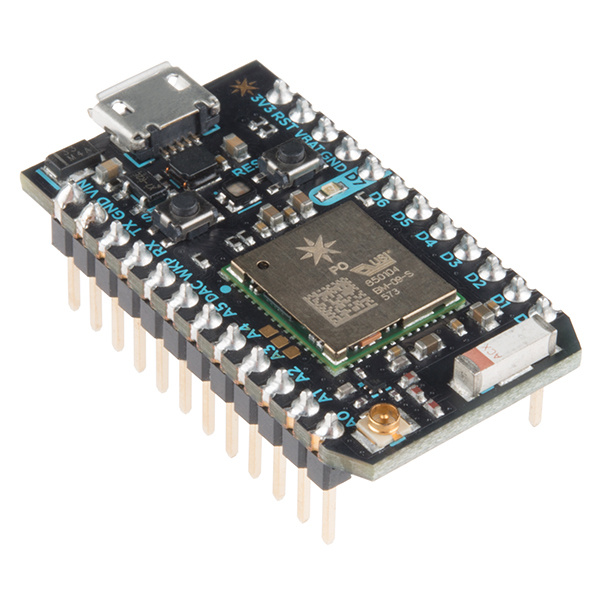
Particle's Photon Development Board is an awesomely powerful platform for projects that require WiFi and Internet-connectivity. Whether you're creating the next, great, IoT project, or just want an easy to use, over-the-air-programmable ARM Cortext M3 development board, the Photon is an excellent foundation.
As with any microcontroller platform, there is no shortage of routes you can take to develop firmware for the Photon. There is a web-based IDE, which make it easy to share and import import code and program your Photon remotely. There's a pre-configured local IDE, which shares many of the online IDE's advantages, but allows you to keep code stored on your hard drive. Or there are the more "hardcore" ARM development environments, which, while more complicated, can provide complete control over the contents of your Photon's program memory.
The purpose of this tutorial is provide a quick overview of the options you have when your developing firmware for the Photon. The online Build IDE is easy, but it's not for everyone -- that shouldn't stop anyone from getting a chance to use this powerful, cost-effective WiFi development platform.
This tutorial is split into a few sections. Navigate using the menu on the right, or click below to skip straight to the section you're most interested in:
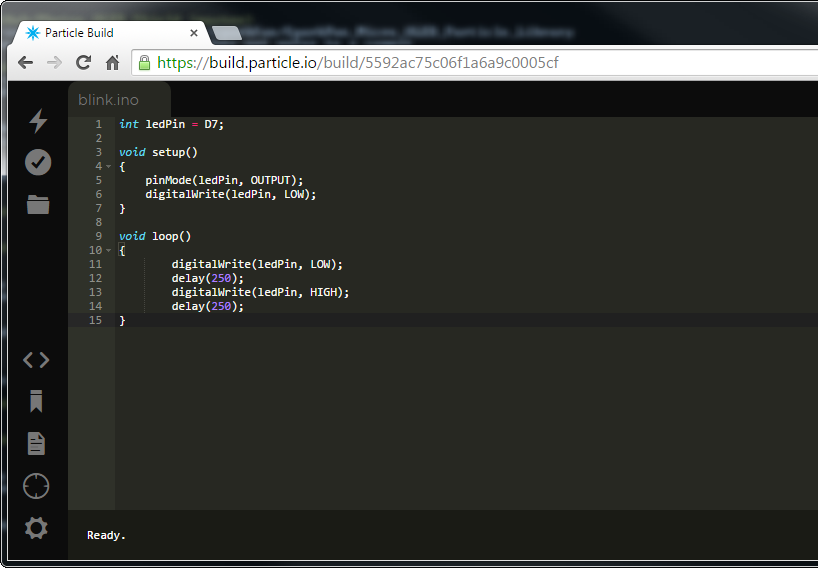
The Particle Build IDE is an always-online, browser-based portal where your Photon code can be edited, saved, and shared. This cloud-based IDE handles code compilation and flashes the built binaries to your Photon over-the-air. You don't even need your Photon next to you to update its program!
To load the Build IDE head over to build.particle.io.
If it's your first time working with Build you may have to create an account, otherwise log in to one you've already created.
The majority of the Build IDE's window is taken up by your code view -- as it should be. To navigate around the Build IDE there are buttons on the left side of the window. Hover over any button to get a brief overview of what it does -- you'll quickly become familiar with all of these icons.
Before you can upload any code, you have to tell the IDE which of your Photon's you'd like to flash it to. Click on the "Devices" tab to see your list of Photons, Cores, and P1 modules.
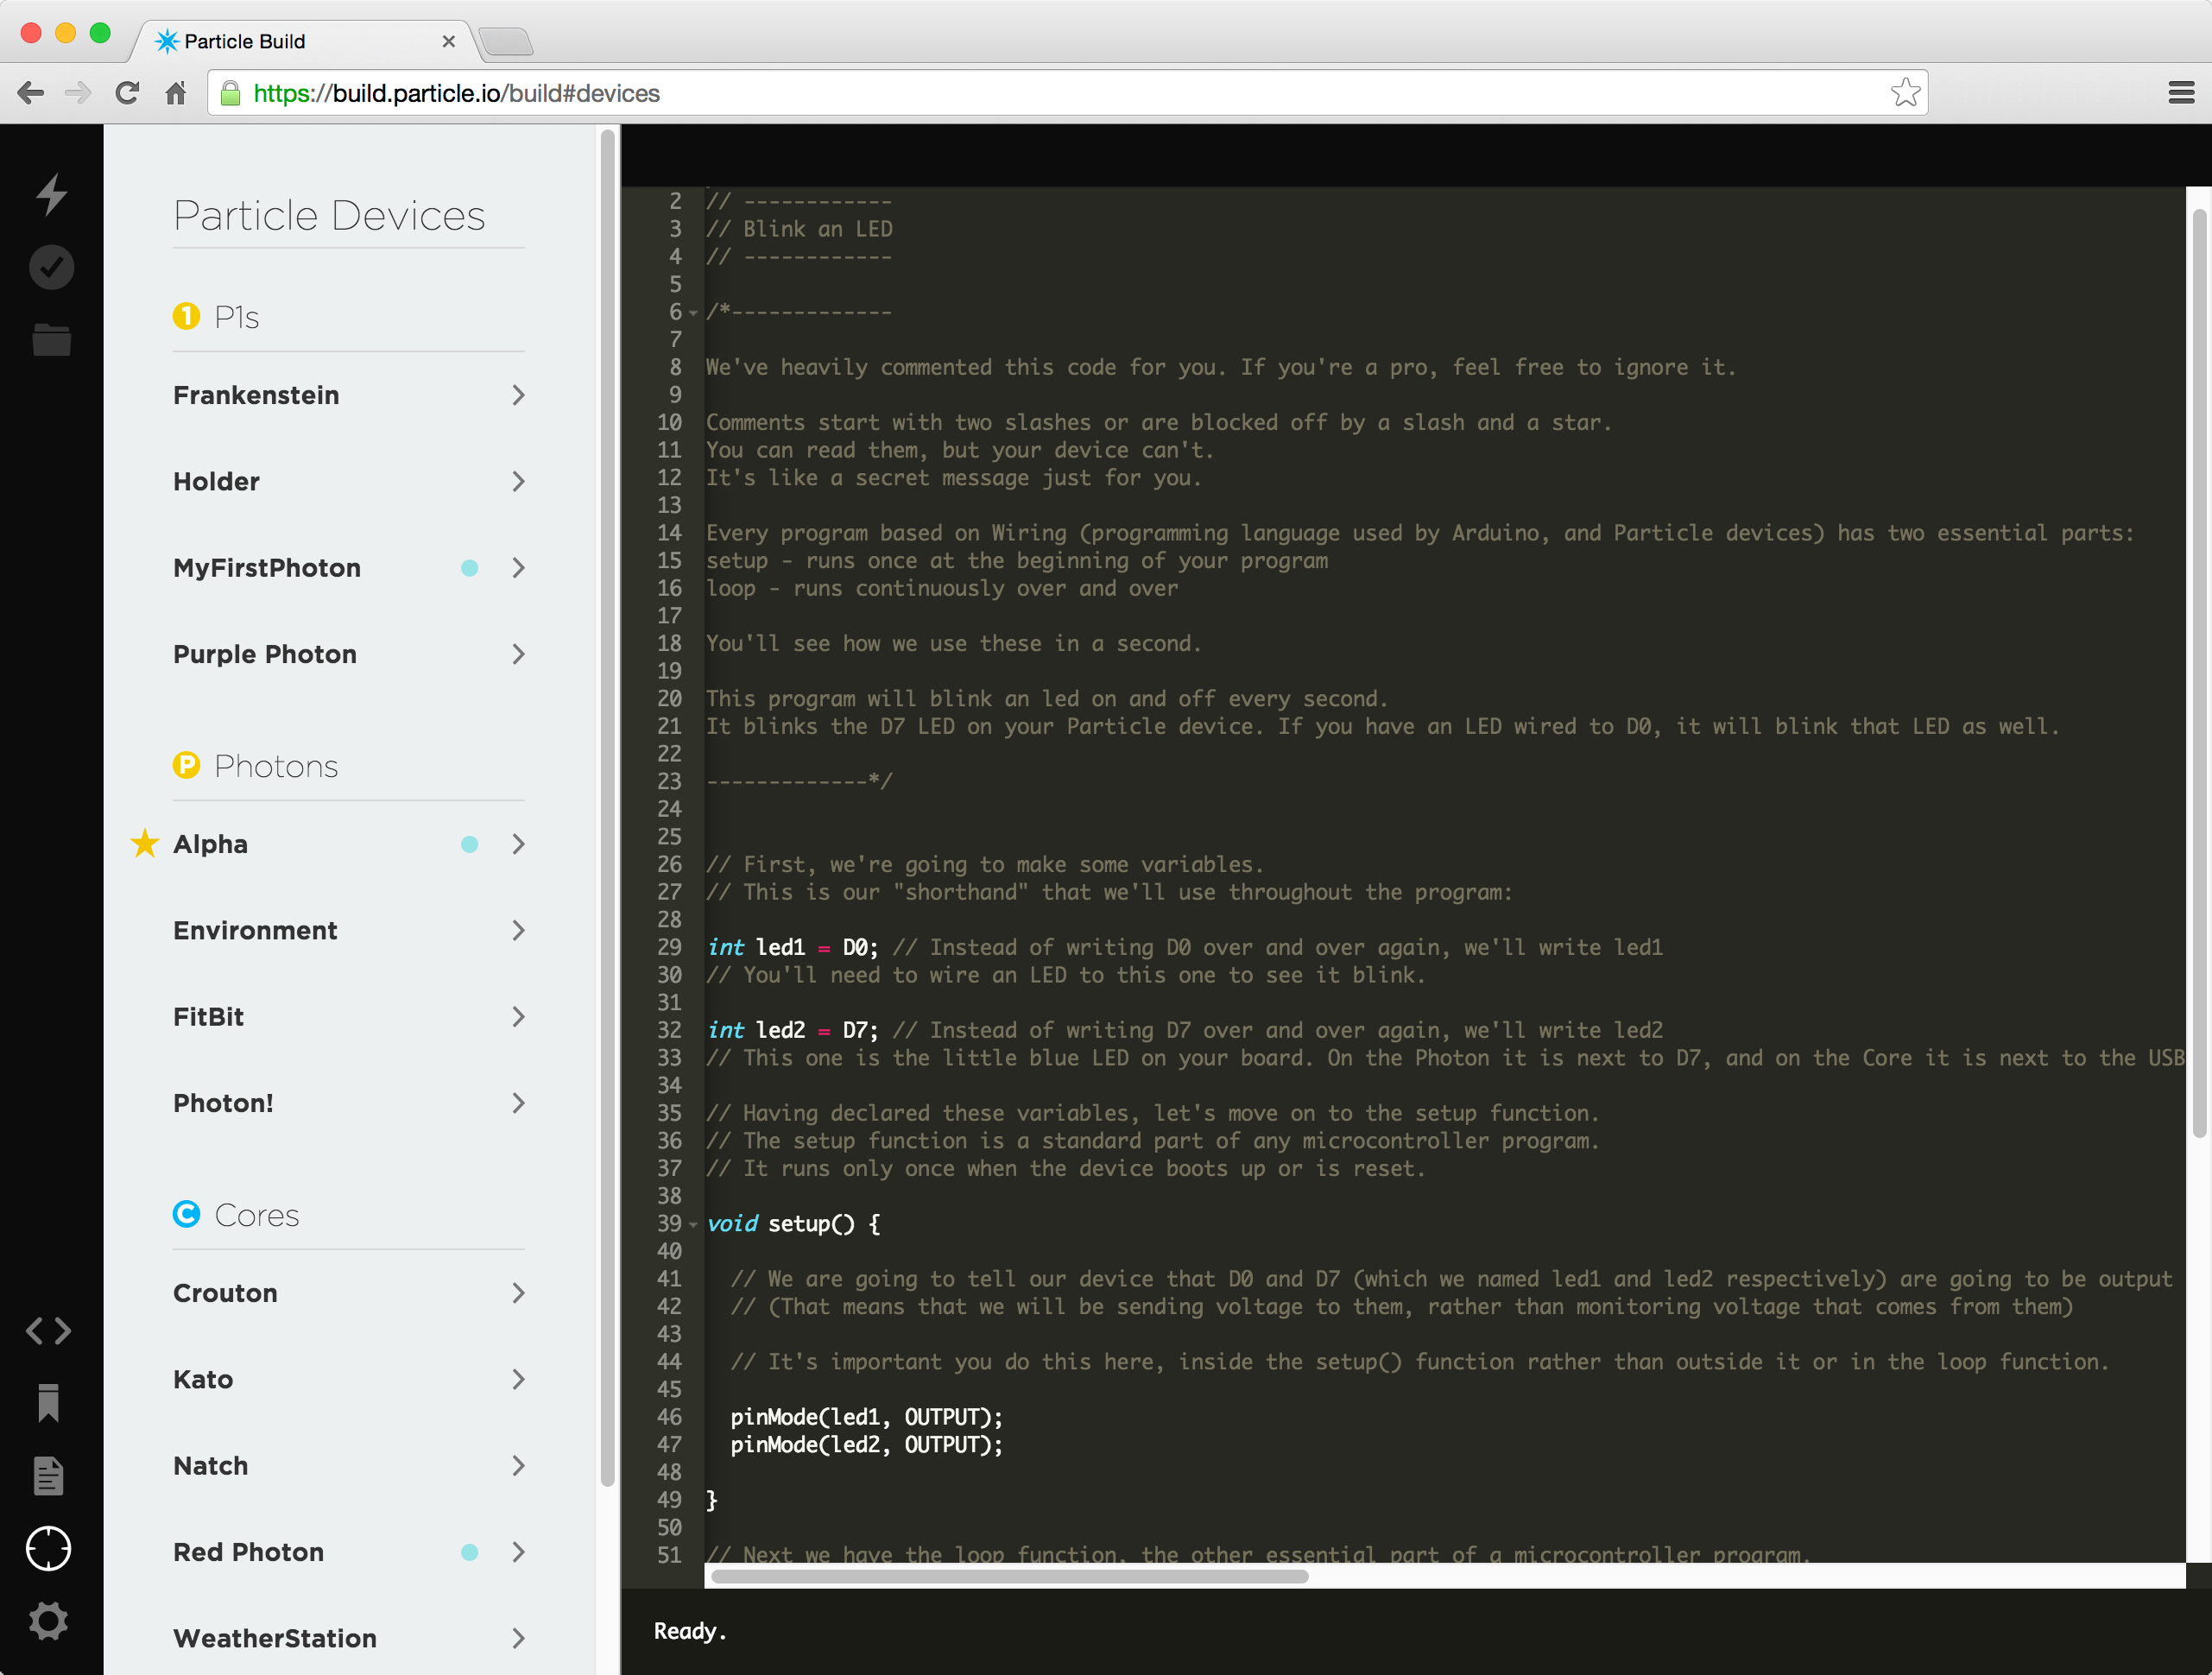
Mark the Photon you want to program with a yellow star, by clicking to the left of the name. You can only select one device at a time.
After selecting your device, navigate over to the Code tab, and either create a new App or select one of the examples. For your first try, the Blink and LED example is always a good tool to test with.
Finally, click the Flash button in the top-left corner and watch the bottom status-bar area of the IDE. The text down there will keep you up-to-date on how the flash process is progressing. Your Photon's RGB LED will also display it's status -- it should go from breathing cyan (connected to cloud), to blinking magenta (receiving flash), to blinking green (update done, connecting to WiFi), back to breathing cyan.
Particle's community-contributed libraries allow you to easily plug proven code to your application with the click of a button. Adding a library to an app can be somewhat confusing the first time through, so here's a quick rundown.
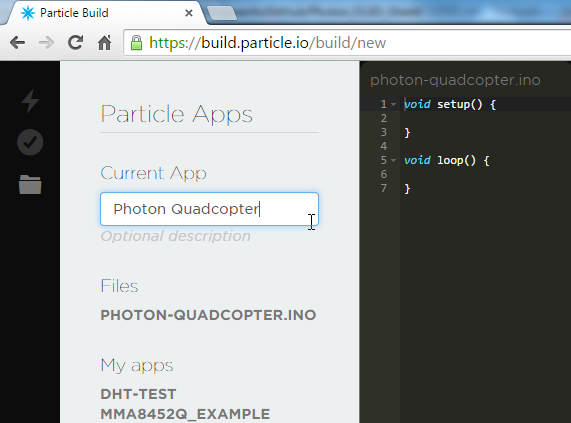
Create an App -- Before you can add a library to an application, you have to have one created for it. Switch to the Code tab, and click Create New App. Name it whatever you please, you can always change it. Press enter to create the app.
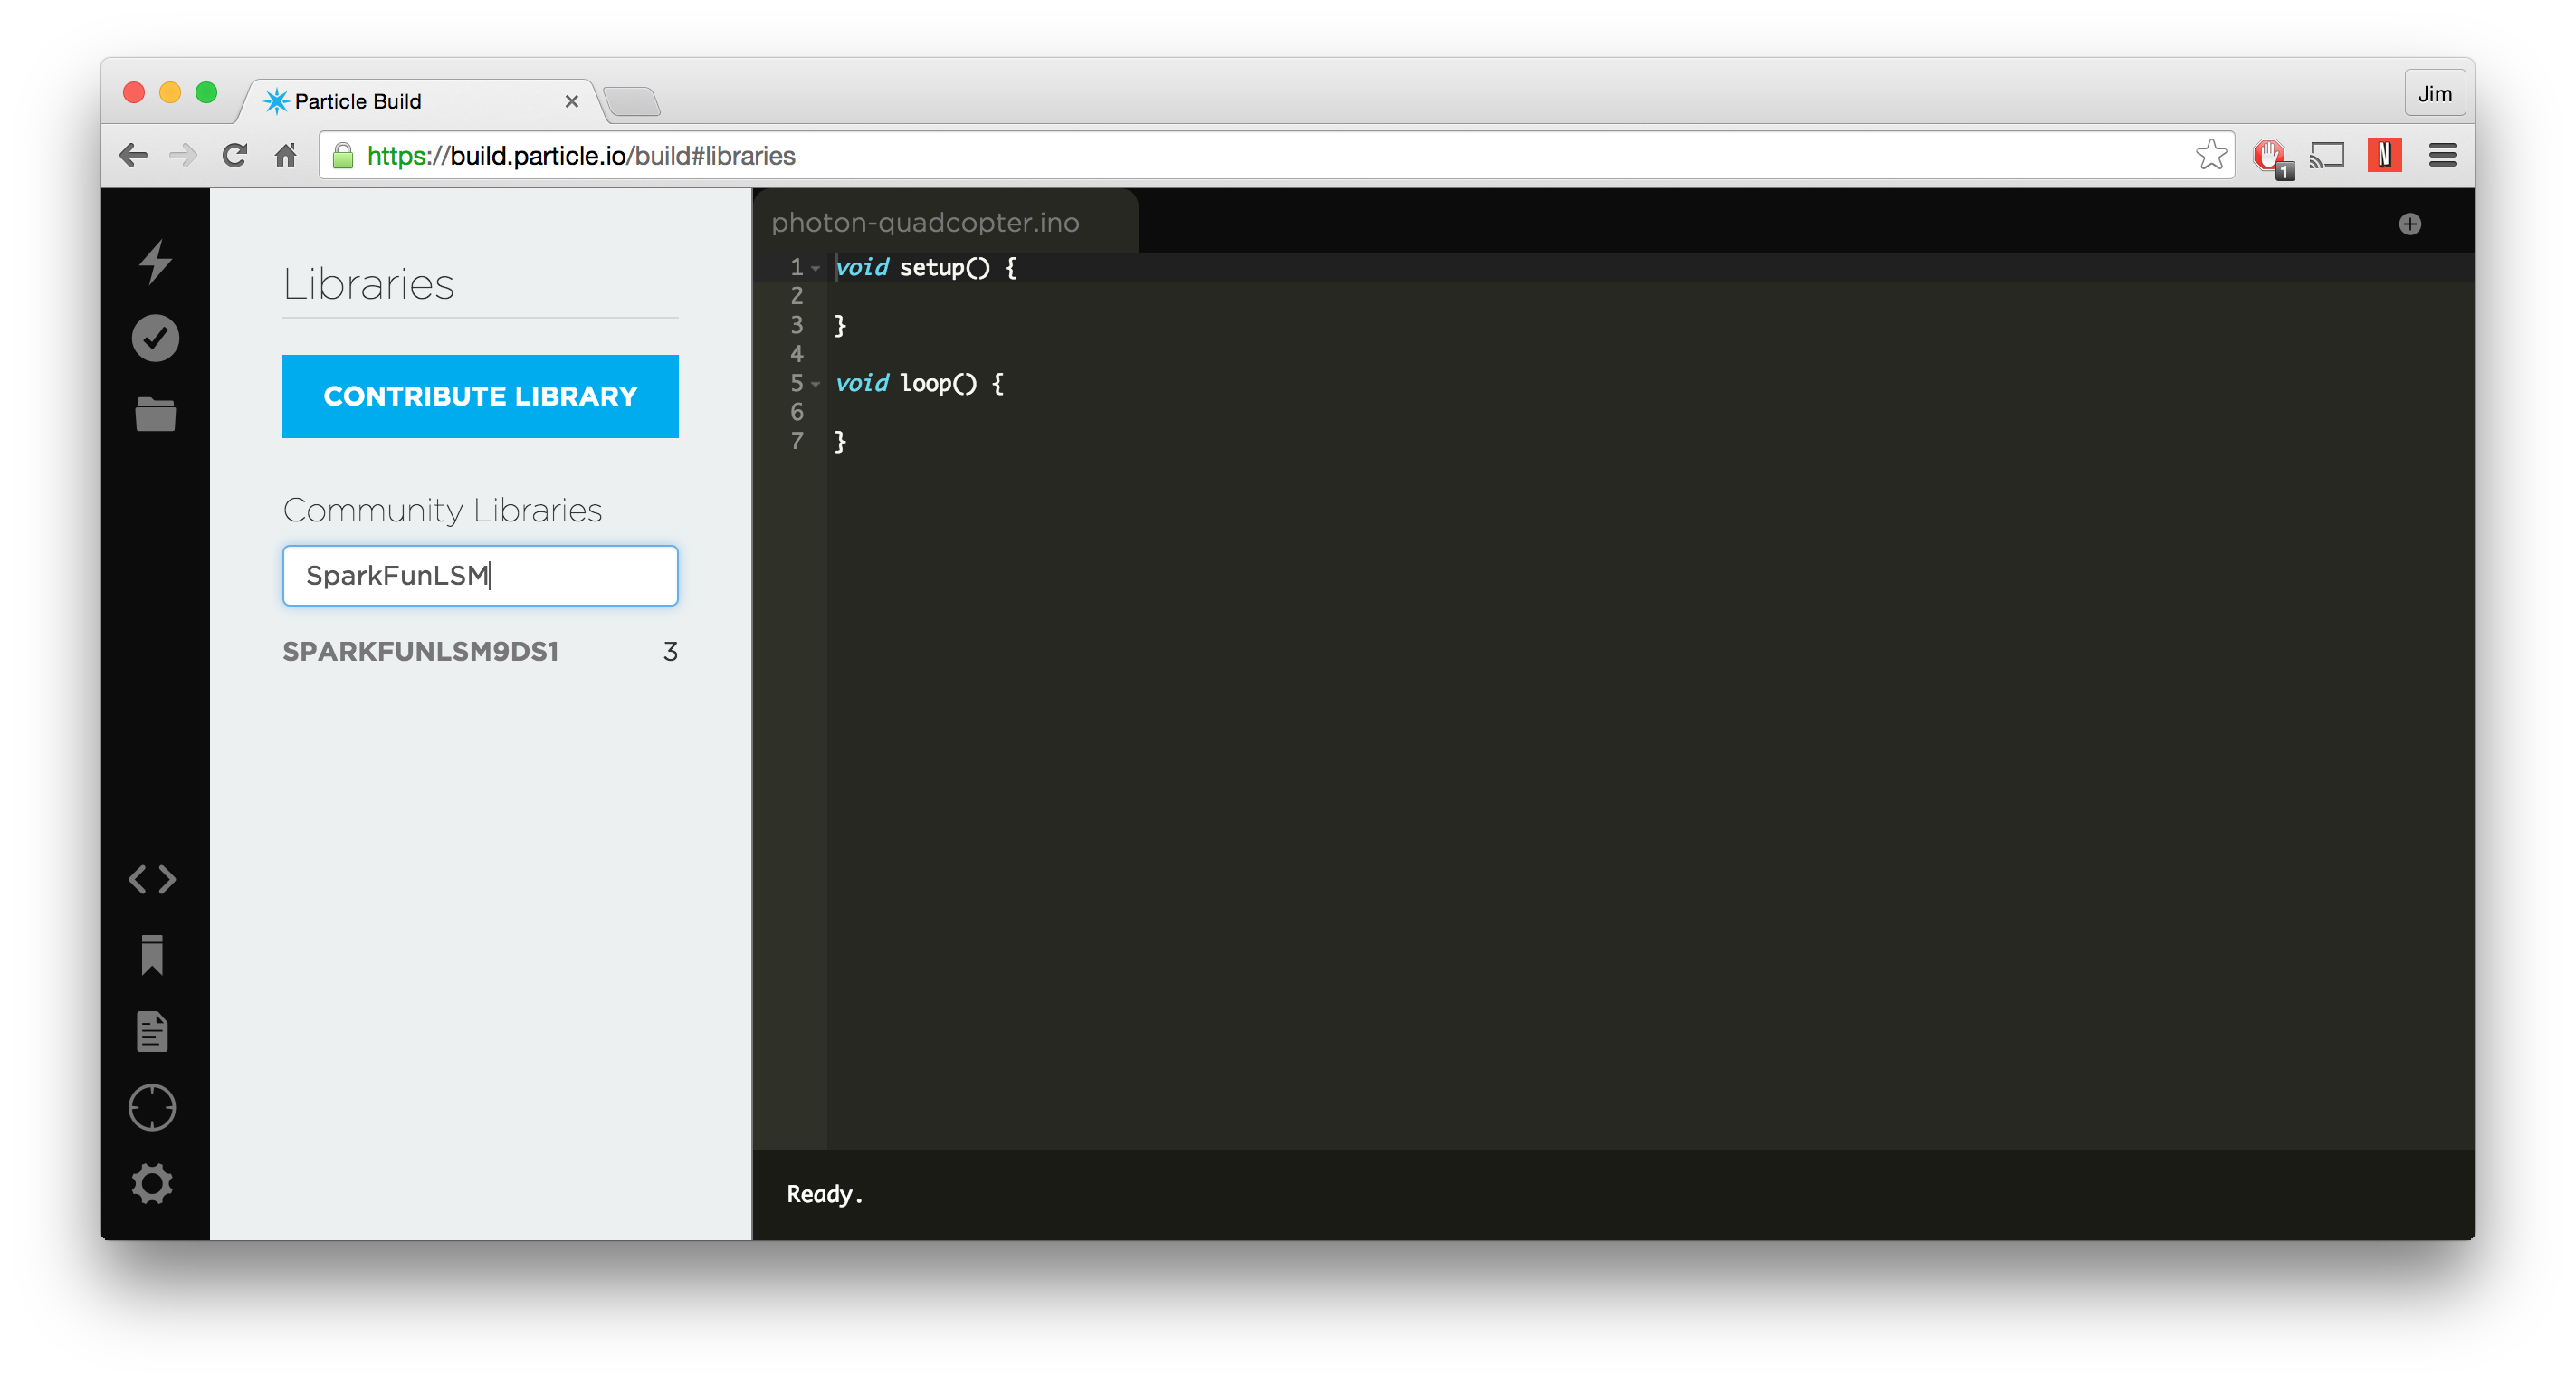
Find your Library -- Navigate over to the Libraries tab. Then, using the search box, find the library you're looking for. For example, to add our LSM9DS1 library to your app, search for "SparkFunLSM9DS1".
Select the Library -- Once you've found the library you're looking for, click on it to load up an overview of it. Here you'll be able to view all of the library's contents, and even get some information about what the library does.
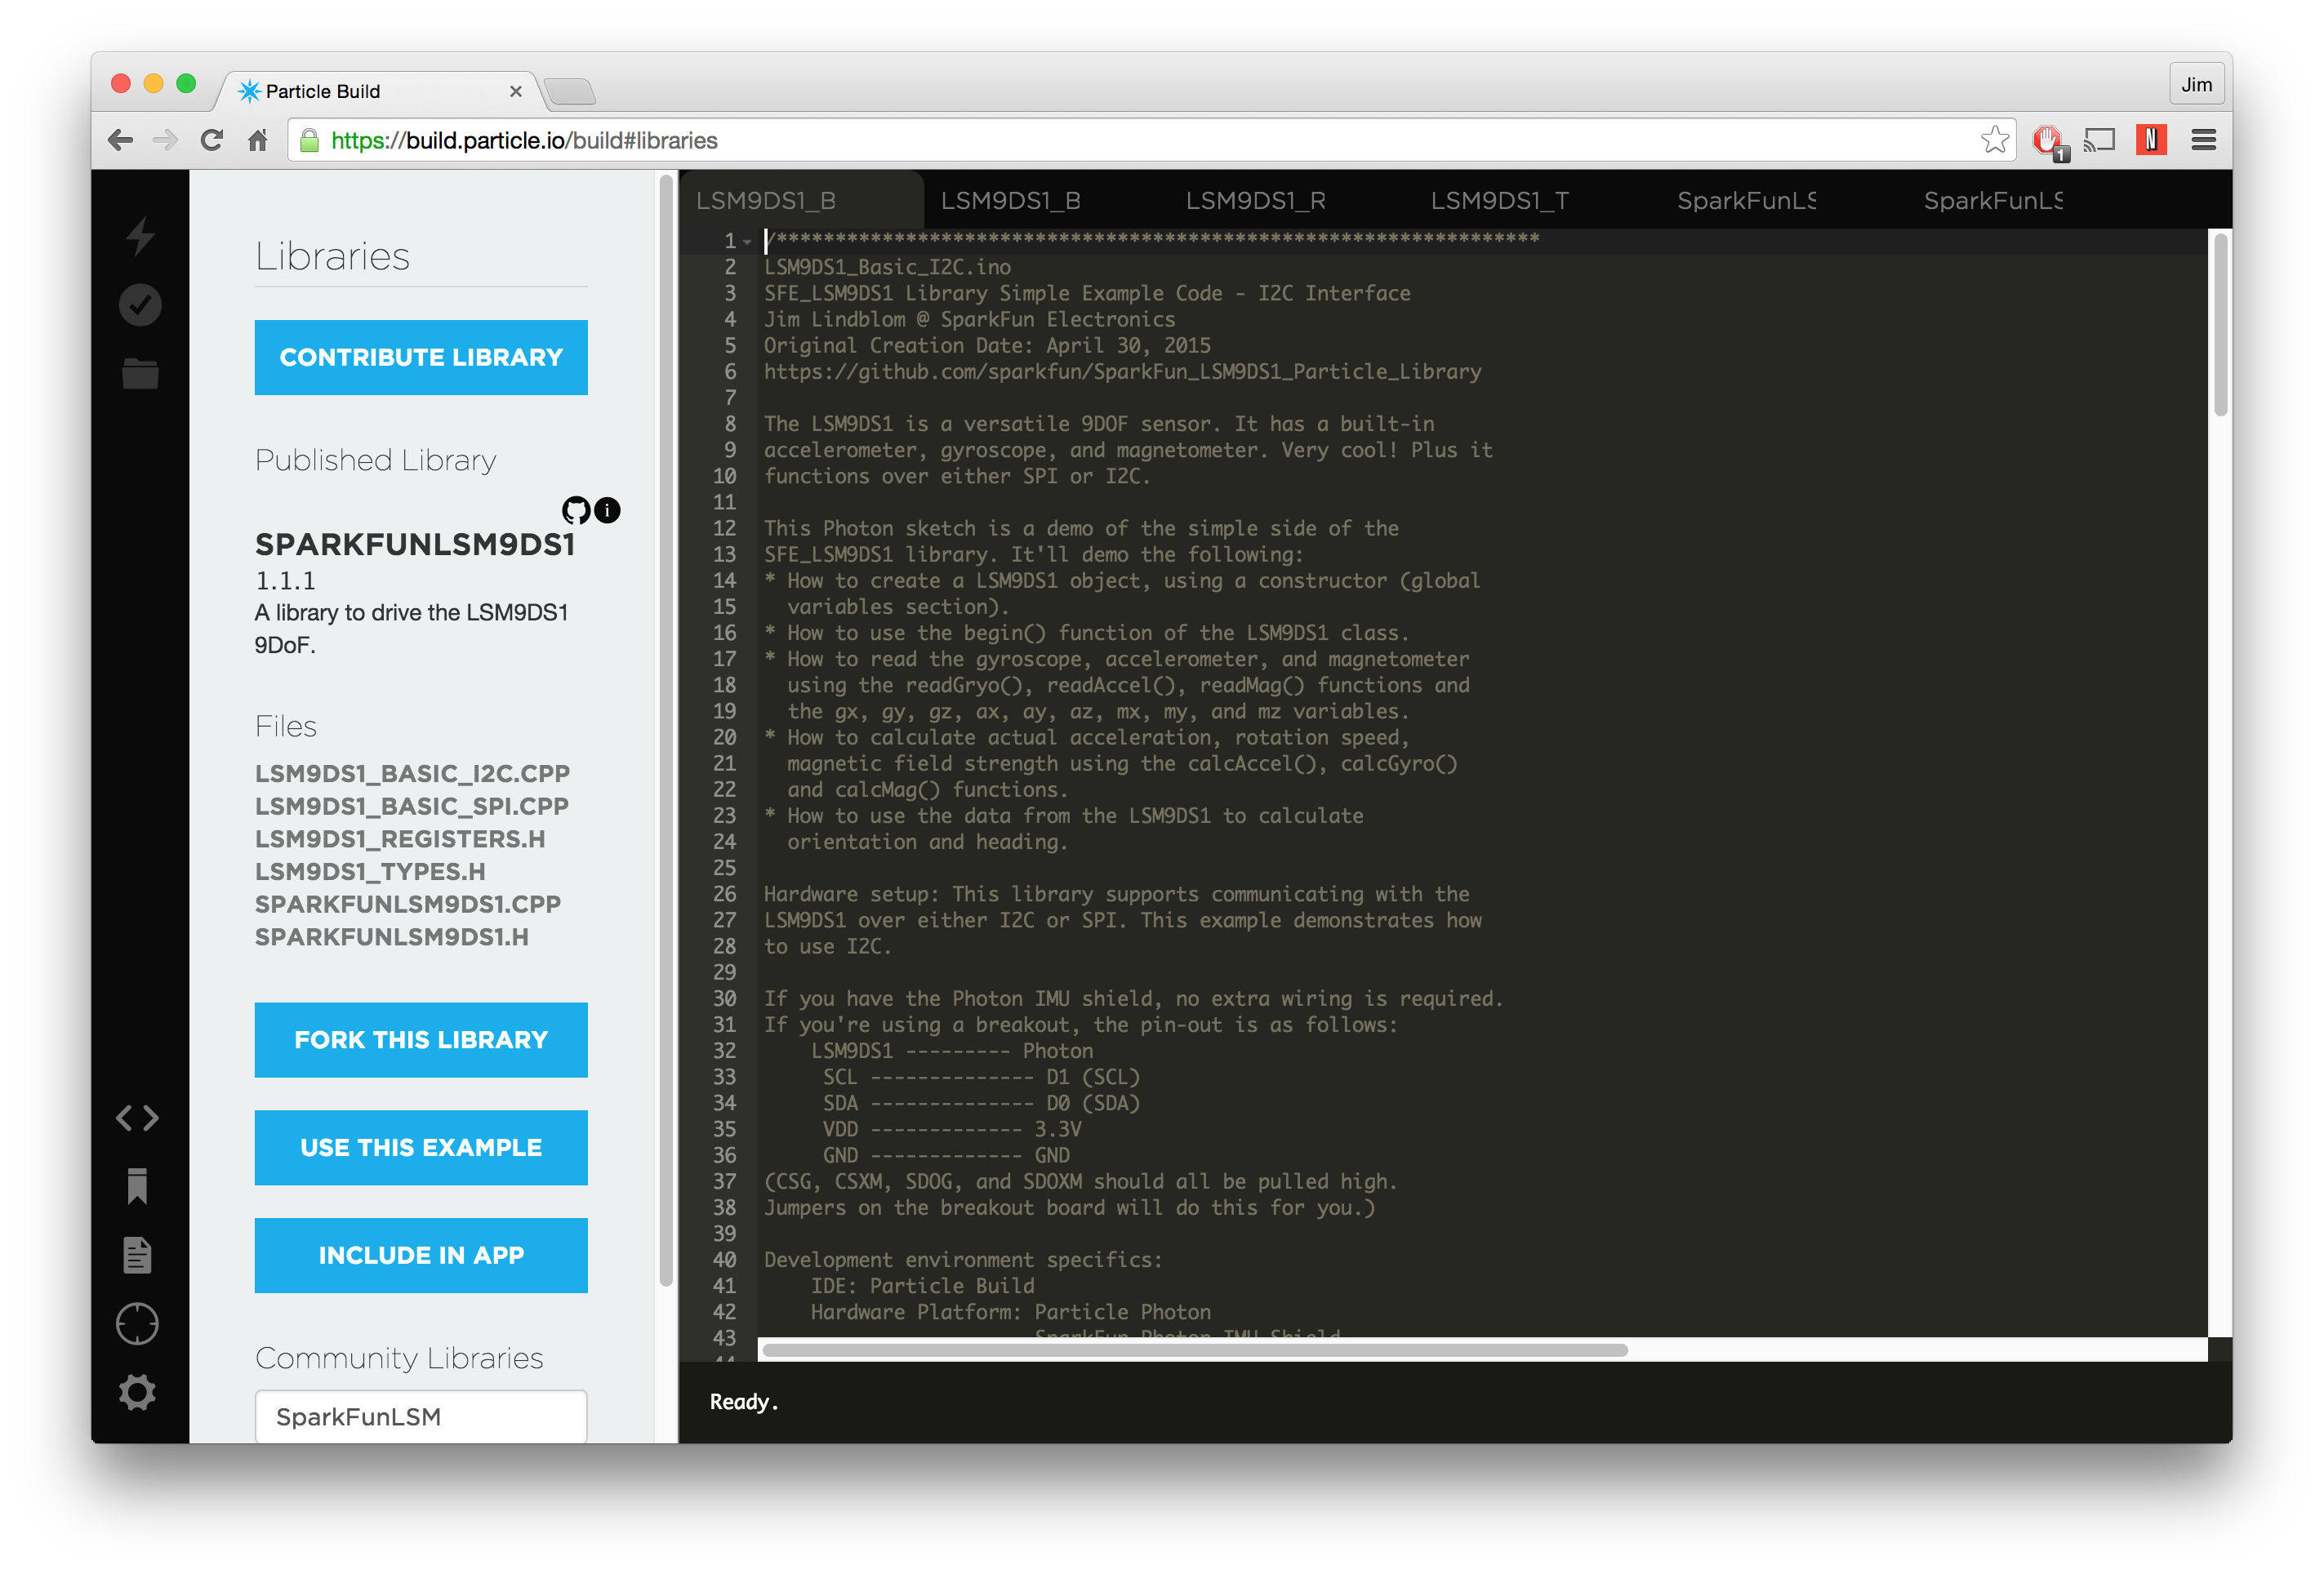
Include in App -- Finally, click the Include in App button, then click the app it's destined for. To verify, click Add to this App. Magically, an #include statement will appear at the top of your app.
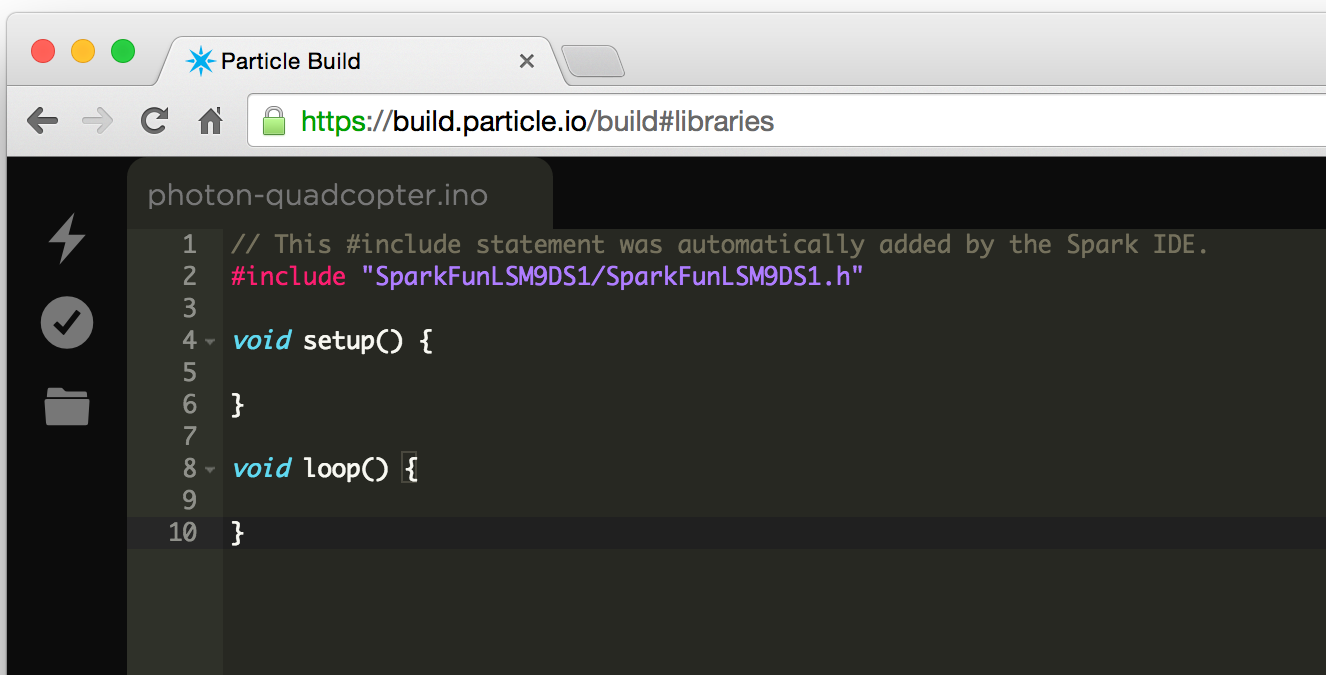
Note that simply copy/pasting the #include statement won’t actually add the library to your app, you need to go through the "Include in App" process.
For more information on using the Particle Build IDE, check out Particle's Build documentation. There you can learn more about contributing libraries, checking your memory usage, and using keyboard shortcuts.
If you're uneasy about leaving your hard work in the mysterious "cloud," but still want all of the benefits offered by Particle Build, Particle Dev is a great middle-of-the-road option.
Like Build, Particle Dev takes care of your toolchain setup (compiler, linker, etc.) and allows you to program remotely, plus you get the added benefit of keeping all of your source code locally saved to your machine.
For the most part Particle Dev is still an online IDE. Your code is stored locally, but the "cloud" is still required to compile. You'll need to be connected to the Internet to get the full use out of it. (There may be hope though: in Particle's words "This is not an offline development tool, yet.")
Particle Dev is currently available for Mac and Windows. Head over to particle.io/dev to download it.
Follow along with the install wizard to install it on your Windows machine. Mac users can unzip the "Particle Dev" application, and stick it in your applications folder.
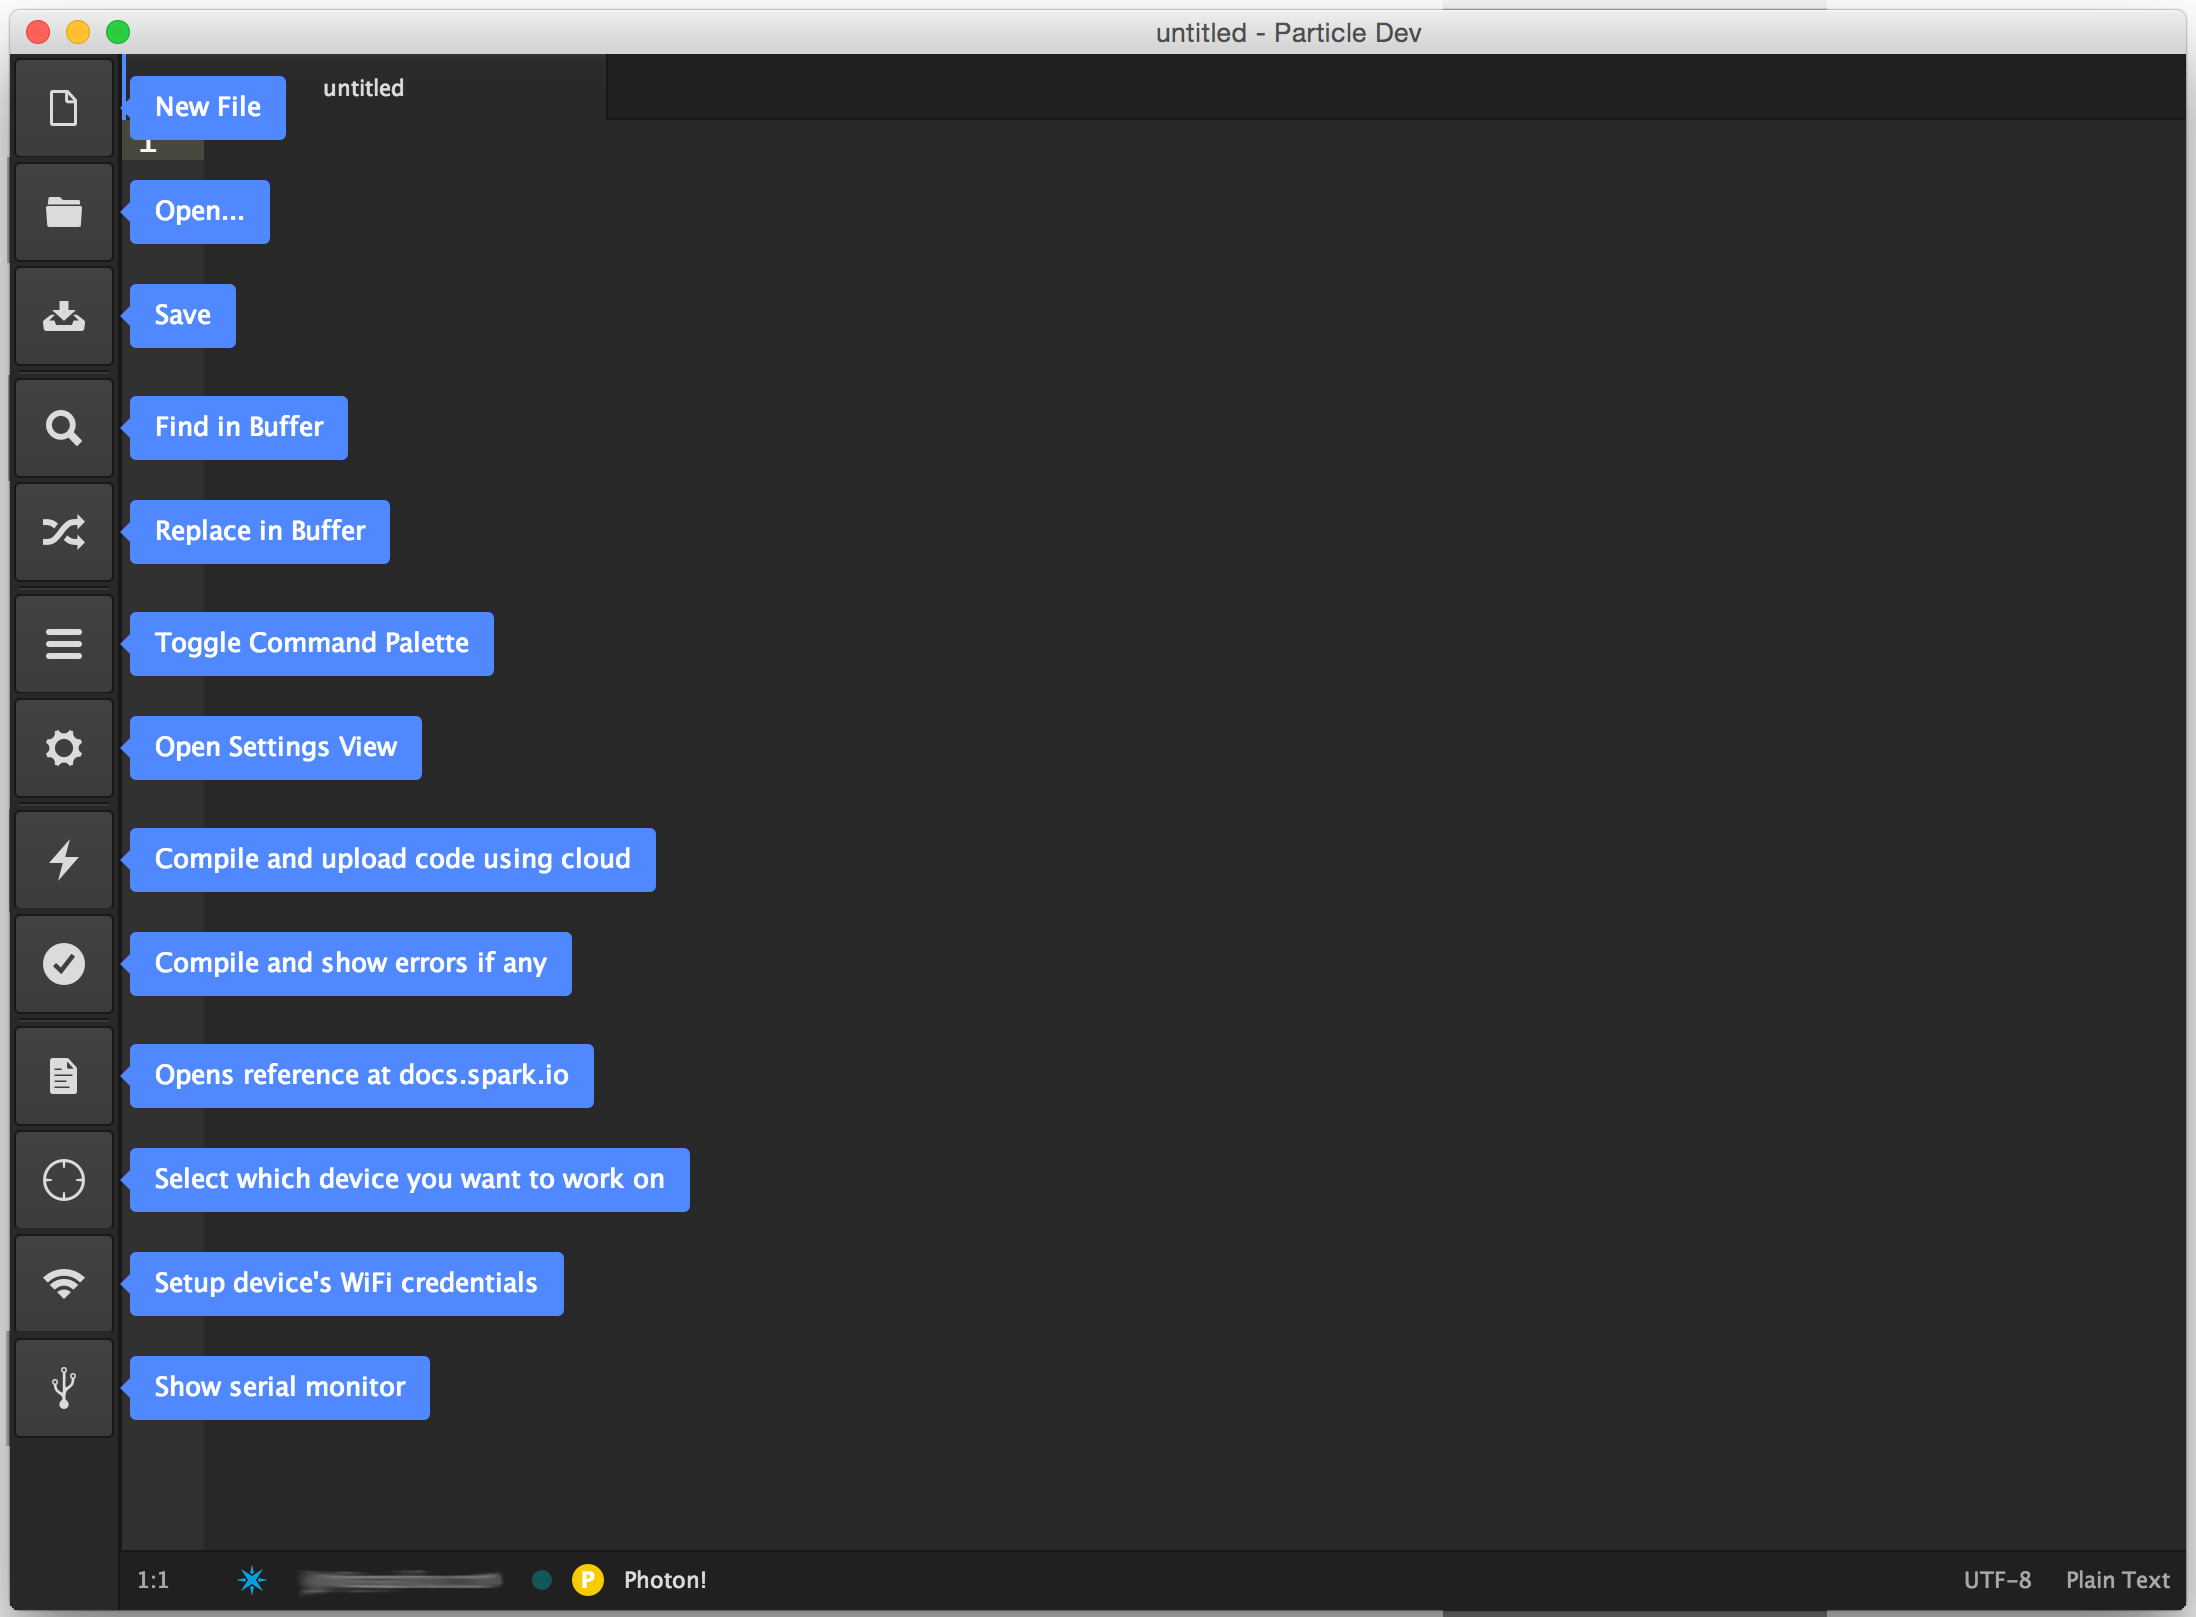
If you've tested the waters with Particle Build, you should already be somewhat familiar with Particle Dev's menu icons. Hover over any icon to get a succinct description of what it does.
The first time you load up Particle Dev, you'll have to log in to your Particle account. That will give you access to flash your Photons and Cores. Go "Particle" > "Log in to Particle Cloud..." or click "Click to log in to Particle Cloud..." to set it up.
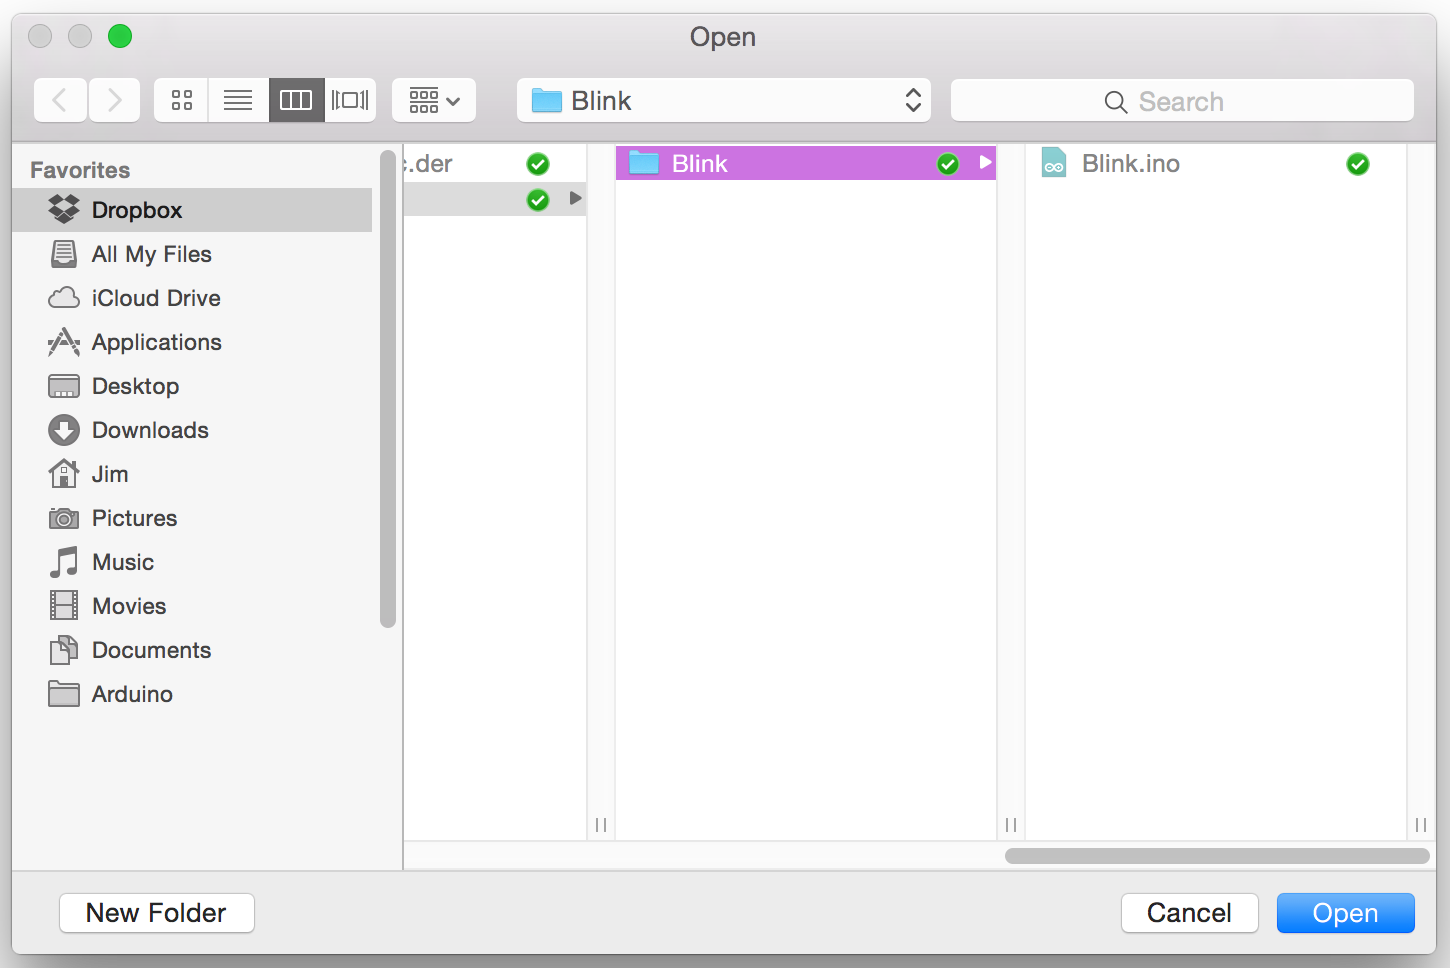
Now it's time to write some code! Projects in Particle Dev are folder-based. If you'd like to follow along with an example click the button below to download a simple "Blink" app -- unzip it anywhere you'd like.
Begin by opening a project using the File > Open Folder... menu option (on the Mac version select "Open Project Folder"). Navigate into a folder, and click "Select folder" (or "Open" on Mac).
The contents of your project folder will be displayed to the left of the text editor window. Click on any file to view its contents.
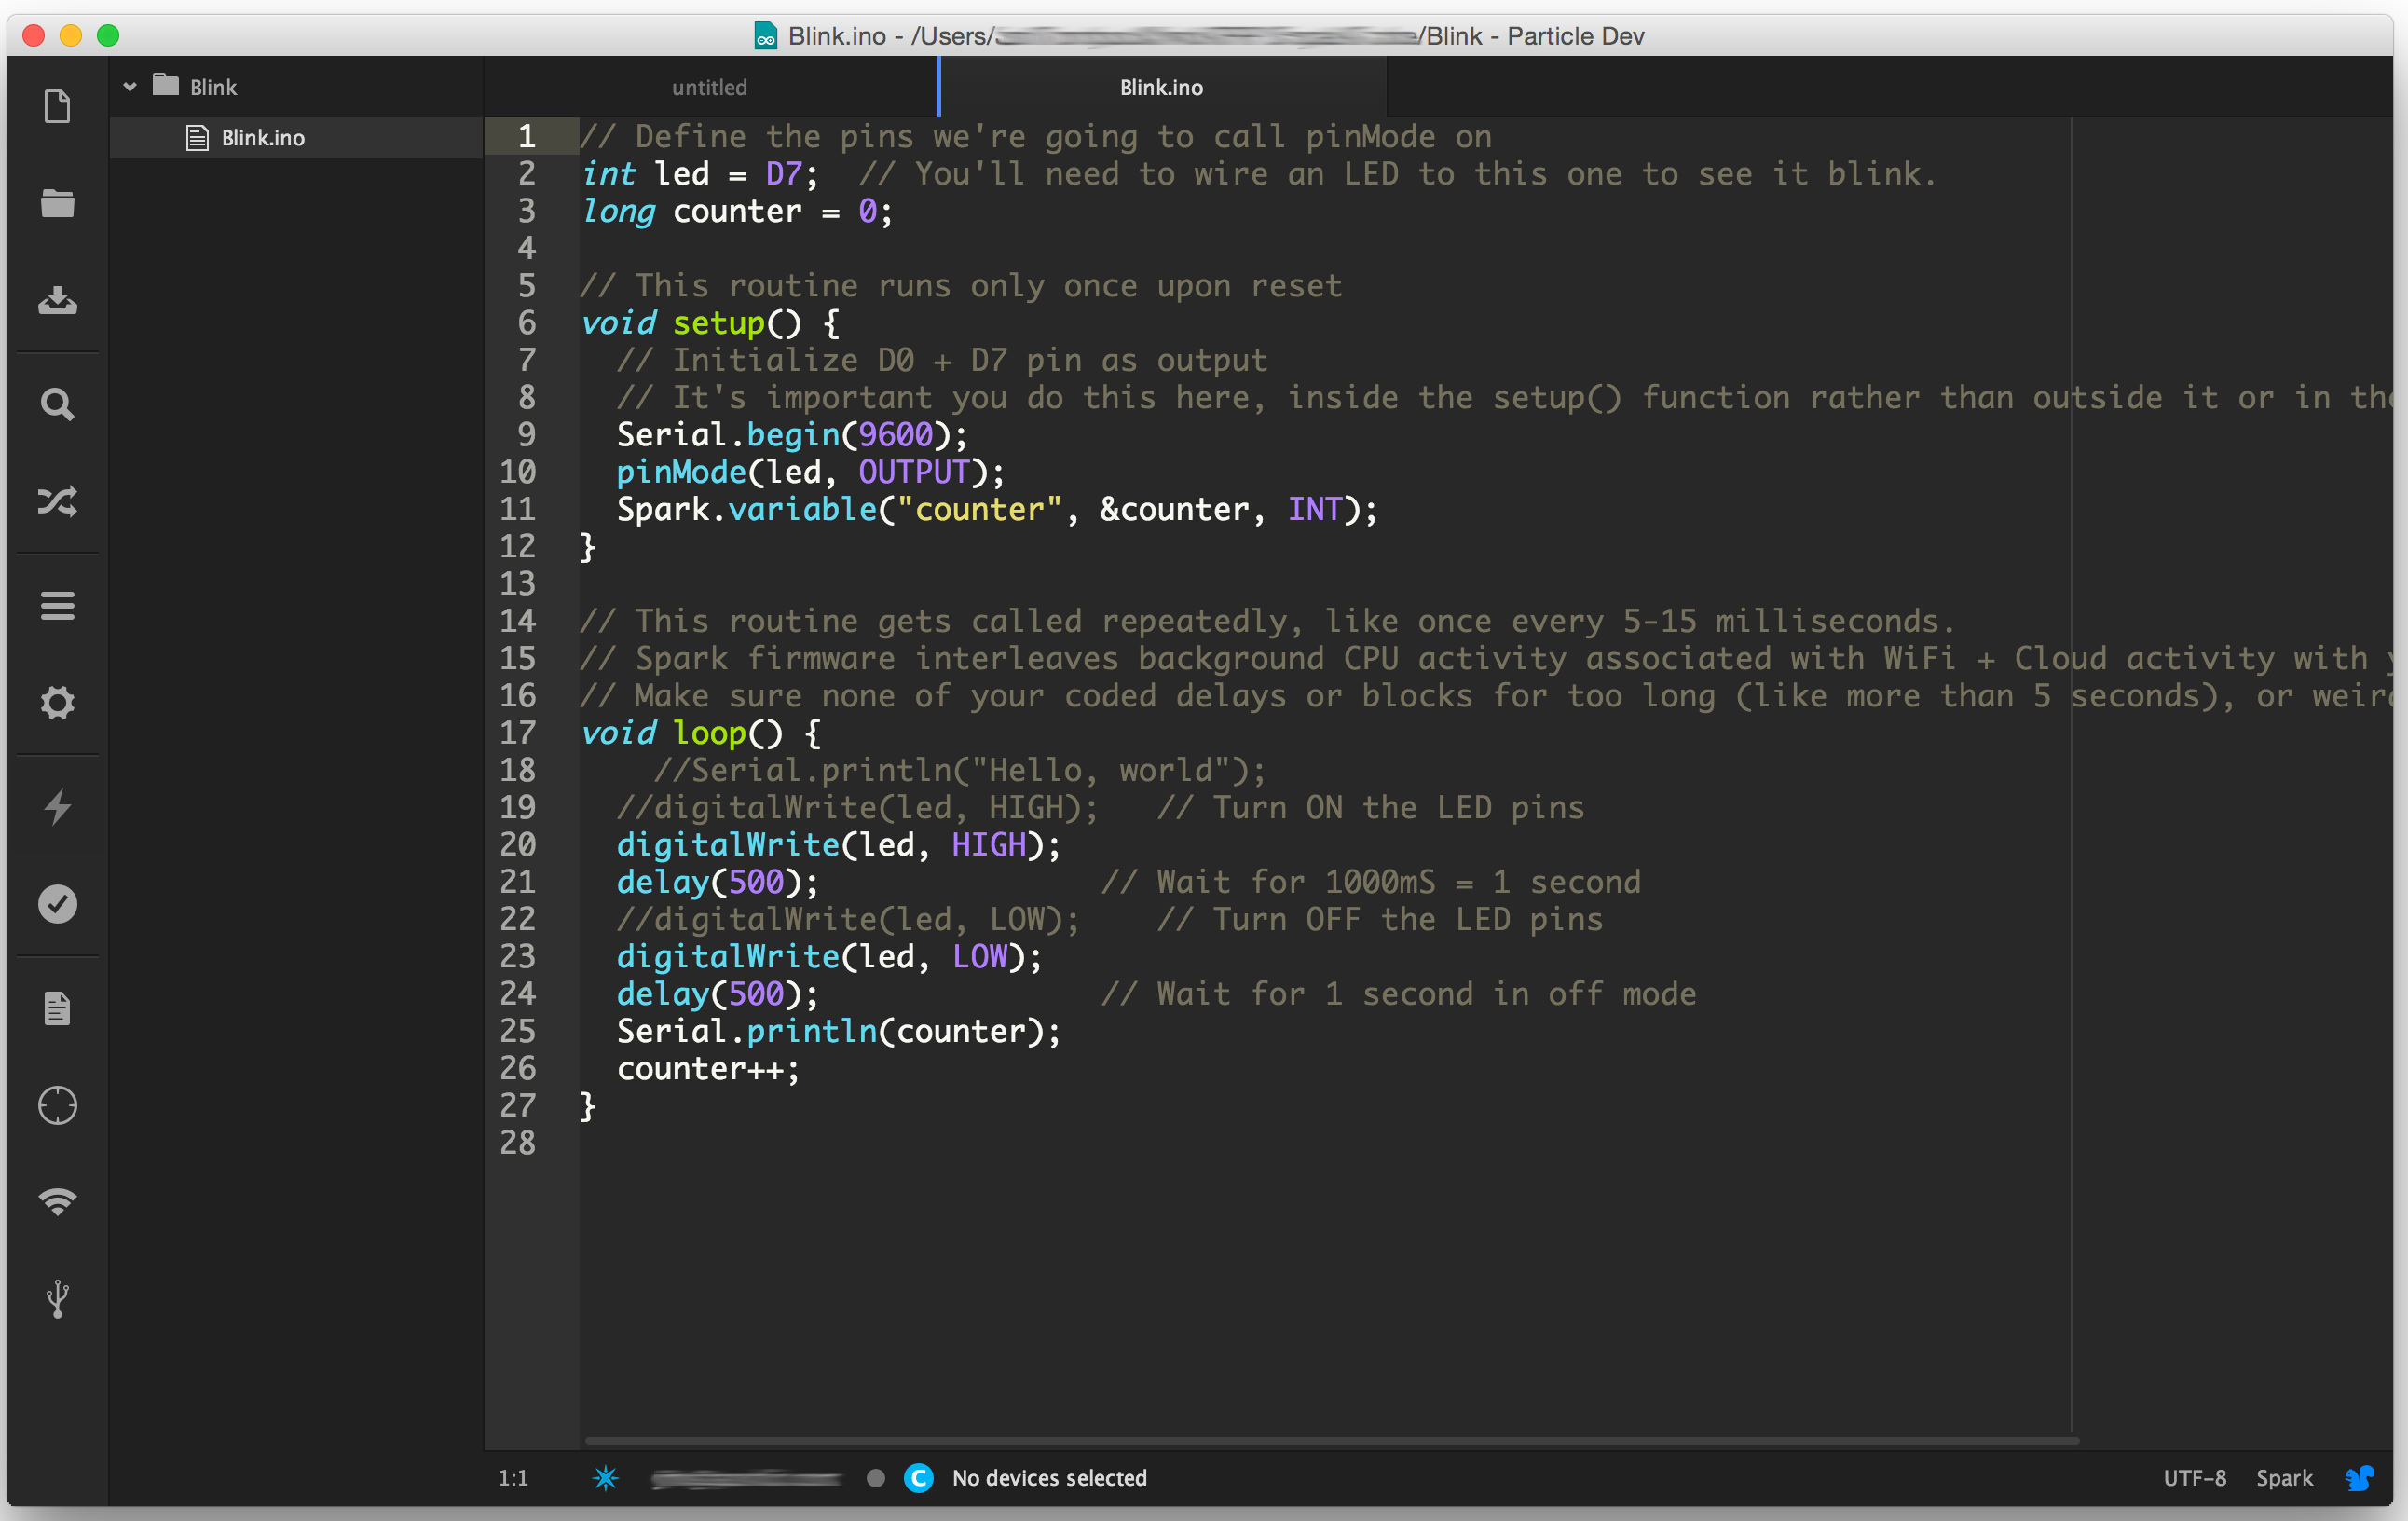
You can edit this code just as if you were in the Build IDE. Click the checkmark icon ("Compile and show errors if any") to try compiling your code. If it builds, you'll see a "Success!" message down at the bottom of the window.
Once you've gotten your application code to the point where you're ready to upload it save.
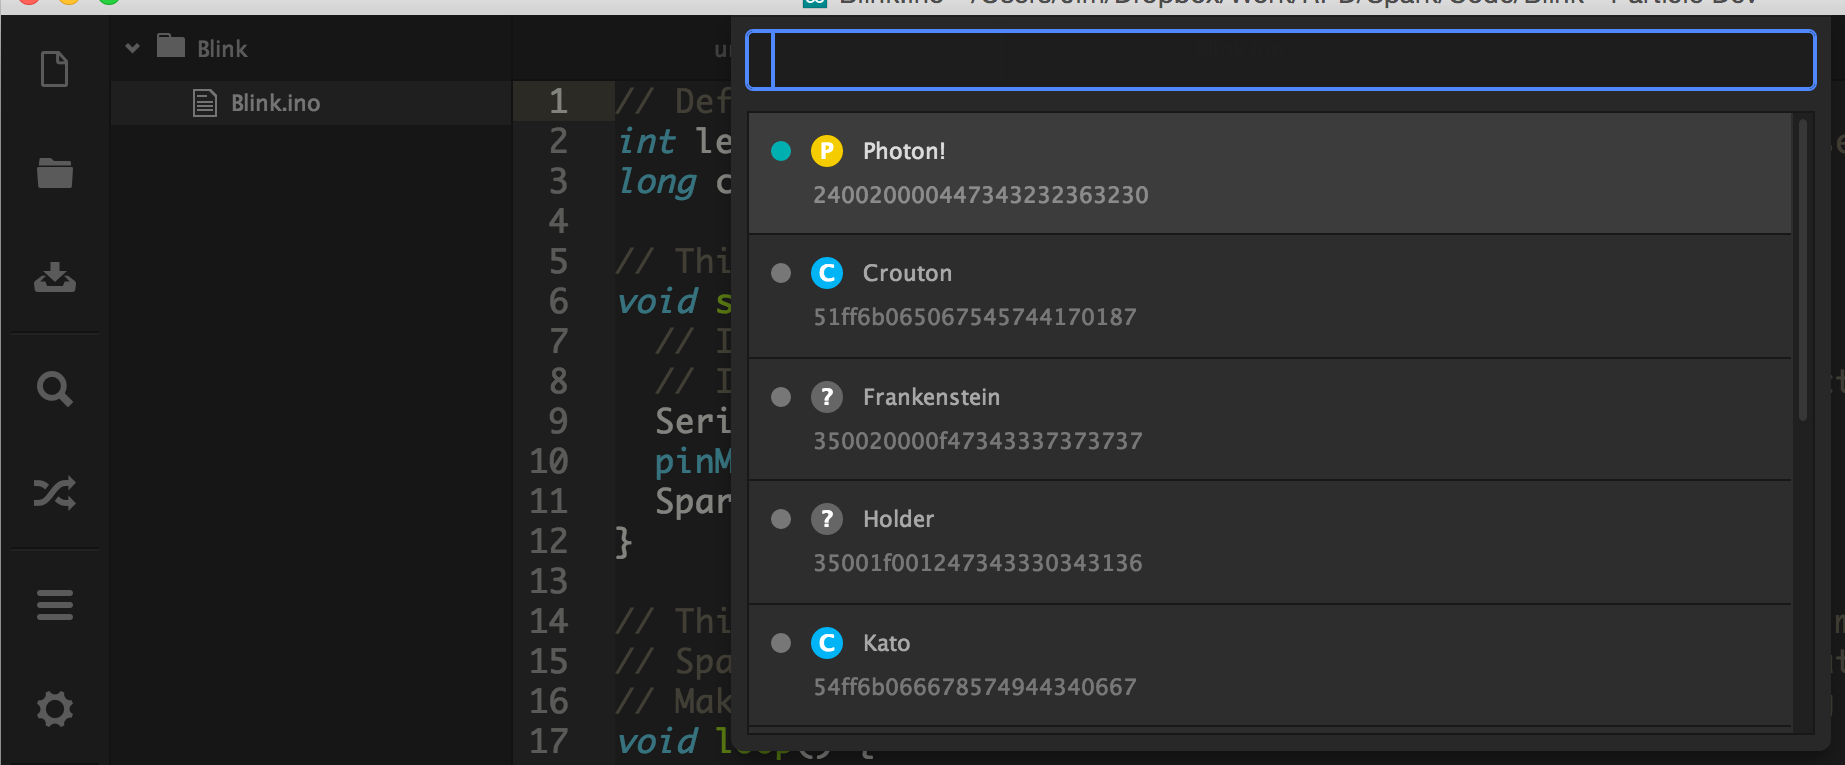
Then select a device by going to Particle > Select device. If your Photon is connected to Particle Cloud, there should be a comfortingly pulsing teal dot next to it.
With your device selected, and code in a compilable state, click the Flash icon ("Compile and upload code using cloud").
The status of your code upload will be displayed in the bottom of the IDE. As code is being flashed, your Photon should briefly blink magenta before transitioning into its new application.
It'll take a few extra clicks and drags to add a library to your Particle Dev project folder -- it's not quite as easy as Particle Build.
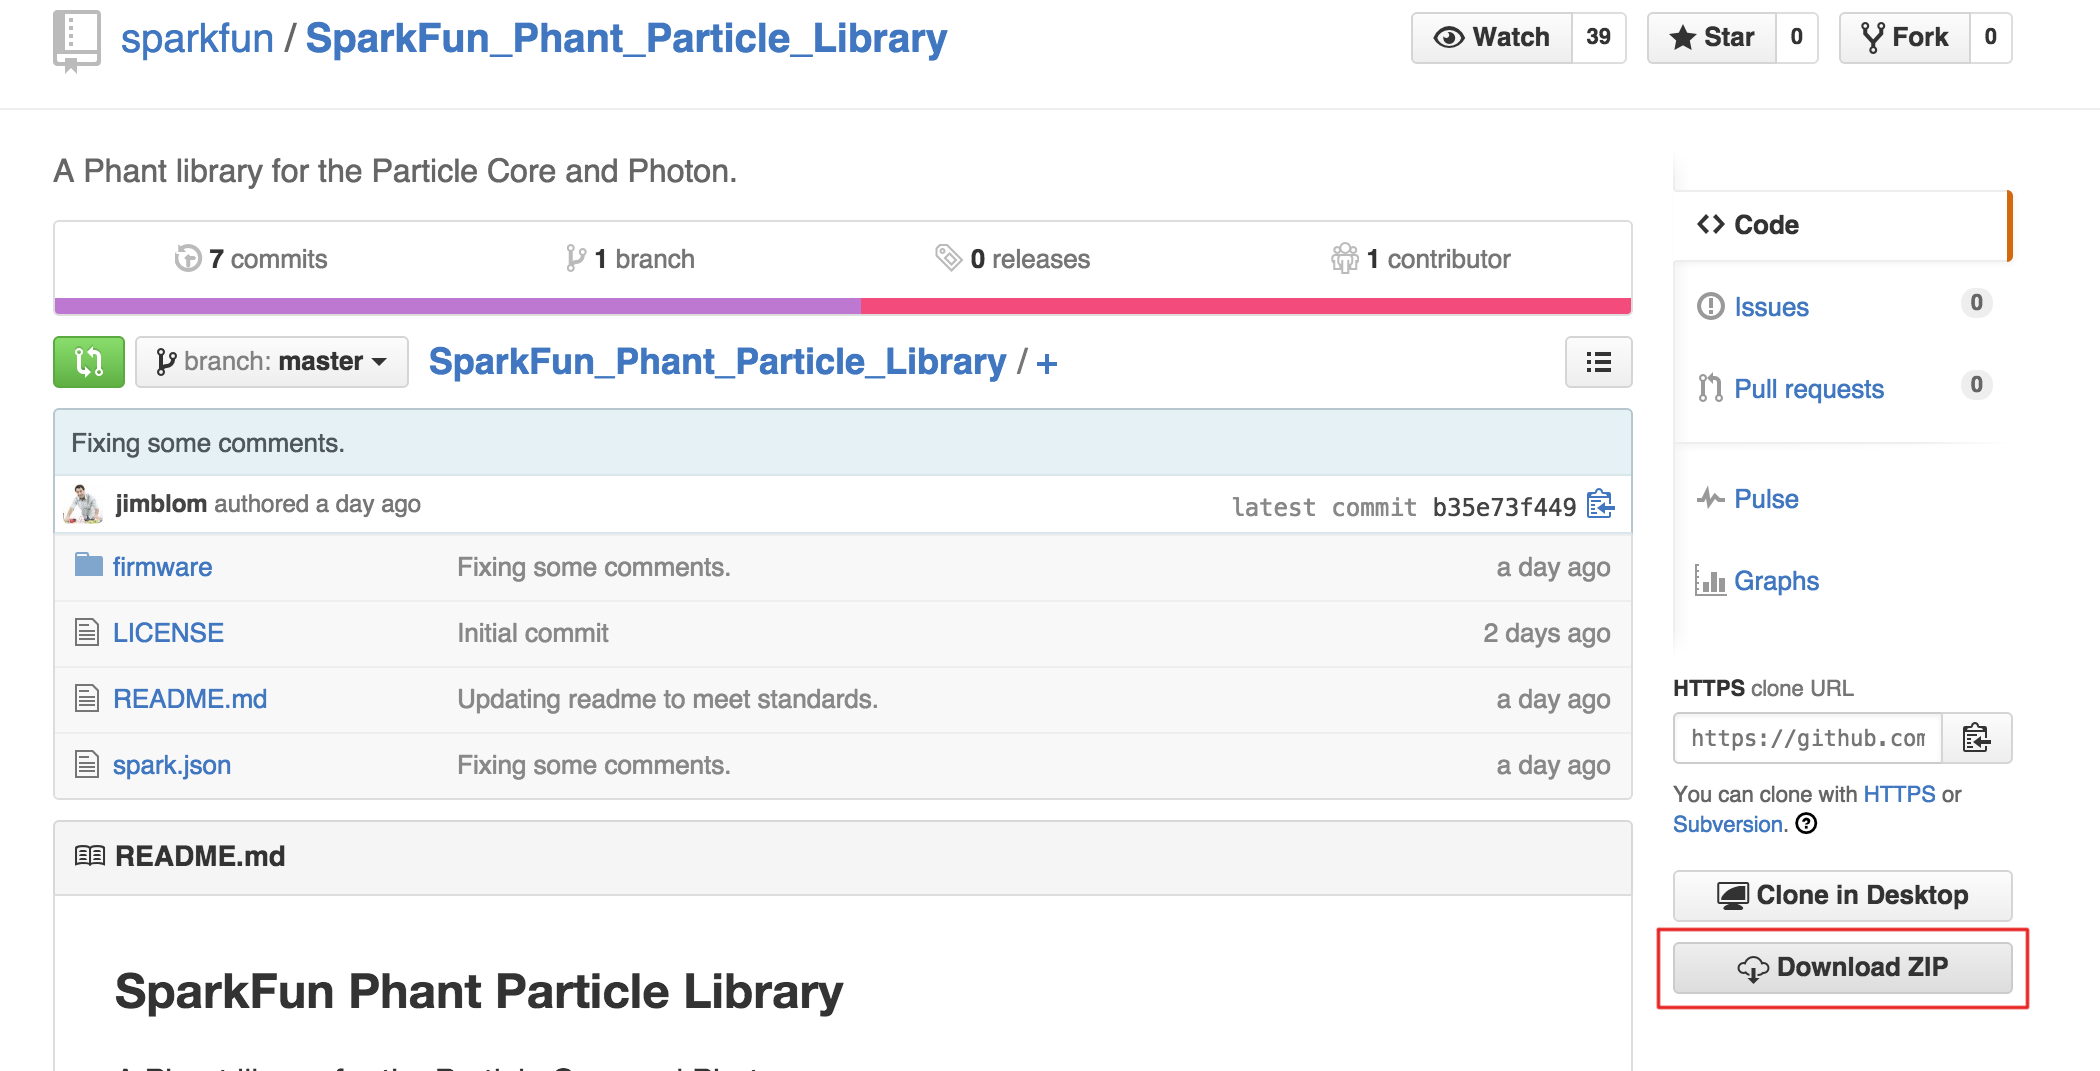
To begin, you'll need to download the library. Most Particle libraries should already be hosted on GitHub, so find the library you want and view it there. You can find SparkFun's list of Particle libraries here.
On the GitHub repository page, click "Download ZIP" to get your own copy of the library.
Unzip the library. Then you'll need to do some surgery on the contents. Grab the library's source files -- they should be in the "firmware" directory and end with either a .cpp or .h.
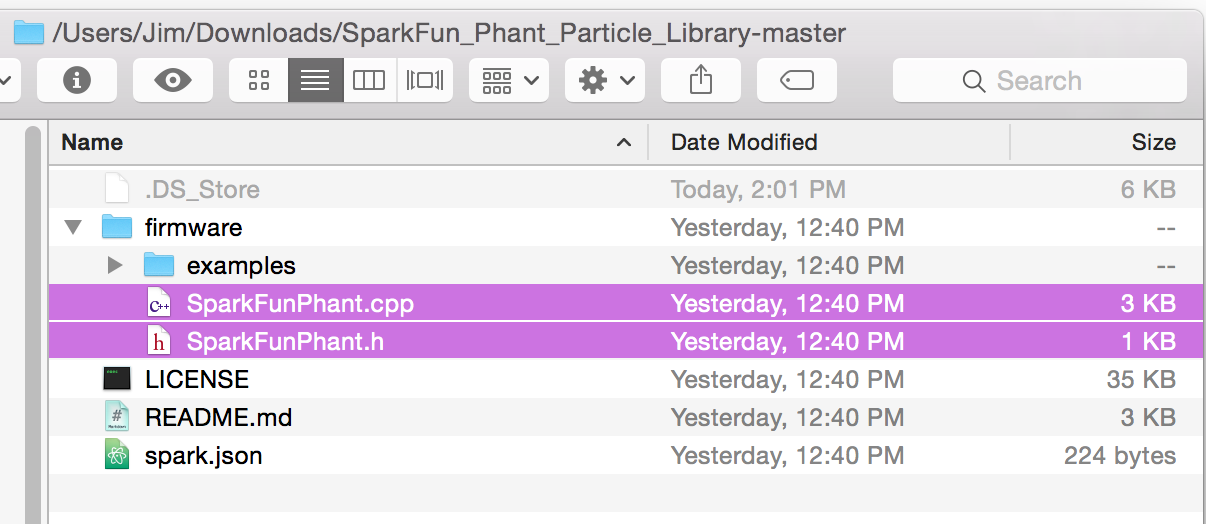
Don't grab the "examples" folder! If you want to use one of the examples as your main application source file, drag it into your project folder as well.
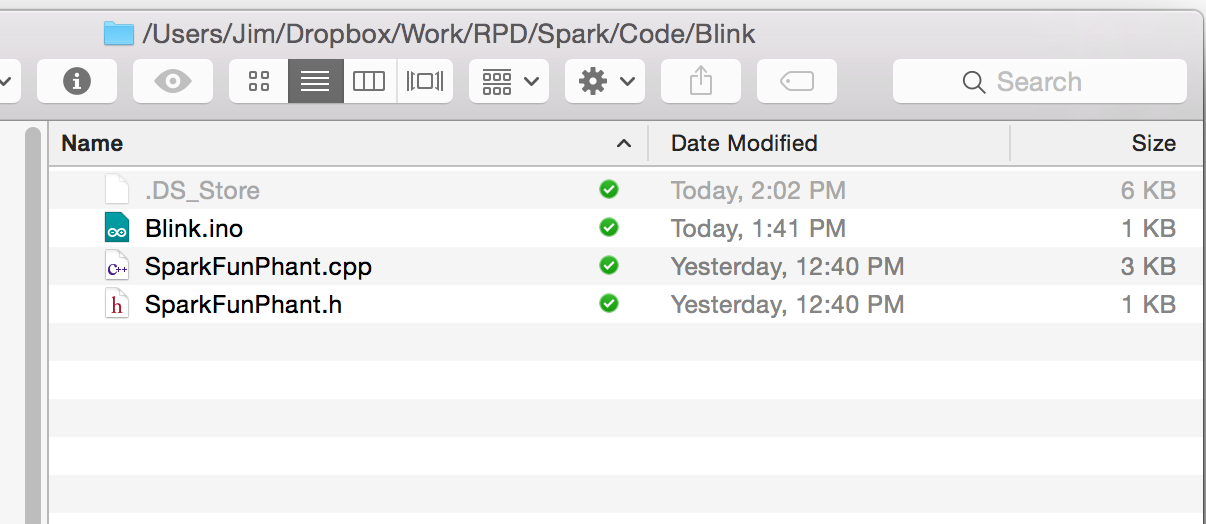
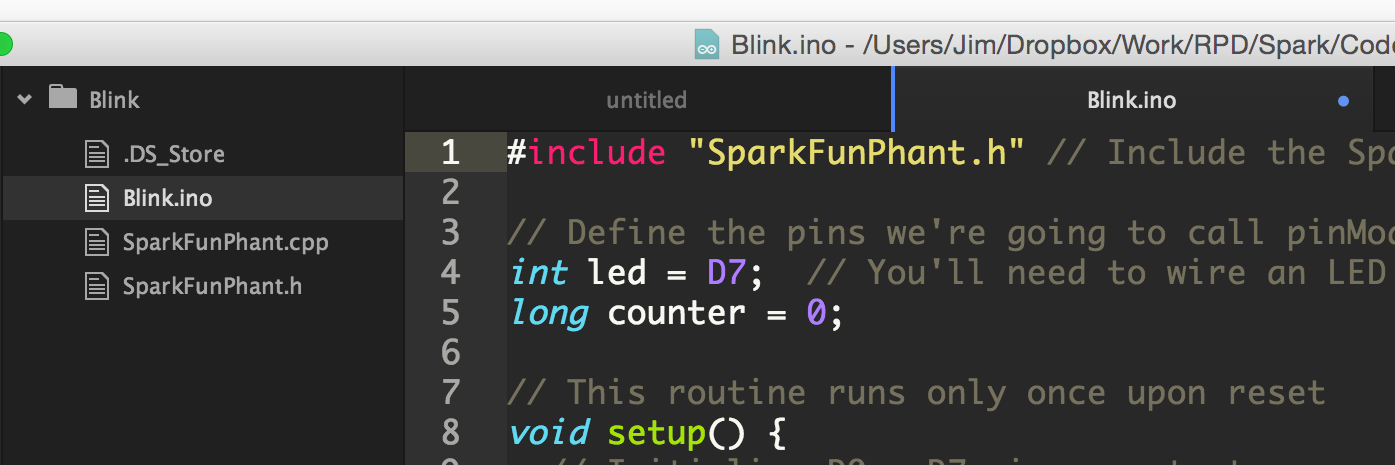
Then open your main source file back up in Particle Dev, and add the necessary #include statement.
Click the checkmark icon to compile and make sure everything's still happy, and keep on coding!
There's a whole lot more to the Particle Dev IDE. It's fully customizable -- make sure you check out the "Settings" tab. It has an integrated Serial Monitor and Spark Variable viewer. Make sure you check out Particle's Dev documentation to learn more about the IDE.
At its heart, the Photon is just an STM32F205 ARM processor with a Broadcom WiFi chip built in. Developing firmware for it doesn't have to be different from any other ARM processor. Plus, because the Photon is completely open source, you have access to all of the firmware to help get you started.
This is a much more advanced approach than the previous two environments. You'll need to set up a toolchain on your computer to be able to build firmware and flash your Photon.
arm-none-eabi-gcc --version command to get a read on your gcc's version -- make sure it's at least 4.9.3.You may also need to do some re-ordering of your machine's PATH environment variable. This post on Particle's forum was a big help in getting my Windows machine operational, it may help you too.
Particle is awesomely open-source, everything from the Photon's hardware layout to the firmware is available to download, view, and modify. You can find it all on their GitHub page.
The Photon's latest firmware release is hosted in the latest branch of the firmware repo. You can download the firmware by either clicking "Download Zip" on that GitHub page, or you can use git via the command line. (Visit git-scm.com to download the git tool.)
git clone https://github.com/spark/firmware.git
cd firmware
git checkout latest
Before you can begin flashing an application of your own design, you'll need to update the Photon's firmware. It's easily done, but requires some patience.
Before you type any commands, put your Photon in DFU mode: hold down both the SETUP and RESET buttons. Then release RESET, but hold SETUP until you see the RGB blink yellow. That means the Photon is in DFU mode.
To verify that the Photon is in DFU mode and dfu-util is installed properly, try the dfu-util -l command. You should see a response like this:
Found DFU: [2b04:d006] devnum=0, cfg=1, intf=0, alt=0, name="@Internal Flash /0x08000000/03*016Ka,01*016Kg,01*064Kg,07*128Kg"
Found DFU: [2b04:d006] devnum=0, cfg=1, intf=0, alt=1, name="@DCT Flash /0x00000000/01*016Kg"
The important parts there are the hex values inside the braces -- the USB VID and PID, which should be 2b04 and d006 for the Photon.
Two commands are required to build and flash the firmware: switch to the modules directory then call make with a few parameters to build and upload the firmware:
make PLATFORM=photon clean all program-dfu
Then sit tight as make and then dfu-util work their magic. Be warned this may take a long while.
The Photon's firmware code base is massive, but it's well sorted. Unless you want to mess with really low-level stuff, you can ignore most directories. The user directory is where the Photon's application code is stored.
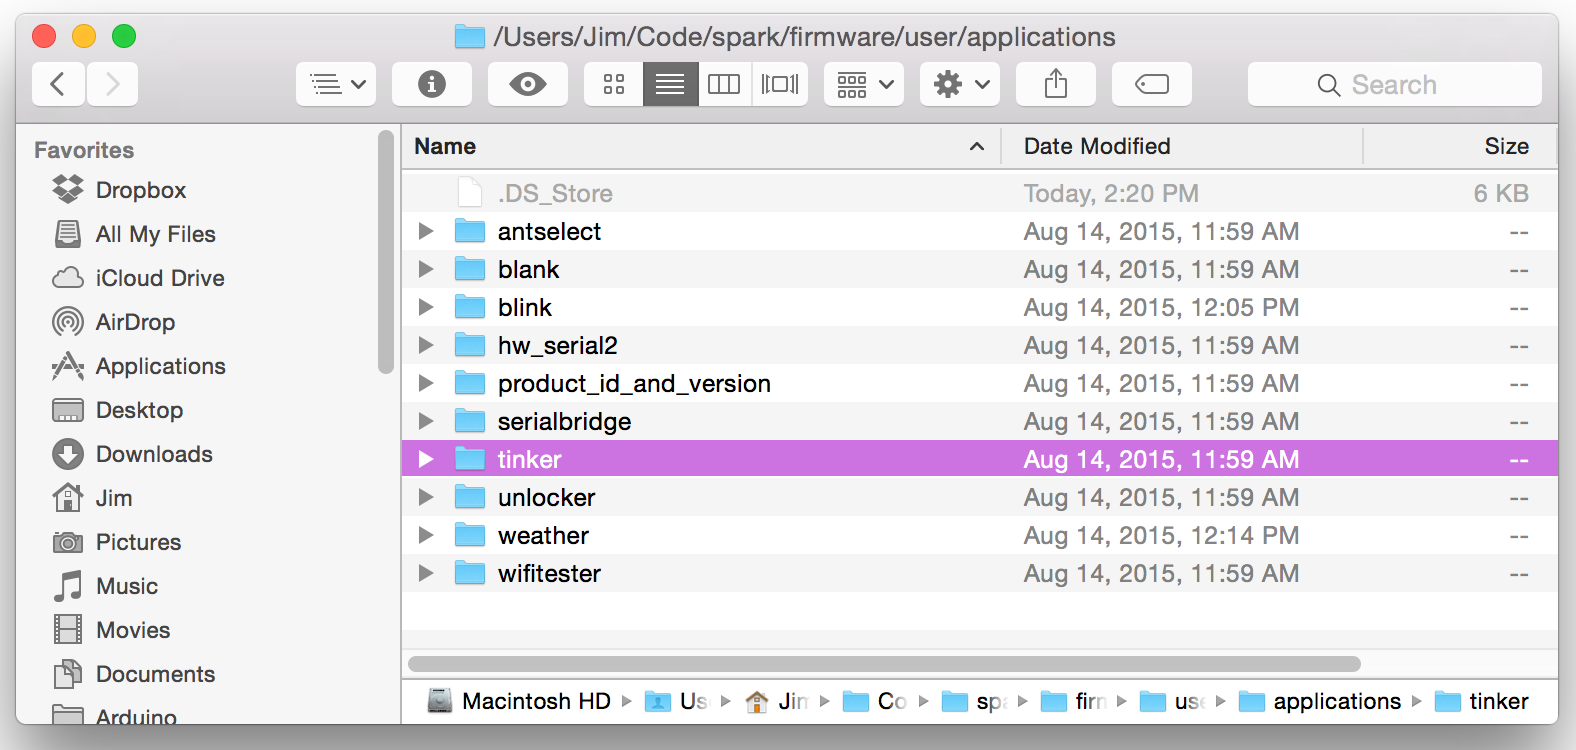
The "src" directory contains the default application to be built. You can either put your application code in here (overwriting "application.cpp") or create a directory of your own in "applications".
There are some example applications in the "applications" folder, including tinker -- the default application every Photon ships with.
As an example of our own, lets create a "blink" directory in "user/applications". Then create a file called "application.cpp".
To code up a simple blink app, copy and paste this into "application.cpp":
#include "application.h"

int ledPin = D7;

void setup()
{
  pinMode(ledPin, OUTPUT);
}

void loop()
{
  digitalWrite(ledPin, HIGH);
  delay(250);
  digitalWrite(ledPin, LOW);
  delay(250);
}
Don't forget to #include "application.h", other than that your code will look a lot like any other Arduino/Photon sketch. Easy enough. Now the hard(er) part -- compiling.
To build your firmware you'll need to call make, while configuring a few variables at the same time. You need to tell make what platform you're compiling for (we're assuming its a Photon, but it could also be a Core or P1 module). And you also need to tell it which app to make.
First, change directories to the main folder. Then type this:
make PLATFORM=photon APP=blink
The APP=blink bit will tell make to look for application code in the "user/applications/blink" folder. There are more make options available as well, check out Particle's build documentation.
Your first build may take some time, but, now that most everything is built, successive make's should go much faster. A successful build should yield a response like this:
text    data     bss     dec     hex filename
1956      44     236    2236     8bc ../../../build/target/user-part/platform-6-m-lto/applications/blink.elf
The final output of our build will be: firmware/build/target/user-part/platform-6-m-lto/applications/blink.bin. That's what all this work was for. That's what we'll be flashing with dfu-util.
Now that you have a .bin file -- cryptic instruction code that only the Photon will understand -- it's time to send it over to the development board. This is where you'll need dfu-util.
Make sure you put your Photon in DFU mode again! Then use this dfu-util command to upload your BIN file to the Photon's application memory:
dfu-util -d 2b04:d006 -a 0 -i 0 -s 0x80A0000:leave -D ../build/target/user-part/platform-6-m/blink.bin
Alternatively, you can make your life a bit easier by using the make command to invoke dfu-util:
make PLATFORM=photon APP=blink program-dfu
Claiming control over your toolchain and source files doesn't mean you can't enjoy the luxury of over-the-air programmability! Particle's Command Line Interface (Particle CLI) gives you command line access to all of their cloud utilities.
Particle CLI, which uses node.js, is a multitool for the Photon. You can use it to configure WiFi, list connected devices, compile code remotely, and -- pertinent to this section of the tutorial -- flash code over-the-air.
After installing Particle CLI, you can use the particle flash command to upload code you've compiled to your Photon remotely. All you need is the name of your Photon and the compiled BIN file.
For example, to upload the blink.bin file we created earlier, send this command (assuming you're still in the "main" directory):
particle flash MY_PHOTON_NAME ../build/target/user-part/platform-6-m/blink.bin
Replace MY_PHOTON_NAME with that of your Photon, and it should quickly transition from breathing cyan (connected to cloud), to blinking magenta (flashing new application), to running your new application.
Adding a library to an app built with local gcc is a lot like adding a library using Particle Dev.
Download your library of interest (usually it'll be on GitHub). Then move the library's source files (excluding the "examples" folder) into your application folder.
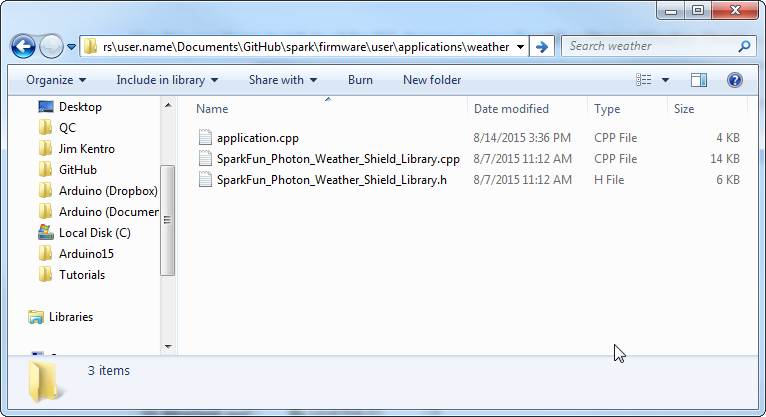
For example, if you want to use the Weather Shield library, copy the .cpp and .h files, and stick them into your application folder.
Finally, #include the library in your main application file and compile away!
Additional documentation on developing on Particle's firmware with GCC can be found in the README in Particle's firmware repository.
For exhaustive documentation on the Photon, head over to particle.io. Here are a few links there that may be helpful:
Now that you have a handle on the development environment, what are you going to do with the Photon? Need some inspiration? Check out some of these related tutorials:
learn.sparkfun.com | CC BY-SA 3.0 | SparkFun Electronics | Niwot, Colorado