$5.95
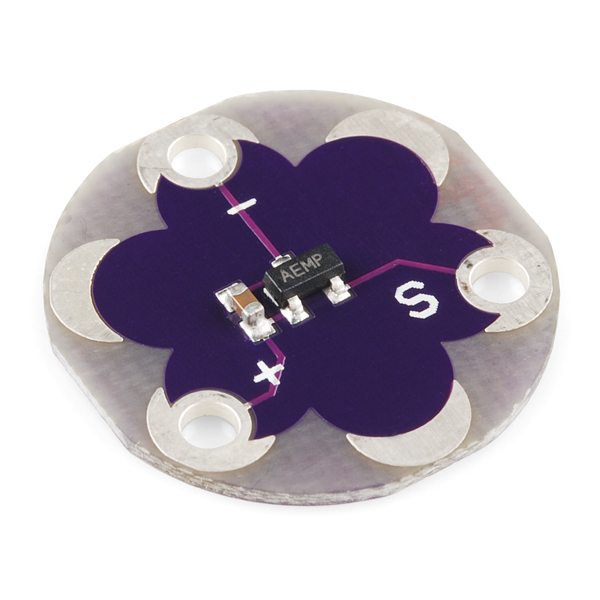
The LilyPad Temperature Sensor lets you detect temperature changes in the environment (or an object pressed against the sensor) on your wearable project.
The temperature sensor board will output specific voltage at set temperatures - 10mV for every degree Celsius (°C), with 0 degrees C set at 0.5V. The current flowing through the signal tab can be read by an analog tab on a LilyPad Arduino board and converted through a formula to degrees in Celsius or Fahrenheit. Follow along to learn how to convert the voltage from the sensor into usable temperature data in your project.
You will need to connect the sensor to a LilyPad Arduino or other microcontroller to read the output values and use in your code.
To follow along with the code examples, we recommend:
To add this sensor to a project, you should be comfortable sewing with conductive thread and uploading code to your LilyPad Arduino. Here are some tutorials to review before working with this sensor:
The LilyPad Temperature Sensor has three sew tabs - Power (+), Ground (-), and Signal (S). The signal tab will be connected to an analog tab (marked with an 'A') on a LilyPad Arduino.
To follow along with the code examples in this tutorial, connect the temperature sensor to a LilyPad Arduino as shown below. Use alligator clips to temporarily connect Signal to A3 on a LilyPad Arduino, (-) to (-) on the LilyPad, and the (+) to (A5). When you are finished prototyping, replace the alligator clips with conductive thread traces for permanent installation in your project.

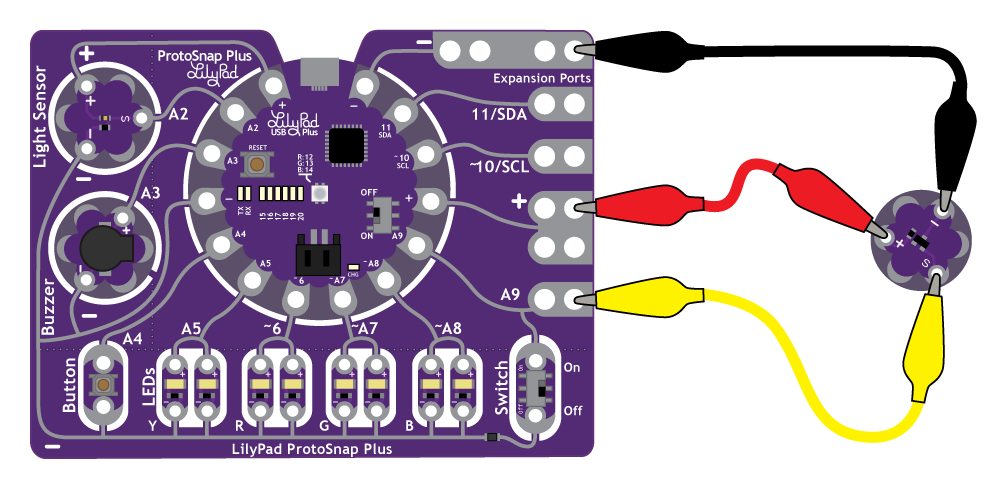
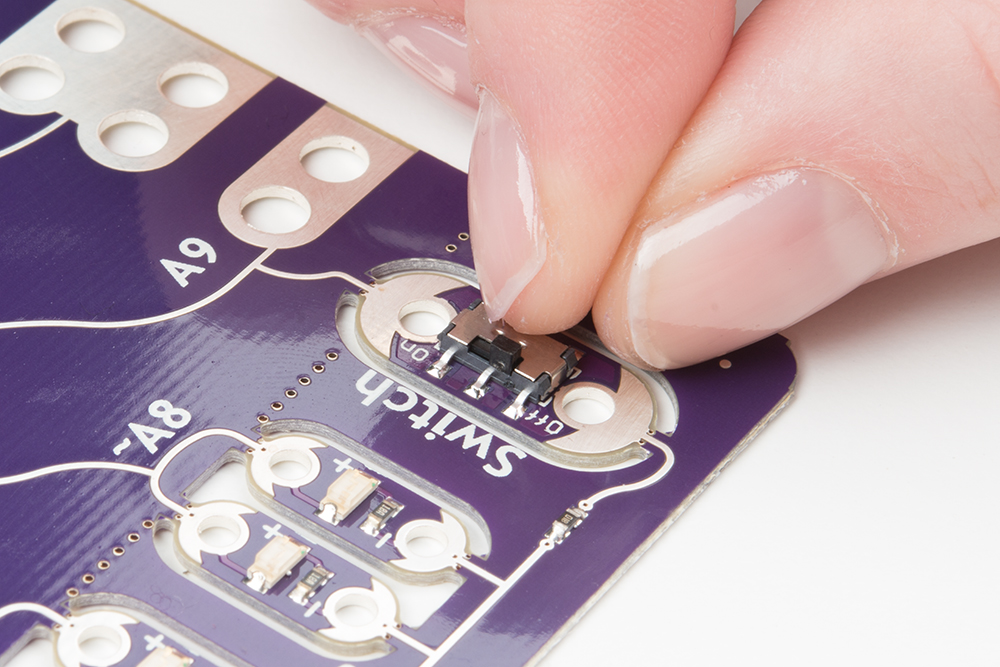
After clipping the sensor to A9, move the slide switch to the OFF position to keep the switch from interfering with your input signal.
The sensor produces an analog voltage representing the temperature near it. In order to get readings in degrees, we'll have to do some math. The voltage output from the sensor is linearly proportional to the Celsius temperature. Once you know the output voltage of the sensor, you can calculate the temperature with this equation:
To convert that reading to Fahrenheit, use this formula:
Next, we'll be use Serial Monitor to read the values coming from the sensor and insert the formulas in our code to display the temperature in both Celcius and Farenheit.
sensorPin to A1.
language:c

/*
LilyPad Temperature Sensor Example
SparkFun Electronics
https://www.sparkfun.com/products/8777

This code reads the input of the temperature sensor, converts it to Farenheit and Celsius
and prints to the Serial Monitor.

Temperature sensor connections:
   * S tab to A3
   * + tab to A5 (or +)
   * - tab to -

Follow the tutorial at:
https://learn.sparkfun.com/tutorials/lilypad-temperature-sensor-hookup-guide

This code is released under the MIT License (http://opensource.org/licenses/MIT)
******************************************************************************/

// Connect the S tab of the Temperature Sensor to A3
// If using the LilyPad ProtoSnap Plus, change to A9
 int sensorPin = A3;

void setup()
{
  // Set the temperature sensor pin as an INPUT:
  pinMode(sensorPin, INPUT);

  // Set pin A5 to use as a power pin for the light sensor
  // If using the LilyPad Development Board or the + tab for power, comment out these lines of code
  pinMode(A5, OUTPUT);
  digitalWrite(A5, HIGH);

  // Initialize Serial, set the baud rate to 9600 bps.
  Serial.begin(9600);
}

void loop()
{
  // Variable to store raw temperature
  long rawTemp;

  // Variable to store voltage calculation
  float voltage;

  // Variable to store Fahrenheit value
  float fahrenheit;

  // Variable to store Celsius value
  float celsius;

  // Read the raw 0-1023 value of temperature into a variable.
  rawTemp = analogRead(sensorPin);

  // Calculate the voltage, based on that value.
  // Multiply by maximum voltage (3.3V) and divide by maximum ADC value (1023).
  // If you plan on using this with a LilyPad Simple Arduino on USB power, change to 4.2
  voltage = rawTemp * (3.3 / 1023.0);
  Serial.print("Voltage: "); // Print voltage reading to serial monitor
  Serial.println(voltage);

  // Calculate the celsius temperature, based on that voltage..
  celsius = (voltage - 0.5) * 100;
  Serial.print("Celsius: "); // Print celcius temp to serial monitor
  Serial.println(celsius);

  // Use a common equation to convert celsius to Fahrenheit. F = C*9/5 + 32.
  fahrenheit = (celsius * 9.0 / 5.0) + 32.0;
  Serial.print("Fahrenheit: "); // Print Fahrenheit temp to serial monitor
  Serial.println(fahrenheit);
  // Print a blank line
  Serial.println();

  // Wait 1 second between readings
  delay(1000);
}
After uploading the code to your LilyPad Arduino, click the magnifying glass icon at the top right of your Arduino window to open the Serial Monitor window. You should begin seeing some values from the sensor. Try placing your finger over the sensor to see the readings change.
Next, we'll use some of the readings we gathered to trigger an action or behavior when the temperature is above or below a set threshold.
This example uses the built-in LED attached to pin 13 on the LilyPad Arduino.
language:c
/*
LilyPad Temperature Trigger Example
SparkFun Electronics
https://www.sparkfun.com/products/8777

This code reads the input of the temperature sensor and compares it to
a set variable named 'threshold'. If temperature is above
the thermalAlert threshold, the built-in LED on the LilyPad Arduino will turn
on. If the temperature falls below the threshold, the LED will turn off.

Temperature sensor connections:
   * S tab to A3
   * + tab to A5 (or +)
   * - tab to -

Follow the tutorial at:
https://learn.sparkfun.com/tutorials/lilypad-temperature-sensor-hookup-guide

This example is based on Thermal Alert! example in the Digital Sandbox:
https://learn.sparkfun.com/tutorials/digital-sandbox-arduino-companion/12-thermal-alert
This code is released under the MIT License (http://opensource.org/licenses/MIT)
******************************************************************************/

// Connect the S tab of the Temperature Sensor to A3
// If using the LilyPad ProtoSnap Plus, change to A9
 int sensorPin = A3;
 int alertLED = 13;

// Set temperature threshold variable to check against. If the temperature reading is above
// this number in degrees Fahrenheit, the LED will turn on
 int threshold =  80; // 80 degrees Fahrenheit

void setup()
{
  // Set the temperature sensor pin as an INPUT:
  pinMode(sensorPin, INPUT);

  // Set pin A5 to use as a power pin for the light sensor
  // If using the LilyPad Development Board or the + tab for power, comment out these lines of code
  pinMode(A5, OUTPUT);
  digitalWrite(A5, HIGH);


// Make the built-in LED an OUTPUT
  pinMode(alertLED, OUTPUT);

  // Initialize Serial, set the baud rate to 9600 bps.
  Serial.begin(9600);
}

void loop()
{
  // Variable to store raw temperature
  long rawTemp;

  // Variable to store voltage calculation
  float voltage;

  // Variable to store Fahrenheit value
  float fahrenheit;

  // Variable to store Celsius value
  float celsius;

  // Read the raw 0-1023 value of temperature into a variable.
  rawTemp = analogRead(sensorPin);

  // Calculate the voltage, based on that value.
  // Multiply by maximum voltage (3.3V) and divide by maximum ADC value (1023).
  // If you plan on using this with a LilyPad Simple Arduino on USB power, change to 4.2
  voltage = rawTemp * (3.3 / 1023.0);
  Serial.print("Voltage: "); // Print voltage reading to serial monitor
  Serial.println(voltage);

  // Calculate the celsius temperature, based on that voltage..
  celsius = (voltage - 0.5) * 100;
  Serial.print("Celsius: "); // Print celcius temp to serial monitor
  Serial.println(celsius);

  // Use a common equation to convert celsius to Fahrenheit. F = C*9/5 + 32.
  fahrenheit = (celsius * 9.0 / 5.0) + 32.0;
  Serial.print("Fahrenheit: "); // Print Fahrenheit temp to serial monitor
  Serial.println(fahrenheit);
  // Print a blank line
  Serial.println();

  // Check the temperature, and turn on the LEDs associated with the hot or cold thresholds
  if (fahrenheit >= threshold) // If the temperature rises above the threshold:
  {
    digitalWrite(alertLED, HIGH); // Turn the LED on
    Serial.println("Thermal alert!");
  } else {
    digitalWrite(alertLED, LOW); //Turn the LED off
  }
  // Wait 1 second between readings
  delay(1000);
}
In this code, we use an if() statement to compare the value of threshold to the converted analog readings from the temperature sensor stored in the fahrenheit variable. If the temperature is too hot (higher than the threshold's set value), then the LED will turn on. If the value is lower than the threshold, the LED will turn off.
If are having trouble getting temperatures that trigger the LED, check the output of the Serial Monitor to see if there's a better value for threshold than what is set in the example code.
After prototyping and testing a project with the temperature sensor you can replace the connections with conductive thread in your project. Follow this guide for an introduction to connecting LilyPad pieces with conductive thread:
Need some inspiration for your next project? Check out some of the projects below from the community.
Hilary used a LilyPad Arduino, temperature sensor, conductive thread, bright white LEDs, purple wool yarn to create a scarf that illuminates with the wearer's breath.

The Hands-on-Warm project uses a LilyPad Arduino, LilyPad Temperature Sensor, and heating pad to warm the hands of people who experience extreme cold sensitivity.
Hands-on-Warm from Maria Julia Guimaraes on Vimeo.
For more information about the LilyPad Temperature Sensor, check out the resources below:
Here are some resources for planning a project with the temperature sensor:
learn.sparkfun.com | CC BY-SA 3.0 | SparkFun Electronics | Niwot, Colorado