$25.95
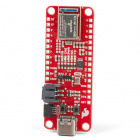
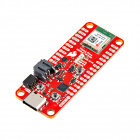
Our Artemis line would not be complete without including the Feather-compatible SparkFun Artemis Thing Plus. With 21 GPIO Pins - all PWM and interrupt capable - there are 2 I2C buses available, as well as SPI and UART. We've included the digital MEMS microphone that allows for always-on voice commands with TensorFlow and machine learning, and the Qwiic connector makes using our Qwiic sensors as easy as plug and play!
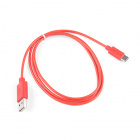
You'll need the Artemis Thing Plus and a USB C cable. Any USB C cable should work, including the one that probably came with your phone charger.
If you aren't familiar with the Qwiic system, we recommend reading here for an overview.
| Qwiic Connect System |
We also recommend checking out these tutorials before continuing:
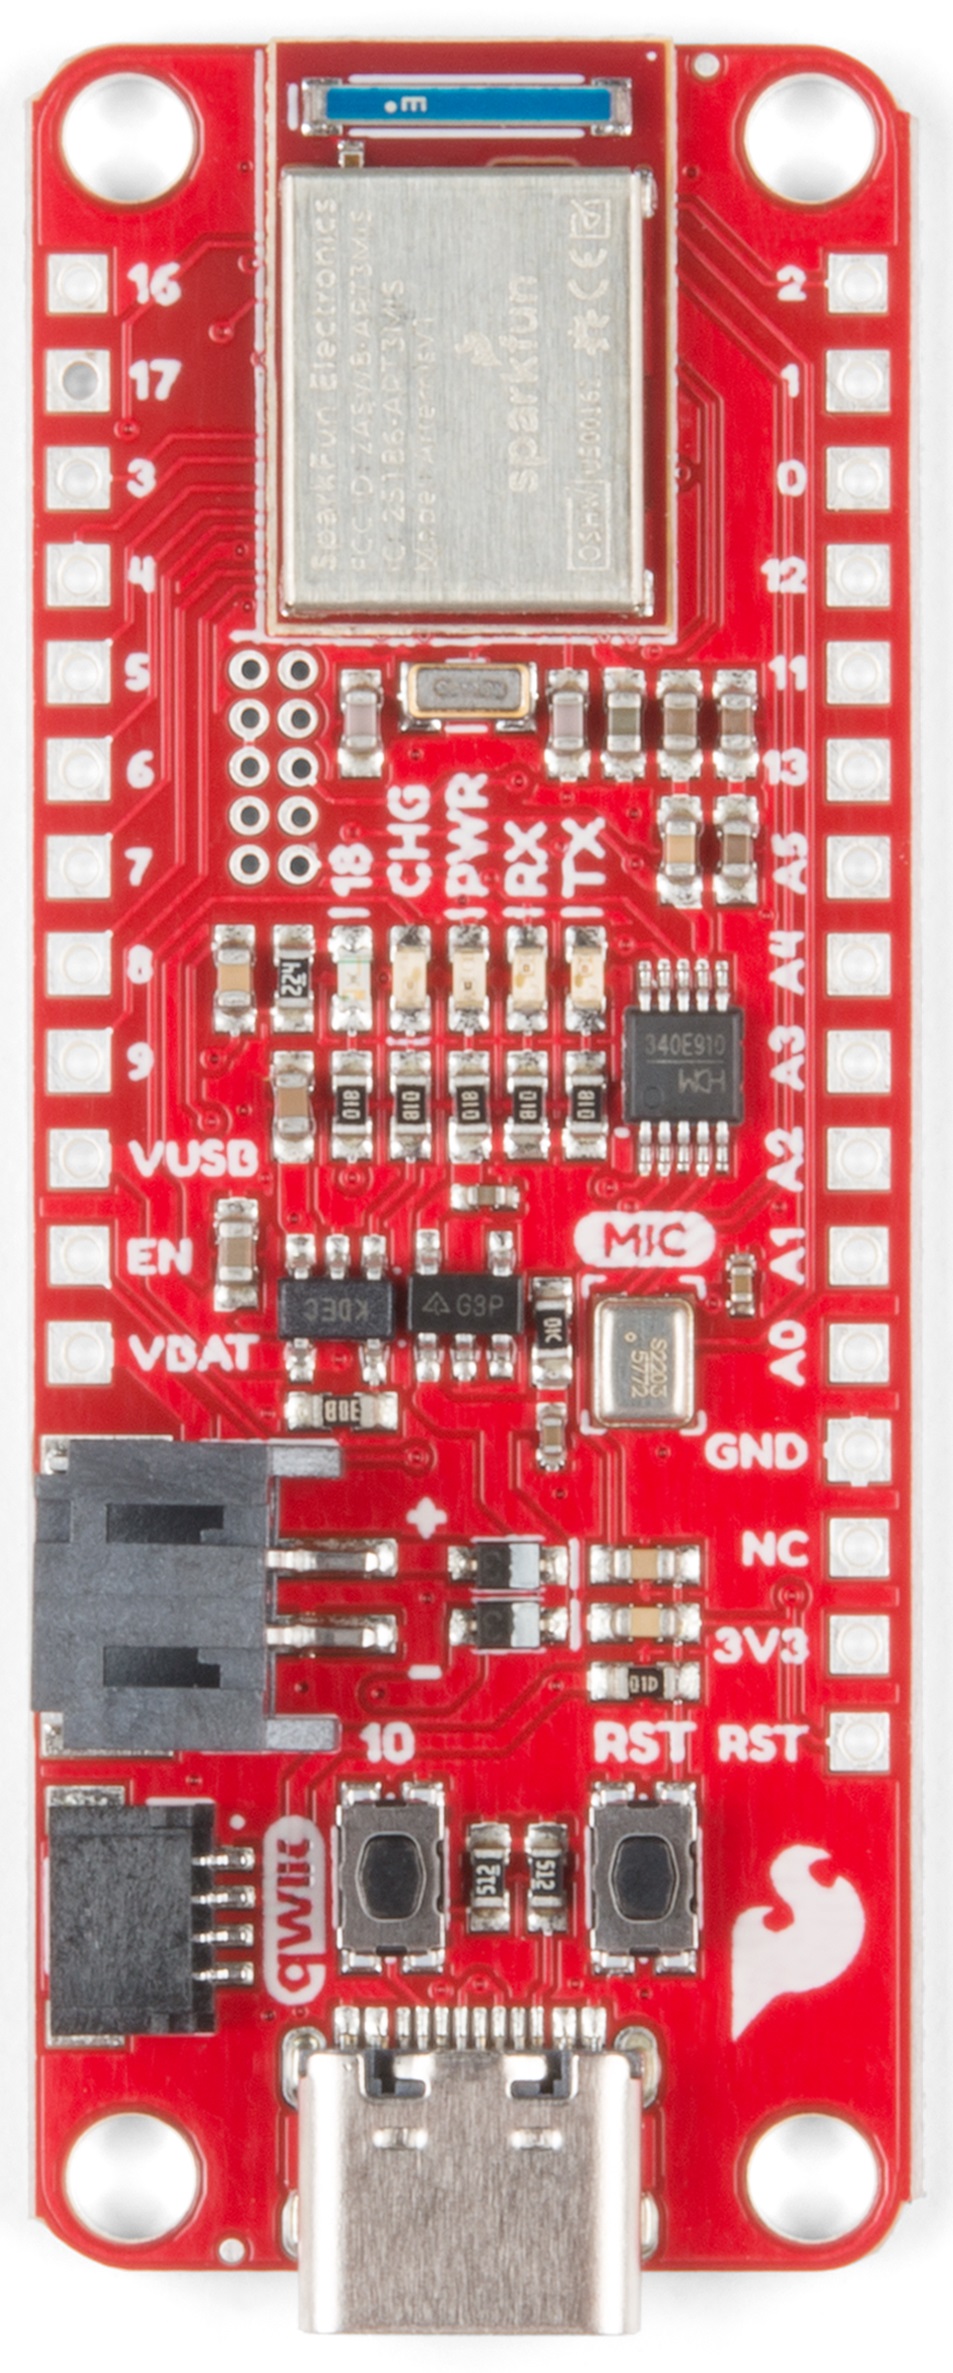
The Artemis Thing Plus has a wide range of functionality to get through, so let's have a look, shall we?
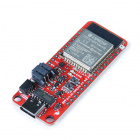
The RedBoard Artemis Thing Plus has two methods for programming. The most common is the USB C connector that operates as a USB to serial bridge. By simply pressing 'Upload' in the Arduino IDE or 'make bootload' from the SDK the firmware on Artemis is updated.
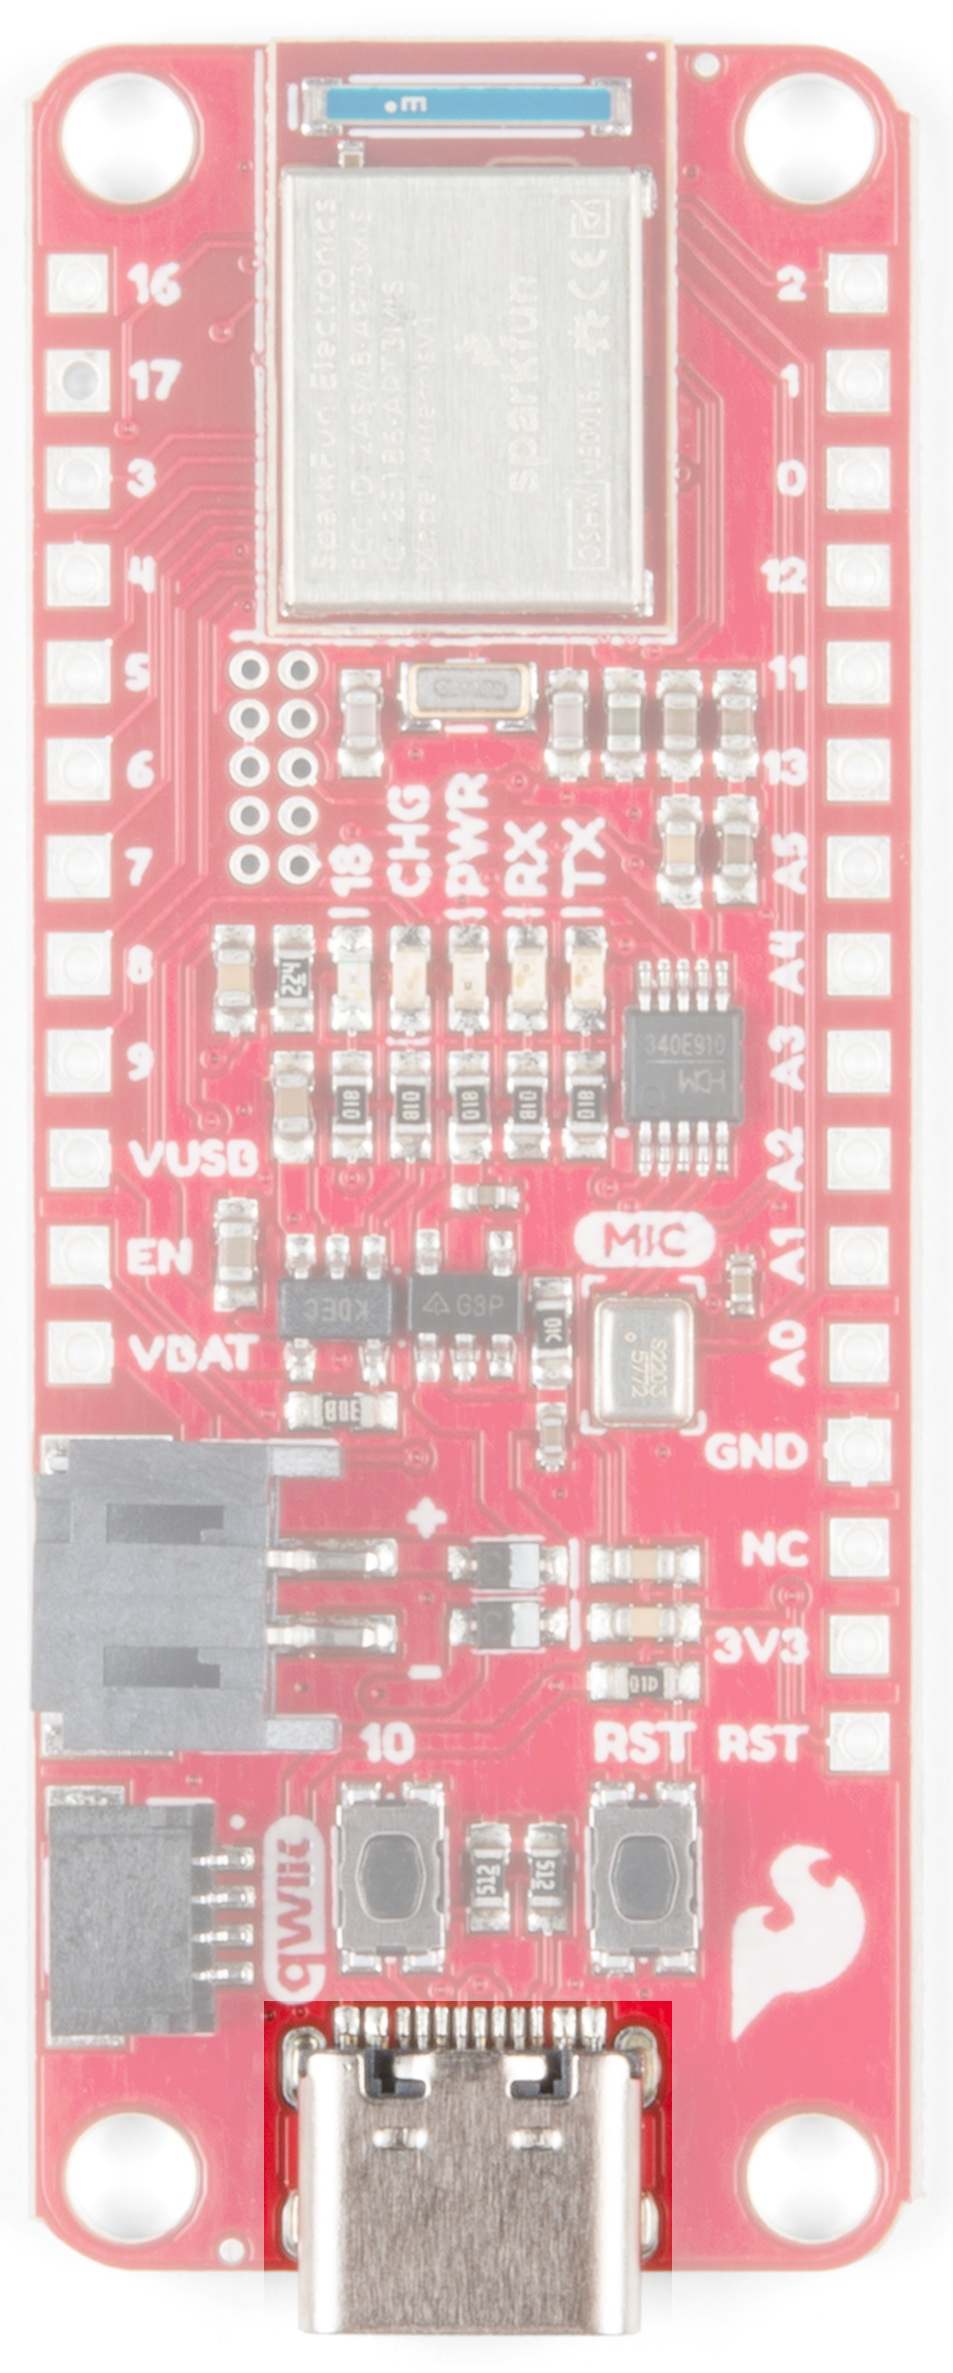
We use the CH340E on the RedBoard Artemis Thing Plus. The driver should automatically install on most operating systems. However, there is a wide range of operating systems out there. You may need to install drivers the first time you connect the chip to your computer's USB port or when there are operating system updates. For more information, check out our How to Install CH340 Drivers Tutorial.
The second method is JTAG programming. An unpopulated JTAG footprint is available for more advanced users who need breakpoint level debugging. We recommend checking out our JTAG section for the compatible male header and a compatible JTAG programmer and debugger.
The Artemis Thing Plus has 21 available GPIO pins on either side of the board. In addition, there are separate IO for a user button and LED. The LED pin supports PWM but the button's pin does not. The Artemis Thing Plus Schematic can give you more information on which of the Apollo3 pads are broken out for the Thing Plus. You can also cross reference this with the Apollo3 Pad Map.
 |
 |
| GPIO Pin Rails | User Button and LED |
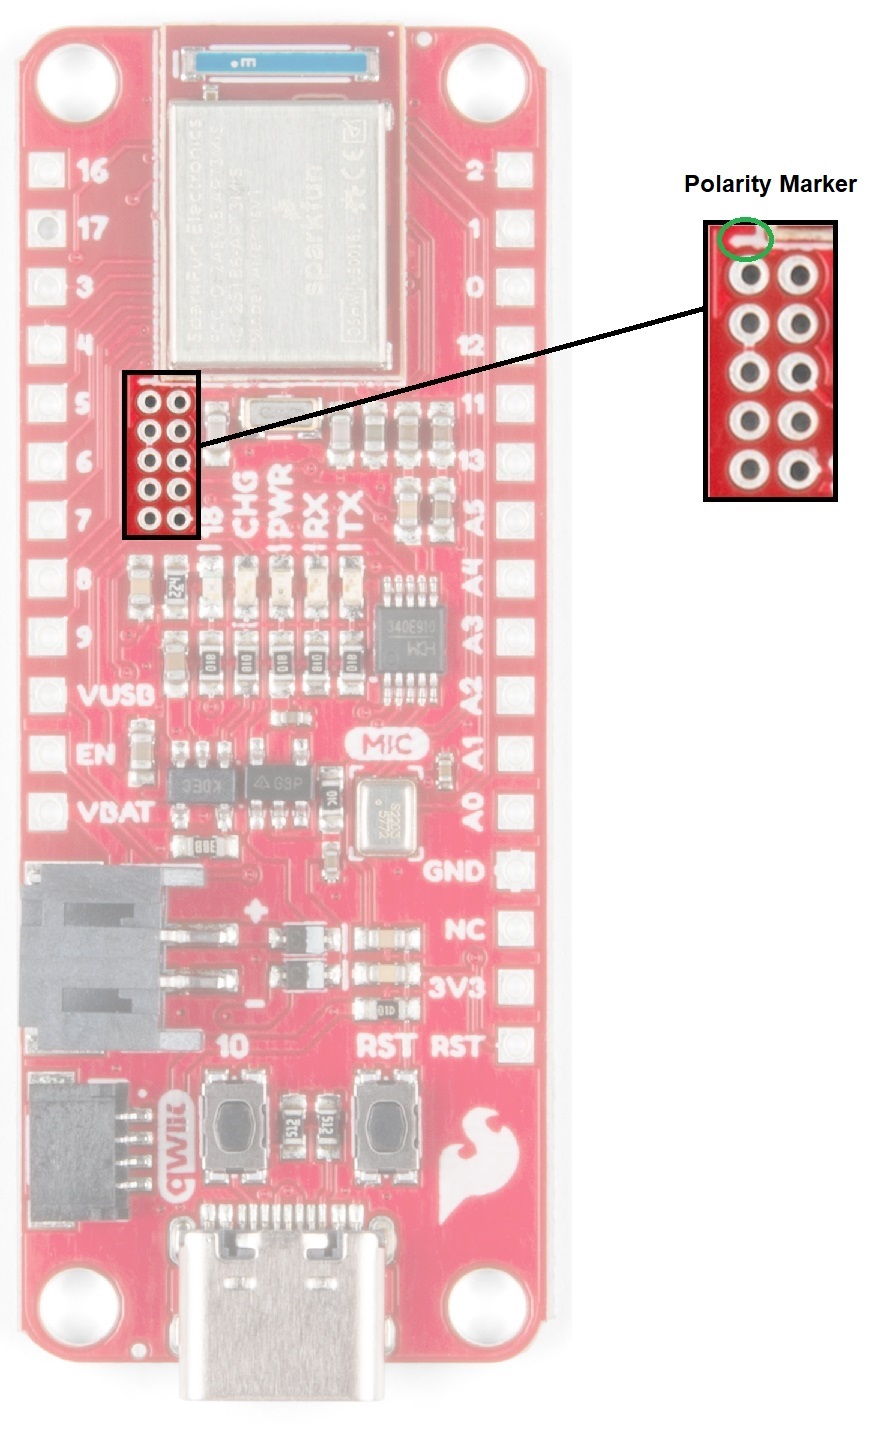
The I2C pins on the Artemis Thing Plus are labeled SDA and SCL on the back of the board. They are controlled in the Arduino IDE using Wire.begin(), Wire.read(), etc. While pins 16/17 use Wire1, the Qwiic connector uses Wire so you can use SparkFun's Qwiic ecosystem (there's over 50 boards and more every week!).
 |
 |
| Front View: Qwiic Connector and I2C Pins 16 and 17 | Back View: Pins 16/SDA1 and 17/SCL1 |
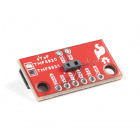
The Artemis excels at low power voice recognition. To enable this we've included a PDM MEMS microphone on the board. Additionally, the Artemis module can operate an RTC given an external 32kHz crystal so we've included that was well.

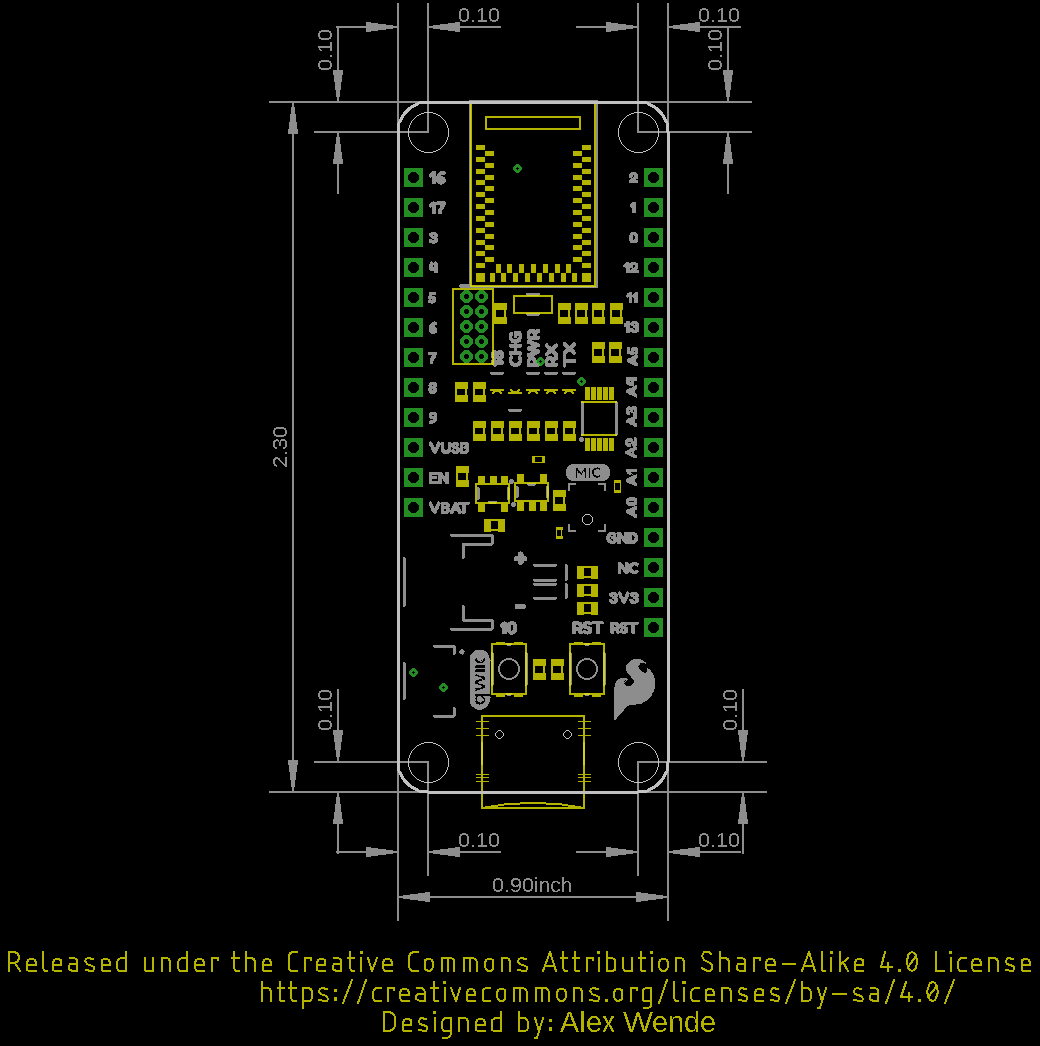
All board dimensions are listed in inches. Overall the pcb measures 2.3x.9 inches with a slight overhang from the USB-C connector.
The Artemis Thing Plus is capable of running both Arduino and the more advanced Ambiq HAL/SDK. Checkout these tutorials to get you up and blinking in 5 minutes!
Did you know you can use the SparkFun Artemis Thing Plus as the starting point of your very own Artemis product? Get the design files from our repo here and edit them using Eagle PCB!
For more information on the RedBoard Artemis and the Artemis module itself, check out the links below:
You've now explored the board, let's get blinking with Arduino! Or perhaps you want to learn a little more about the Artemis module itself. Checkout these tutorials!
Did you know the Artemis is compatible with our Qwiic line? Checkout these products that simply plug in and work!
learn.sparkfun.com | CC BY-SA 3.0 | SparkFun Electronics | Niwot, Colorado