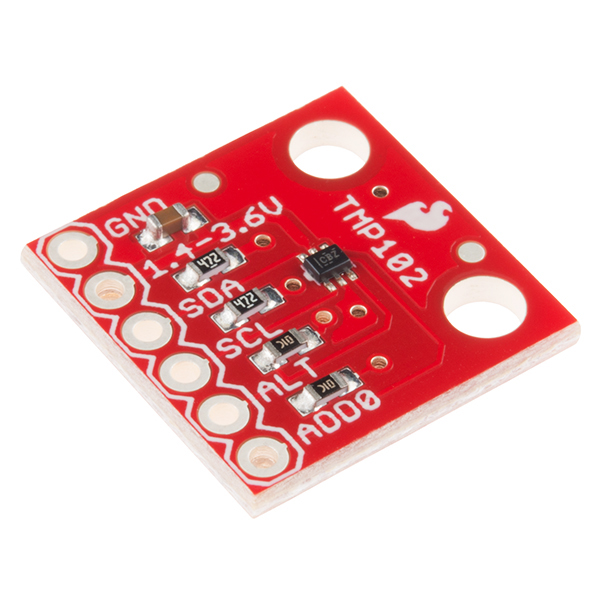
The SparkFun HIH-4030 Humidity Sensor Breakout measures relative humidity (%RH) from Honeywell's HIH-4030 humidity sensor. The breakout allows you to connect the analog output of the sensor directly to an ADC on a microcontroller.
Voltage applied to the supply pins should be within 4-5.8 VDC, and optimally at 5V. The sensor will typically only consume about 200μA.
This tutorial serves as a introduction to the HIH-4030 and the SparkFun Humidity Sensor Breakout. It covers both the hardware and firmware requirements of the breakout to start receiving relative humidity (%RH) measurements as well as documenting example wiring, Arduino code and using the sensor in conjunction with a thermometer.
As we step through the Hookup Guide, you'll find it useful to have the HIH-4030 Datasheet on hand.
To get the humidity sensor up and running, you'll need the following parts. Further in the tutorial, you'll learn how to incorporate a temperature sensor, specifically SparkFun's Digital Temperature Sensor Breakout - TMP-102, for properly determining relative humidity (%RH). Note that adding a temperature sensor is optional, but its use will be highlighted in this tutorial.


Before getting started with the HIH-4030, you should ensure you are familiar with the following topics:
The RH sensor uses a laser trimmed, thermoset polymer capacitive sensing element with on-chip integrated signal conditioning. The sensing element's multilayer construction provides excellent resistance to most application hazards such as condensation, dust, dirt, oils and common environmental chemicals.
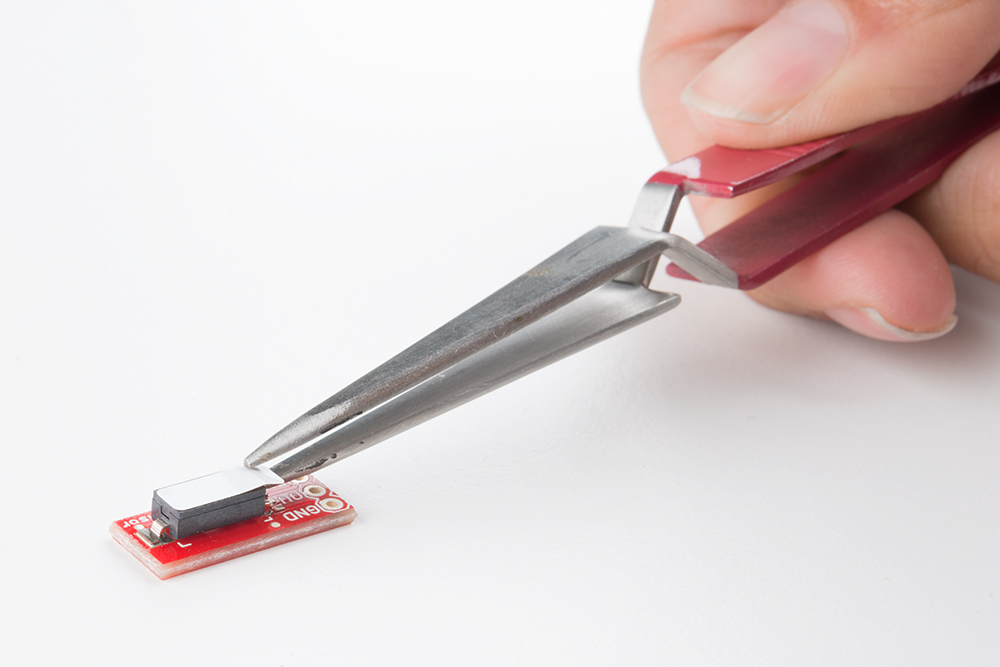
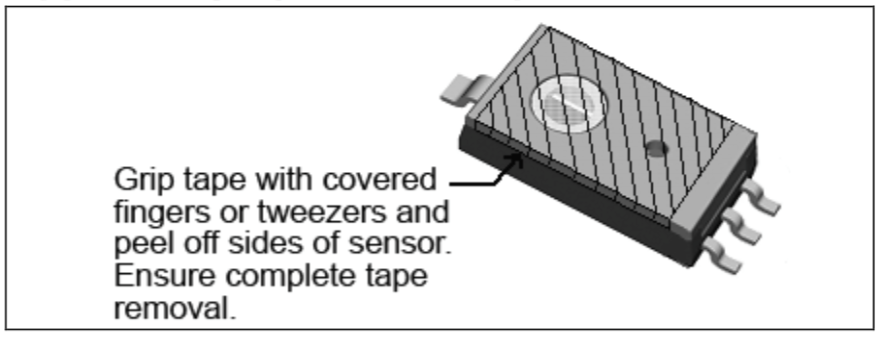
The HIH-4030 comes with a protective tape on the cover (sensing face). This tape is kept in place during our soldering process here at SparkFun. When you receive your HIH-4030 Breakout, you'll want to remove the protective tape.
The three pin breakouts on the HIH-4030 Breakout board make it easy to measure relative humidity (%RH) as an analog voltage.
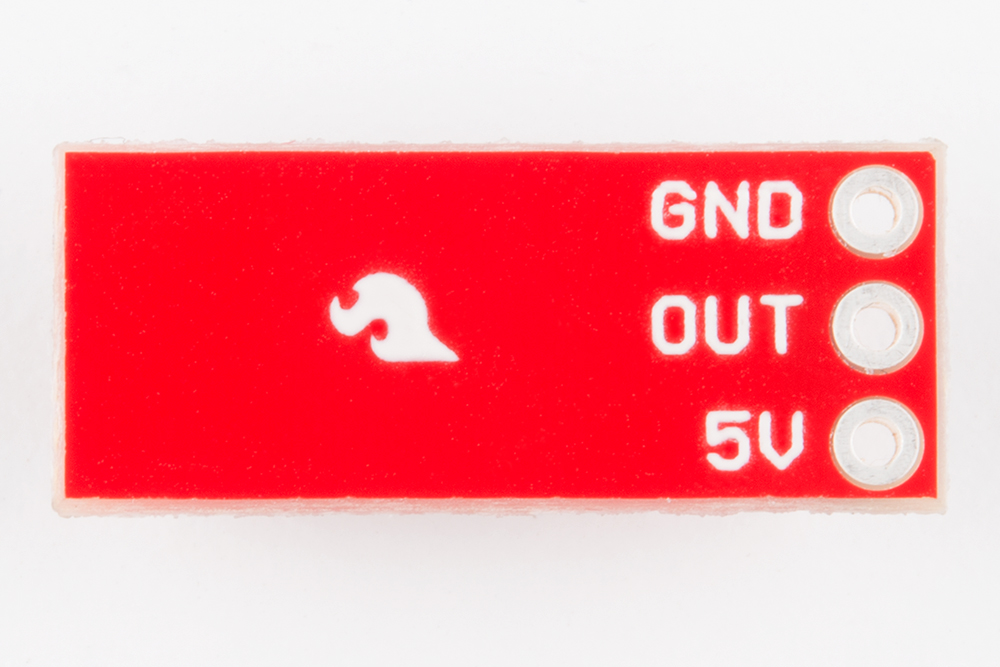
| Pin | Description |
|---|---|
| GND | Ground |
| OUT | Voltage Output |
| 5V | Supply Voltage (5V) |
Voltage applied to the supply pins should be within 4-5.8VDC, optimally at 5V, making it perfect to power with your 5V / GND connections on your microcontroller shield like an Arduino or SparkFun Redboard. The data pin can be connected to an analog input of an Arduino, XBee, RaspberryPi, or any other IO device. The HIH-4030 has a low-power design. The sensor will typically only consume about 200μA.
Humidity Sensors make use of a conductive polymer to measure relative humidity. If that polymer gets too dry (or over-saturated) the sensor won't function properly, but that can be reversed.
Any humidity sensors on our designs are put through a re-conditioning procedure to ensure that they keep their factory calibration. If you expose your sensor to a really dry environment for a prolonged period of time (or saturate it in a very humid environment) you may have to run it through the same process.
This product comes with the HIH-4030 soldered onto the breakout board. The pins of the 3-pin header are spaced by 0.1".

Before you can insert the HIH-4030 Breakout into a breadboard, you'll need to solder either wires or a 3-pin header to the GND, OUT, and 5V on-board connections. If you plan on breadboarding, we recommend straight male headers. Here, right angle headers were used, which is another viable option.

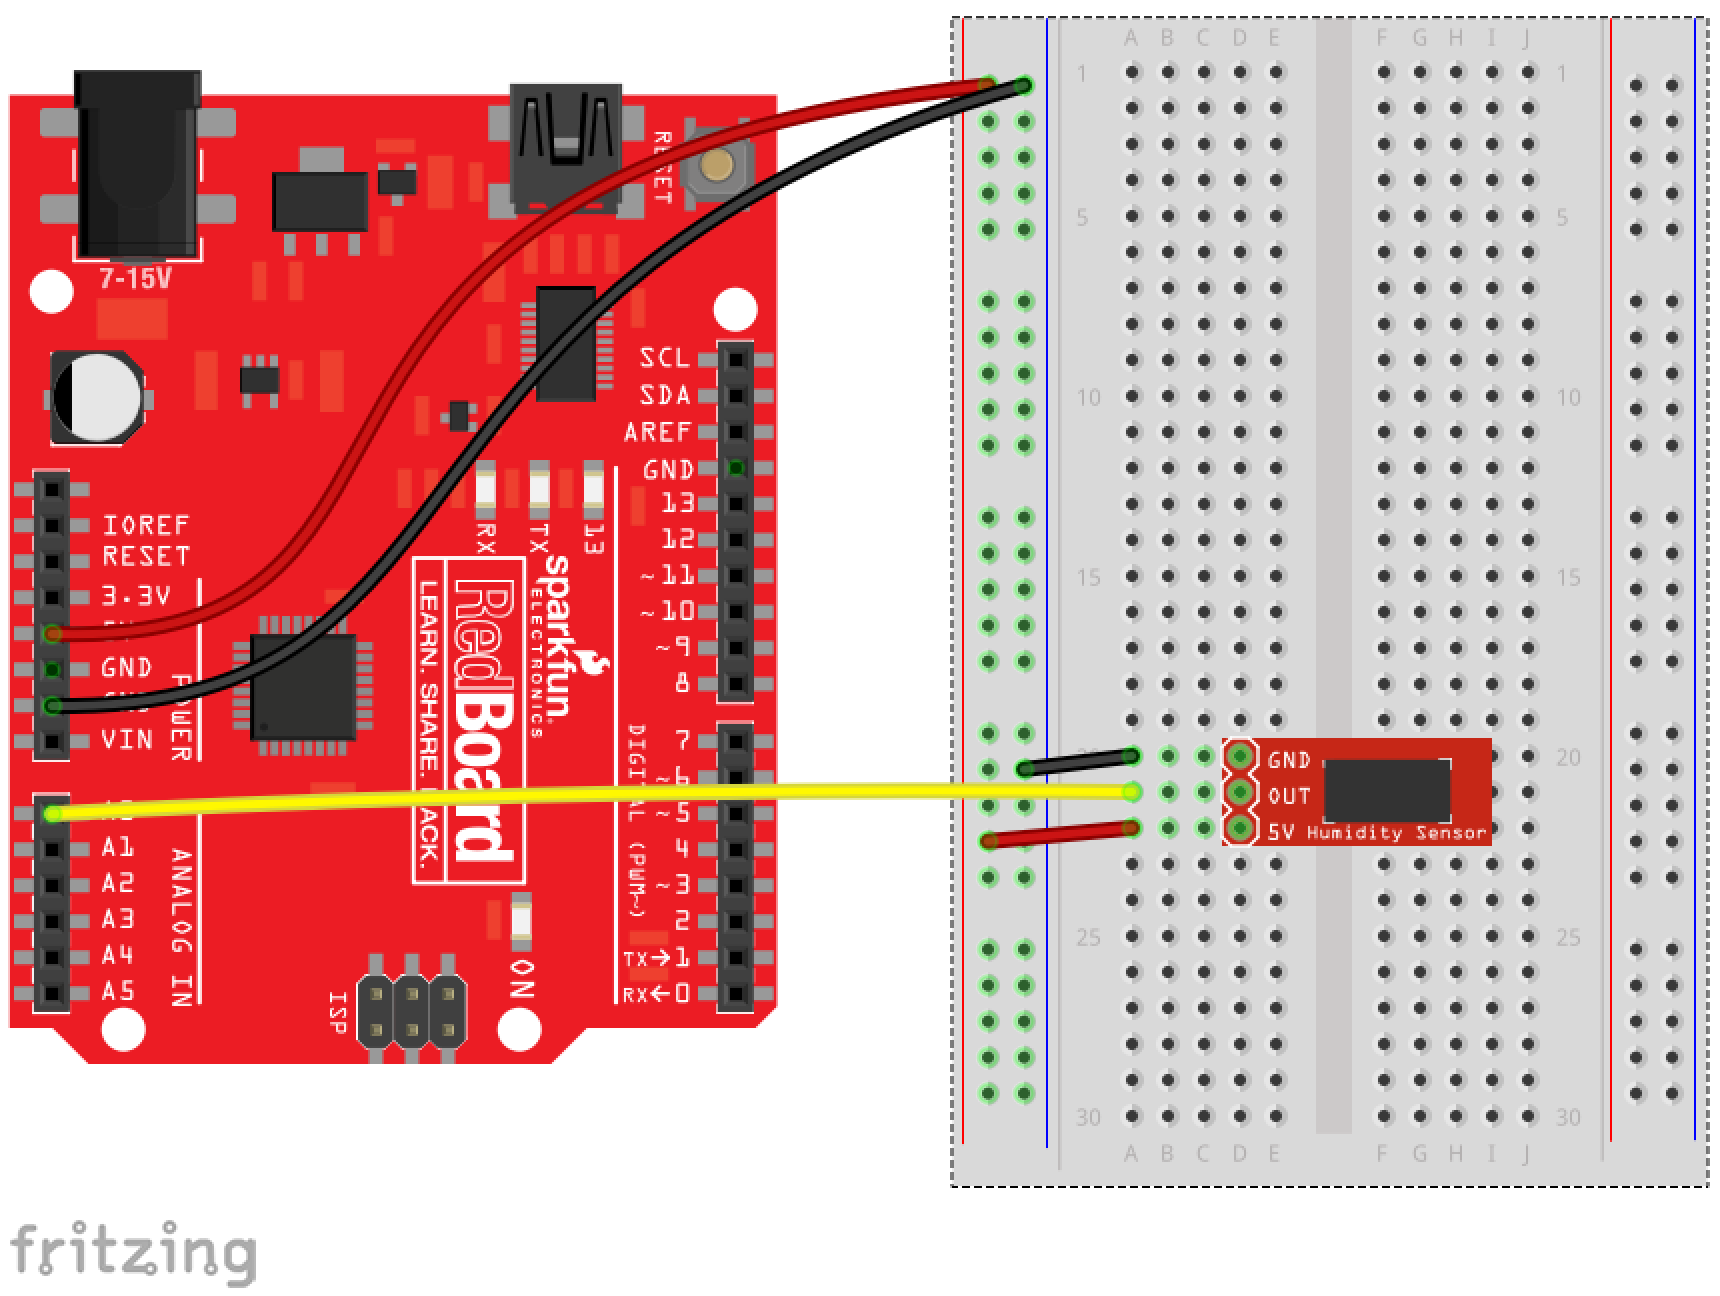
With the HIH-4030 Breakout, all you need is three wires between your microcontroller and the breakout board: Power, Ground, and Analog Output. This is a simplified circuit that should only be used to get your Humidity Sensor up and running. Here is an example hookup diagram demonstrating how to connect the board up to a SparkFun RedBoard:
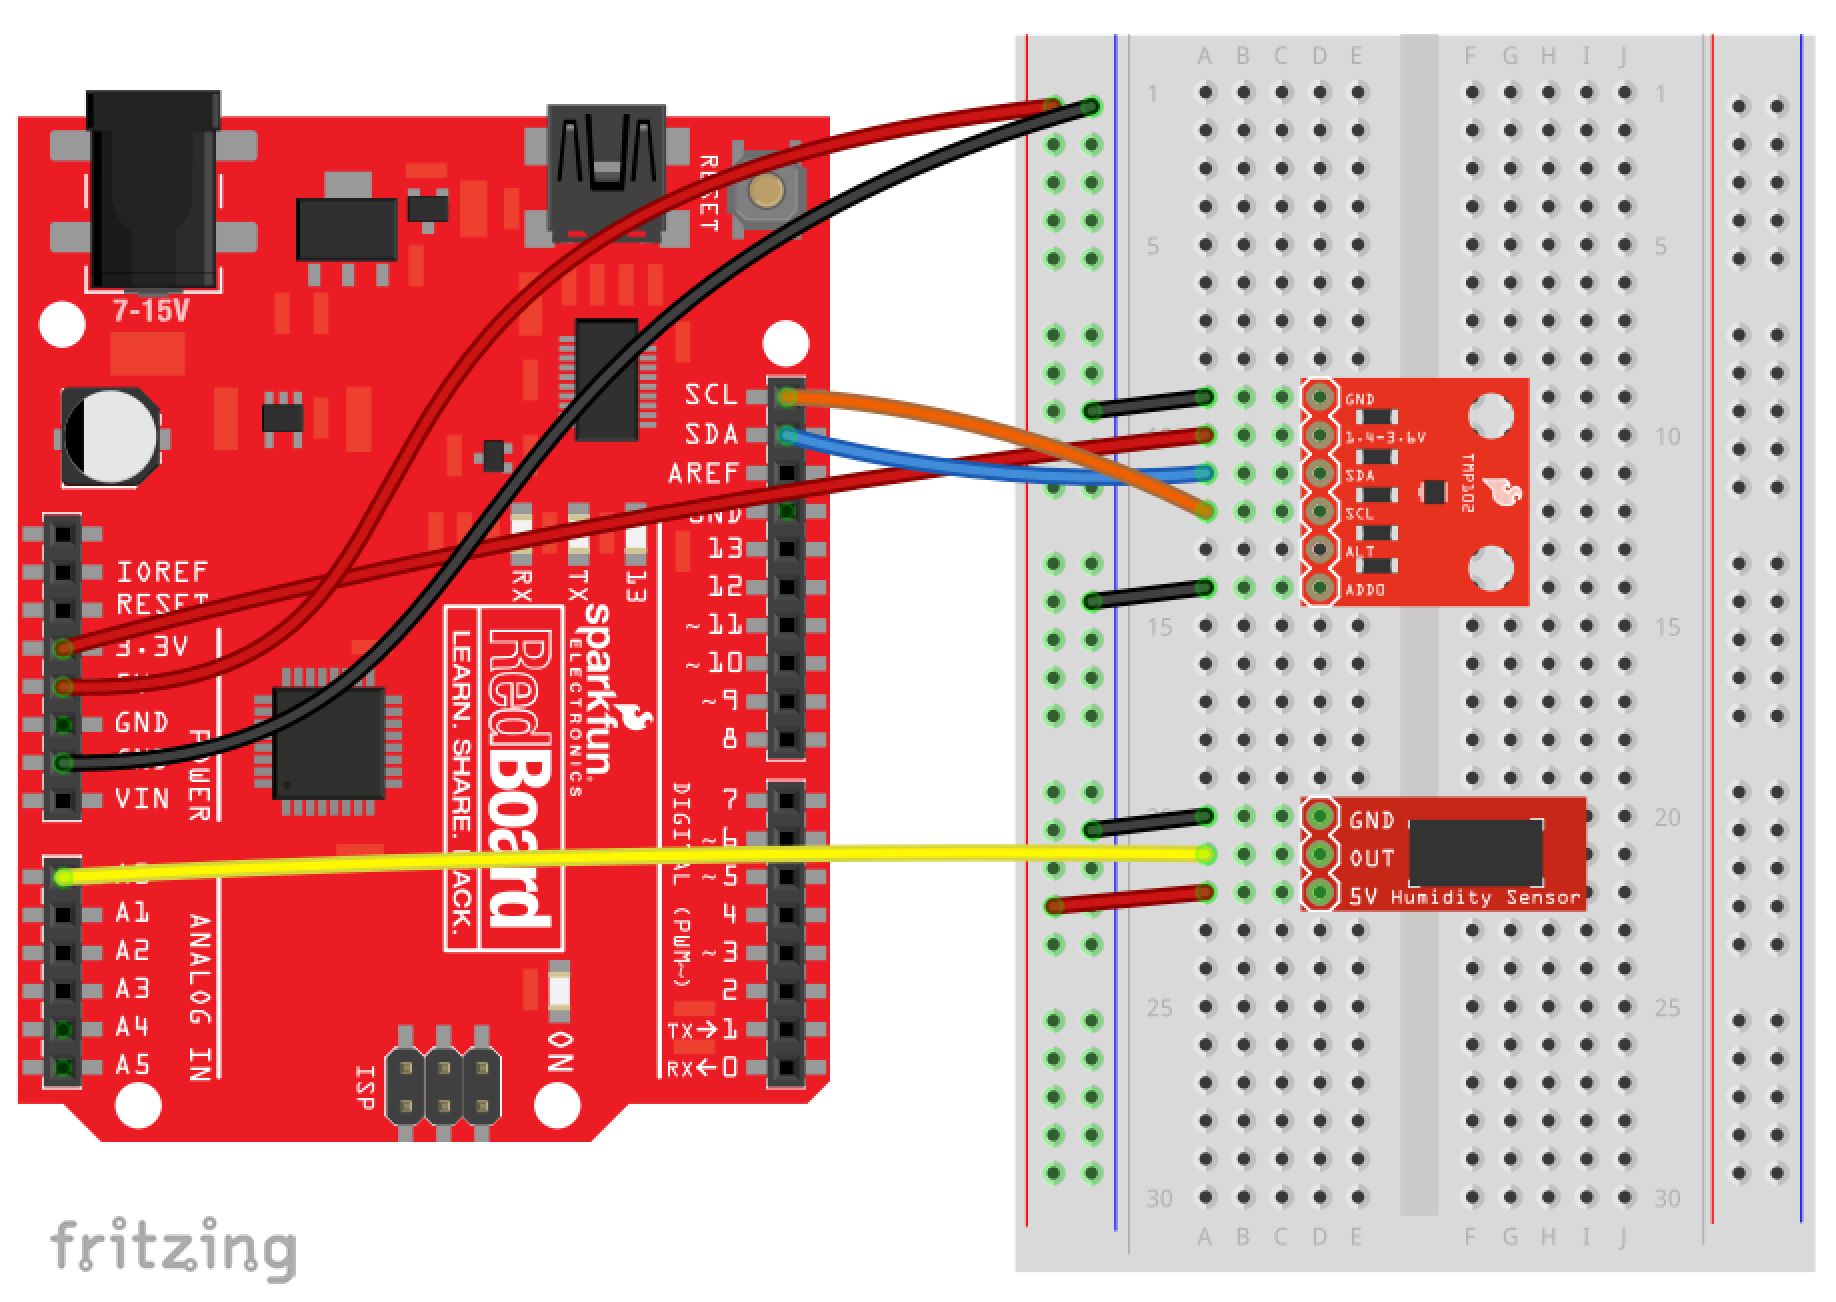
Determining Relative Humidity (RH%) requires knowing an accurate temperature. The previous circuit example does not utilize this feature, therefore, it will be necessary to to use your HIH-4030 Breakout in conjunction with a Temperature Sensor. For this Hookup Guide, we have used the TMP102 Breakout.
The TMP102 is a digital sensor that communicates over I2C, has a resolution of 0.0625°C, and is accurate up to 0.5°C. There is no on-board voltage regulator, so supplied voltage should be between 1.4 to 3.6V. Do not hook up the TMP102 VCC to 5V. You'll want to use 3.3V on your Arduino or SparkFun RedBoard for this connection. As an additional resource, refer to the TMP102 datasheet.
Since this is an I2C device, the connections you'll be most concerned with is the SDA (Data) and SCL (Clock) pins on either an Arduino or SparkFun RedBoard. Here is an example hookup diagram demonstrating how to connect the HIH-4030 Breakout with a TMP102 Digital Temperature Sensor board up to a SparkFun RedBoard:
We've written an Arduino library for the HIH-4030, which takes care of all your user specifications and calculating of formula found in the datasheet. Grab the most recent version of the library from our SparkFun_HIH4030_Arduino_Library GitHub repository:
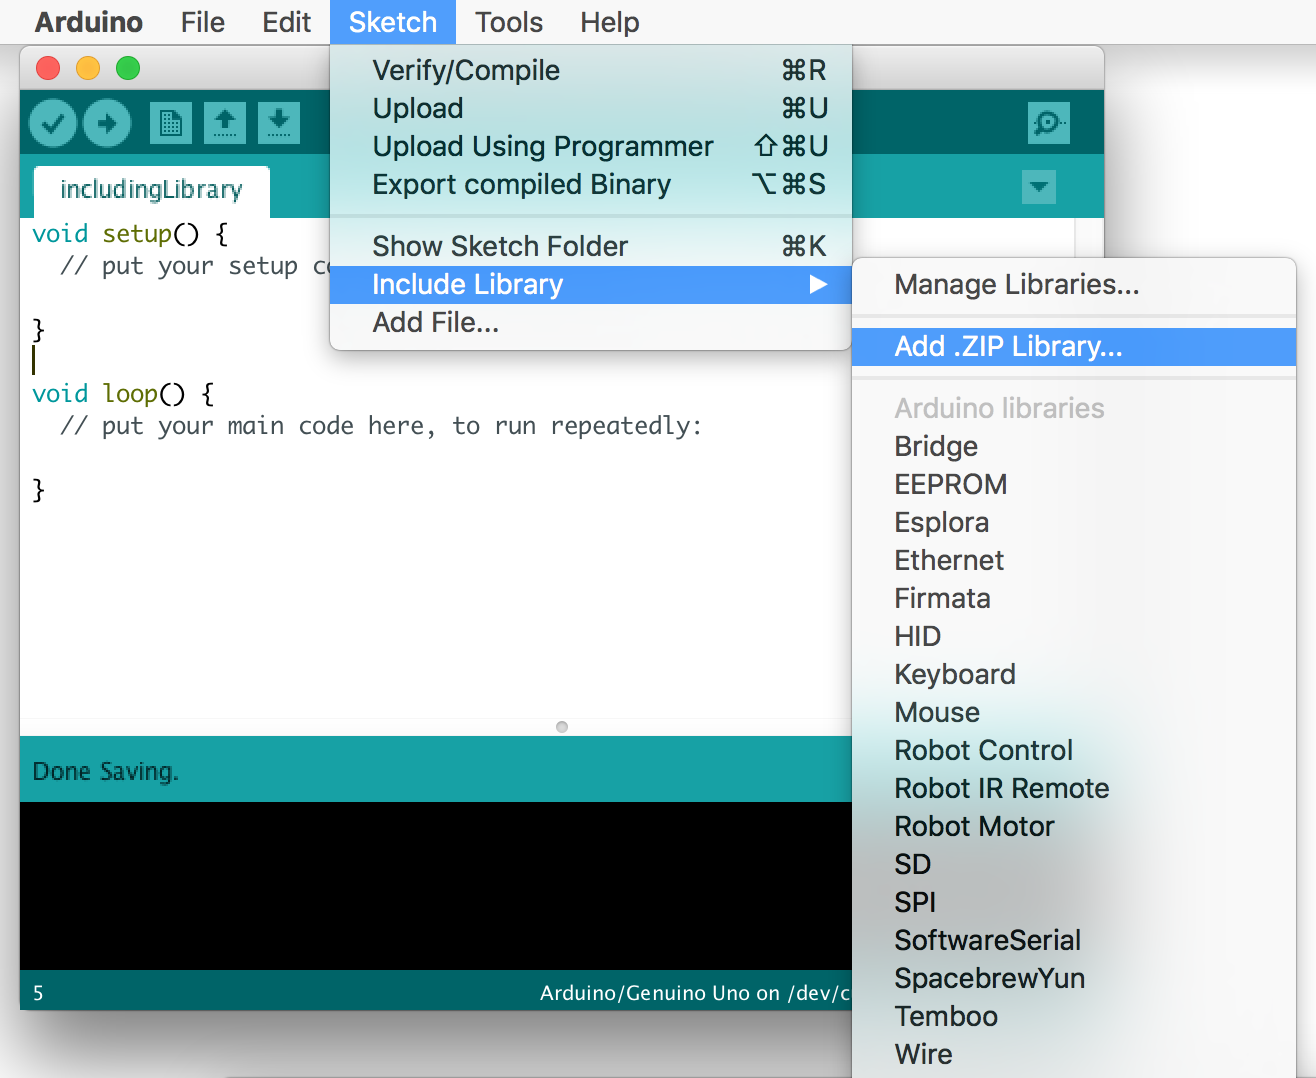
If you need any help with the installation process, check out the How to Install an Arduino Library tutorial. If you download the library's ZIP file, you can use Arduino's "Add ZIP Library..." feature to install the source and example files.
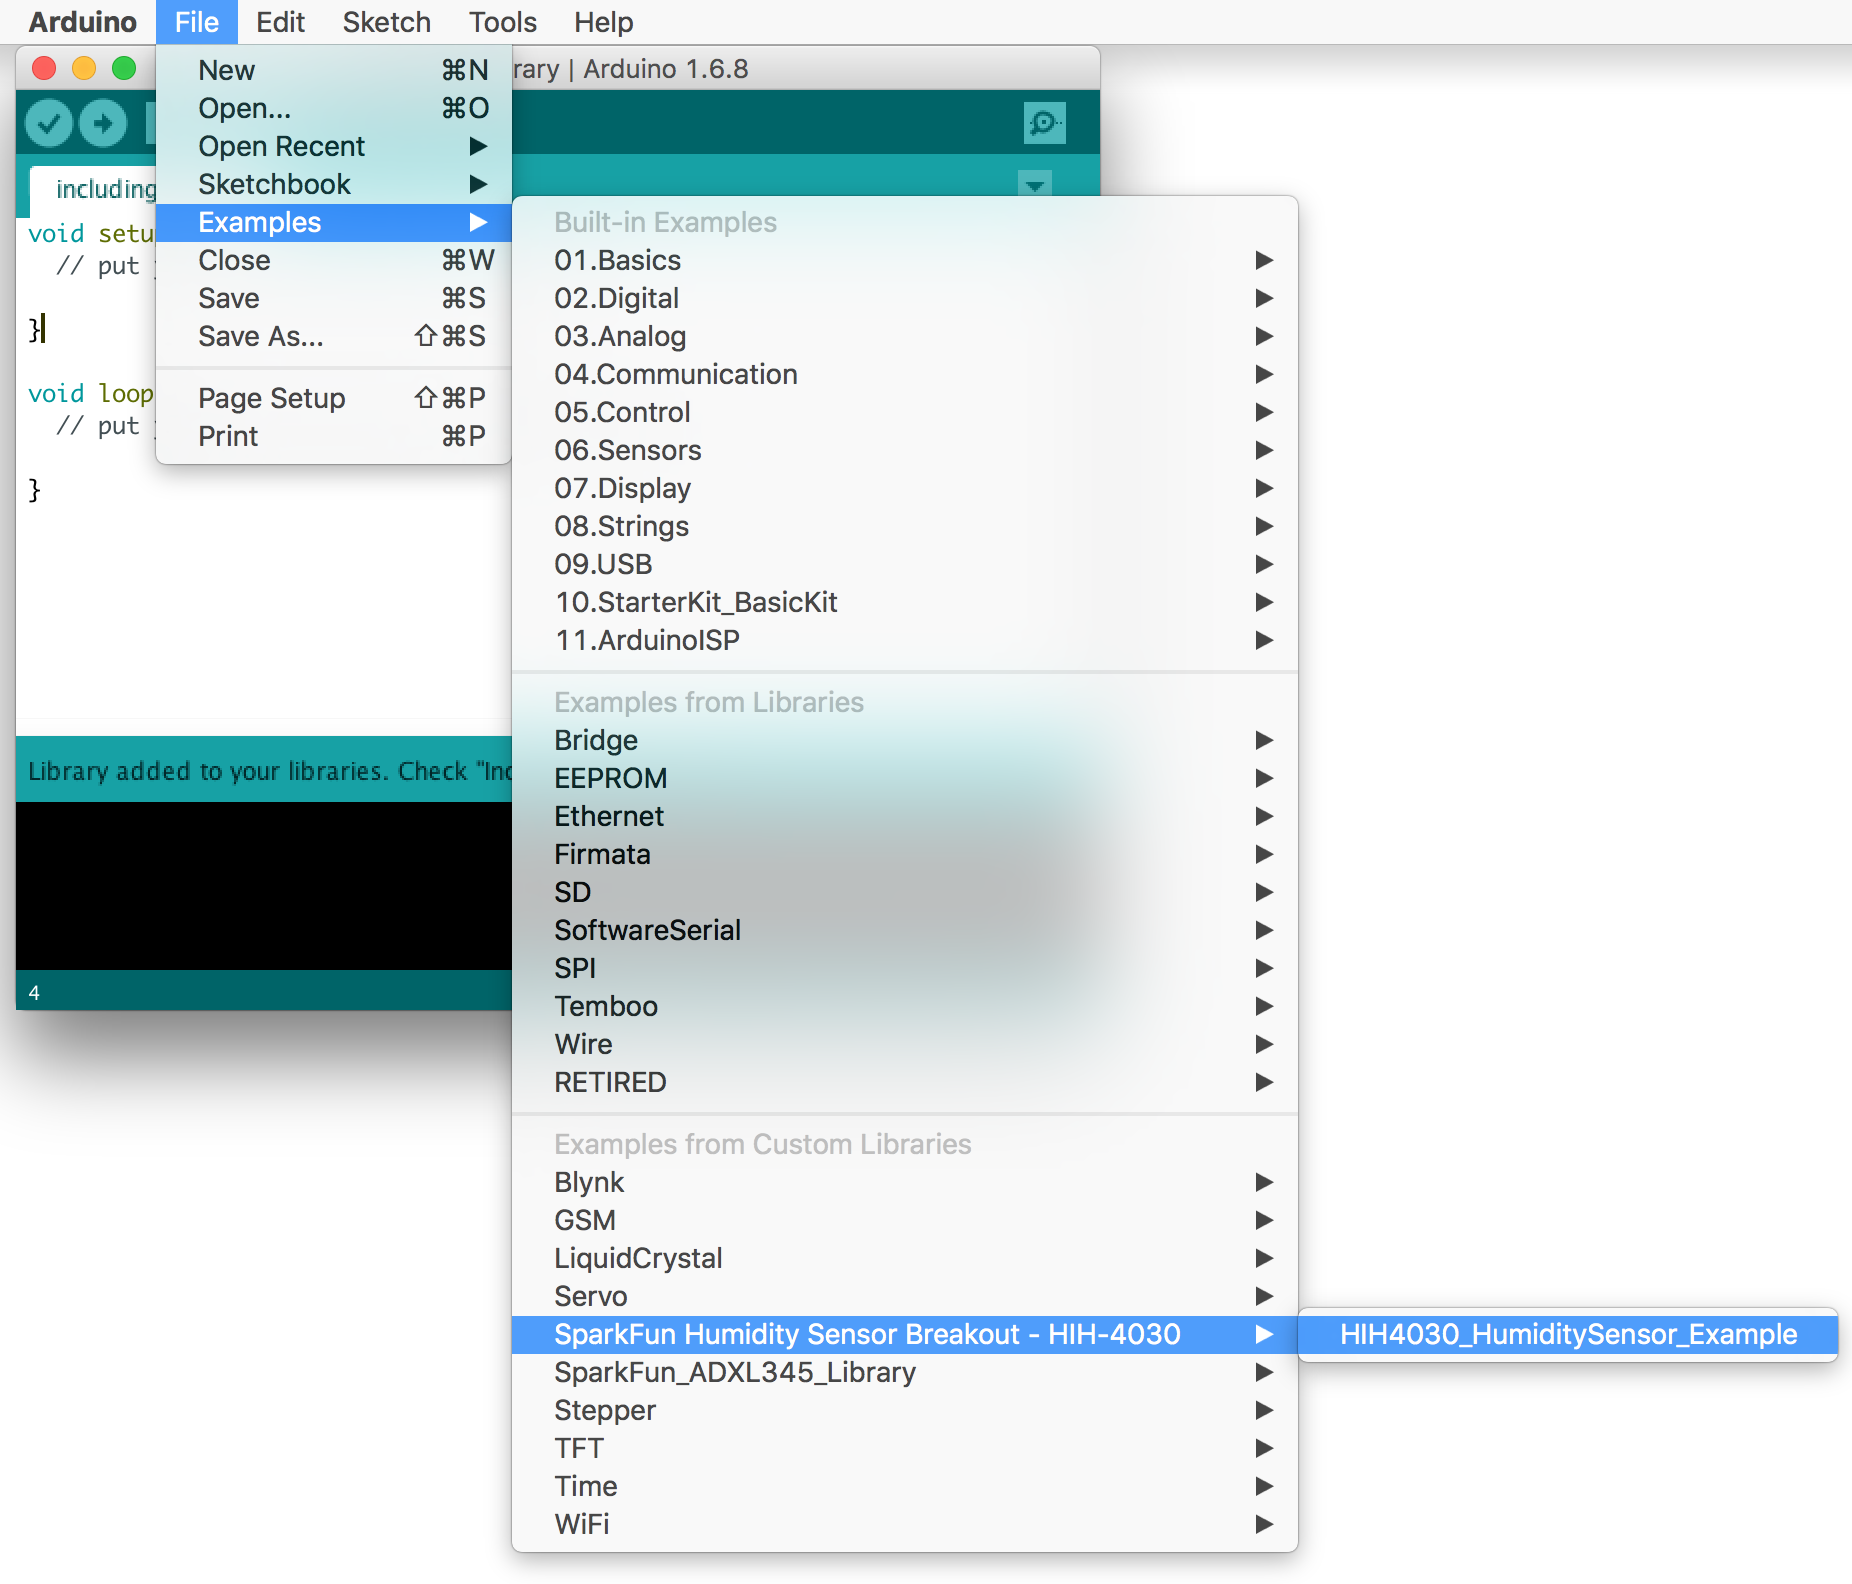
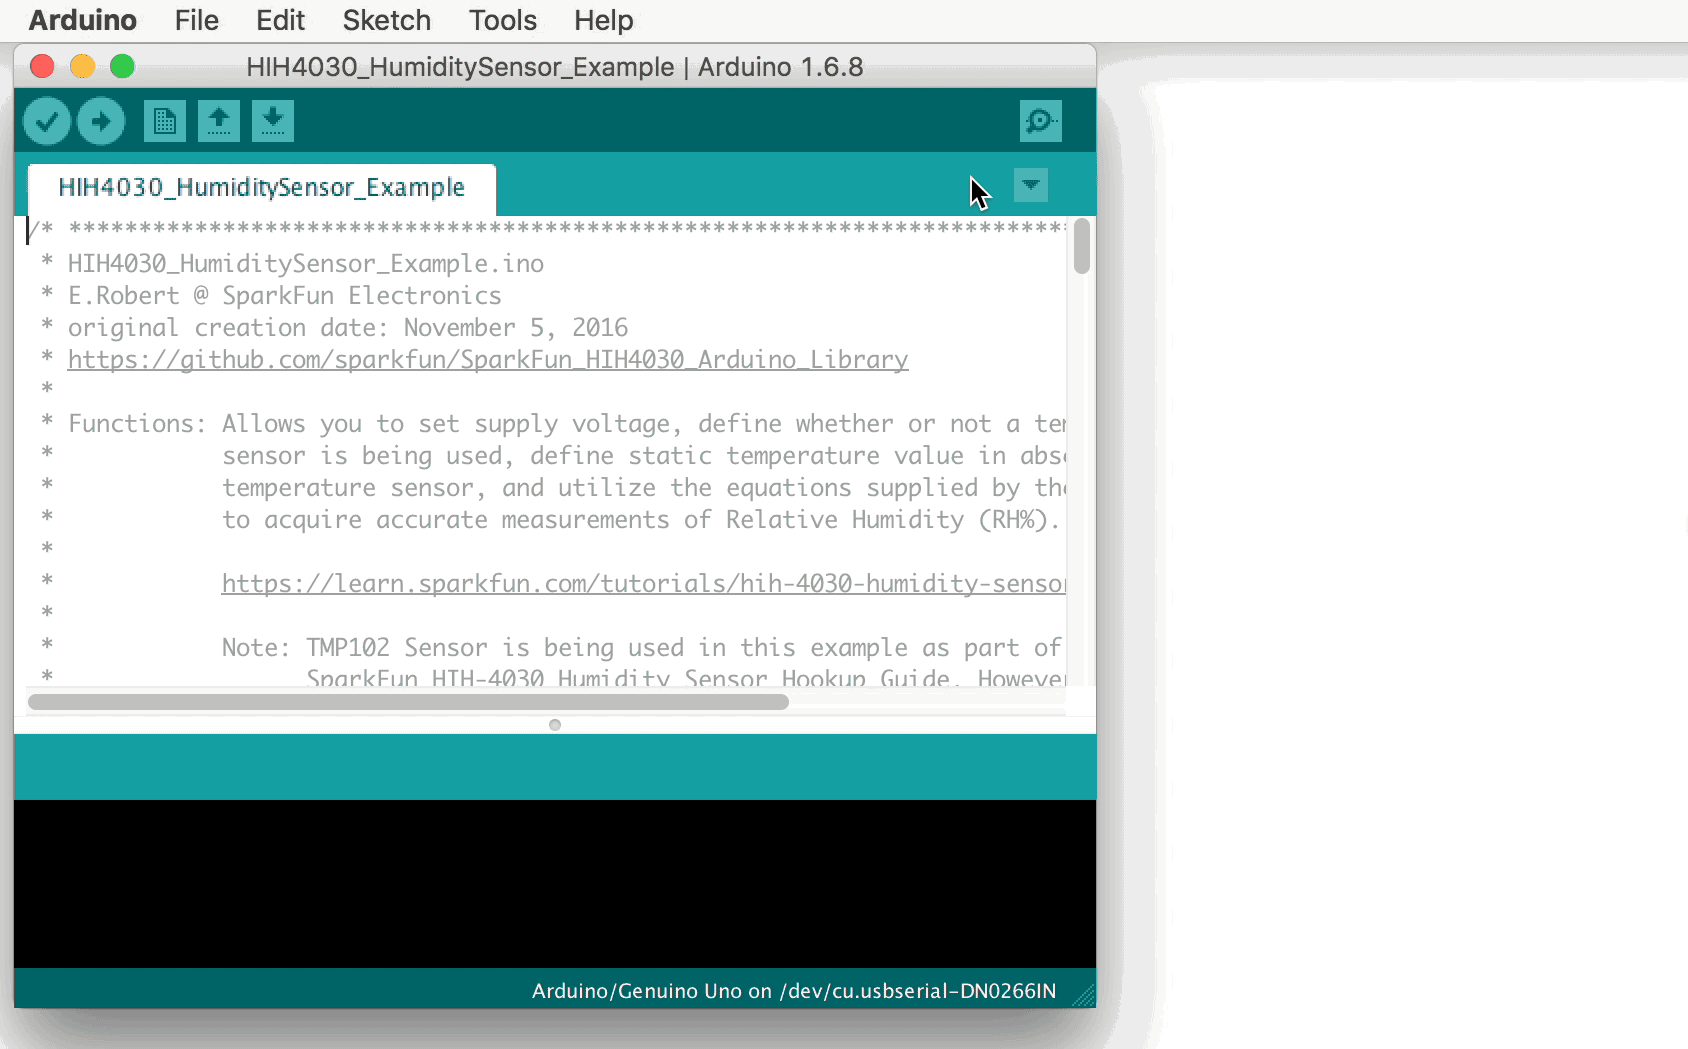
Once you've downloaded the library, open the HIH4030_HumiditySensor_Example by navigating to File > Examples > SparkFun Humidity Sensor Breakout - HIH4030 > HIH4030_HumiditySensor_Example:
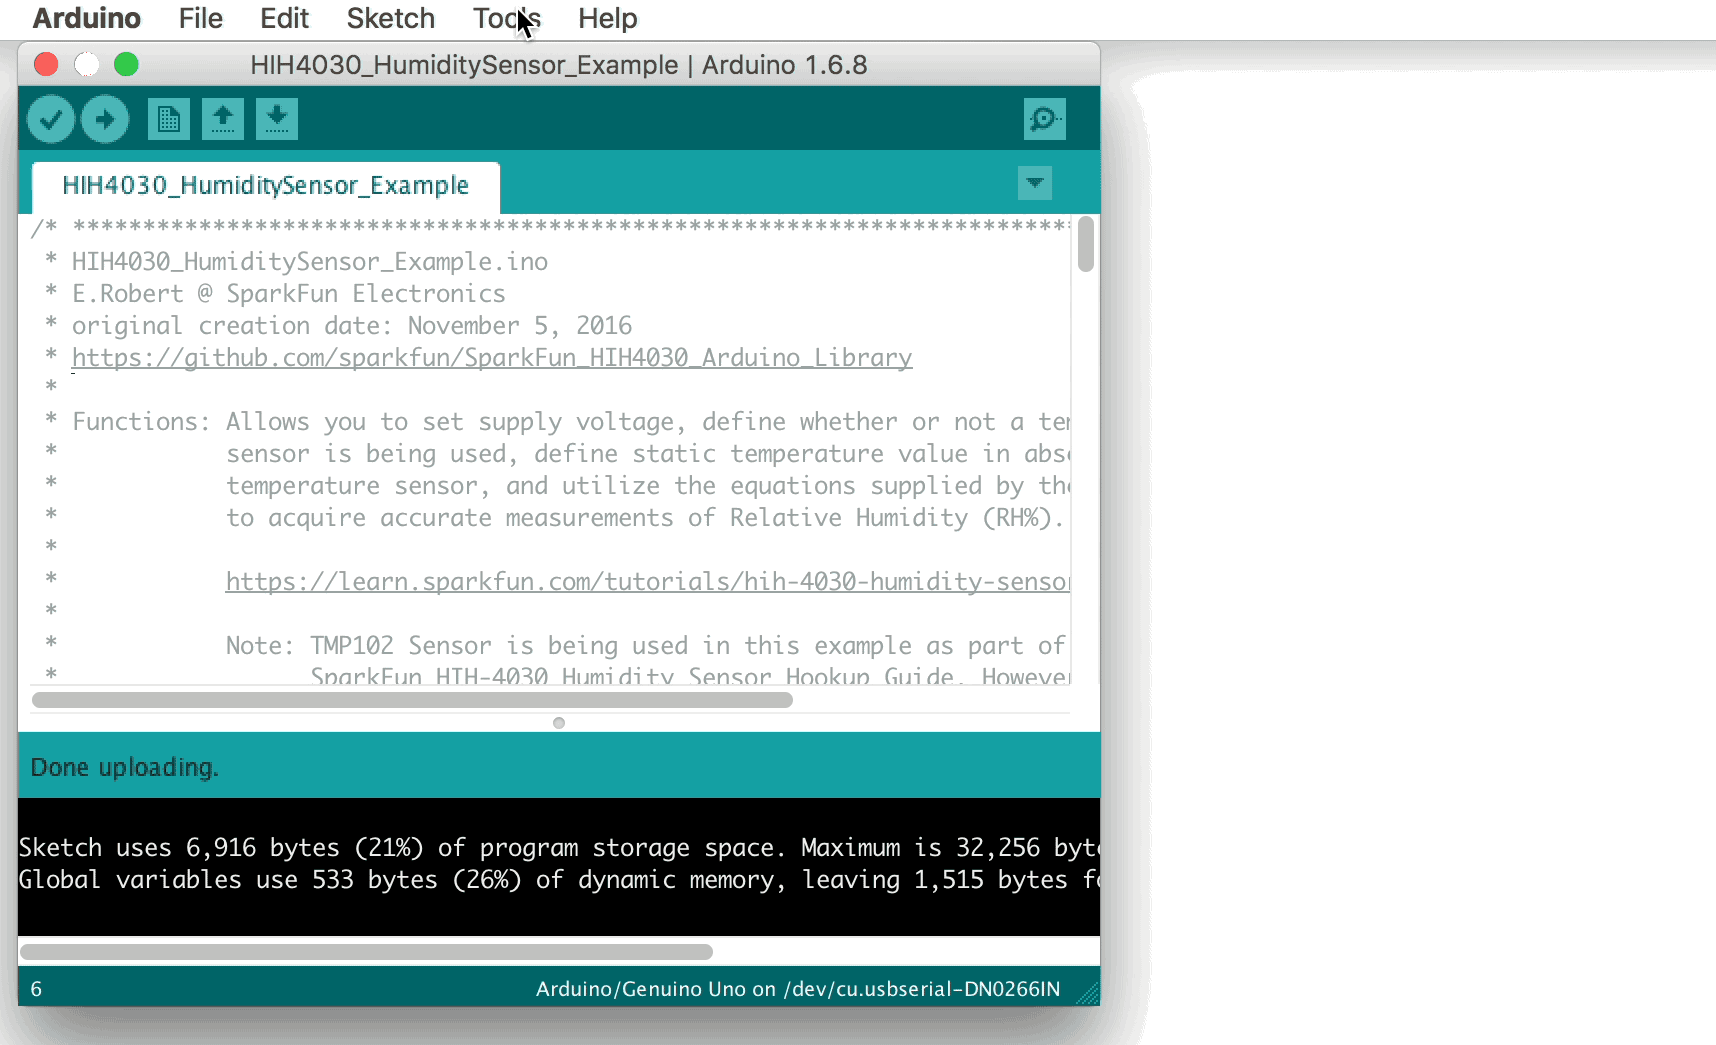
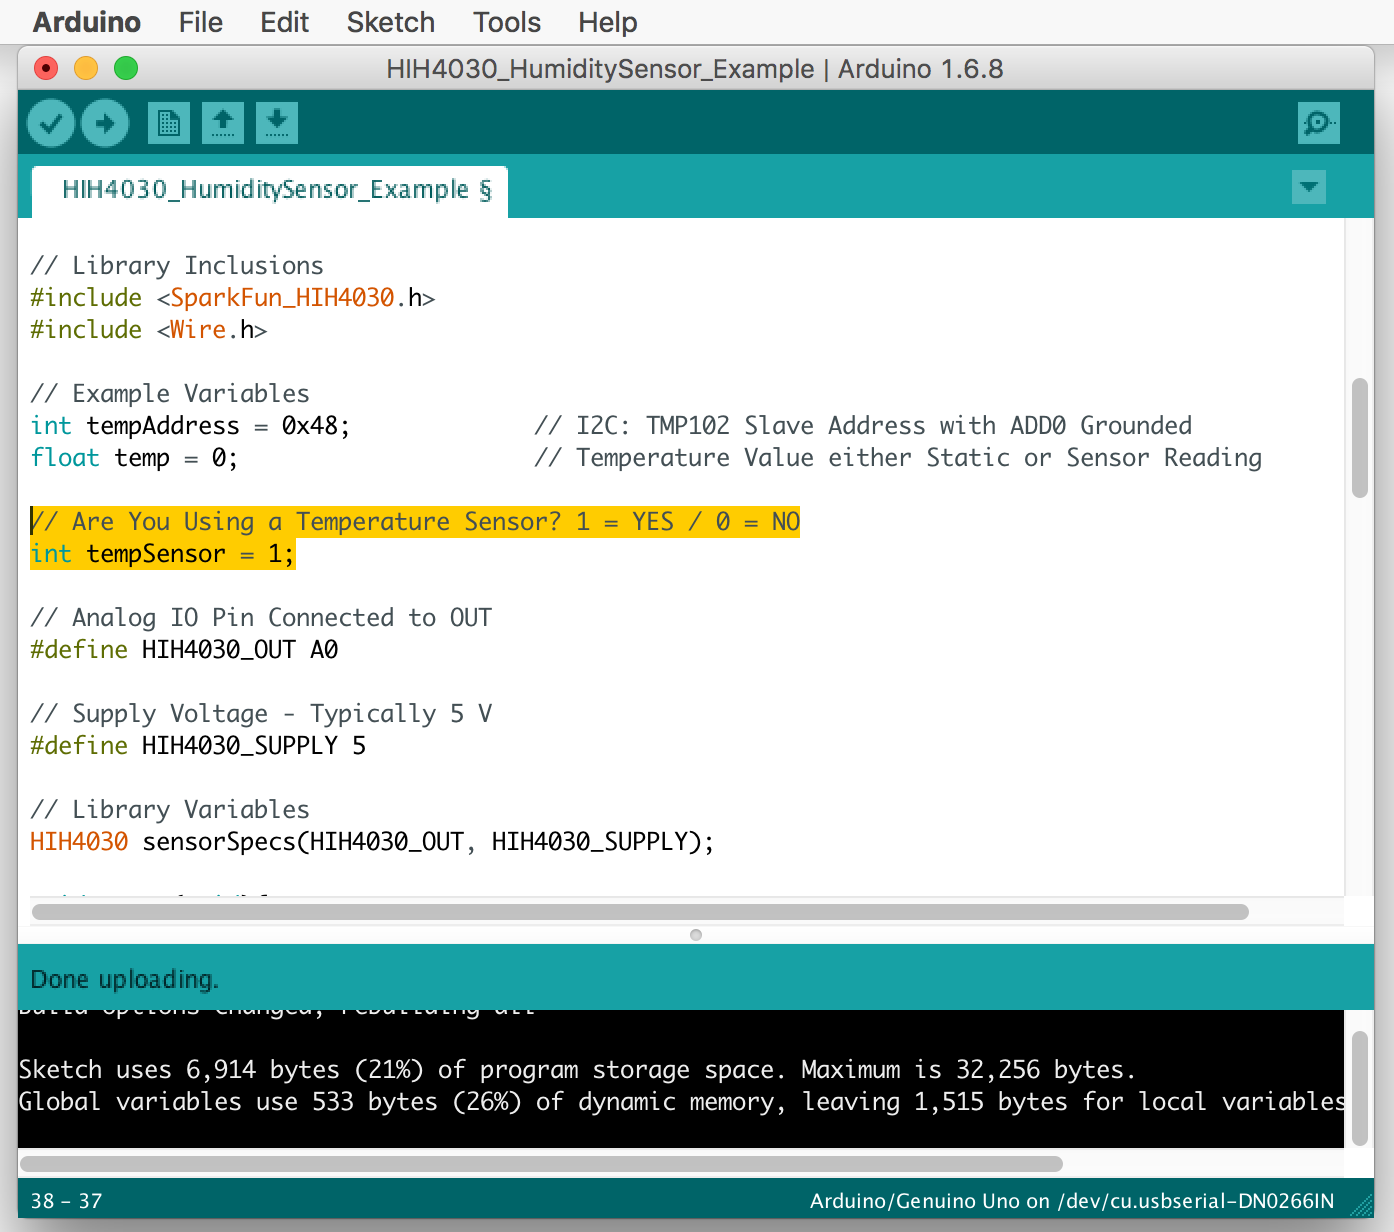
You'll also want to make sure your board and port are correctly set in the Arduino IDE window before uploading the code:
Once the upload is complete, you can click over to the Serial Monitor. Make sure the baud rate is set to 9600 bps, and you should begin to see the Tempearture, Sensor Voltage, Relative Humidity and True Relative Humidity scroll across the screen:
To begin, make sure you include the SparkFun_HIH4030.h library. If using a temperature sensor, you'll need to include Wire.h the Arduino I2C library:
language:c
#include <SparkFunDS1307RTC.h>
#include <Wire.h>
The code by default is using a static value for the temperature reading.
language:c
// Are You Using a Temperature Sensor? 1 = YES / 0 = NO
int tempSensor = 0;
You can change the temp variable from 25 degrees Celsius to any desired value to see how it affects the Relative Humidity (RH%).

It's important to remember that True Relative Humidity (RH%) requires a known temperature for accurate measurement. As an example, the previous section, Hardware Hookup, demonstrated how to wire both the SparkFun Humidity Sensor Breakout - HIH-4030 and Digital Temperature Sensor Breakout - TMP102. However, you can also use other Temperature Sensors available on the SparkFun storefront: One-Wire Ambient Temperature Sensor - MAX31820, Temperature Sensor - TMP36, One Wire Digital Temperature Sensor - DS18B20, SparkFun Infrared Temperature Breakout - TMP006.
If you are utilizing a Temperature Sensor, you'll want to modify the following code from the default 0 to a 1:
Two things that need to be defined for the SparkFun_HIH4030 Library is the Analog I/O Pin the HIH-4030 Sensor OUT is connected to and the voltage being supplied to the HIH-4030 Sensor. If your setup reflects the Hardware Hookup section, you can leave the values as is.
language:c
// Analog IO Pin Connected to OUT
#define HIH4030_OUT A0

// Supply Voltage - Typically 5 V
#define HIH4030_SUPPLY 5
Since the output of the HIH-4030 Humidity Sensor is nearly linear, the analogRead() function is used and mapped to the correct range. This is where the value you defined for the Supply Voltage in your HIH4030_HumiditySensor_Example code comes into play.
language:cpp
// Read value from the sensor and convert to voltage value
float HIH4030::vout() {
    return (float)(analogRead(pin)) * supply / 1023;
}
From the HIH-4030 Datasheet, a Voltage output equation is given on page 2.

With the previous vout() function and defined supply voltage, sensor RH can be calculated.
language:cpp
// Convert sensor reading into Relative Humidity (RH%)
//  using equation from Datasheet
// VOUT = (VSUPPLY)(0.0062(SENSOR RH) + 0.16),
//  typical at 25 degrees Celsius

float HIH4030::getSensorRH() {
    return ((vout() / (.0062 * supply)) - 25.81);
}
The True Relative Humidity euqation is also given on page 2 of the HIH-4030 Datasheet which includes temperature compensation.

Aforementioned, True Relative Humidity required a known temperature for accurate measurement. The getTrueRH(float temperature) function will take the value of either your static temperature or sensor measurement, whichever is applicable, and calculate True RH.
language:cpp
// Get True Relative Humidity (RH%) compensated
//  with Static Temperature or Measured Temperature
// TRUE RH = (SENSOR RH)/(1.0546 - 0.00216T), T in degrees Celsius

float HIH4030::getTrueRH(float temperature) {
    return getSensorRH() / (1.0546 - (0.00216 * temperature));
}
For more on the HIH-4030 Humidity Sensor, check out the links below:
Need some inspiration for your next project? Check out some of these related tutorials:
learn.sparkfun.com | CC BY-SA 3.0 | SparkFun Electronics | Niwot, Colorado