Shed some light (er, sound) on the elusive mysteries of your pets' antics while away from home! This Internet of Things (IoT) Bark Back project monitors and uploads the level of noise in your home to the Cloud so you can check on your beloved pet(s). The best part: if it gets too loud (i.e., Fido is barking or making some other ruckus), the program plays your own "bark back" audio file to help distract and quiet down the pup.
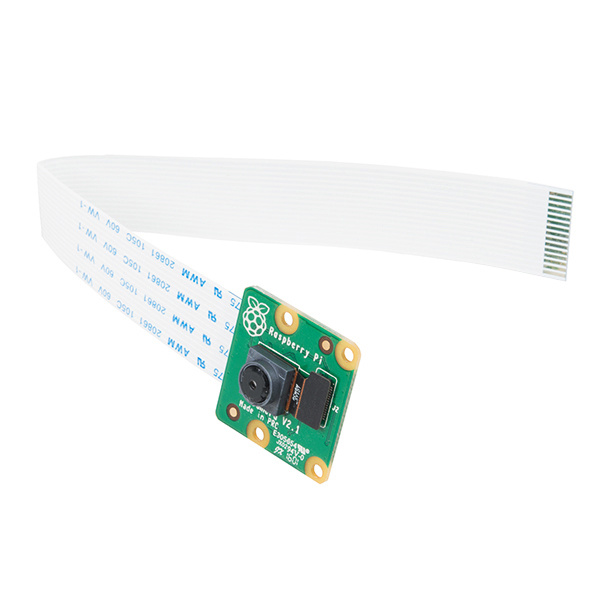
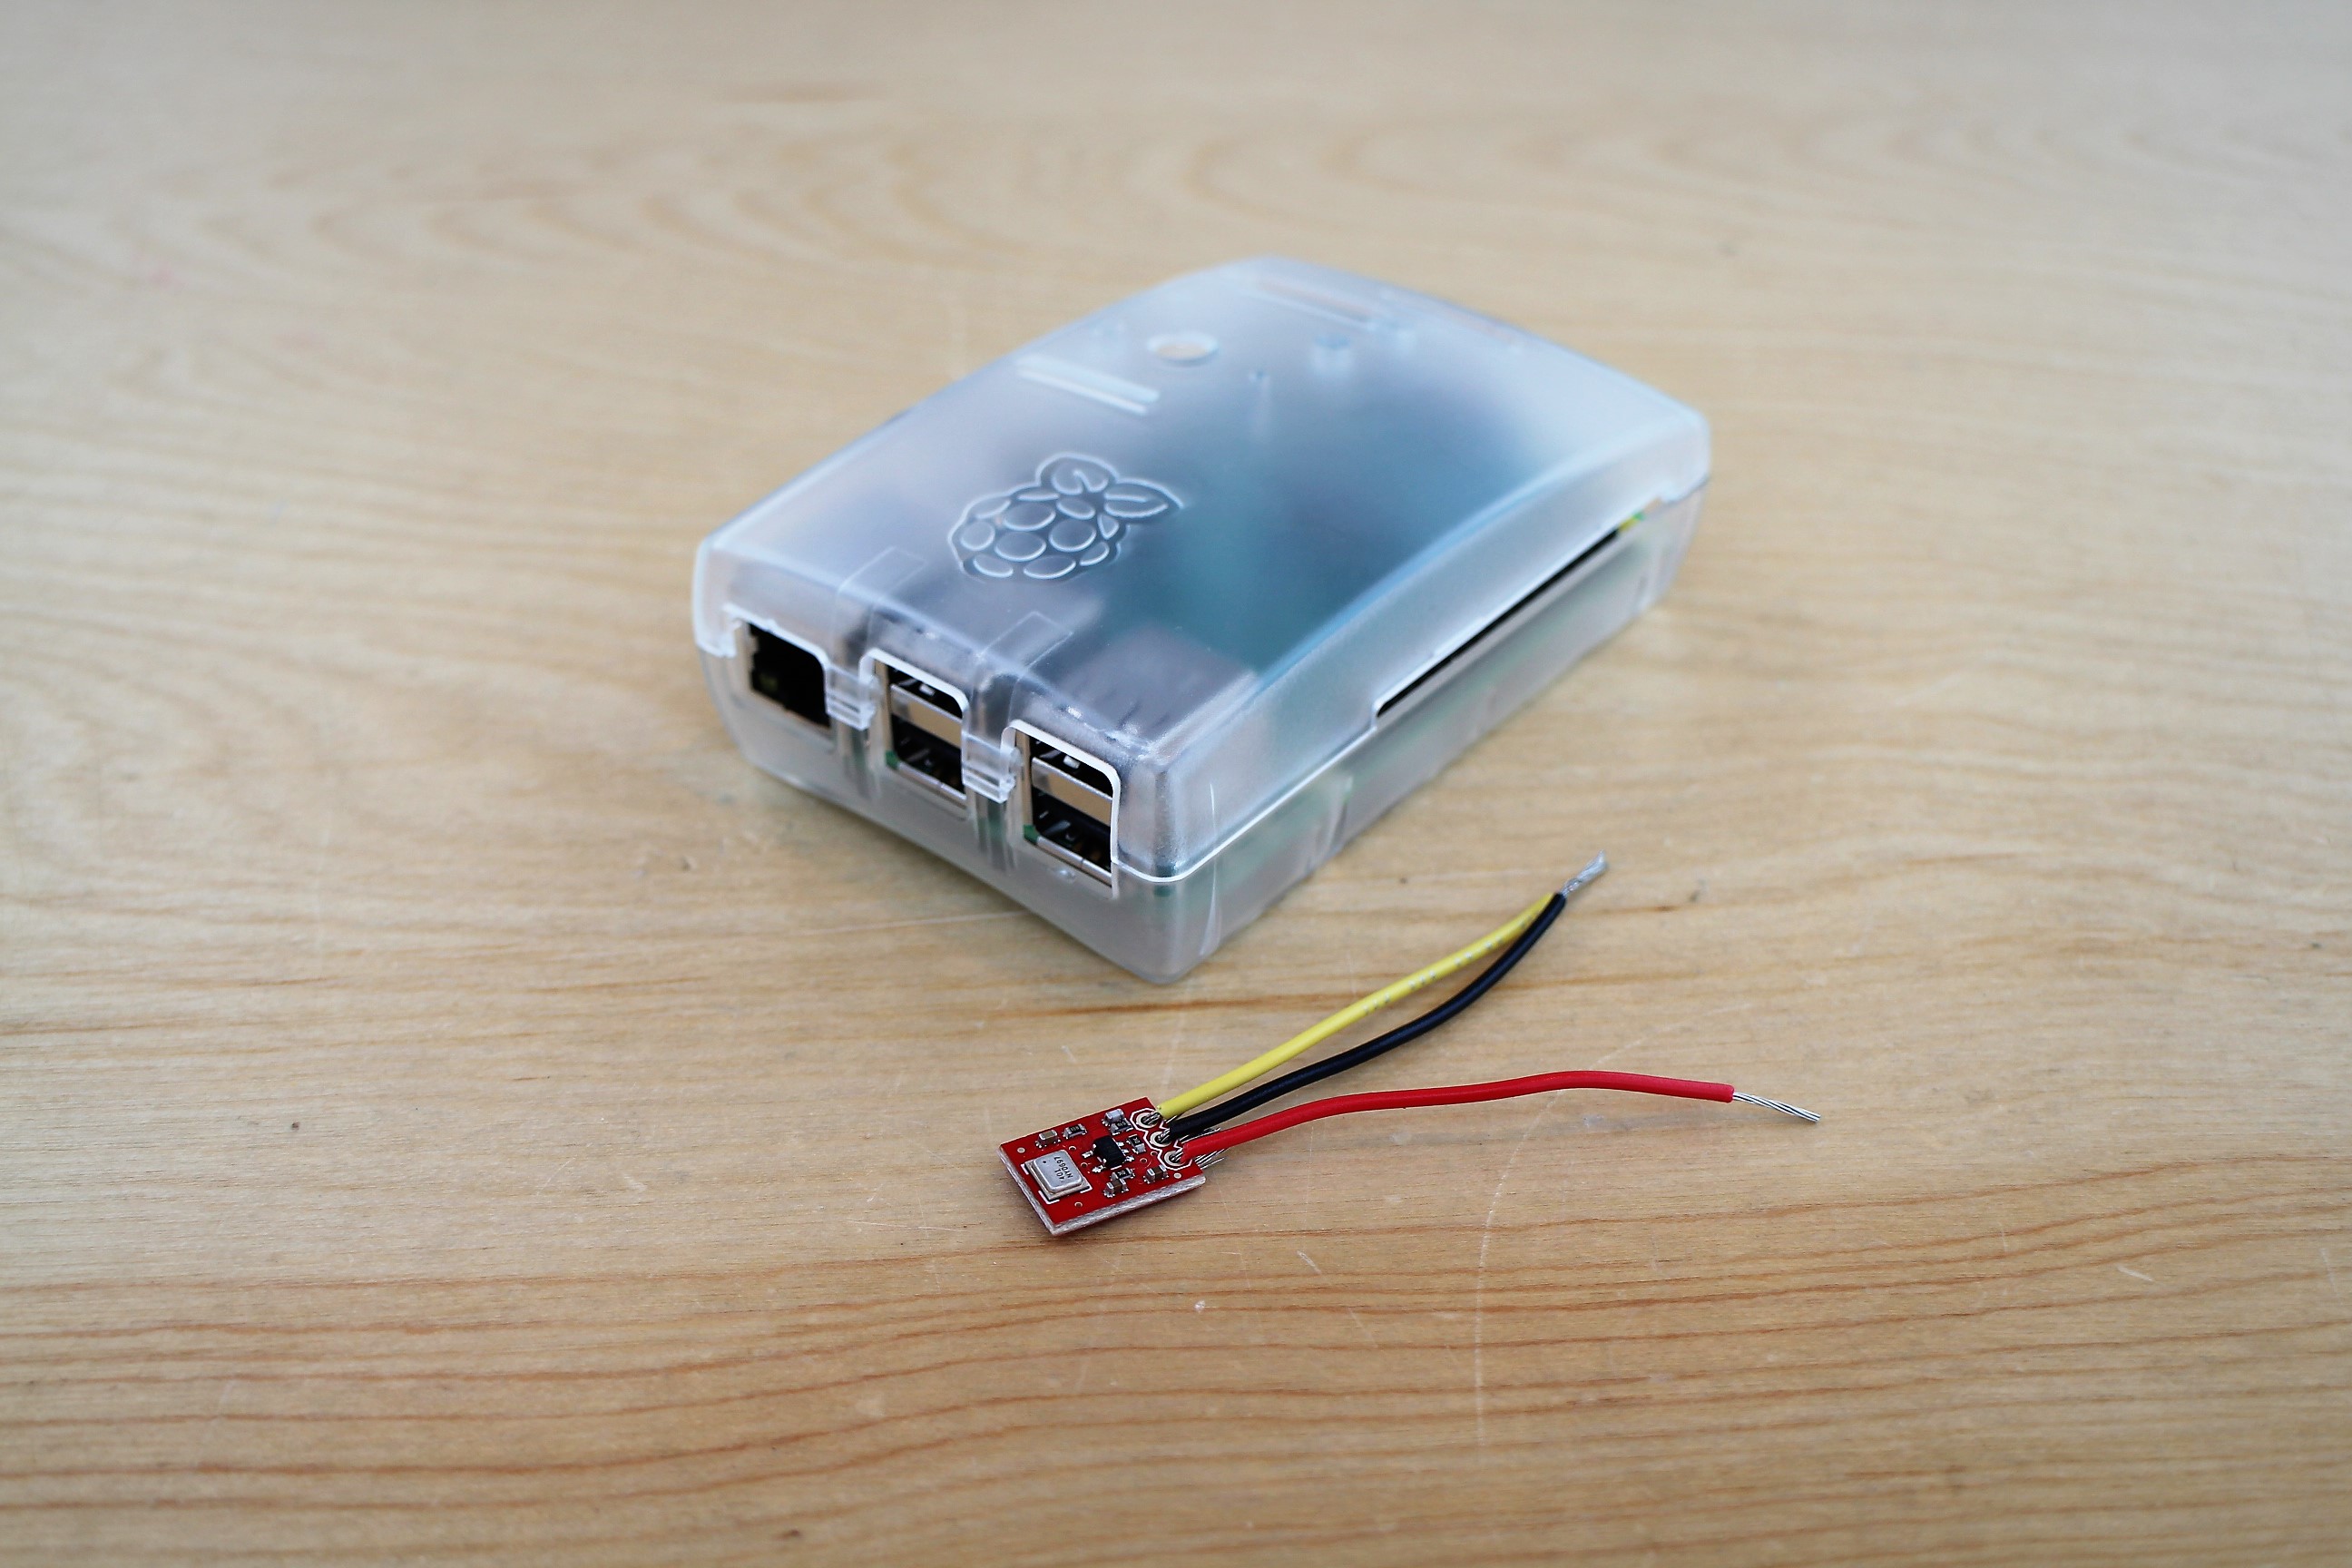
This project uses a Raspberry Pi to read the SparkFun MEMS microphone breakout board and trigger an audio player. Data is uploaded to the CloudMQTT service using the MQTT communication protocol.
For a demo, check out the video below!
This tutorial will show you how to do the following:
To build this project, you'll need a fully configured, WiFi-connected Raspberry Pi 3 with Raspbian OS. It's also helpful to know some Python programming as well as the following three things: (1) using and controlling the Raspberry Pi GPIO pins, (2) MQTT communication and (3) analog signals. If any of this is unfamiliar, or if you're just curious (be curious!), check out the tutorials below!
MQTT (Message Query Telemetry Transport) is a popular IoT communication protocol. We'll use the Paho Client Python library and an MQTT service called CloudMQTT.
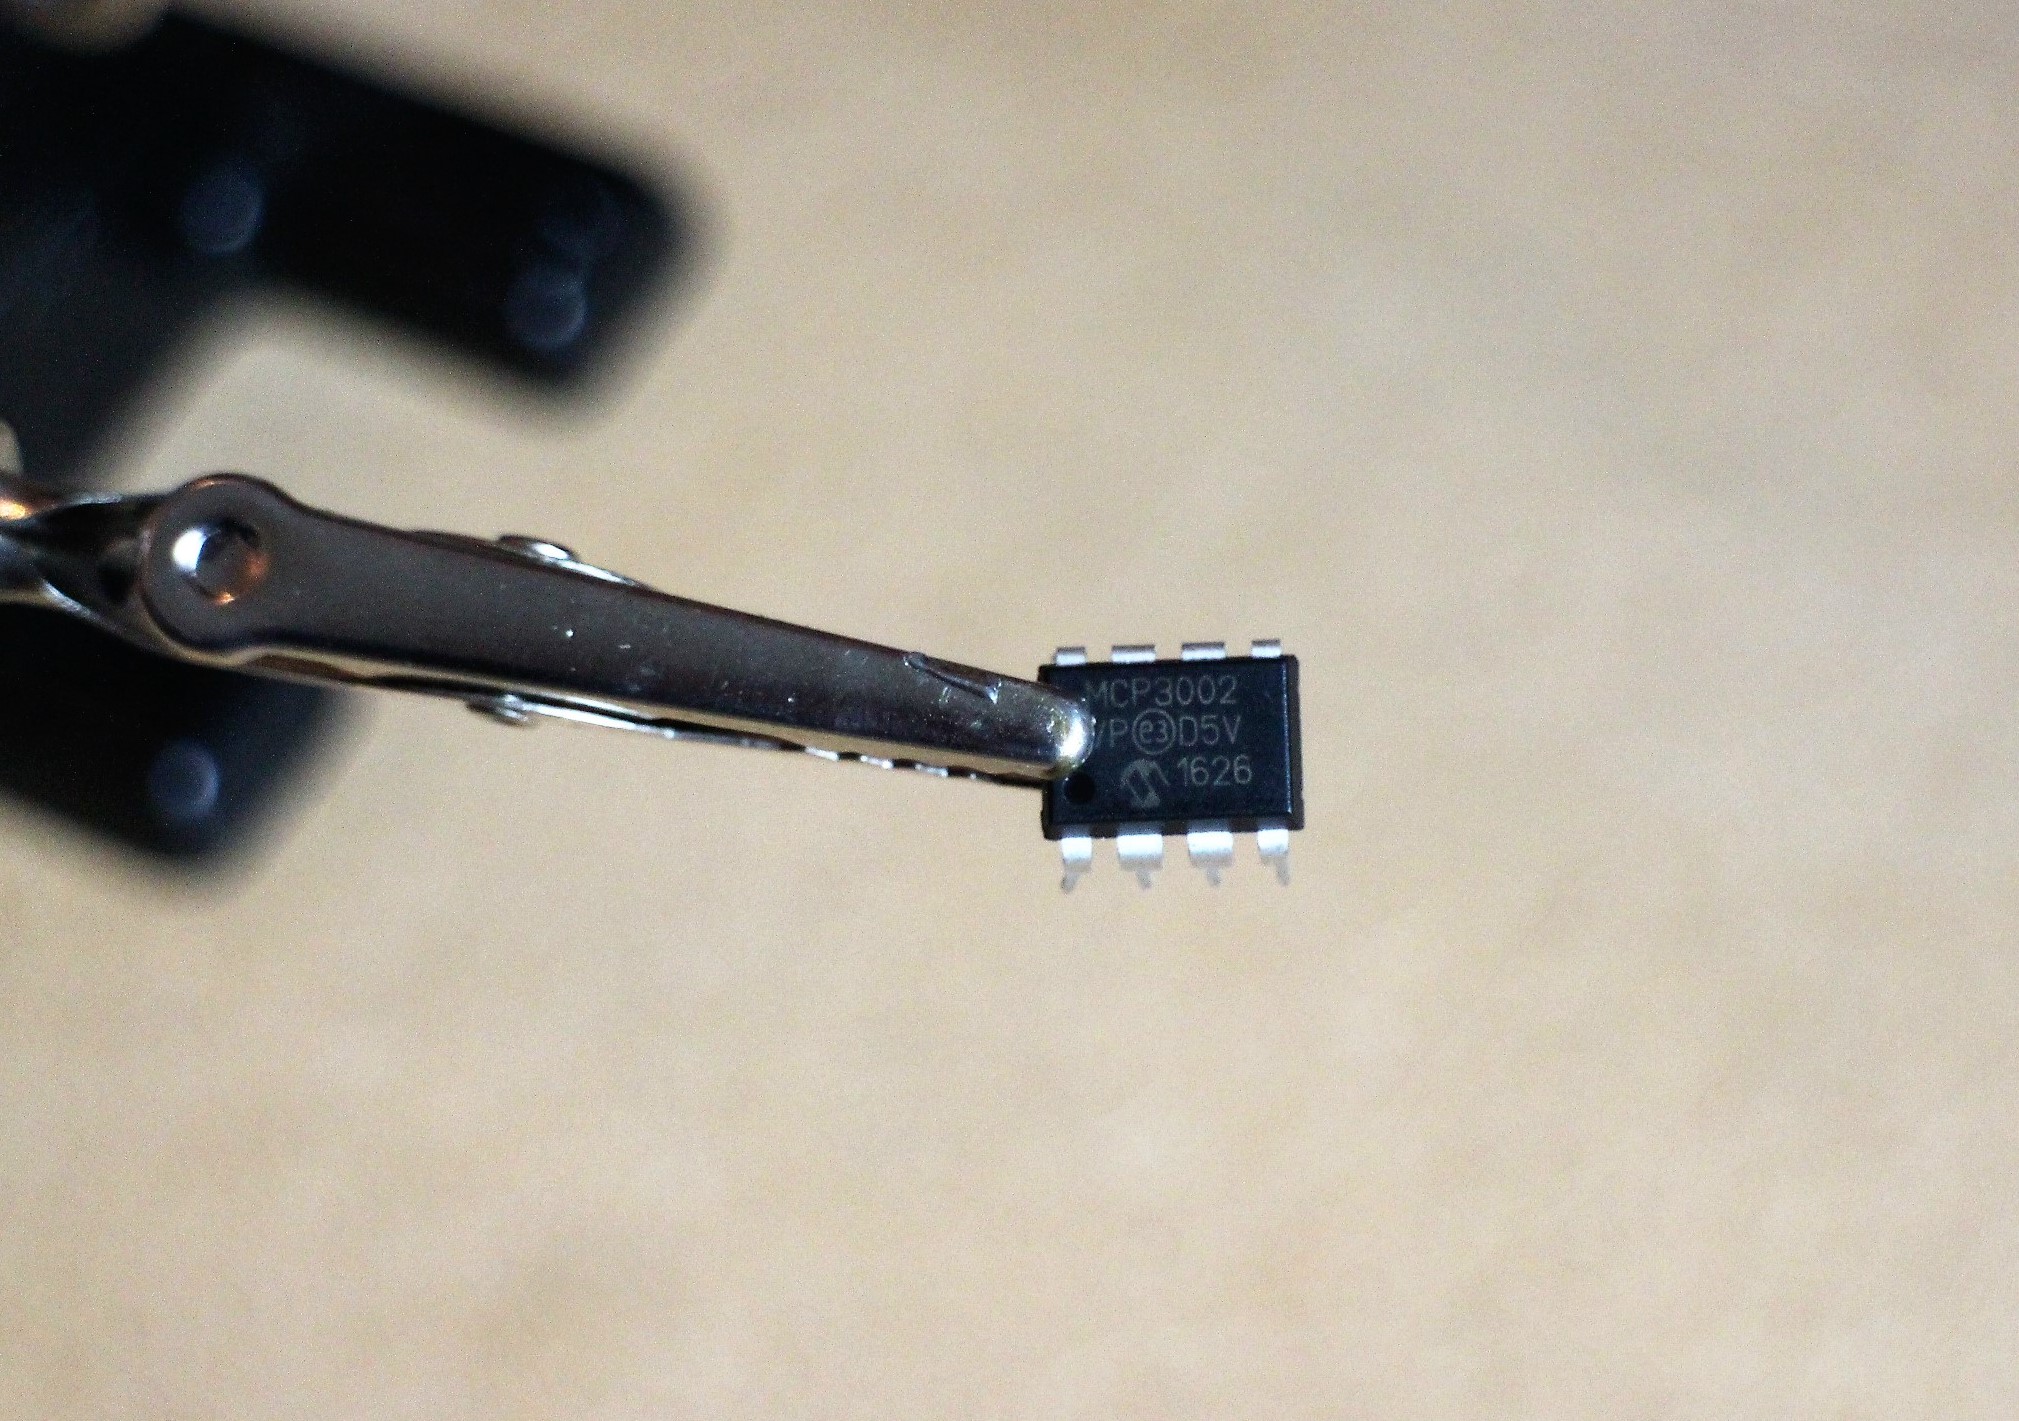
The MEMS Microphone is an analog microphone, so you'll need the MCP3002 Analog-to-Digital converter ("ADC") to read in the analog signal with the Raspberry Pi digital GPIO pins.
You'll need the following materials to follow along.
You'll also need the following:
Here's the Raspberry Pi 2 (and 3) Model B pinout diagram:
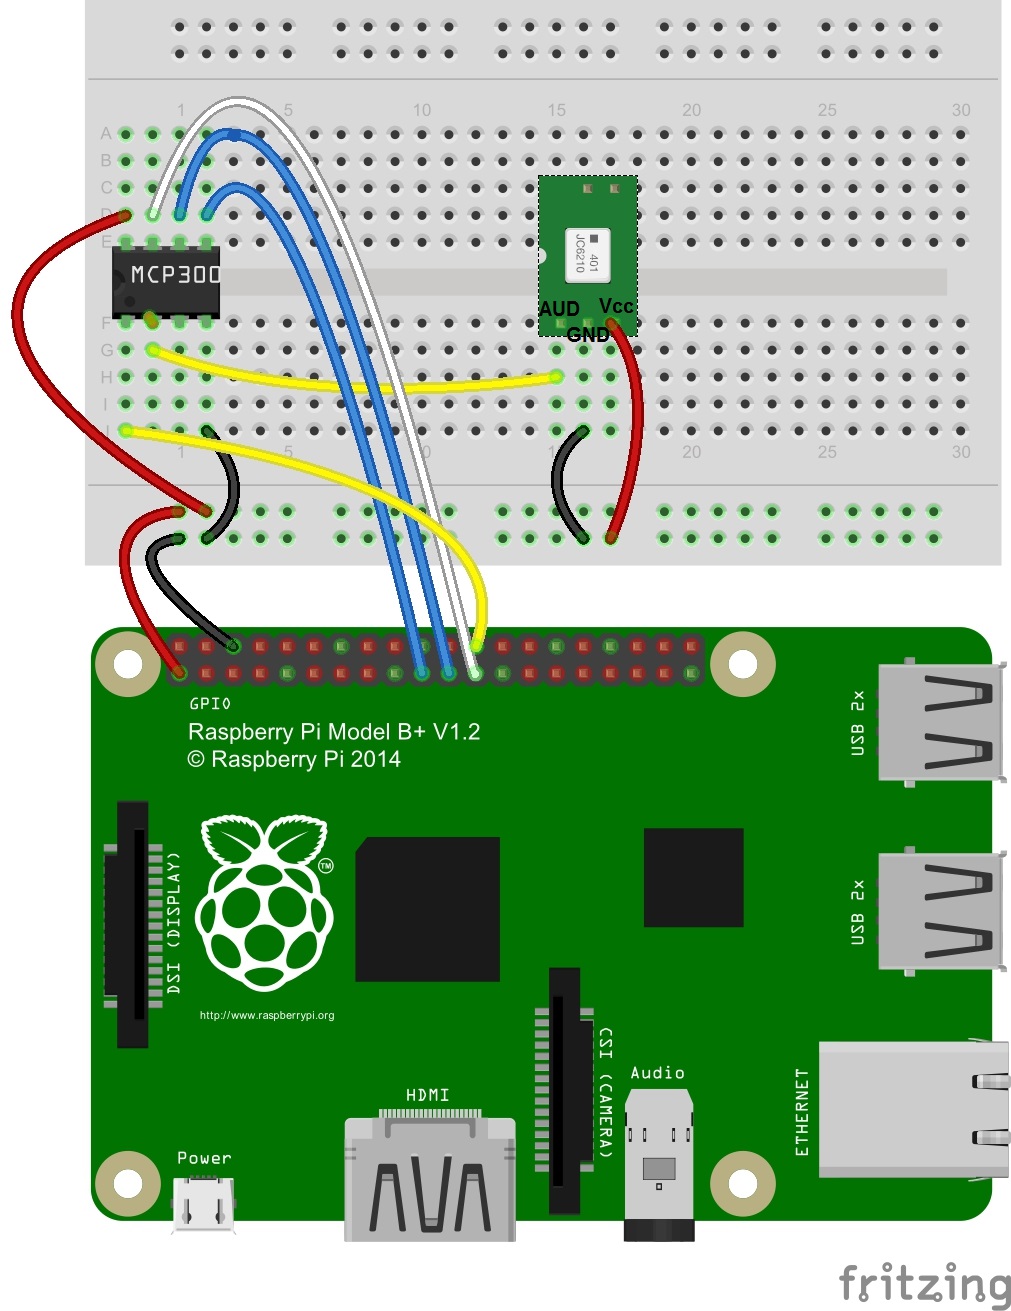
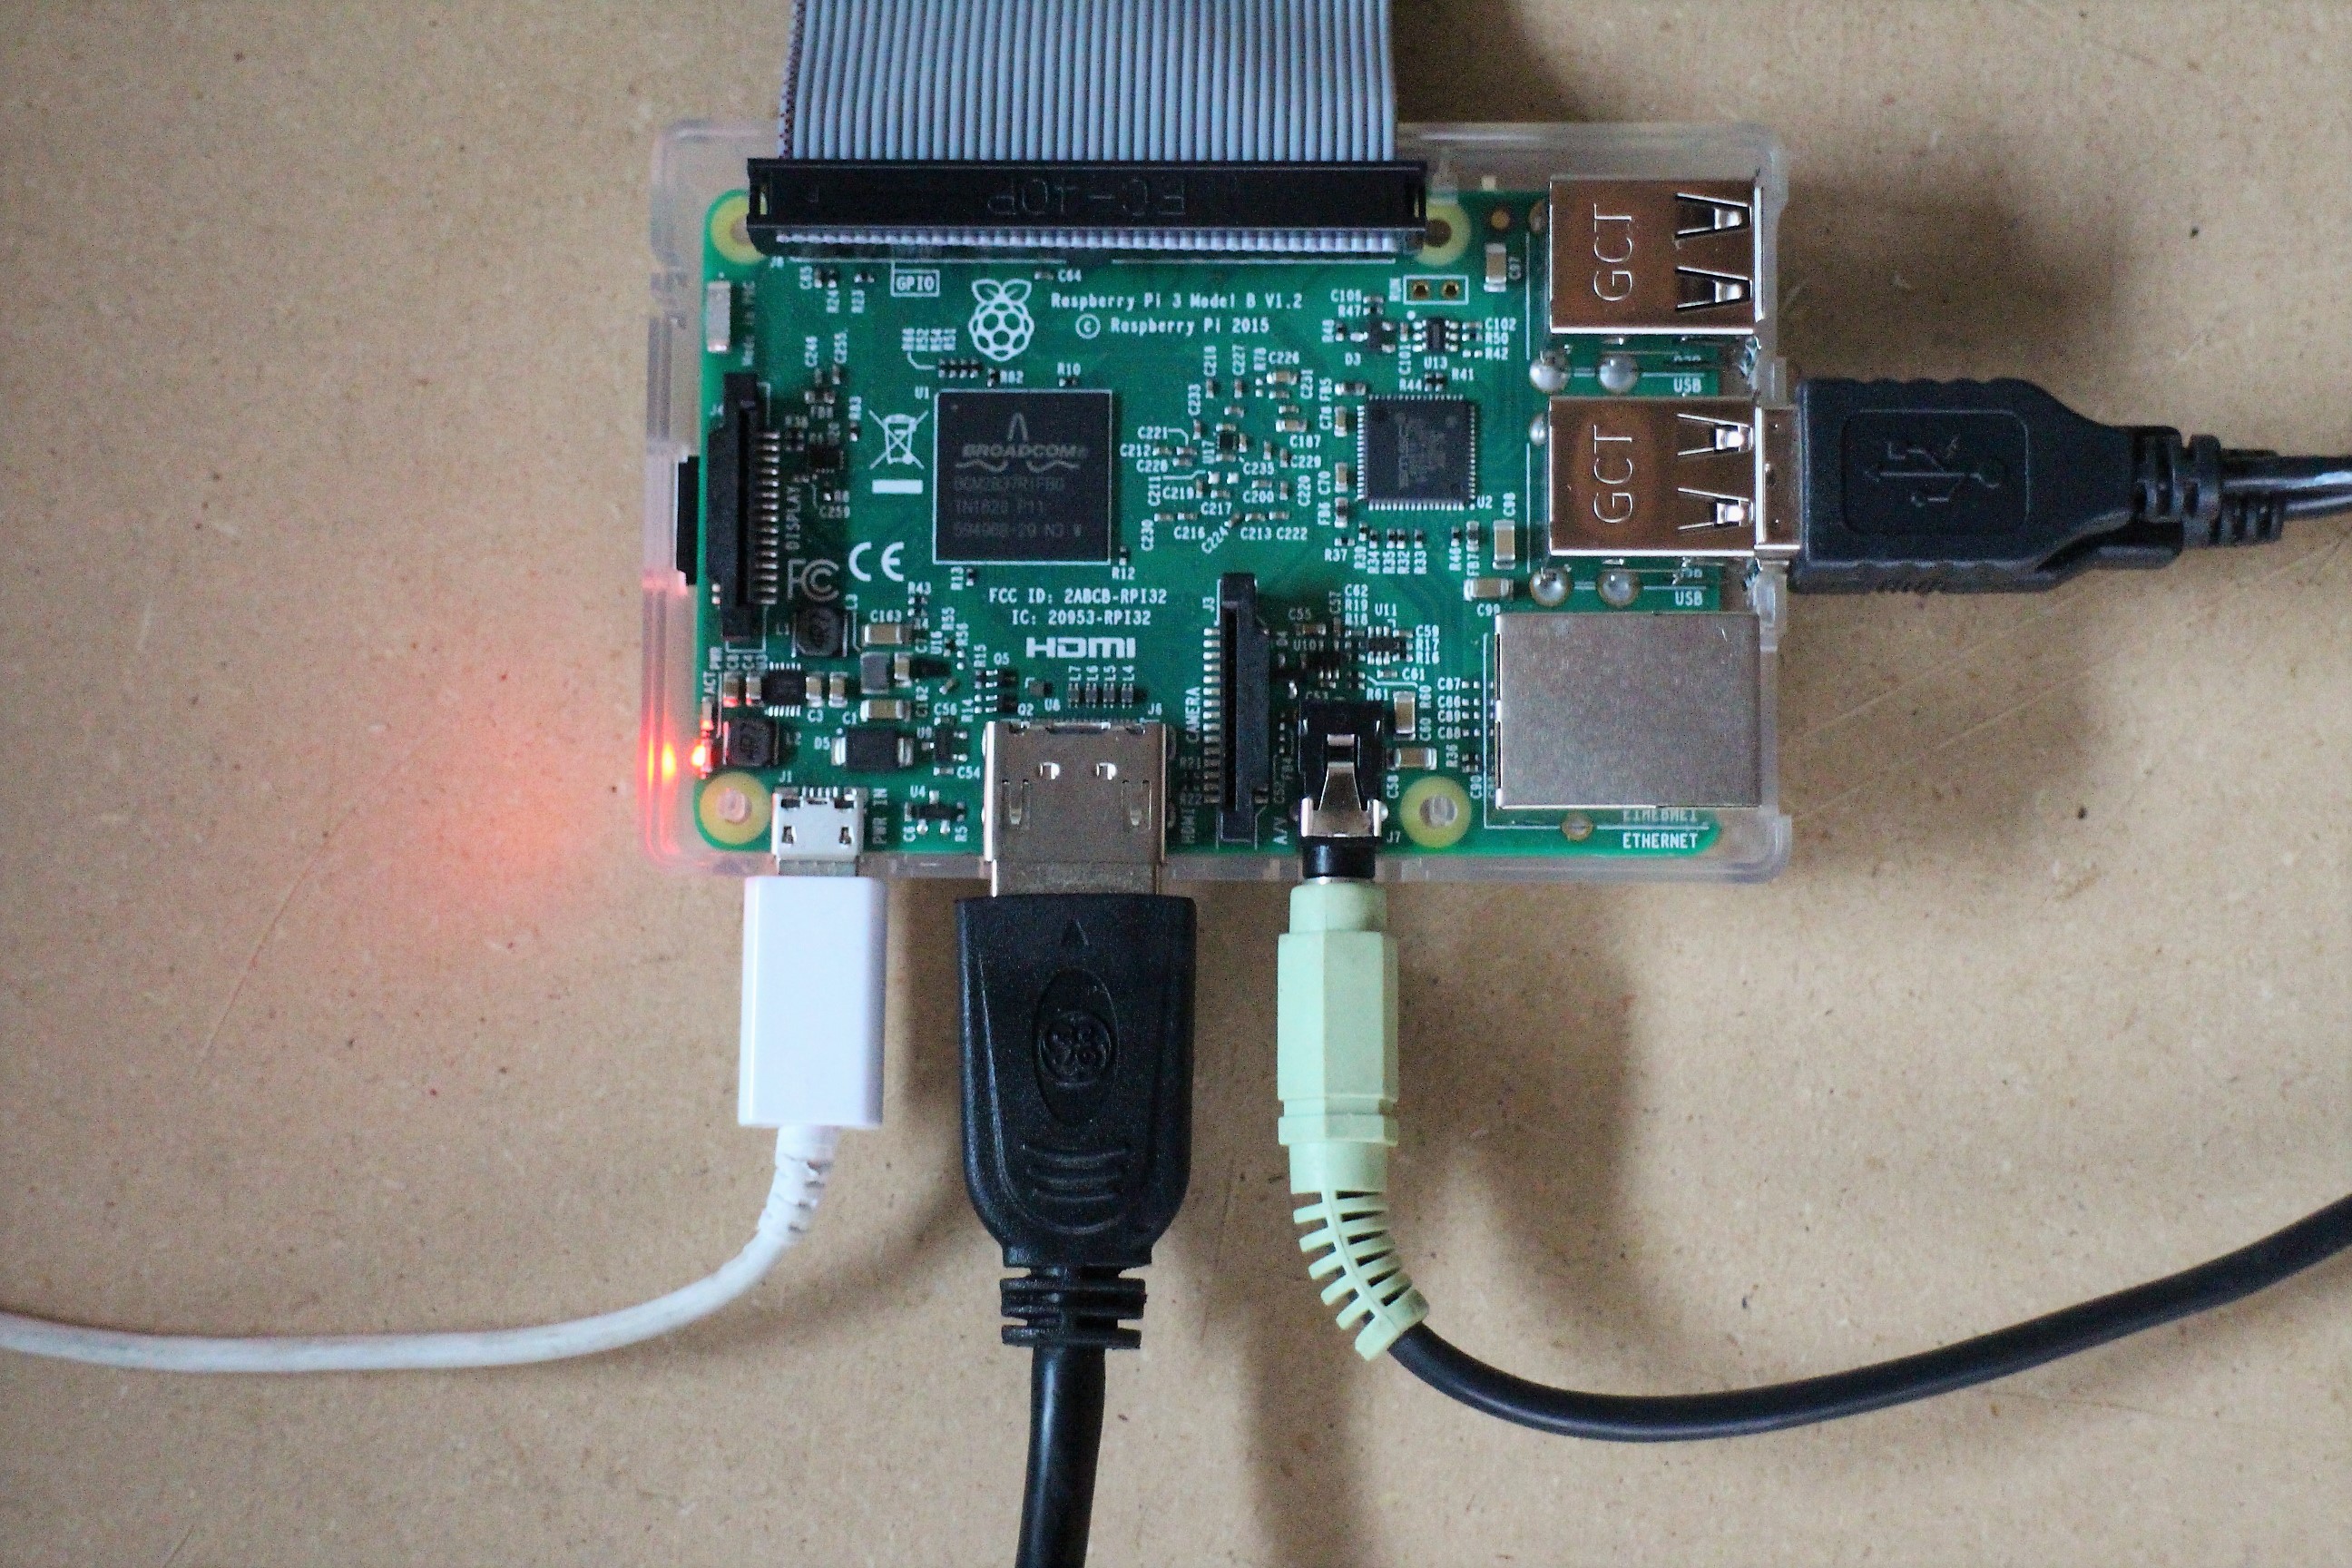
1. Connect the MCP3002 to the Raspberry Pi.
There are four SPI pins for SPI communication: Serial Clock ("SCL"), Master Input Slave Output ("MISO"), Master Output Slave Input ("MOSI") and Chip Select ("CS"). These pins correspond to Raspberry Pi GPIO pin 11 (SCLK), GPIO pin 9 (MISO), GPIO pin 10 (MOSI) and GPIO pin 8 (CE0), respectively.
Here's the MCP302 pinout diagram:
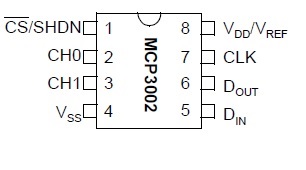
Make the following connections with MCP3002 pins:
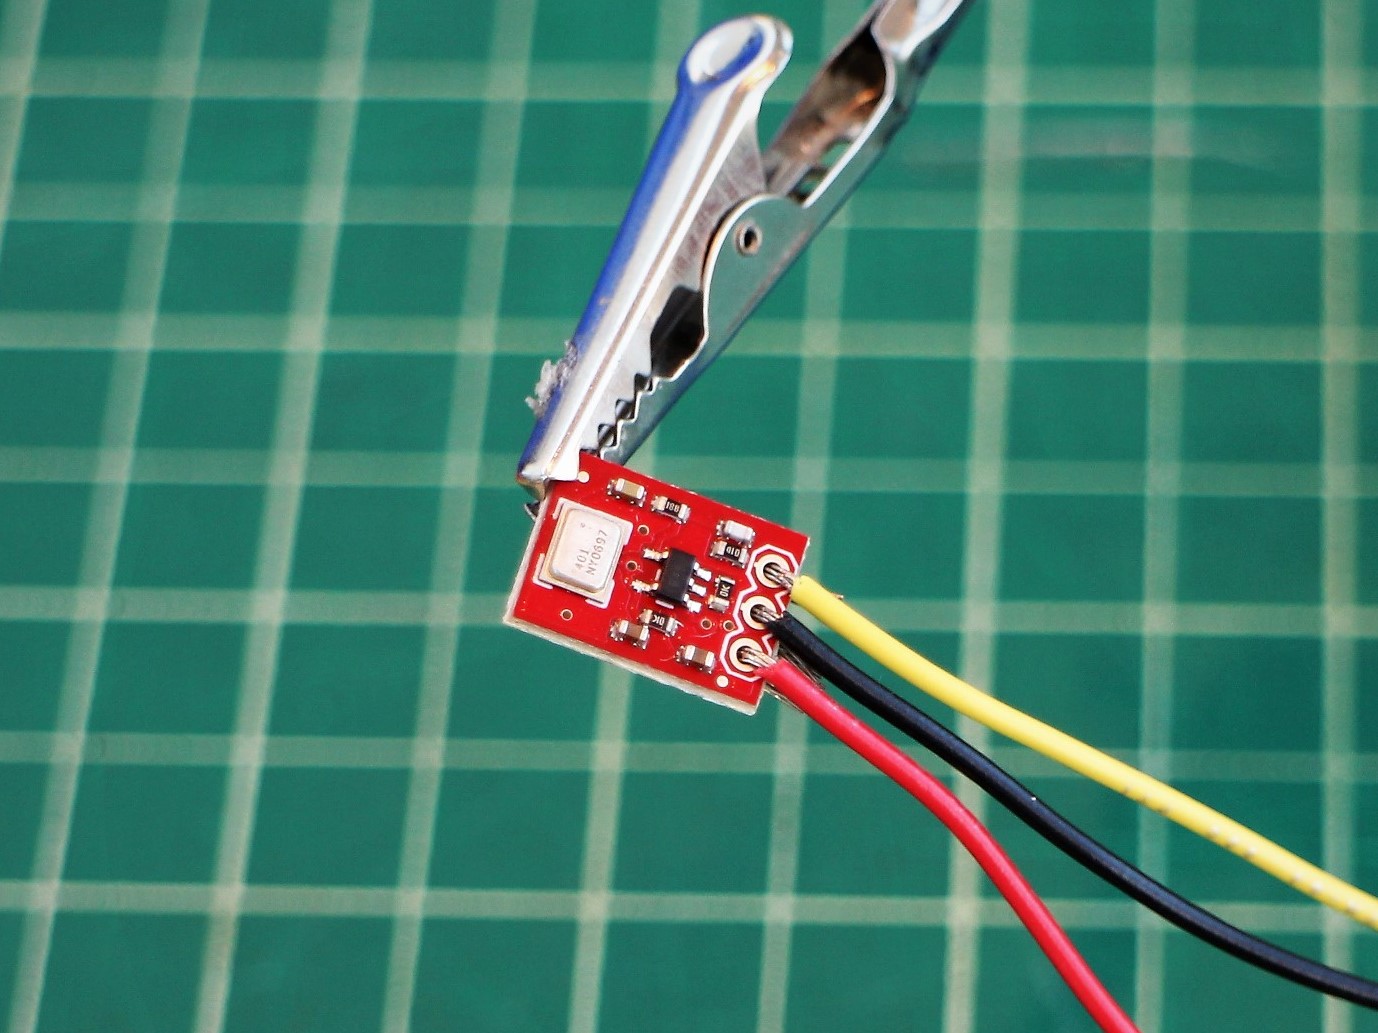
2. Solder wires to the MEMS Microphone breakout board. Connect to MCP3002 and Raspberry Pi.
Check for and install updates:
sudo apt-get update
sudo apt-get upgrade
sudo reboot
Install the Python Dev package :
sudo apt-get install python-dev
Create a subfolder and install the Serial Port Interface ("SPI"):
mkdir py-spidev
git clone git://github.com/doceme/py-spidev
sudo python setup.py install
Here's the SPI-Dev Documentation if you run into any issues.
The OMXPlayer is an audio and video player pre-loaded on Raspbian OS (woo!). It works with most sound file types, including: .wav, .mp3 and .m4a. We'll use this to play our "bark back" sounds.
In the terminal, test the OMXPlayer using the following command:
omxplayer /home/pi/.../SongFilePath/SongFileName.mp3
If that doesn't work, try forcing it over the local audio-out device:
omxplayer -o local /home/pi/.../SongFilePath/SongFileName.mp3
Now we set up an MQTT server! To do this using CloudMQTT, do the following:
Finally, install the MQTT Paho Client Python library:
pip install paho-mqtt
Our goal with the Bark Back is twofold: (1) trigger an audio file when the dog barks and (2) send the volume level data to a server.

But first we need some "bark back" sounds to play! You can easily record sounds in GarageBand (or on your smartphone) and send them to the Raspberry Pi. Save the files in an easily accessible location (e.g., Desktop).
Now you're ready to write a Bark Back Python program! ...Or just use mine:
Here's the GitHub Repository for this project. You can also copy and paste the code below (keep in mind this is Python!).
language:python
####################################################
#Bark Back: Monitor & Interact with Pets!##
####################################################
# Code written by jenfoxbot <jenfoxbot@gmail.com>
# Code is open-source, coffee/beer-ware license.
# Please keep header + if you like the content,
# buy me a coffee and/or beer if you run into me!
#####################################################

# Many thanks to the folks who create & document the libraries
# and functions used in this project.

#Libraries
#SPI
import spidev
#OMXPlayer
from threading import Thread
import subprocess
#MQTT
import paho.mqtt.client as paho
#Other
import random, time, os, urlparse
import time


songList = ["SongFile1", #e.g. "/home/pi/Desktop/SongFile.mp3"
            "SongFile2",
            "SongFile3",
            "SongFile4"]

creds = {
    'CloudMQTT URL': 'INSERT_CLOUDMQTT_URL', #e.g. 'https://m10.cloudmqtt.com'
    'user': 'INSERT_CLOUDMQTT_USERNAME',
    'password': 'INSERT__CLOUDMQTT_PASSWORD',
    'host': 'INSERT_CLOUDMQTT_SERVER'
    'port': 'INSERT_CLOUDMQTT_PORT',
    'topic': 'INSERT_ACL_TOPIC'
    }

########################################################
#   Reading SparkFun MEMS Microphone Breakout Board
########################################################
#Start SPI protocol.
spi = spidev.SpiDev()
spi.open(0,0) #This is the CE0 Pin (GPIO 08) on the RPi, for CE1, use (0,1)

#Function to read in CE0 channel
def read_spi(channel):
    spidata = spi.xfer2([96,0]) ##sending 2 bytes of data (96 and 0)
    data = ((spidata[0] & 3) << 8) + spidata[1]
    return data

#Function to calculate Peak to Peak Amplitude from MEMS mic
def PTPAmp():
    sampleTime = 0.05 #Sample Rate of 50 ms
    startTime = time.time()

    PTPAmp = 0
    maxAmp = 0
    minAmp = 1023

    while(time.time() - startTime < sampleTime):
        micOut = read_spi(0) #Read in channel CE0
        if(micOut < 1023): #Prevent erroneous readings
            if(micOut > maxAmp):
                maxAmp = micOut
            elif(micOut < minAmp):
                minAmp = micOut

    PTPAmp = maxAmp - minAmp #Calculate peak-to-peak amp.
    return PTPAmp

#Function to map peak-to-peak amp to a volume unit between 0 and 10
def VolumeUnit(data, fromLow, fromHigh, toLow, toHigh):
    return (data - fromLow) * (toHigh - toLow) / (fromHigh - fromLow) + toLow


########################################################
#   Class to Control OMXPlayer for Audio
########################################################
class OMXPlayer():
    def call_omxplayer(self):
        print ("playing " + self.file_path + '\n')
        pid = subprocess.Popen(['omxplayer', '-o', 'local',
                                self.file_path], stderr=subprocess.PIPE,
                               stdout=subprocess.PIPE)
        self.is_running = False

    def play_song(self):
        if not self.is_running:
            self.song_thread = Thread(target=self.call_omxplayer, args=())
            self.song_thread.start()
            self.is_running = True

    def __init__(self, file_path):
        self.file_path = file_path
        self.is_running = False
        self.play_song()

#Function to select random song from list
def pickRandom(songList):
    return(random.choice(songList))


########################################################
#   CloudMQTT Server
########################################################
 # Define event callbacks
def on_connect(mosq, obj, rc):
    print("rc: " + str(rc))

def on_message(mosq, obj, msg):
    print(msg.topic + " " + str(msg.qos) + " " + str(msg.payload))

def on_publish(mosq, obj, mid):
    print("mid: " + str(mid))

def on_subscribe(mosq, obj, mid, granted_qos):
    print("Subscribed: " + str(mid) + " " + str(granted_qos))

def on_log(mosq, obj, level, string):
    print(string)


########################################################
#   Main Function
########################################################
def main():
    #Call Paho Python Client Server
    mqttc = paho.Client()
    #Assign event callbacks
    mqttc.on_message = on_message
    mqttc.on_connect = on_connect
    mqttc.on_publish = on_publish
    mqttc.on_subscribe = on_subscribe

    # Uncomment to enable debug messages
    #mqttc.on_log = on_log

    # Parse CLOUDMQTT_URL (or fallback to localhost)
    url_str = os.environ.get(creds['CloudMQTT URL'], 'mqtt://localhost:1883')
    url = urlparse.urlparse(url_str)

    # Connect
    mqttc.username_pw_set(creds['user'], creds['password'])
    mqttc.connect(creds['host'], creds['port'])

    # Start subscribe, with QoS level 0
    mqttc.subscribe(creds['topic'], 0)

    while True:
        #1. Find ADC value for MEMS mic peak-to-peak amp
        PTPamp = PTPAmp()
        #2. Calculate ptp amp (Volts)
        PTPampV = round(((PTPamp*3.3) / 1024), 2)
        #3. Map ptp amp (ADC value) to Volume Unit between 0 and 10
        VolUnit = VolumeUnit(PTPamp, 0, 700, 0, 10)

        #For debugging purposes
        print(PTPamp, VolUnit)

        #4. If Volume Unit is greater than 7, play one of the songs
        if(VolUnit > 7):
            playBack = pickRandom(songList)
            OMXPlayer(playBack)
            time.sleep(0.1)

        #5. Upload data to CloudMQTT Server
        mqttc.publish("Volume", str(VolUnit))
        rc = True
        while rc:
            rc = mqttc.loop()
            time.sleep(0.1)
        print("rc: " + str(rc))

    try:
        while True:
            pass
    except KeyboardInterrupt:
        myprocess.kill()


if __name__ == '__main__':
    main()
For the Bark Back system to work properly, fill in the following:
Feel free to (and please do) adjust and modify the code -- check out the Resources and Going Further section for project variations and additions.
Step 1: Read in the SparkFun MEMS Microphone breakout board.
Use the SPI library to read in the MEMS microphone ADC value (between 0 and 1023) via the MCP3002. Calculate the audio signal peak-to-peak amplitude and map that to a Volume Unit between 1 and 10.
For a thorough overview of the MEMS mic, check out this tutorial.
Step 2: Trigger audio player.
Call the OMXPlayer in Python with the Popen function in the subprocess library (see line 84).
Step 3: Send data to CloudMQTT Server
Use the Paho Client Python library to communicate with the CloudMQTT servers. To broadly summarize: set up a Client server; define communication protocols; connect with our credentials (aka creds); and subscribe and publish our data. Most of this is done in the main function (lines 129--149 and lines 169--174).
Run the BarkBack.py program in Terminal or in the Python IDE (you can also use SSH to run the program remotely). Check that you are getting volume levels published to your CloudMQTT Websocket.
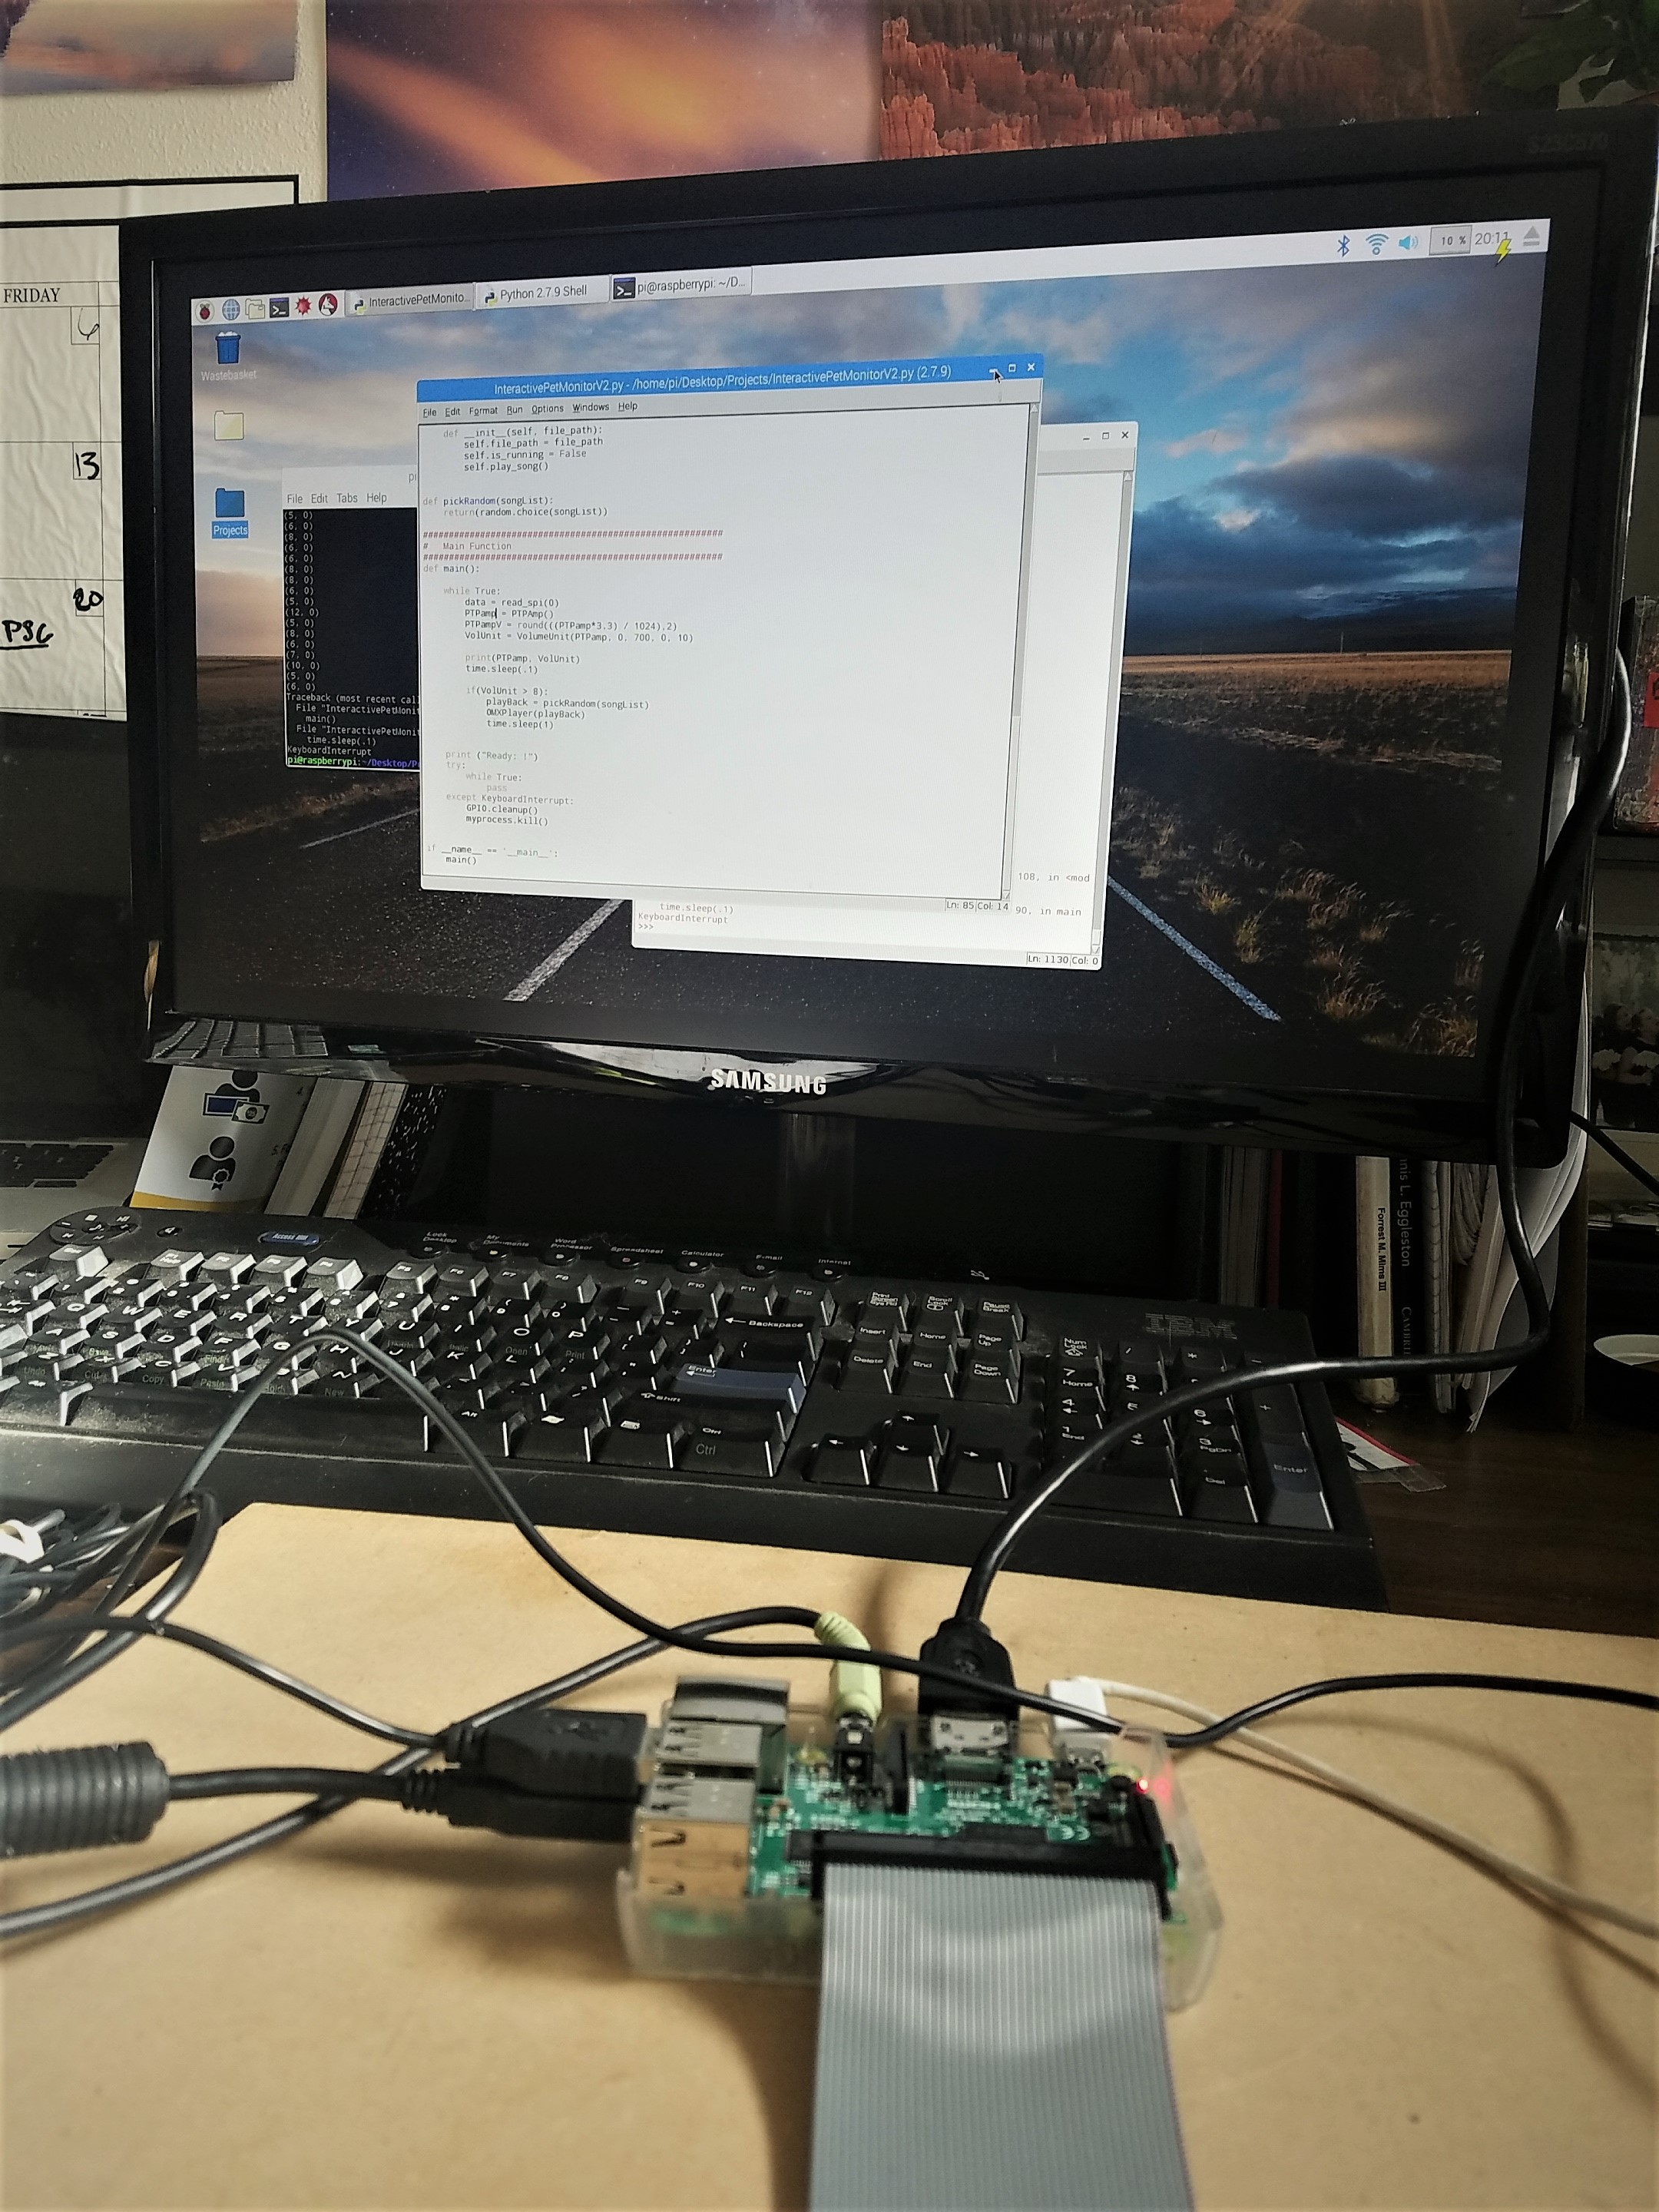
Test the system by yelling (or barking) into the mic to check that the speakers are triggered and play through all of the sounds. It's also recommended to leave the system running while you putter around the house to make sure that the threshold isn't set too low (don't want to traumatize the poor pooch...or your neighbors!).
Once everything is up and running, it's recommended to solder the components to a PCB for usage longer than a few days.
That's it! Turn the program on when you leave and check in via your CloudMQTT console.
Here's a summary list of resources for this tutorial:
Check out these additional ideas for expanding upon your Bark Back project:
For example, you could monitor hazardous gases (perhaps methane?).
Prefer a reward over barking back? Create an automatic treat dispenser to reward your pet for being quiet for a few hours. Here's a candy-dispensing tutorial for inspiration and to help get you started.
Share your findings and adaptations in the comments below!
Happy building!
learn.sparkfun.com | CC BY-SA 3.0 | SparkFun Electronics | Niwot, Colorado