The ZED-X20P is u-blox's GNSS receiver designed as a successor to the wildly popular ZED-X9P. It has improvements in accuracy, band reception, and power consumption. Here, we outline the key differences between our ZED-F9P and ZED-X20P breakout boards so you know exactly how to upgrade your projects to the newest technology.
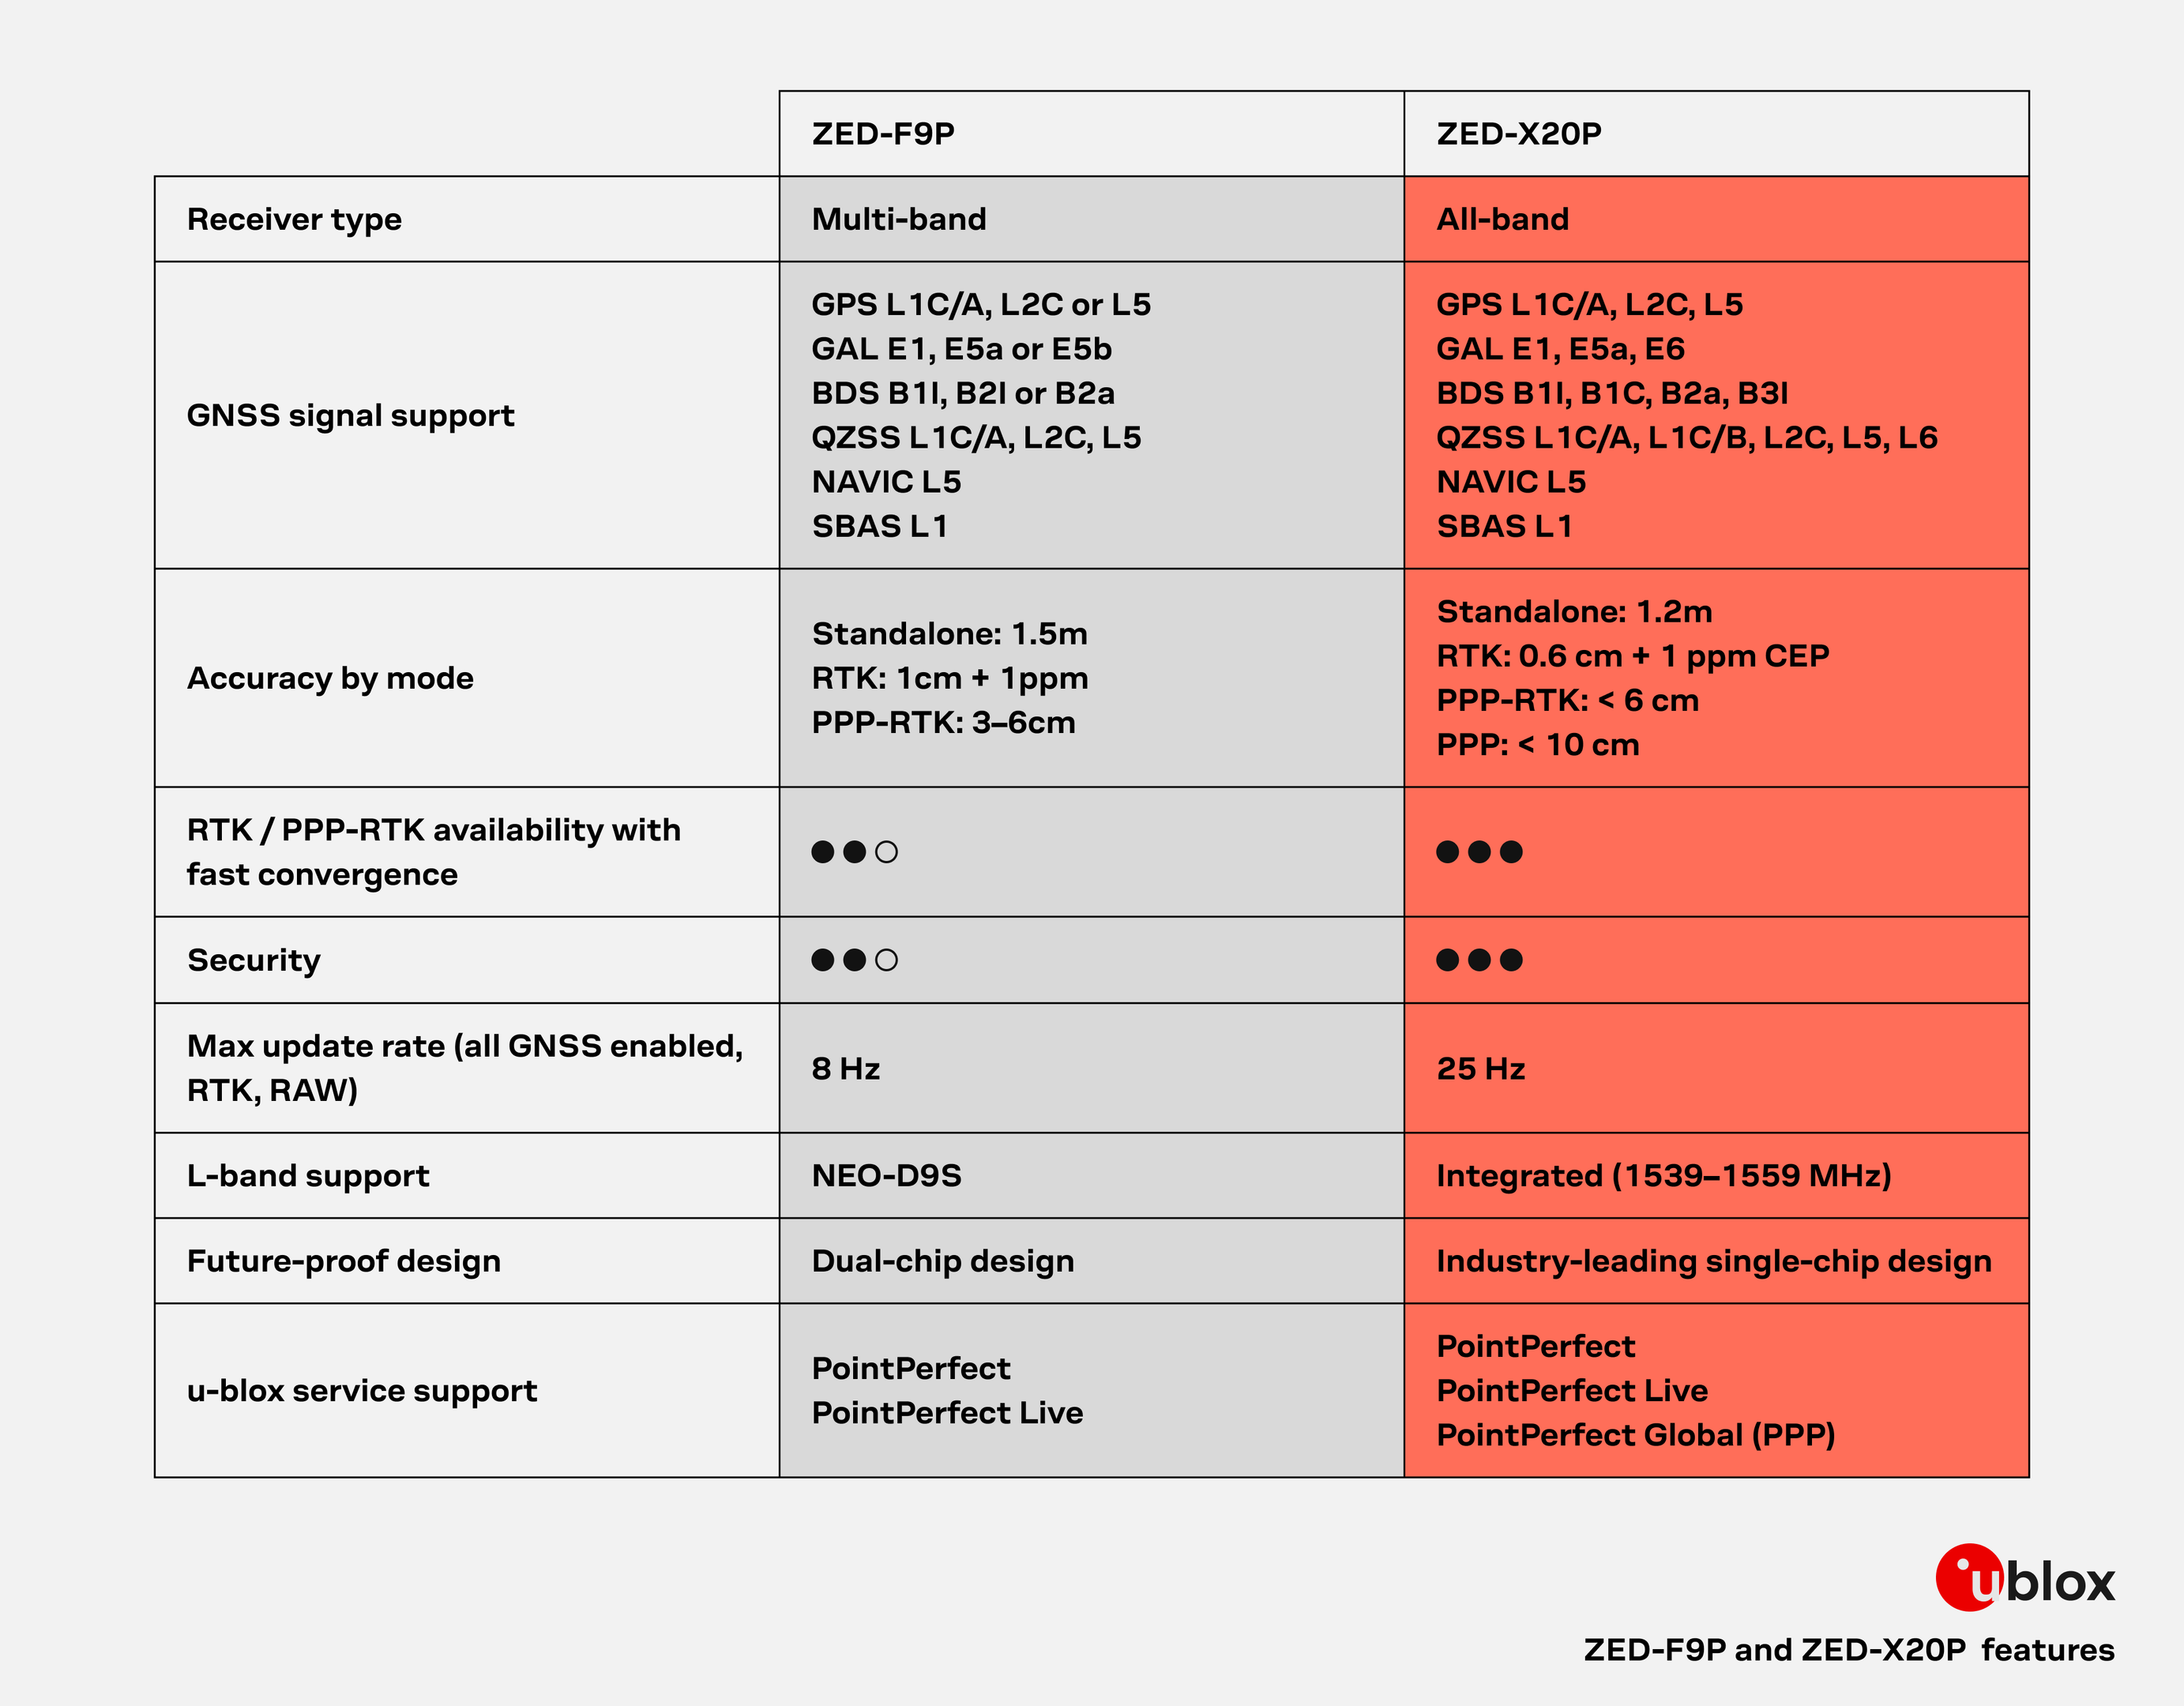
u-blox provides the following table comparing key high-level differences between the features on the ZED-F9P and the ZED-X20P:
We've also compiled the differences between the chips across more specific features:
| Parameter | ZED-F9P | ZED-X20P |
|---|---|---|
| PPS Accuracy | 30 ns | 20 ns |
| Convergence Time | < 10 s | < 7 s |
| Max Velocity | 500 m/s | 300 m/s |
| Velocity Accuracy | 0.05 m/s | 0.03 m/s |
| Backup Battery Current | 45 µA | 32 µA |
| SW Backup Current | 1400 µA (1.4 mA) | 93 µA |
| Peak Current | 130 mA | 80 mA* |
| Acquisition Current | 95 mA | 68 mA* |
| Tracking Current | 93 mA | 64 mA* |
With the exclusions of the added JST connector and adjusted location of the BlueSMiRF header; the overall board dimensions, edge connectors and screw-hole locations, and PTH pin layout are exactly the same.
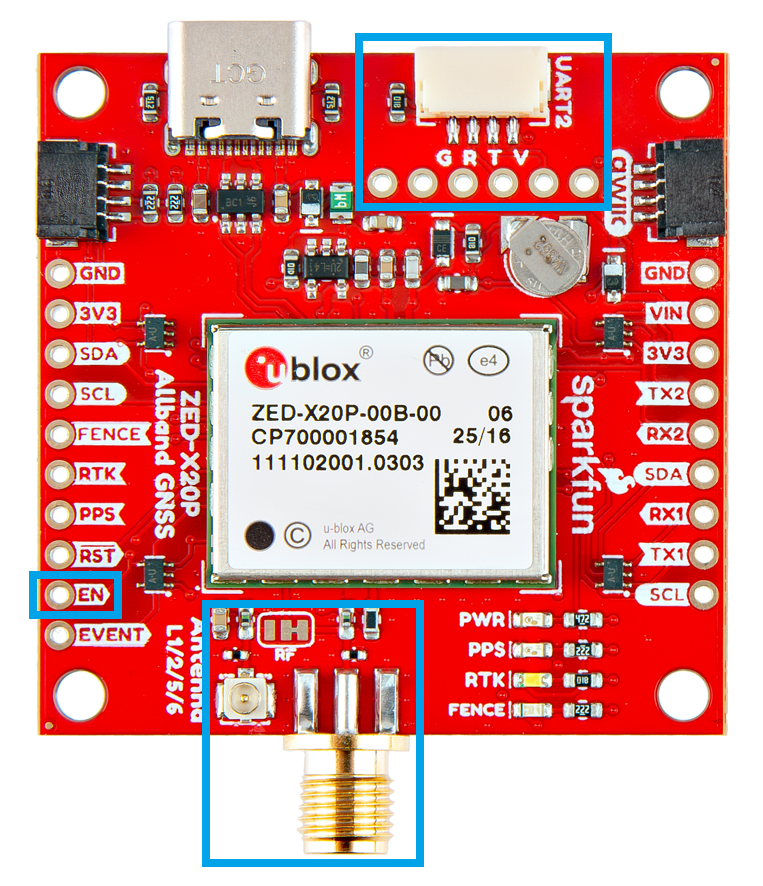
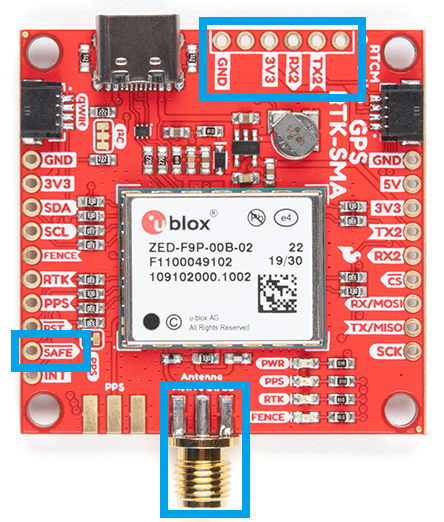
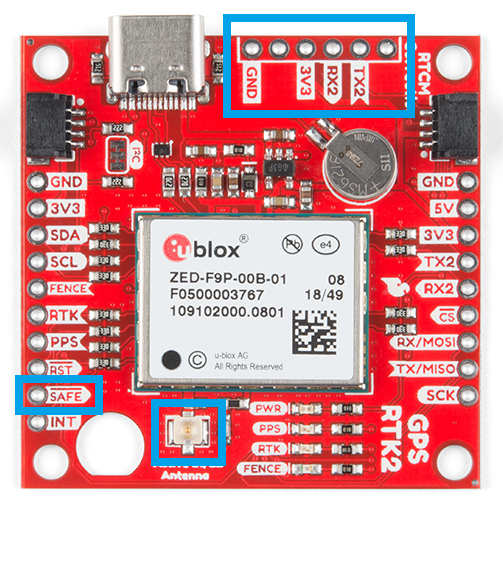
With the ZED-F9P we released two different boards with either a U.FL connector or an SMA connector to attach a GNSS antenna. With the ZED-X20P, we have released a single board with both options with a jumper to select the connector to be used.
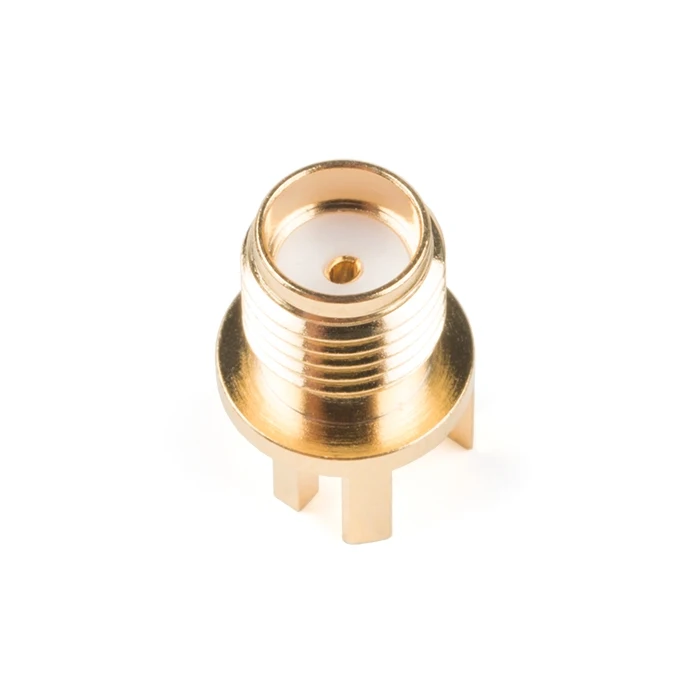
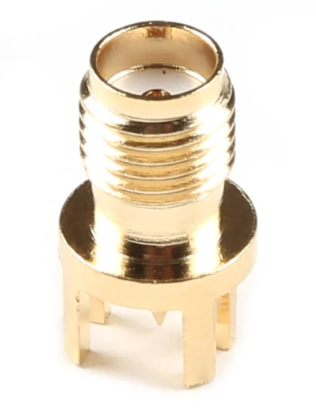
SMA: The location of the SMA connector remains the same.
U.FL: The U.FL connector’s location is slightly different by a couple millimeters. There was a hole in the board to pass a U.FL cable through.
We recently changed suppliers for our SMA connector, so users will eventually see a slightly longer SMA connector on future boards.
On the ZED-F9P boards, the BlueSMiRF PTH pins were located at the edge of the board. For the ZED-X20P, we have added a locking JST connector, in its place, to allow users to easily attach an RF transceiver. Therefore, the BlueSMiRF header was relocated to the interior of the board.
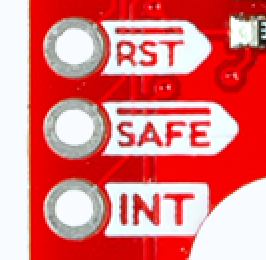
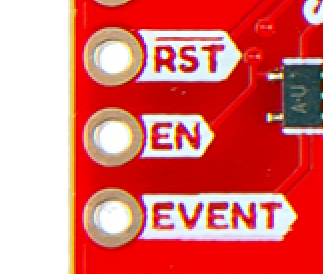
Most of the pin functionality remains the same, with the exception of a single pin. The safeboot pin on the ZED-Z20P board was relocated to a test point and replaced with the enable pin for the RT9080 LDO.
Baud rate:
Max transfer rate:
Max clock speed:
The ZED-F9P only supported I2C fast-mode; while the ZED-X20P supports standard mode, fast mode, and fast mode plus.
Max bit rate:
While both boards provide a USB-C connection to the GNSS receiver, on the ZED-X20P we would advise users not to rely on this interface in their designs.
As mentioned about the USB interface, above, it is only possible to perform firmware updates through the UART1 interface for the ZED-X20P.
Firmware upgrade through I2C (Qwiic) is possible, but is only for advanced users. You need (e.g.) a Thing Plus board running a sketch to convert USB UART to I2C. Then you need to run the u-blox ubxfwupdate.exe from the command line with some special settings.
One of the biggest changes between the two GNSS receivers is the u-center software application. u-blox recommends their new u-center 2 software application for any GNSS engine, generation 10 or later.
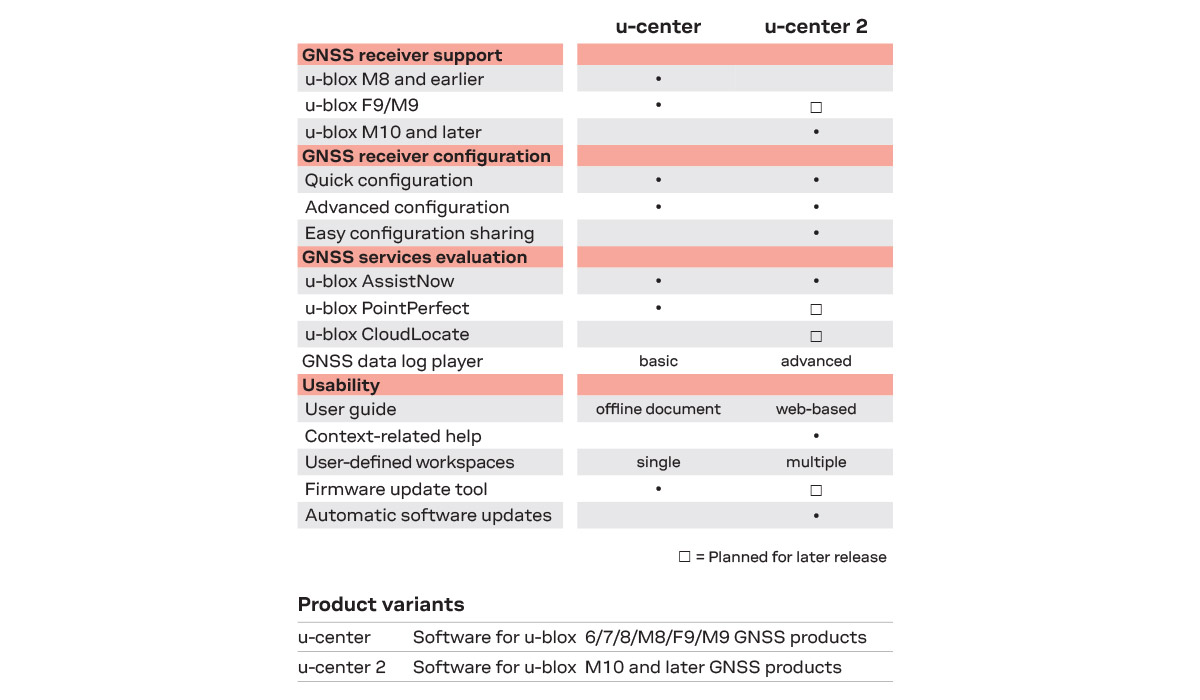
The first difference between the two applications is that users will notice is a required user account for u-center 2. While users will need internet access to initially login, users will not need internet access or to login afterwards.
Beyond a new look and feel, the primary difference in functionality between the two applications is that the new generation 10 GNSS engines implement a new set/get method for the values in the configuration layers of the GNSS receiver. This is handled in the backend of the software application, but should be noted for any development purposes.
Some other notes to mention:
With the introduction of the set/get method for configuration values for the gen 10 GNSS engines, our Arduino library got a new release (v3). The Arduino library should be mostly backwards compatible, with a few minor changes, see below for more information:
learn.sparkfun.com | CC BY-SA 3.0 | SparkFun Electronics | Niwot, Colorado