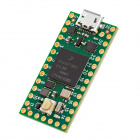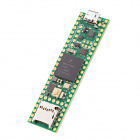
The Teensy 4.x series offers some of the greatest performance and flexibility available on any microcontroller platform. Powered by a 600MHz Arm Cortex-M7 microcontroller with dual-issue superscalar architecture, branch prediction, and tightly-coupled memory, up to two instructions and memory accesses per cycle accelerate operation beyond the already blistering clock pace. A hardware Floating Point Unit (FPU) executes complex float and double precision mathematical calculations at full hardware speed.
The compact Teensy 4.0 offers 40 I/O pins (including bottom SMT pads; 24 pins are breadboard-able) with 2MB of Flash memory. The larger Teensy 4.1 increases the I/O pin count to 55 (42 beadboard-able) and adds a microSD slot, 5-pin USB host with power management (requires USB Host Cable, sold separately), Ethernet port (requires Ethernet Kit), and PSRAM expansion (8MB chips sold separately), plus a plentiful 8MB of Flash. Extensive support libraries and an enthusiastic community make Teensy a popular choice for embedded projects of all kinds.
You’ll need a Teensy 4.0 or 4.1 (for now, the headers, lockable, without Ethernet, etc. options are not important) and a microUSB cable in order to connect it to your computer.
You’ll also need a computer running Windows, Linux or macOS.
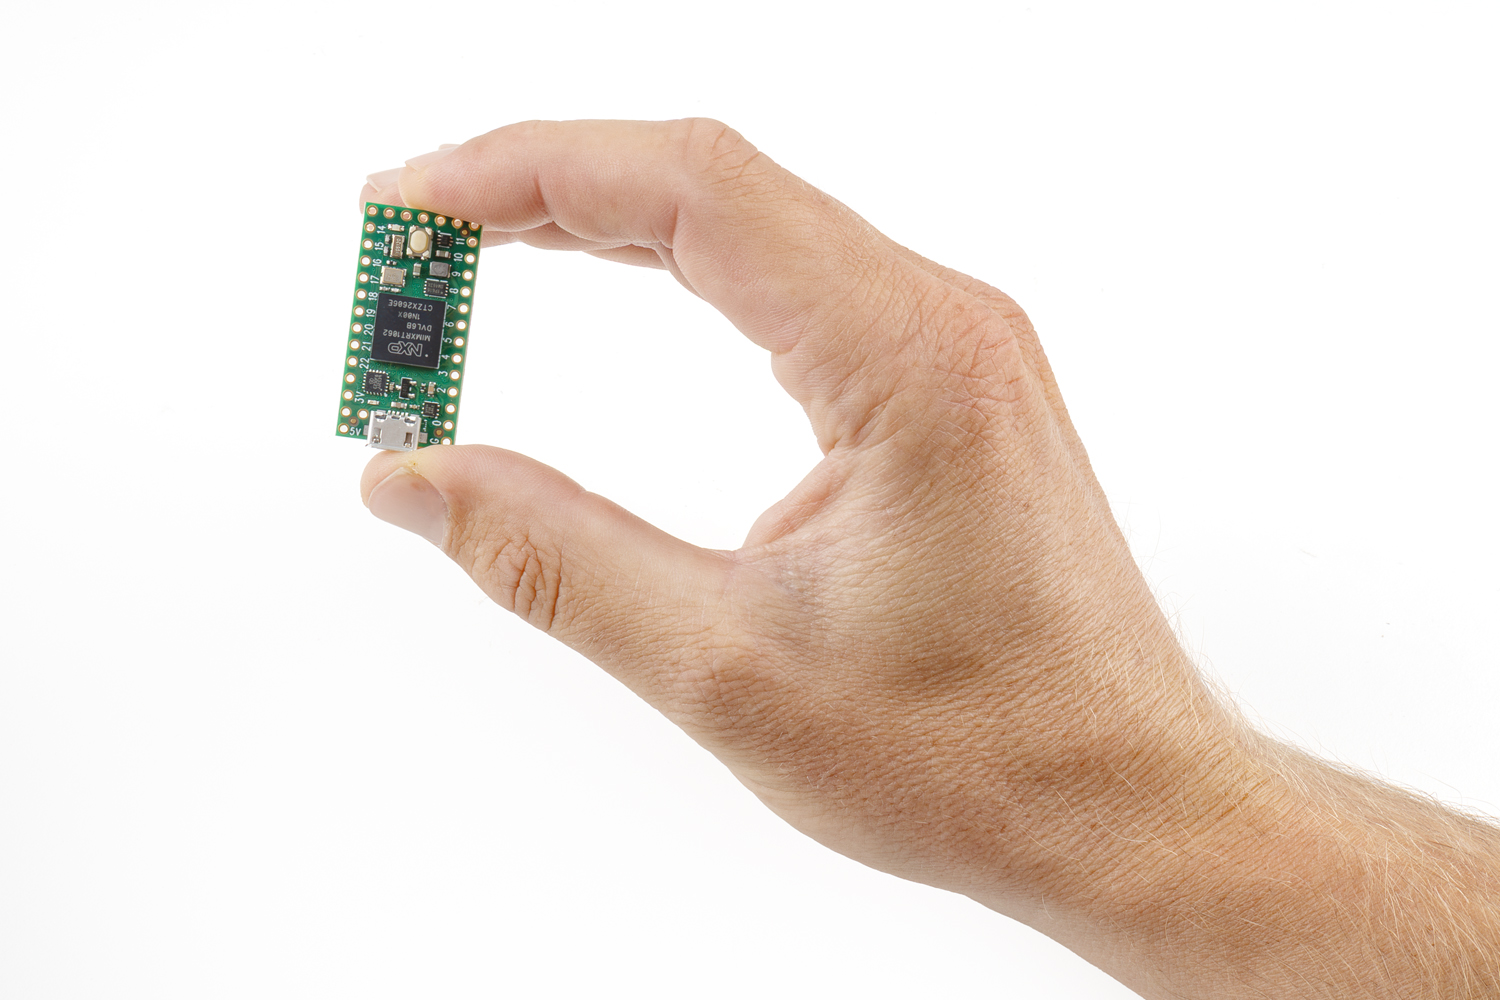
Let’s take a closer look at the Teensy 4.0 board to discover its major features. The Teensy 4.1 has a superset of these features, and its unique additional functionality will be covered in subsequent tutorials.
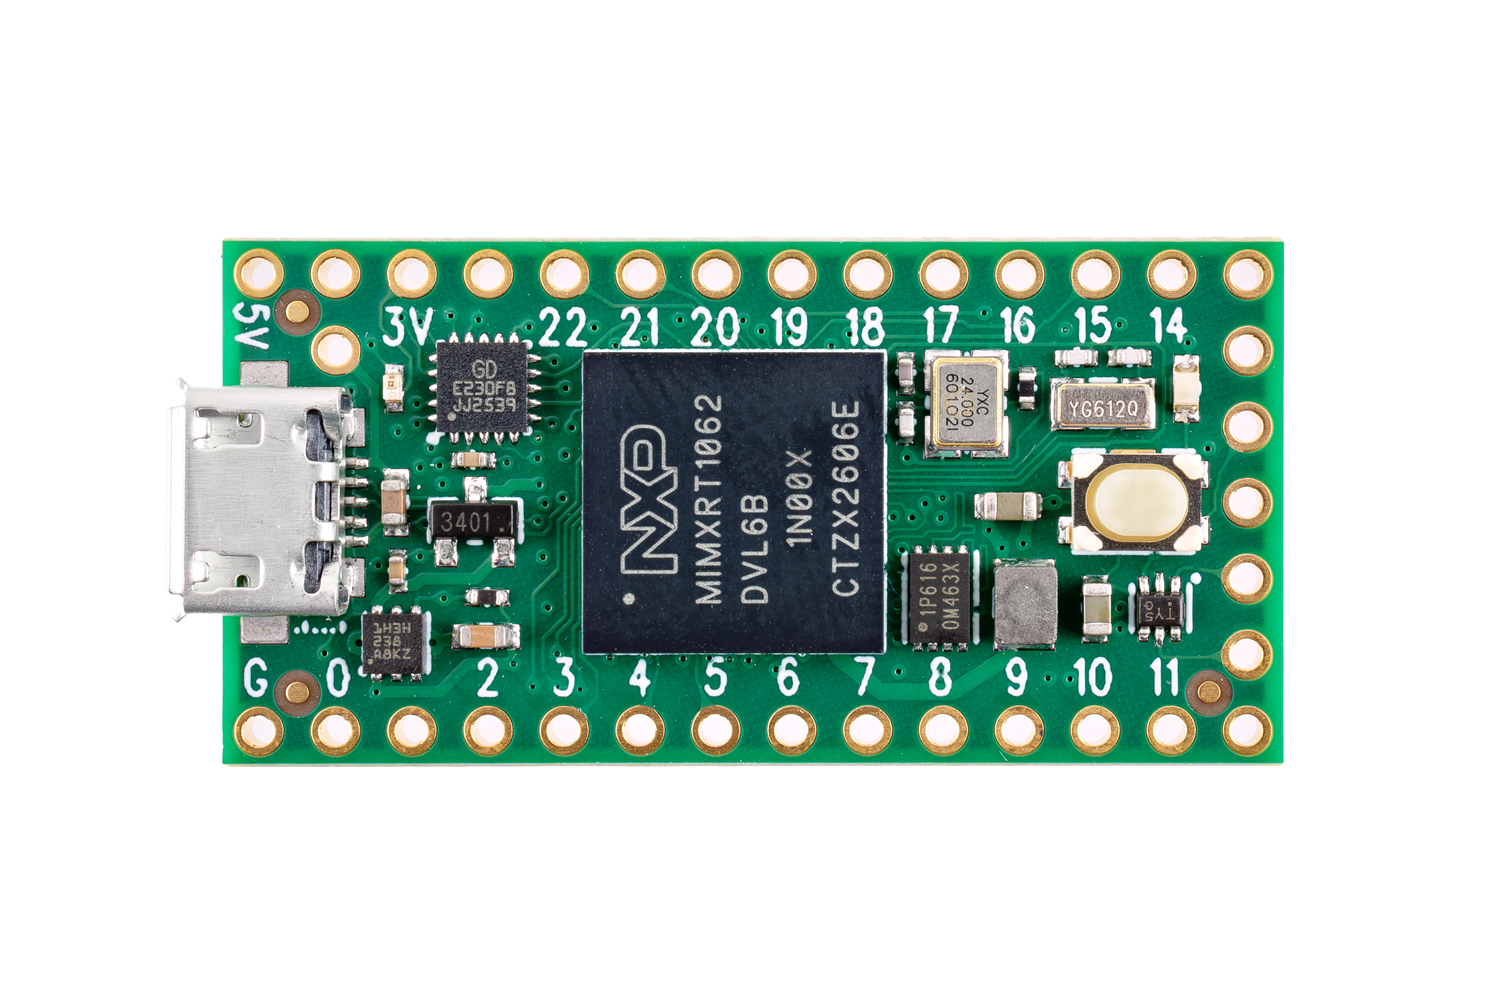
The breadboard-able pins run the length of the board. If your board came with headers installed, these pins will already be populated. If it did not, you can solder standard headers along the length of the board in order to insert the Teensy into a breadboard for prototyping. Note that the five pins on the end opposite of the board to the microUSB connector should not be populated, as this will prevent breadboard use.
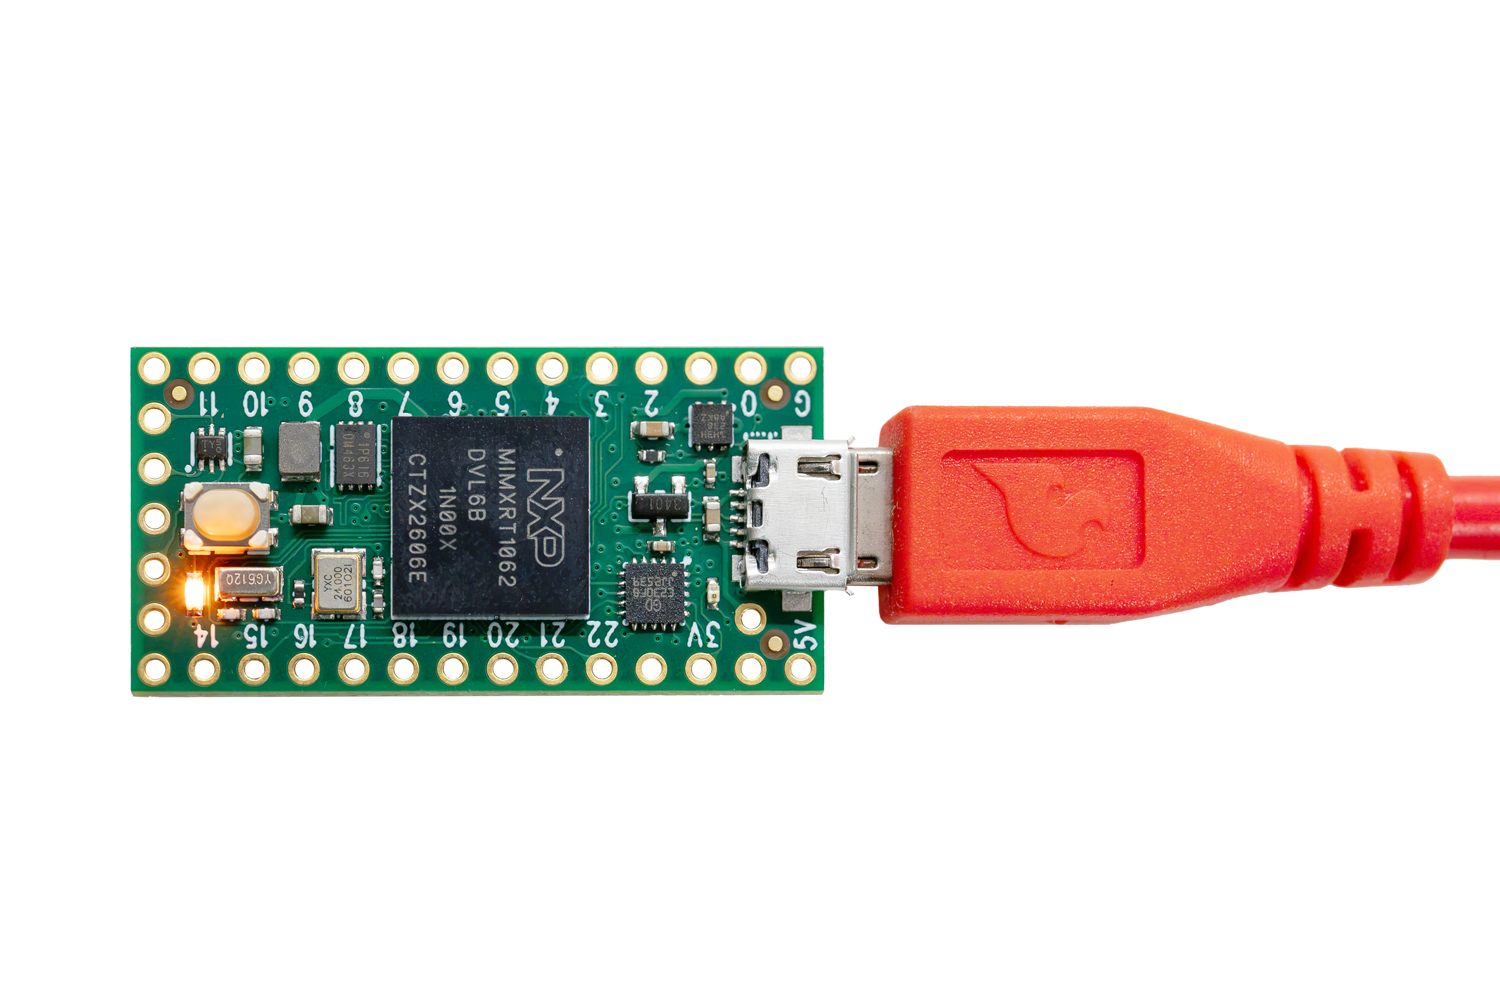
The far end of the PCB from the microUSB connector houses a single button, which is used to put the Teensy board into programming mode. A small orange LED next to the button is available to the user for indicating state and other applications. A red LED near the microUSB connector signifies that the device is in programming mode.
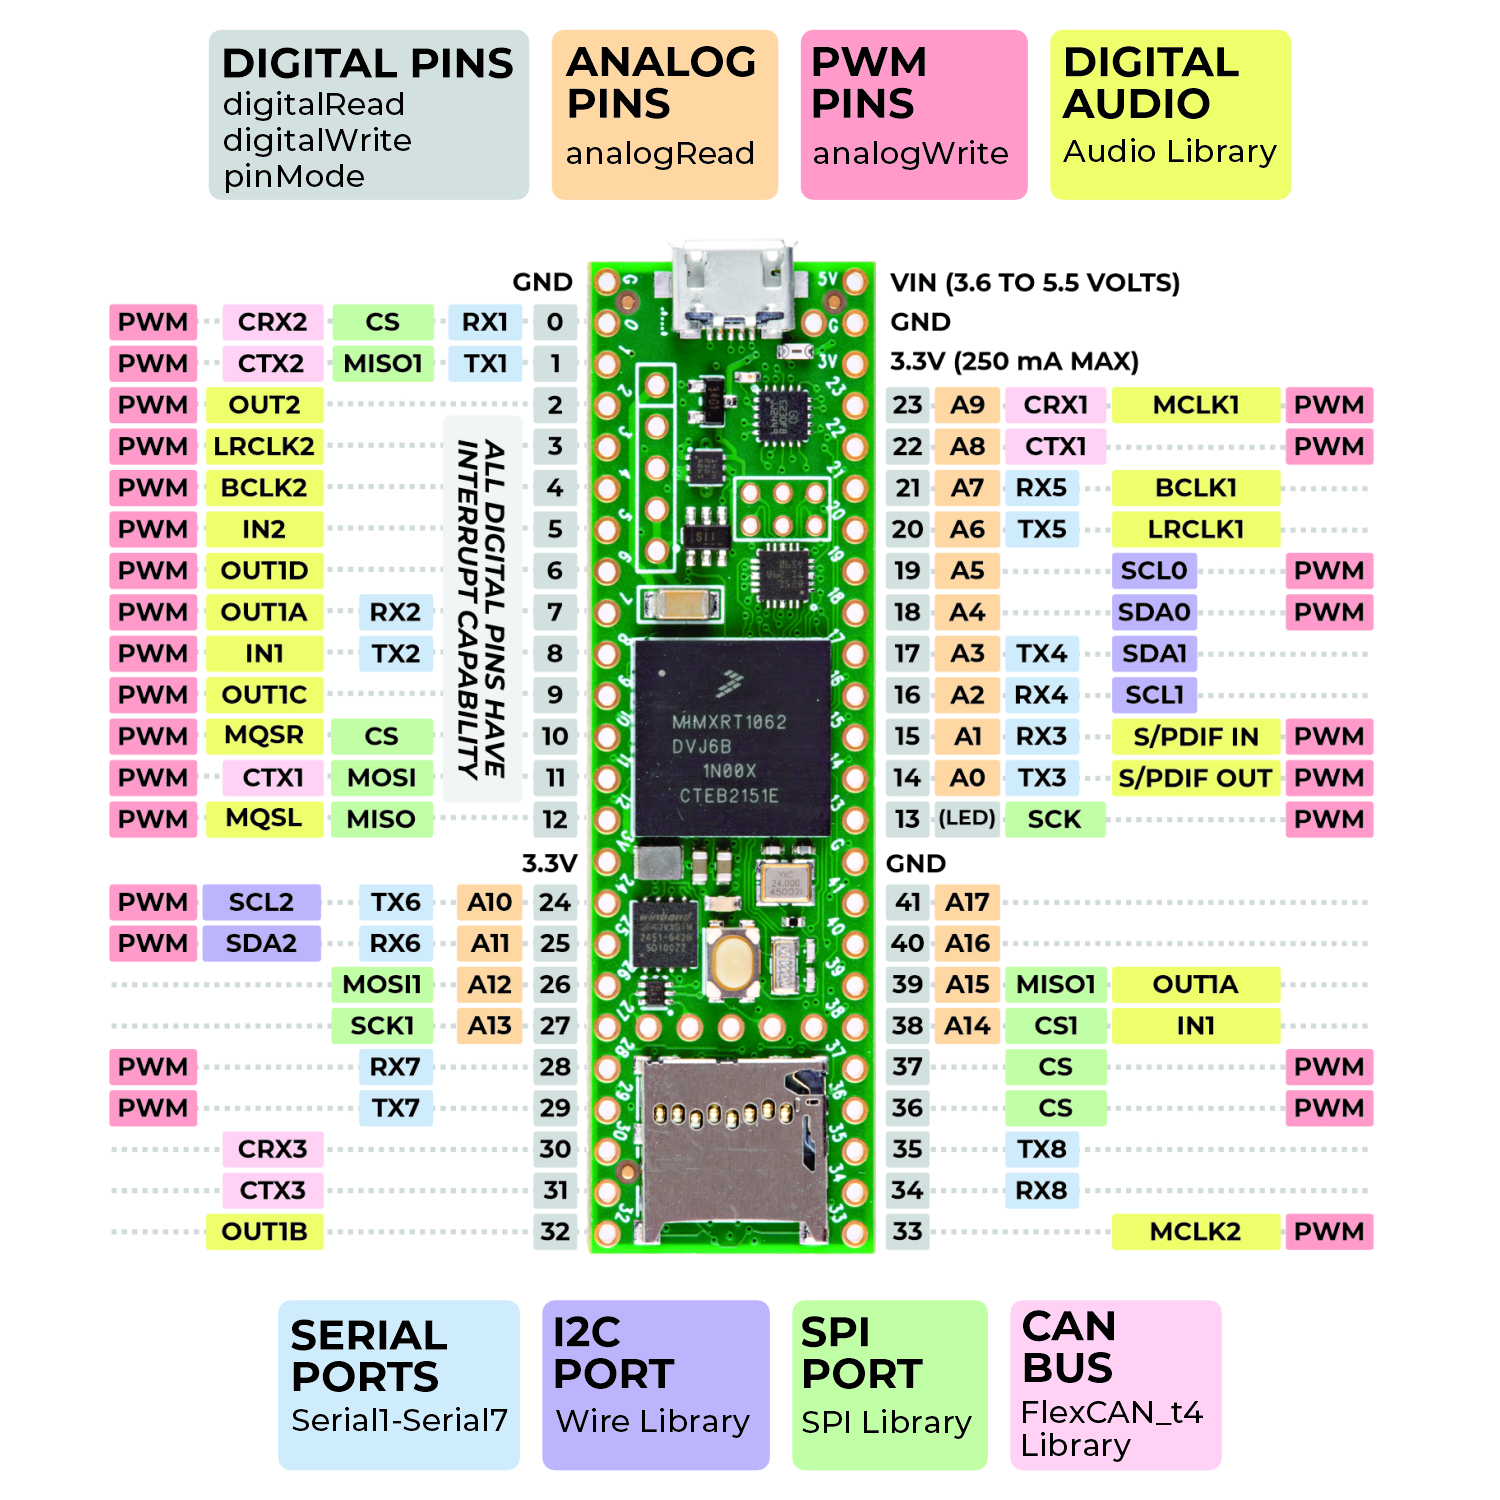
A full pinout, including the SMT pads on the reverse of the board can be found below:
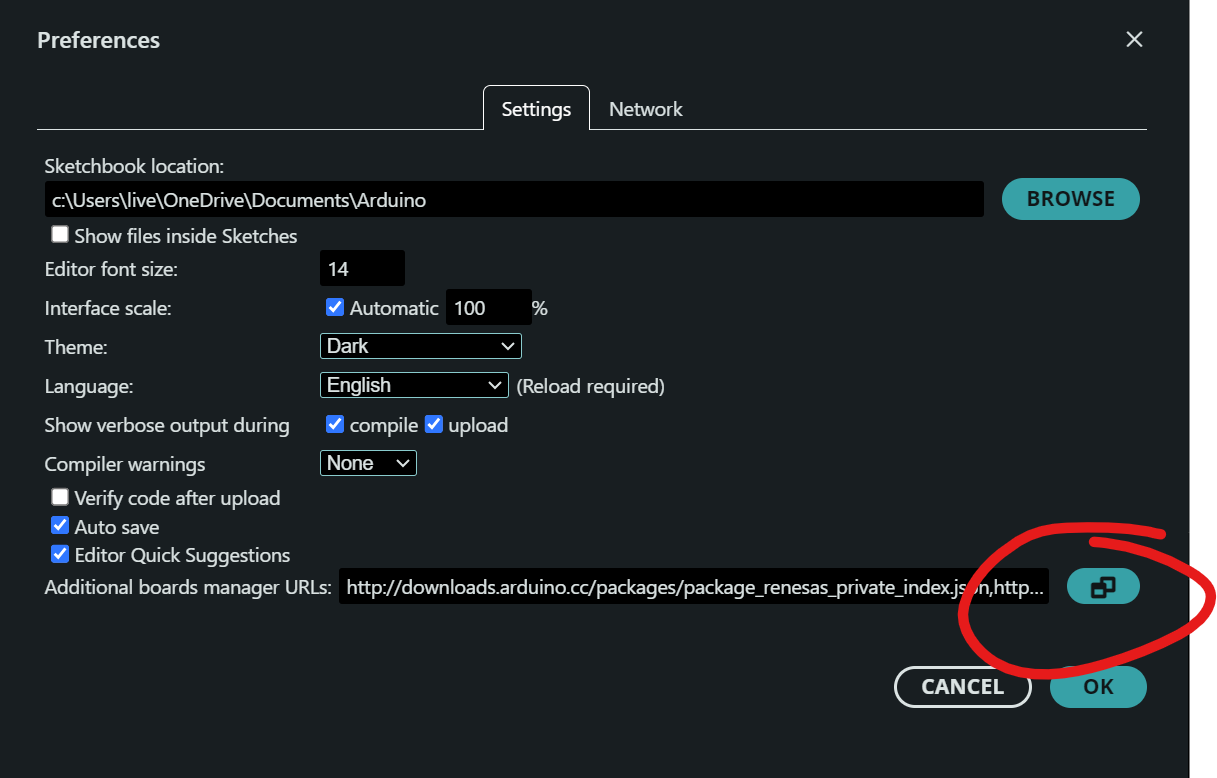
The easiest way to program Teensy is with the Arduino IDE. Arduino have great documentation explaining how to install Arduino IDE 2.0 on Windows, Linux, and macOS, so if you don’t already have it installed, follow those instructions, then head back here when you’re done. In order for Teensy to show in the Arduino Boards Manager, the IDE needs some special information, stored in a JSON file. Under File > Preferences click the icon next to Additional boards manager URLs and a new window will pop up.
On a new line, paste this URL: https://www.pjrc.com/teensy/package_teensy_index.json
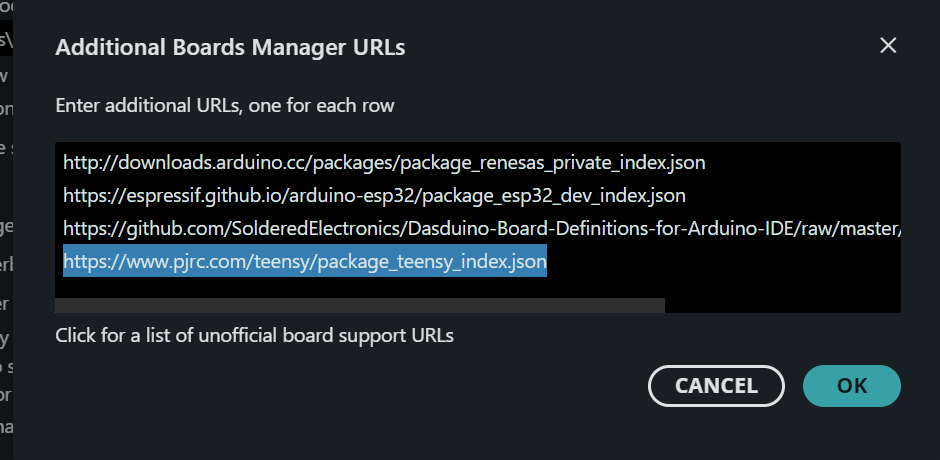
and click OK.
Now, search the Arduino Boards Manager for “teensy” and install the latest version of Teensy by Paul Stoffregen.
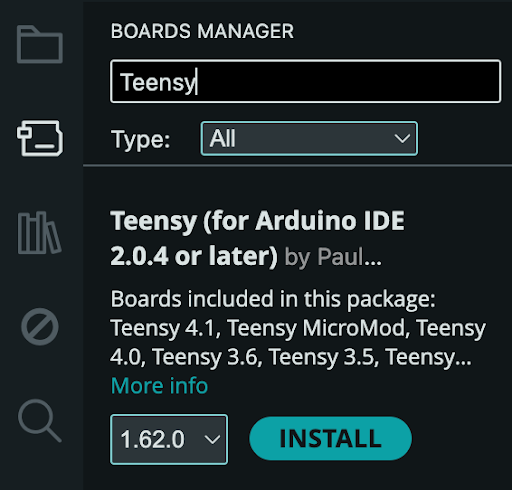
If you are using Linux, the 00-teensy.rules file must be copied to /etc/udev/rules.d/ to give non-root users permission to access the Teensy USB device.
You now have everything you need to get started with Teensy development.
The canonical “Hello World” for hardware is making an LED blink, so let’s try that in order to ensure that everything is working as expected.
Navigate to File > Examples > 01.Basics > Blink to load the Blink sketch.
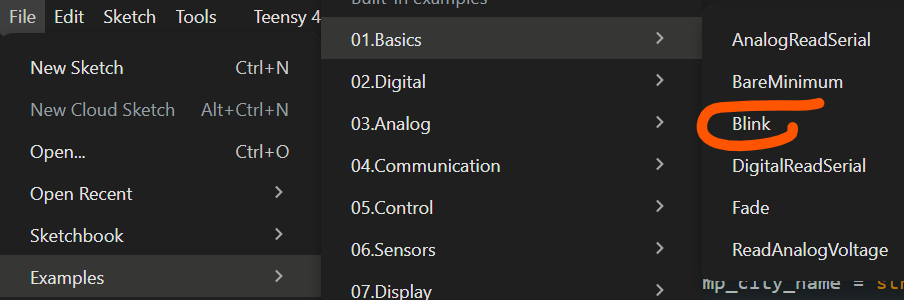
The modern version of this sketch uses LED_BUILTIN so you don’t even need to know what pin the LED is on (although we’ll get into this in subsequent tutorials!) and can run the code without modification.
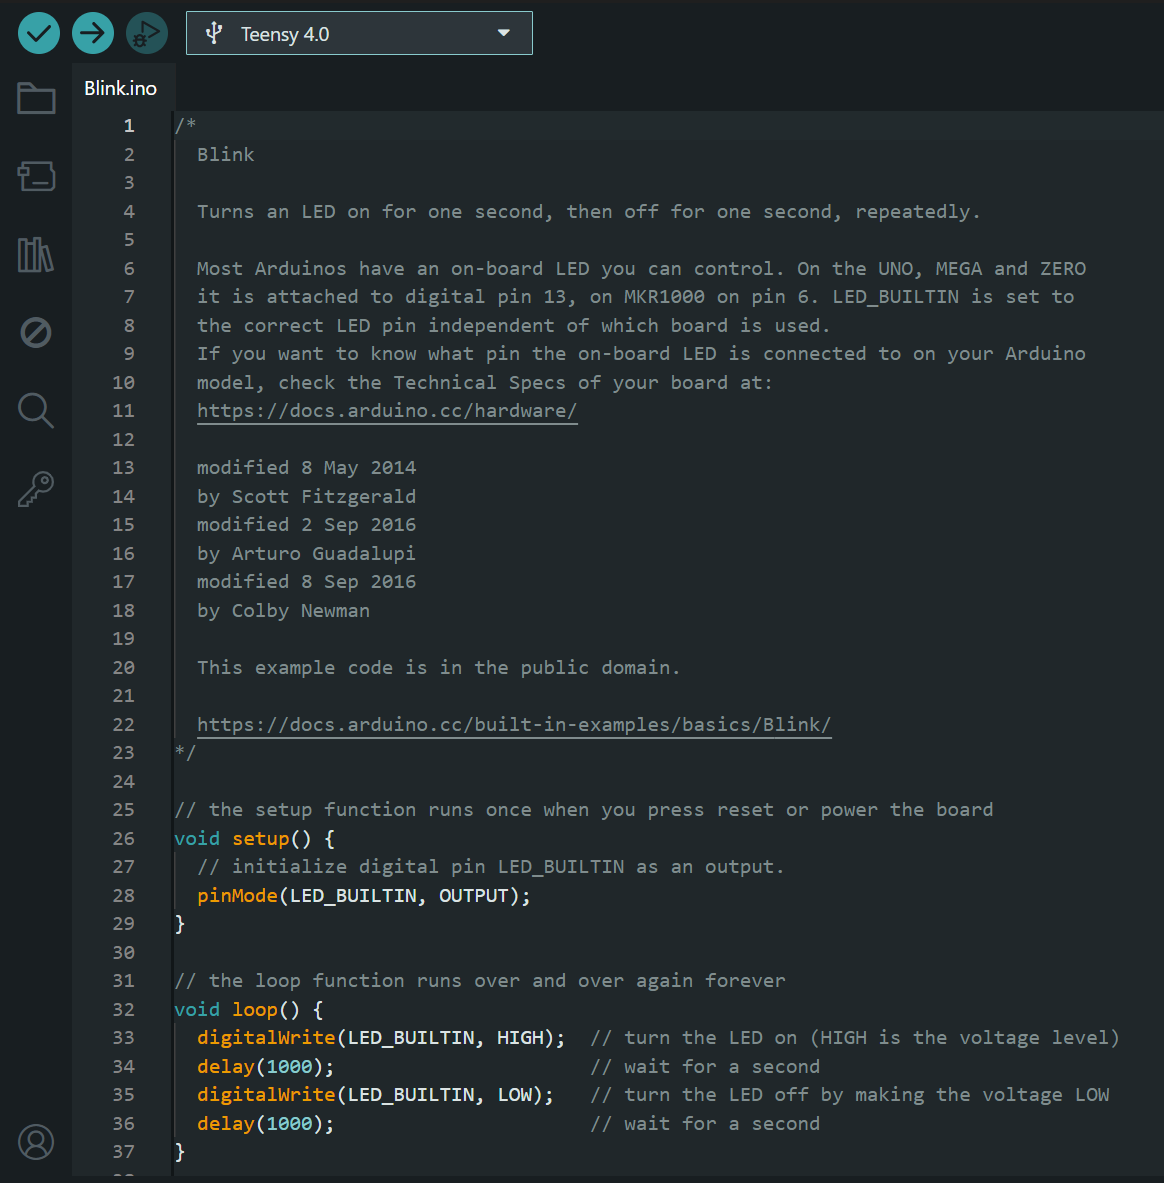
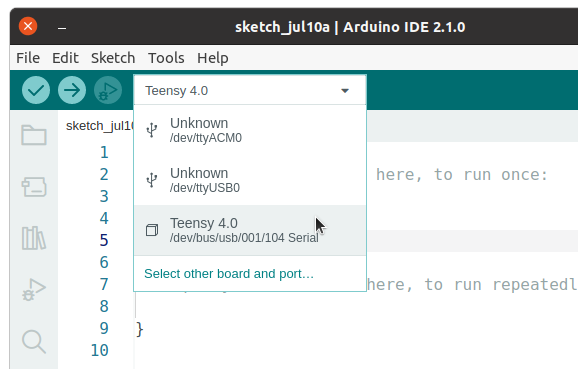
First, press the button at the opposite end of the PCB from the microUSB connector to enter programming mode. Then, select Teensy 4.0 (or 4.1, accordingly) from the Boards dropdown:
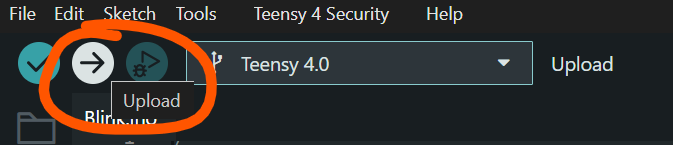
then click Upload:
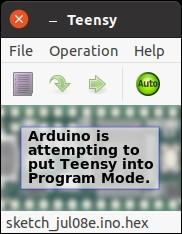
This will launch the Teensy Loader application which will flash the compiled binary to your board:
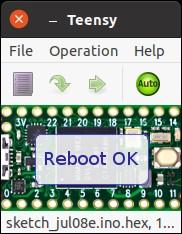
During upload, the red LED next to the microUSB connector will turn on to indicate programming activity. When it’s complete, Teensy Loader should display “Reboot OK”.
If everything worked as expected, the orange LED will blink on, then off, every second. Each Teensy ships with an LED blinking program already installed, so this might not be the most exciting thing to witness, but you can try adjusting the millisecond delay values in the delay function and re-uploading your adjusted code for (slightly) more interesting results.
A detailed troubleshooting page on the Teensy web site provides solutions to common problems, and the Technical Support & Questions sub-forum of the official Teensy Forum is a great place to get assistance from the friendly and helpful community (please be sure to read the posting guidelines in order to optimize your results). We also maintain an active Teensy sub-forum in the SparkFun Community Forums.
For more information about Teensy development boards and the surrounding ecosystem, check out these resources:
learn.sparkfun.com | CC BY-SA 3.0 | SparkFun Electronics | Niwot, Colorado