With the latest Artemis DK, board, we now offer full Bluetooth support within the Arduino IDE and development with Arm® Mbed™ OS. While we have worked tirelessly to get the Artemis module supported in the next Mbed™ OS release, the next release isn't slated until after the Artemis DK becomes available to the public. Therefore, this post will provide users with a jump start for developing with Mbed™ Studio, prior to the next release (in a beta of sorts), by utilizing our fork of Mbed™ OS.
In case you missed it, check out our livestream demonstration with the Mbed™ team:
Users will first need to clone our fork of Mbed™ OS from the ambiq-apollo3-dev branch of the GitHub repository. Feel free to use the method you are most familiar with.
From the GitHub desktop application, clone the sparkfun/mbed-os-ambiq-apollo3 repository (please note the location of the repository on the computer, it will be utilized later.). Once the repository has been cloned, pull the ambiq-apollo3-dev branch.
ambiq-apollo3-dev branch of the GitHub repository with the GitHub desktop application. (Click to enlarge) Users should install the latest version of Mbed™ Studio. Installation instructions can be found here on the Mbed™ website. Documentation for Mbed™ Studio is also hosted on the Mbed™ website.
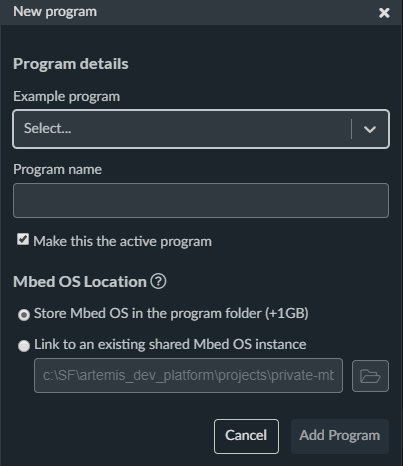
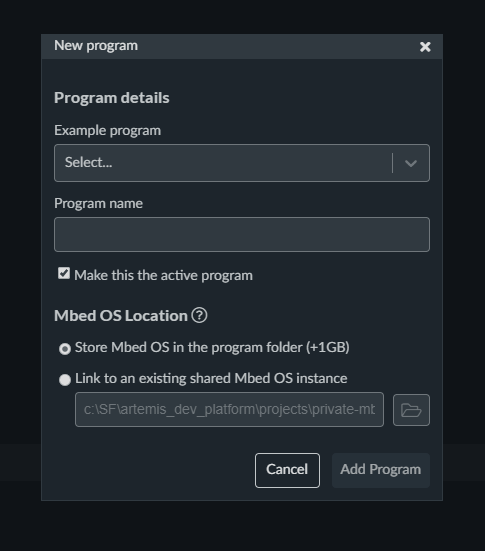
Once users have installed Mbed™ Studio, the fun begins! First, open Mbed™ Studio and create a new project.
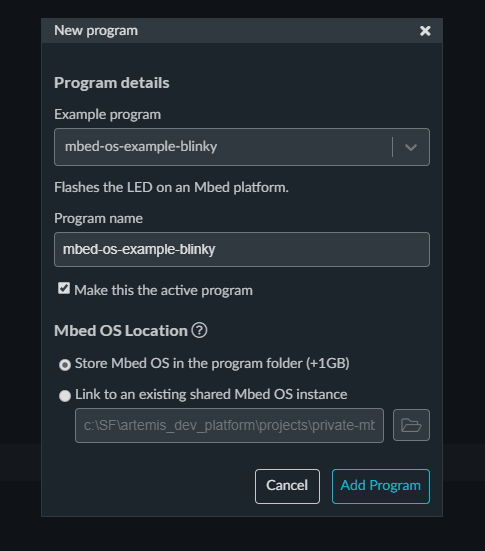
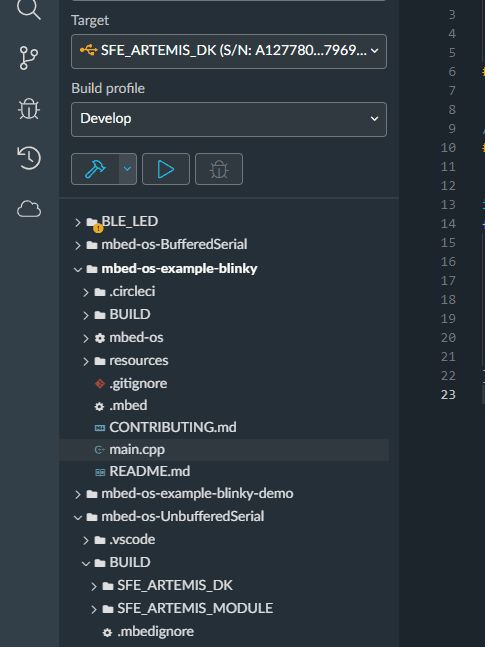
mbed-os-example-blinky
ambiq-apollo3-dev branch of our fork of Mbed™ OS.
A build target tells Mbed™ Studio how to build Mbed™ OS so that it matches your hardware.
The options for selecting a target are:
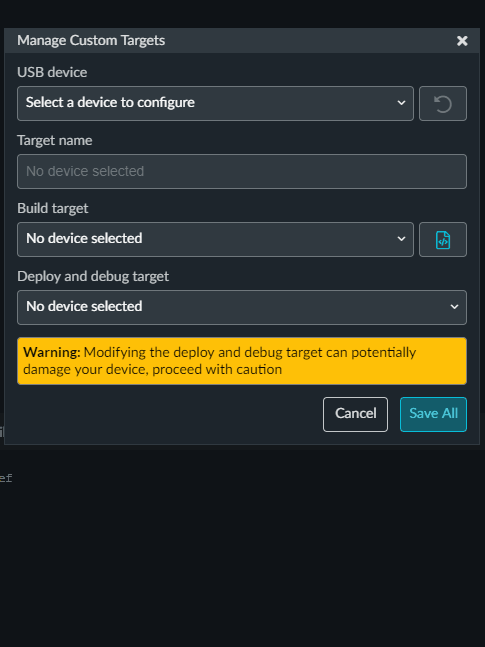
This method will be utilized for an Artemis board with a DAPLink interface chip, like the Artemis DK. The process requires building the project in Mbed™ Studio. Once the .bin file is generated, Mbed™ Studio automatically loads the file onto the mass storage device for the board to program the Artemis module.

Now its time to make your own project! If you want a starting point for some more examples check out the Mbed API or try out some of the BLE examples.

Development boards that utilize a WCH CH340C or CH340C Uart-to-serial chip will be programmed using the Ambiq Secure Bootloader (ASB). However, users will need to build the project, first, to utilize the required .bin file.
.bin file.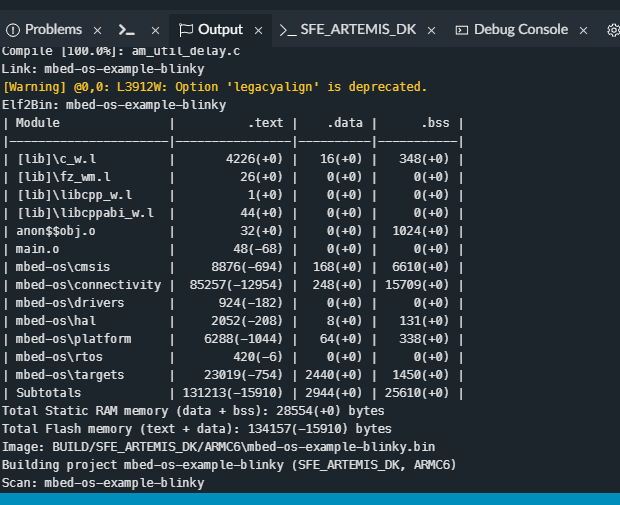
Ambiq Secure Bootloader (ASB) documentation
Example usage:
python asb.py --bin "${path to your binary file}.bin" --load-address-blob 0x20000 --magic-num 0xCB -o "${path to your binary file}" --version 0x0 --load-address-wired 0xC000 -i 6 --options 0x1 -b 115200 -port "{serial.port}" -r 2 -v
For more on the Artemis modules and Mbed™ OS, check out the links below:
.json file needed for the SparkFun Ambiq Apollo3 Arduino Core:
https://raw.githubusercontent.com/sparkfun/Arduino_Apollo3/master/package_sparkfun_apollo3_index.jsonlearn.sparkfun.com | CC BY-SA 3.0 | SparkFun Electronics | Niwot, Colorado