Simblee LilyPad Hookup Guide
This Tutorial is Retired!
This tutorial covers concepts or technologies that are no longer current. It's still here for you to read and enjoy, but may not be as useful as our newest tutorials.
 SFUptownMaker
 Introduction
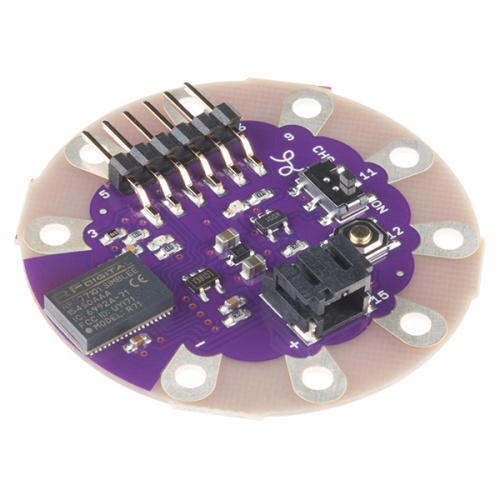
The Simblee LilyPad Board is a programmable board that allows you to add mobile app functionality via Bluetooth Low Energy (BLE, or Bluetooth 4.0) to your e-textile projects. Unlike other BLE solutions, the Simblee requires no specialized app development skills to realize the phone-side interface: all the necessary coding is done in the Arduino environment and then uploaded to a browser app on the phone.
If you want to skip directly to writing code, we have another tutorial covering coding concepts that are common to all Simblee products. If you're looking for a non-sewable option, checkout the SparkFun Simblee Breakout Board.
Suggested Reading
The Simblee LilyPad board is not a board for beginners. We suggest that you be comfortable with the topics covered in these tutorials before trying to use the Simblee LilyPad in a project:
- What is an Arduino? -- Fundamentally, the Simblee LilyPad is an Arduino board, so you should be comfortable working with Arduino, above all.
- E-textiles basics -- The Simblee LilyPad is, above all, an e-textile board, so you should undertsand e-textiles first.
- Sewing with conductive thread -- The e-textile basic skill.
Simblee LilyPad Hardware Overview
Let's take a quick tour of the Simblee LilyPad hardware:
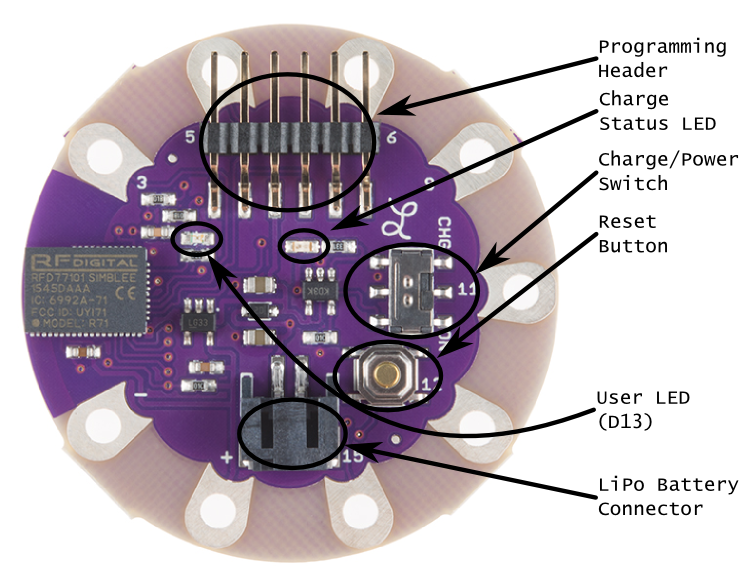
- Programming Header -- This is the place to connect the programming board. We recommend using the either the LilyPad FTDI Basic or the 5V FTDI Basic for programming the Simblee LilyPad. Do not use the 3.3V FTDI Basic. This header can also be used to power the board during development.
- Charge Status LED -- If a battery is connected and charging, this LED will be lit. Otherwise, it will be off.
- Charge/Power Switch -- This switch controls the power to the board. When set to "CHG", the on-board charge circuit will charge the battery (if power is connected via the Programming Header) at 100mA, but power to the rest of the board (and anything powered from the "+" sewtap) will be disconnected. When set to "ON", the board and any attached circuitry will be powered, and charging will continue if the board is plugged in.
- Reset Button -- Normally this shouldn't be required, but it may on occasion be useful to start your code from scratch, without reprogramming or pulling the power.
- User LED -- This LED is connected to pin 13 and can be used in your code for a "free" indicator LED.
- LiPo Battery Connector -- This connector mates with the 2mm JST connector on our polymer lithium ion batteries. The charge current is set to 100mA, which is a safe current for any battery with a capacity of 100mAh or higher.
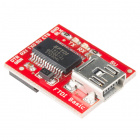
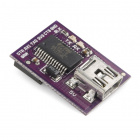
USB-to-Serial Programmer
Do not use the 3.3V FTDI Basic, as it may not be able to source enough current from the 3.3V rail.
Output Control w/ Transistors
If you decide to drive multiple LEDs, try using a transistor as a switch.
Project Examples
That concludes the Hardware overview for the Simblee LilyPad. For more information on using the Simblee to create your own applications for embedded project, visit our Simblee Concepts tutorial.
Need some inspiration for your next project? Check out the project below from our creative technologist with a Simblee, pulse sensor, vibe motors, accelerometer, and 3D printed wrist bracer.
The documentation of the project can be found in the GitHub Repository below.
Resources and Going Further
For more info on the Simblee module itself, please have a look at the **Simblee User's Manual **.
Here are a few more resources for the Simblee:
- Simblee product homepage
- Simblee for Mobile reference -- PDF covering the basics of using the Simblee for Mobile Library to make a UI on a host device.
- Simblee LilyPad Eagle Files
- Simblee LilyPad Schematic
- Prototyping Wireless Wearables with LilyPad Simblee - Workshop for WEAR 2016 with slides to get started with using the LilyPad Simblee in the Arduino IDE and on a phone.
For more Bluetooth fun, check out these other SparkFun tutorials.