Cryptographic Co-Processor ATECC508A (Qwiic) Hookup Guide
 QCPete
 Introduction
🔒 Note: Please follow through the hookup guide in its entirety before using this board. The chip cannot be re-configured after it is PERMANENTLY locked.
The SparkFun Cryptographic Co-processor Breakout ATECC508A (Qwiic) takes all the great features of the Microchip ATECC508A Cryptographic Authentication Device and adds two Qwiic ports for plug and play functionality. In this tutorial we will cover the fundamentals of cryptographic authentication and how to use the ATECC508A to add a very high level of security to your projects.
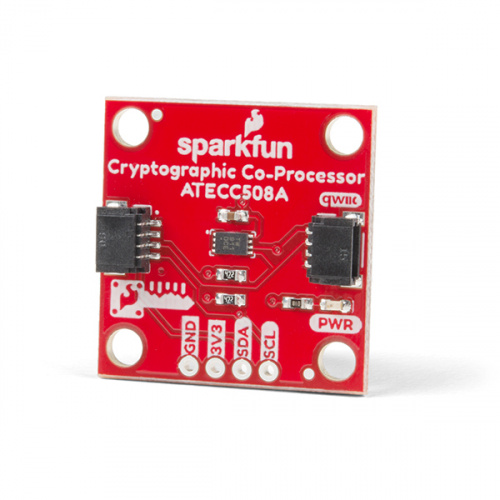
The ATECC508A is capable of many cryptographic processes. This tutorial focuses on Elliptic-curve cryptographic digital signatures (ECC) - using asymetric private/public keys. If those last few words are new to you, please read on! We will spend some time explaining in a bit.
🔒 Note:This chip is NOT capable of encrypting and decrypting data. It can however, perform quite a few cryptographic authentication processes such as secure private key creation, secure key storage and digital signature creation and verification.
At a very high level, the purpose of using this chip is to (1) verify that the message received actually came from the true sender and (2) verify that the data received was not tampered with. This technology is used in hyper-critical devices such as rocket launches, medical devices, two factor authentication keys (2FA), ink cartridges, garage door openers and car key FOBs.
Probably it's most important feature: this device can securely store a private ECC key. In fact, this private key will never be accessible - not even to you, the owner. It is created internally on the chip during configuration, and it can never be read from the chip (even if your de-capped the chip). Although you will never know it, you can still command the co-processor to use the secret private key to create a unique signature on some data. With this functionality, it can be used to securely authenticate a message in any kind of communication system. For example, between systems such as a node in an IoT system. Follow along, and you'll be creating 64 byte signatures (yes, bytes) and verifying them securely in no time!
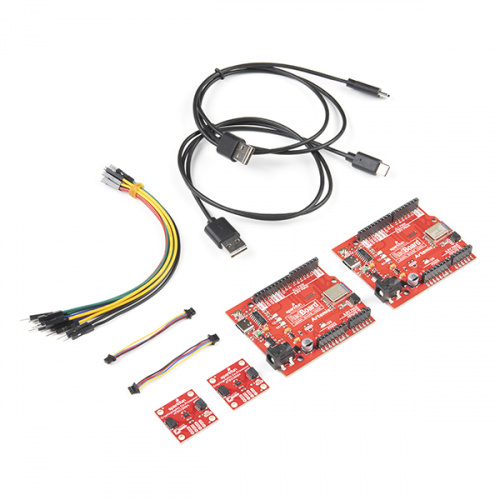
Required Materials
To follow along with this tutorial, you will need the following materials that are included in the kit. You may not need everything though depending on what you have. Add it to your cart, read through the guide, and adjust the cart as necessary.
Note: To follow this tutorial, an Artemis microcontroller board has to be used with this product due to the buffer size required for the I2C bus.
For more advanced users, other microcontrollers can be used, but the buffer size of Wire library and/or the syntax for the serial print statements will need to be modified. (*This is outside the scope of this tutorial.)
Suggested Reading
If you aren’t familiar with the following concepts, we recommend you read over these tutorials before continuing.