Assembly Guide for SparkFun JetBot AI Kit V2.0
 Evan_Double_U
2. Camera Assembly & Installation
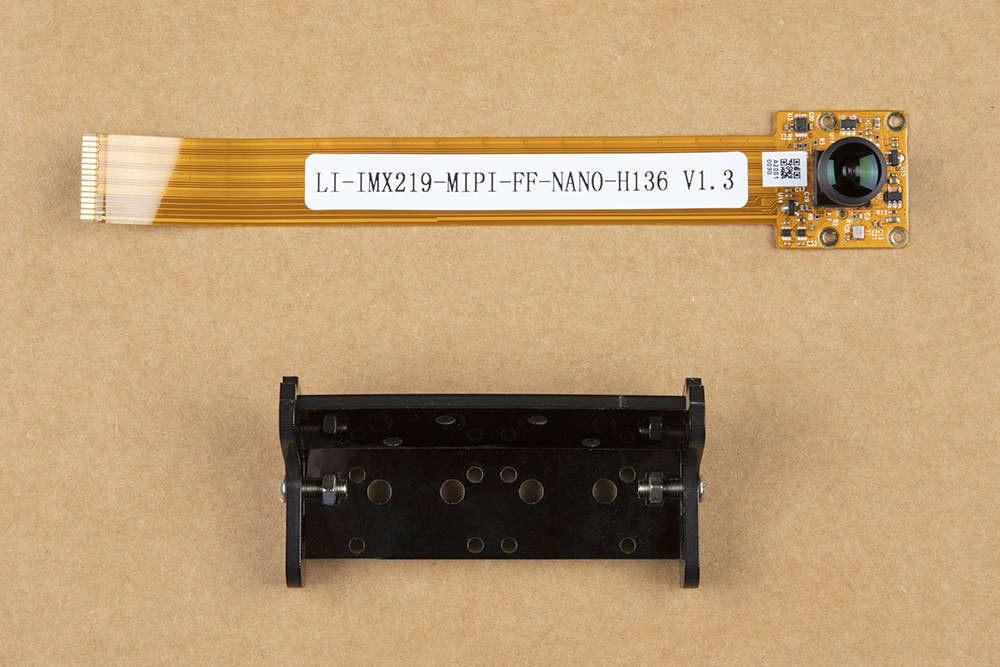
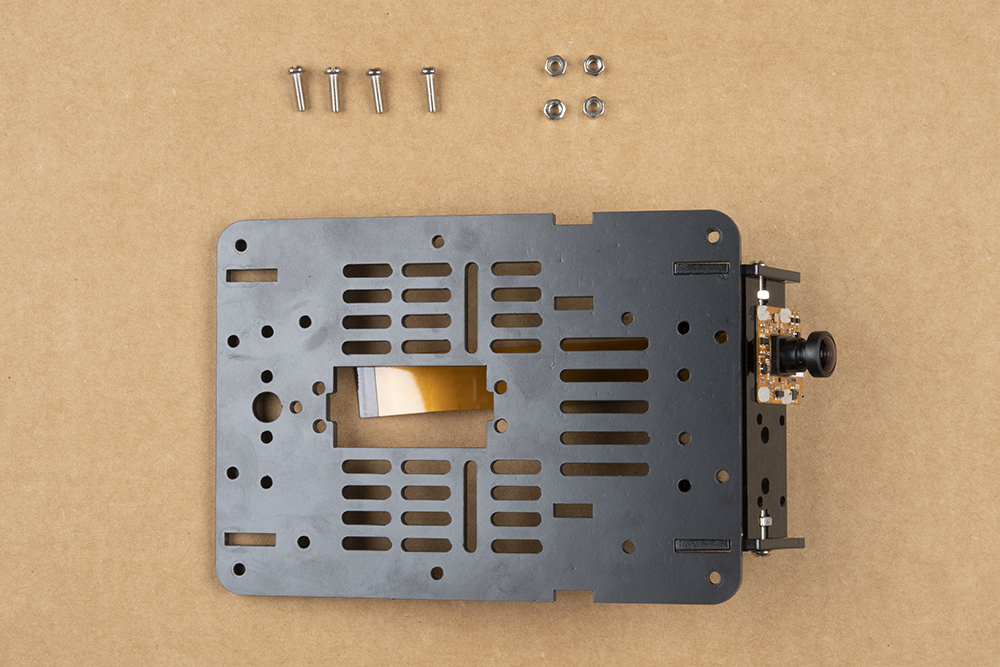
Next, locate the camera mount assembly in the JetBot Chassis Kit. The unassembled view of the parts is laid out in the proper orientation for assembly. The latest revision of the Jetbot Kit includes a camera mount that provides the ability to use stereo vision available on the Jetson Nano Dev Kit V3.
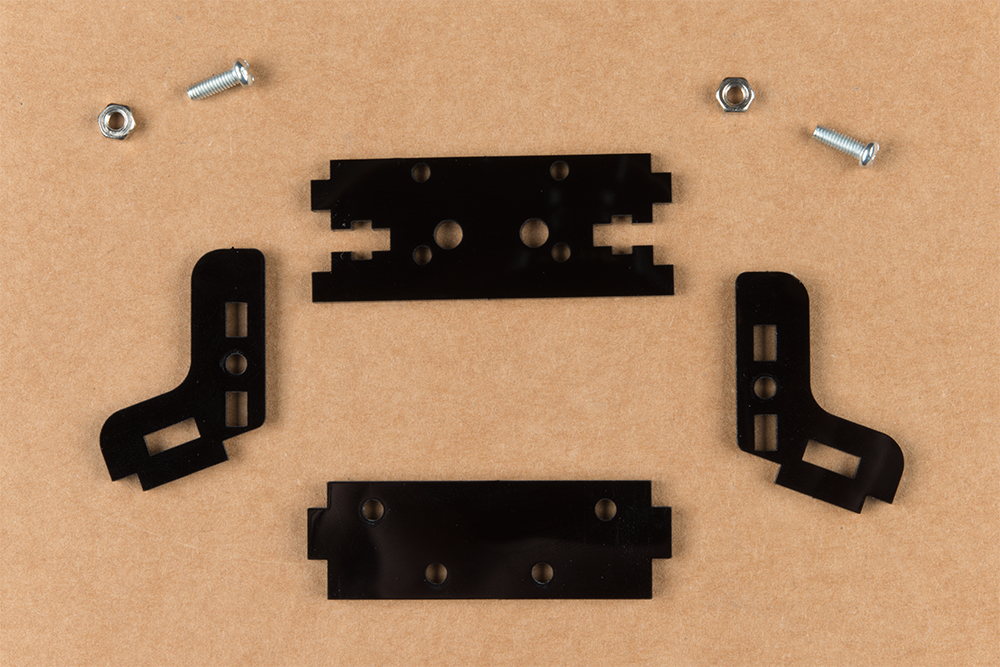

Unpackage the Leopard Imaging camera and assemble the camera mount as shown in the following photograph.
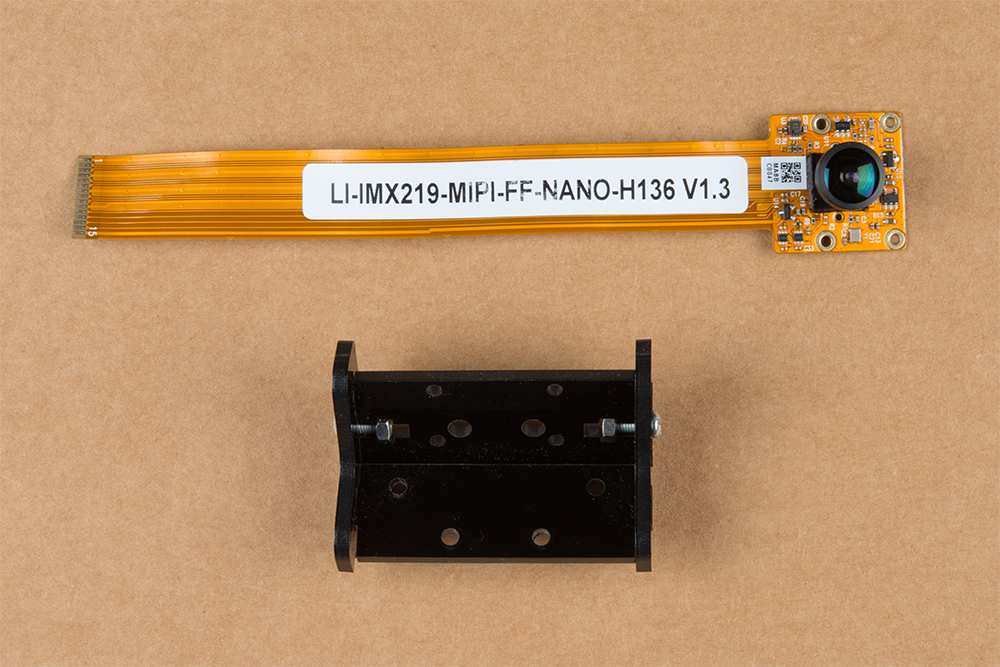
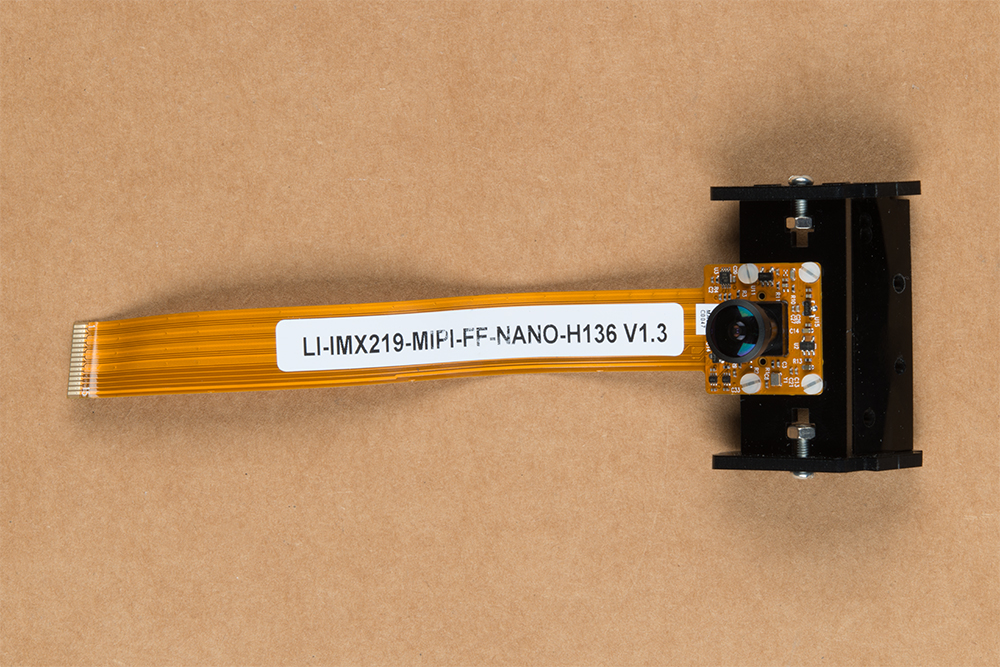
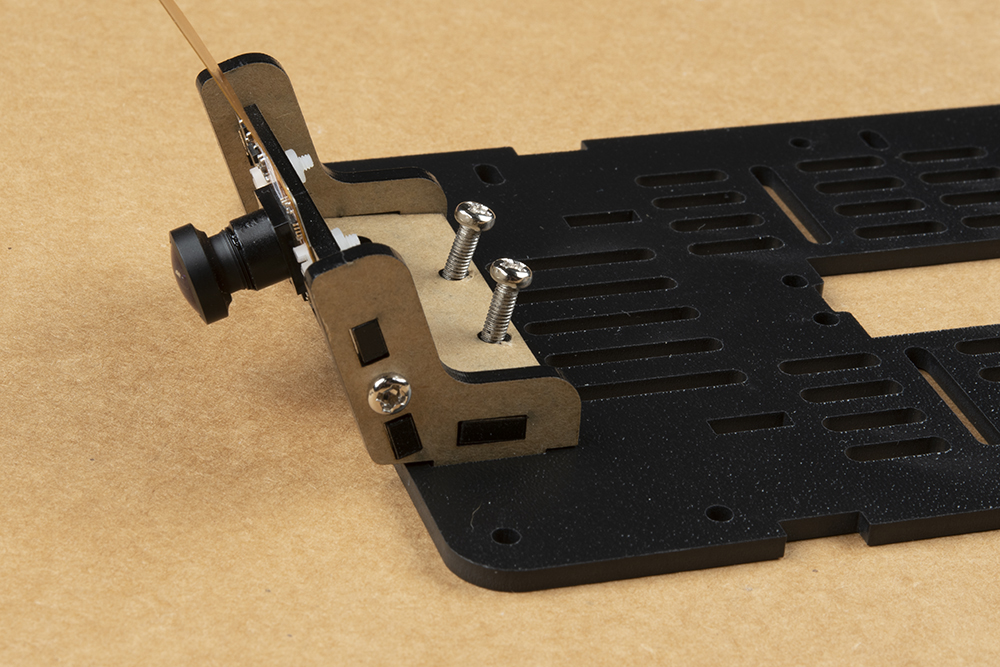
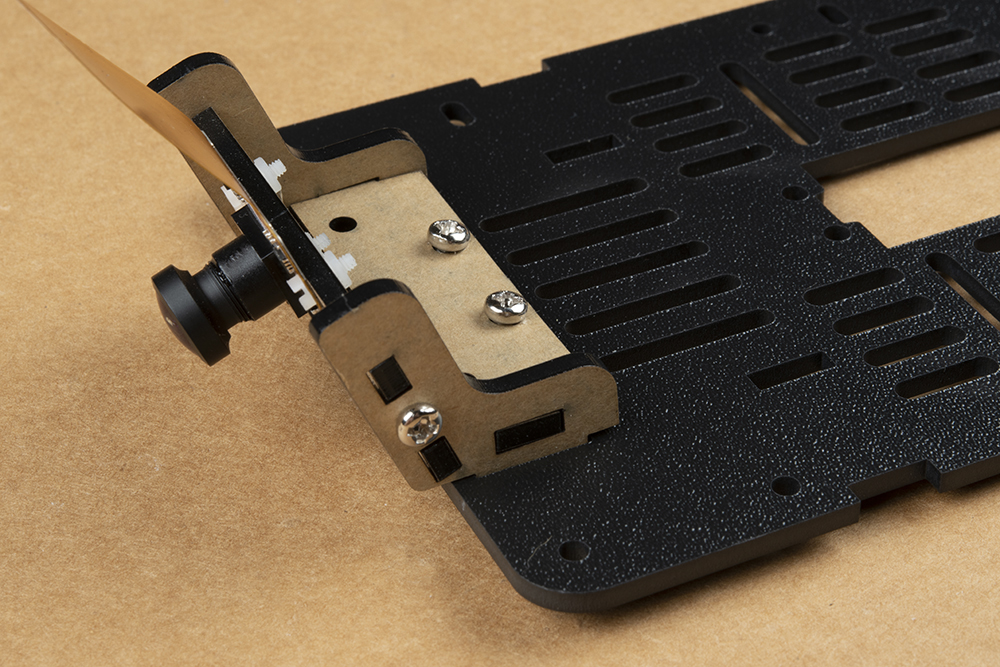
Please reference the note about the "Front" of the JetBot in the end of the Introduction to ensure that you mount the camera on the correct side of the camera mount. Align the four holes in the camera mounting plate with those on the camera. Place all four nylon flathead screws through the camera & camera mounting plate prior to fully tightening the nylon nuts. This will ensure equal alignment across all four screws. While holding the nuts in place with a finger, tighten the screws in a rotating criss cross pattern; similar to how you tighten lug nuts on a car rim.
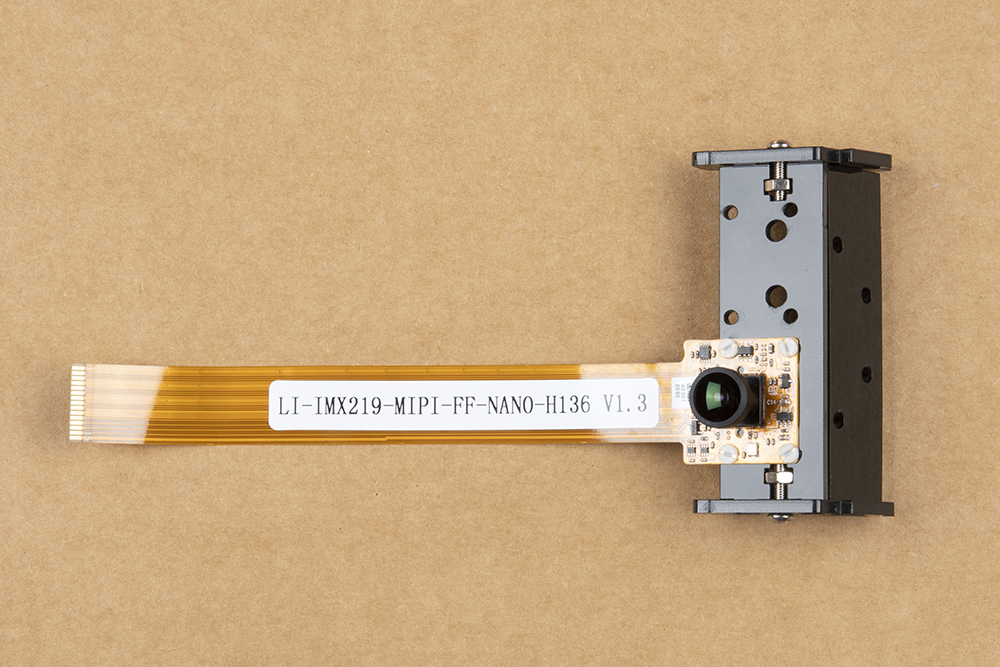
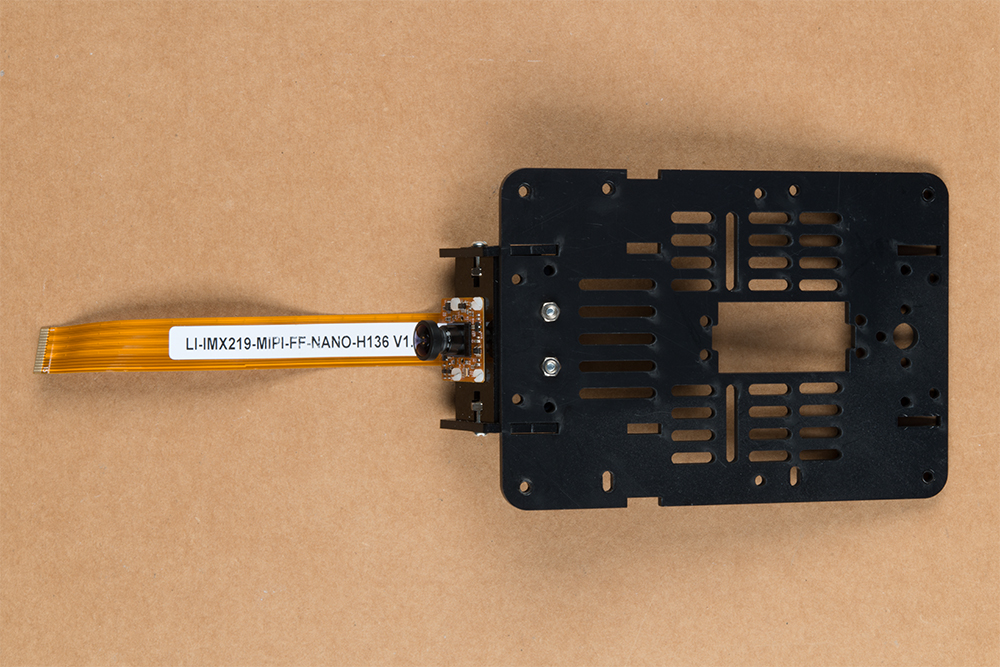
Attach the camera mount & camera to the JetBot Chassis Kit top plate (the unused base plate) using the slightly longer sets of screws and nuts included in the chassis kit (pictured below). Align the plastic tabs on the camera mount to the rectangular cutouts on the front of the chassis top plate. This will result in a sung press fit.
Use the screws to align the holes in the camera assembly with the corresponding holes in the chassis top plate.
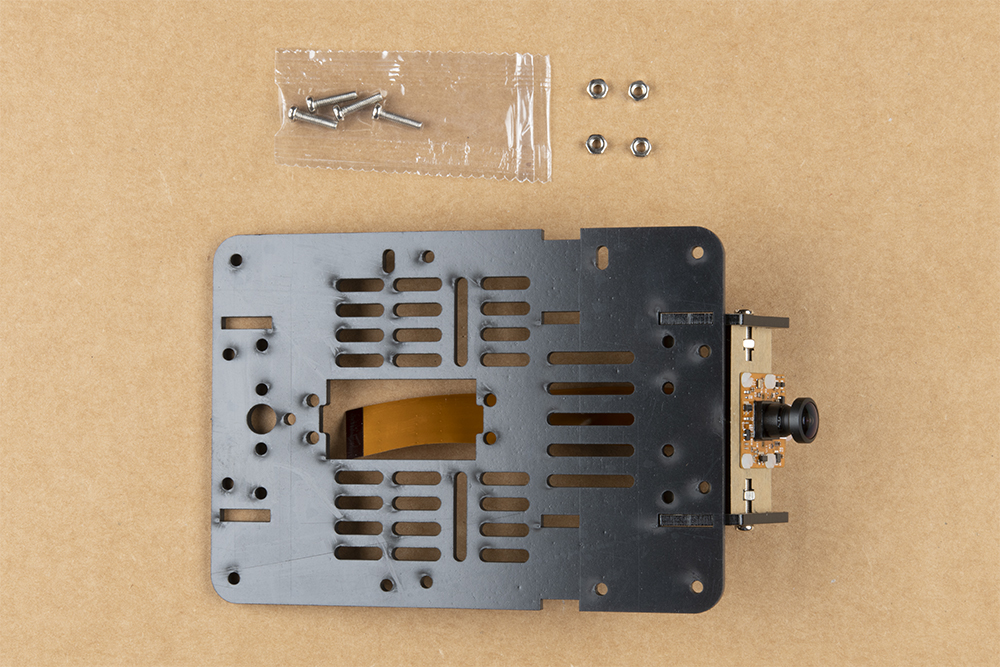
Use your small Phillips head screwdriver to thread the screws through the mounting plates. The chassis kit I got was pretty sung and required me to screw them through.
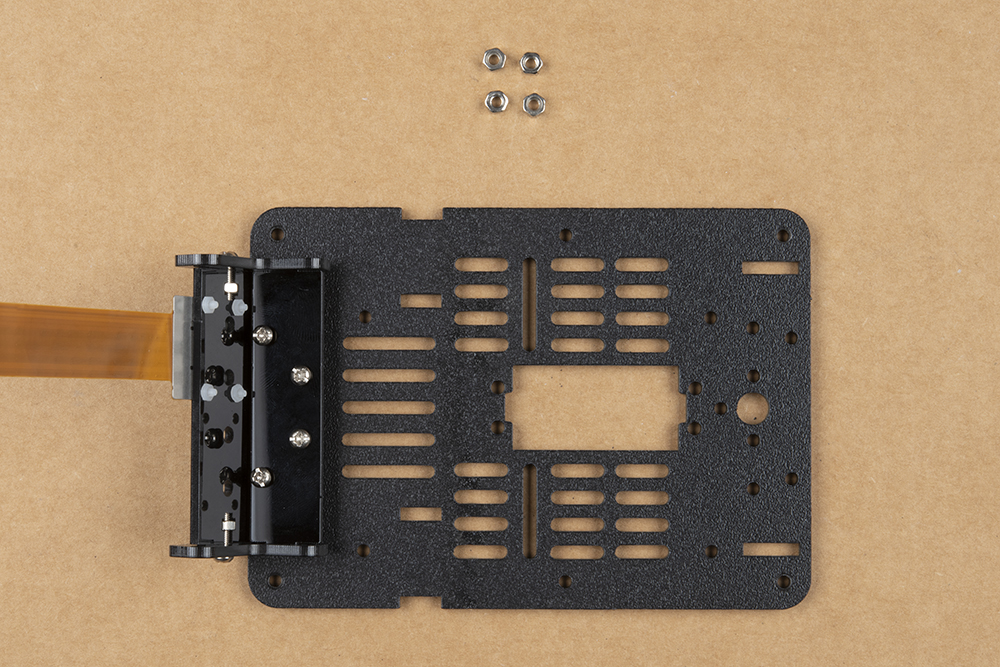
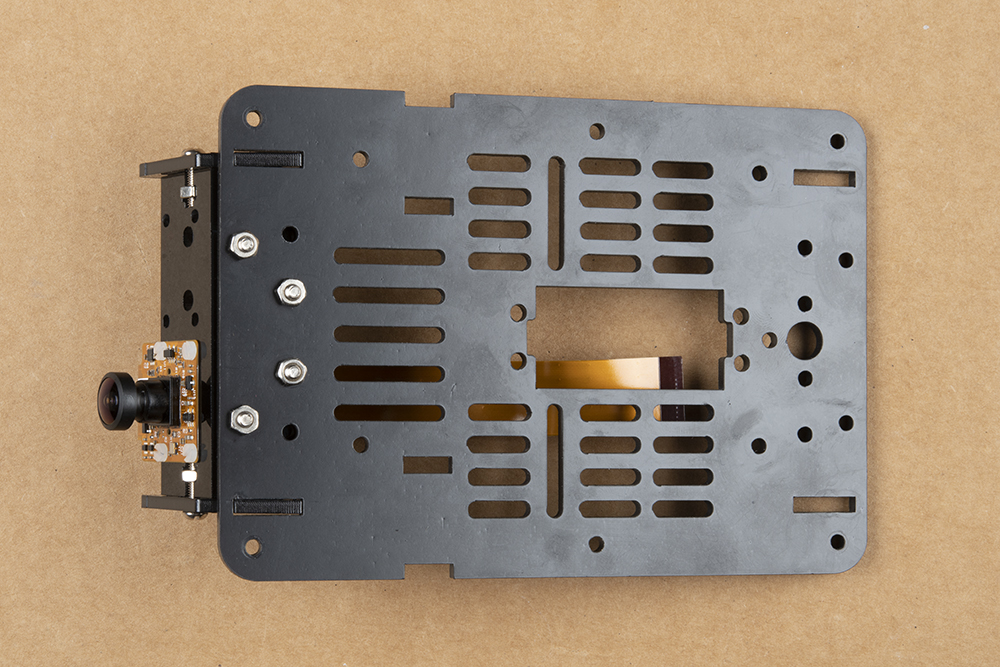
Flip the chassis over & thread two nuts onto the exposed threads of the camera mount hardware.

The final assembly will look something like what is pictured below. We have found that this assembly is attached sufficiently by using 2 of 4 screws, but do whatever feels right.