Qwiic Speaker Amp (TPA2016D2) Hookup Guide
 QCPete
 bboyho
Introduction
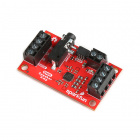
The SparkFun Qwiic Speaker Amp includes the Texas Instruments TPA2016D2 stereo, filter-free class-D audio power amplifier. Its efficient class-D operation also means low heat and long battery life when driving 4Ω speakers at up to 2.8W in stereo, and 8Ω speakers at up to 1.7W in stereo. It won't shake a stadium but it will provide plenty of volume for your audio projects.

Required Materials
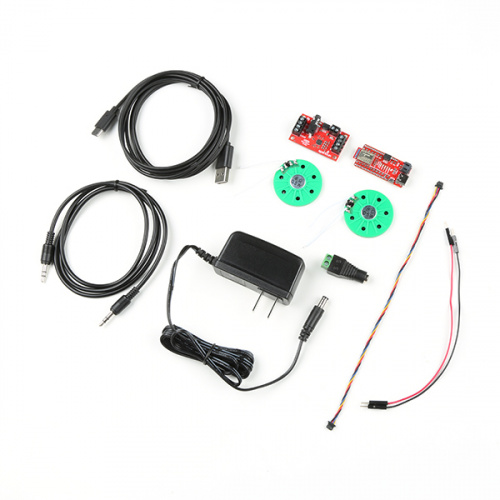
To follow along with this tutorial, you will need the following materials at a minimum. You may not need everything though depending on what you have. Add it to your cart, read through the guide, and adjust the cart as necessary.
Minimum Parts
At a minimum, you will need a cable and differential speaker with the Qwiic Speaker Amp. You will also need a power supply and some wires. This is assuming that you have a media player (i.e. smartphone, computer, or portable digital player) with a TRS audio output and the speakers have wires connected to the terminal.
Connecting with an Arduino
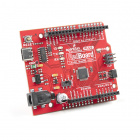
For users that want to configure the TPA2016D2 with the Arduino Library, you will need an Arduino microcontroller. We'll be using the RedBoard Plus with the ATmega328P. Make sure to add two speakers to your cart if you decide to have stereo output.

Accessories
There are many ways to connect to the Qwiic Speaker Amp. Below are a few accessories that you could use.
Speakers
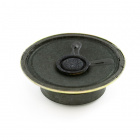
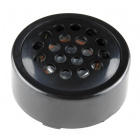
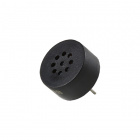
Below are a few speakers from the catalog that you could use as an output. You will want to choose differential speakers like the following listed below (not to be confused by the piezo buzzers). Note that some speakers may perform better than others at certain frequencies while others operate around a certain frequency range. Make sure to check out the speaker's datasheet when choosing a speaker.
Note that some speakers may be rated as a higher wattage (more than what the Qwiic Speaker Amp can output). Higher wattage speakers will still play sound but they won't be fully powered.
Connectors, Wires, and Cables
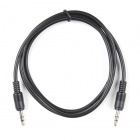
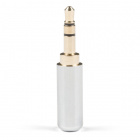
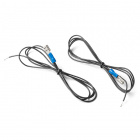
For users connecting from a media player, you will need a TRS cable. Users can also make their own and wire the connection up with the TRS audio plug.
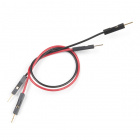
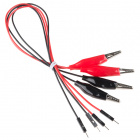
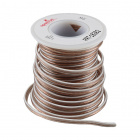
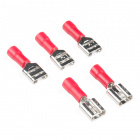
Depending on the connection, you will need jumper wire for the power, audio input, and/or speaker output. Below are a few wires from the catalog. Note that other wire might be too thick and may not fit the screw terminals. If the terminals on the speaker are big enough, you could also use spade quick disconnects as well.
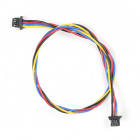
For those that want to take advantage of Qwiic-enabled devices, you'll want to grab a Qwiic cable.


Power
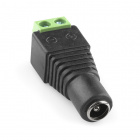
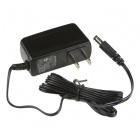
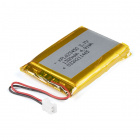
To power the board, you could use a separate power supply for the Qwiic Audio Amp. For installations, you could use a 5V wall wart and a barrel jack adapter. For portable applications, you could use a LiPo battery and boost converter for a constant voltage input.

Tools
To secure the wires in the screw terminals, you will need the pocket screwdriver set. Note that some screwdriver flat heads might be too large to drive the screws. The pocket screwdriver set includes a drive bit that is compatible with the screw terminals that are soldered on the Qwiic Speaker Amp. There is also another drive bit that you could use to secure wire to the barrel jack adapter as well.

You may need a soldering iron, solder, and general soldering accessories when soldering wires to the speakers or to modify the jumpers.


Suggested Reading
If you aren't familiar with the Qwiic system, we recommend reading here for an overview if you decide to take advantage of the Qwiic connector.
| Qwiic Connect System |
We would also recommend taking a look at the following tutorials if you aren't familiar with them.
RedBoard Plus Hookup Guide
Hardware Overview
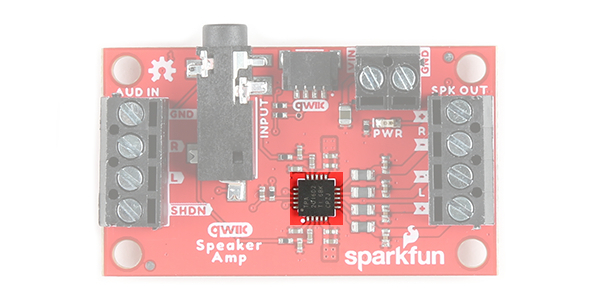
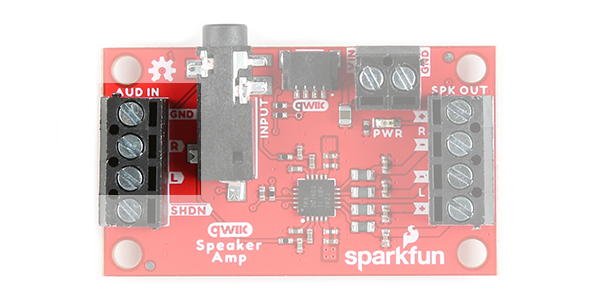
In this section, we will highlight the hardware and pins that are broken out on the Qwiic Speaker Amp (TPA2016D2). For more information on the amplifier, check out our Resources and Going Further.
Amplifier to Amplifier (Comparision of a few of SparkFun Audio Amps)
What distinguishes this audio amplifier from others is that it features volume control (i.e. gain), Dynamic Range Compression (DRC), Automatic Gain Control (AGC), enable/disable amplifier, and its ability to be configured through software via I2C. Its efficient class-D operation also means low heat and long battery life when driving 4Ω speakers at up to 2.8W in stereo, and 8Ω speakers at up to 1.7W in stereo. This is quite a bit more power than the mono amplifier (TPA2005D1) or Noisy Cricket stereo amplifier (LM4853). It won't shake a stadium but it will provide plenty of volume for your audio projects.
, release date September 2022") |
, SparkFun release date April 2018") |
, SparkFun release date March 2012") |
| Qwiic Speaker Amp (TPA2016D2) [ DEV-20690 ] |
Noisy Cricket Stereo Amp (LM4853) [ DEV-14475 ] |
Mono Amp (TPA2005D1) [ BOB-11044 ] |
The DRC and AGC is unique compared to other audio amplifiers. This is a powerful feature that allows you to "even out" the loud and quiet sections from your audio input. It also allows you to maximize the volume of your speakers. By fine-tuning the settings, you can get the most volume to prevent distortion of the audio signal. Using the DRC, AGC, and/or the limiter alone allows you to protect your speakers from getting damaged by extremely loud playback. We've written an extensive Arduino Library (shown later in this tutorial) that allows you to easily control all of the amplifier's features from simple gain control to advanced AGC. Note that you will need to send the configuration to the TPA2016D2 upon every power cycle.
Power
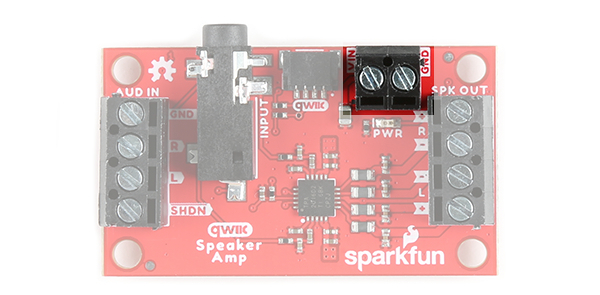
There are two ways to power the board:
- Screw Terminal
- Qwiic Cable
Power Screw Terminals
The Qwiic Speaker Amp requires an input voltage between 2.5V and 5.5V. You can insert wires through the two pin screw terminal labeled as VIN and GND. Using a higher voltage closer to the recommended input voltage will drive the speakers better and provide a louder sound.
Power Qwiic Cable
You can also provide power through the Qwiic Connector. This will provide 3.3V for the amplifier. Simply insert a Qwiic cable between your development board and the Qwiic Speaker Amp.
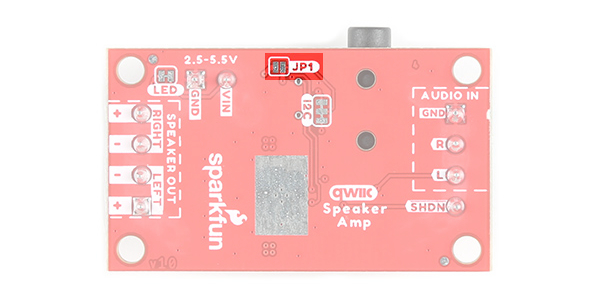
If you are powering the board through the Qwiic connector, make sure to add a solder jumper on JP1.
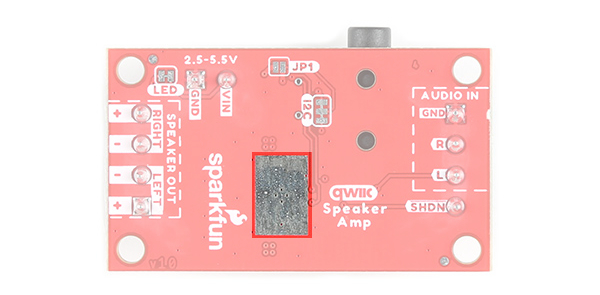
Thermal Dissipation
While the TPA2016D2 includes thermal protection, the exposed copper pour directly below the IC on the bottom of the board is added to the design for better thermal dissipation.
I2C and Qwiic
To communicate with the amplifier, you will need an I2C bus. The Qwiic system makes it easy to connect the TPA2016D2 to your projects via the Qwiic connector. You can add a Qwiic cable between the amplifier and development board to configure the TPA2016D2. The I2C address of the TPA2016D2 is 0x58 (unshifted). There are two 2.2kΩ pull-up resistors connected to the SDA and SCL lines.
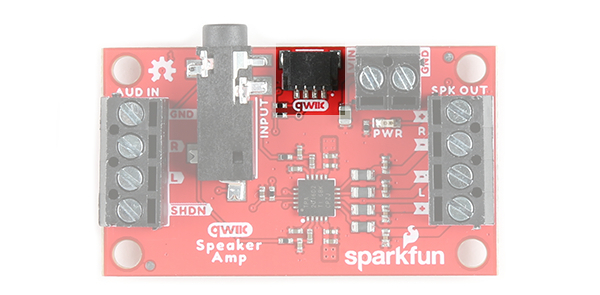
Audio Input
There are two ways to provide an audio signal for the Qwiic Speaker Amp.
- 3.5mm TRS Connector
- Screw Terminals
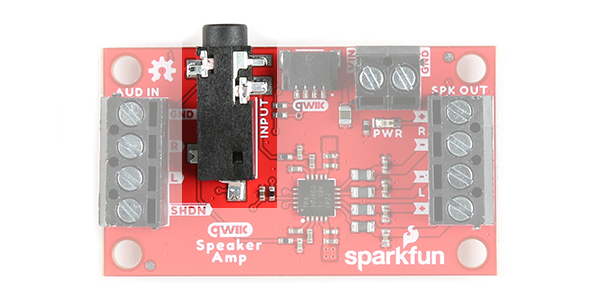
Audio Input 3.5mm TRS Connector
One method of providing an audio signal is through the 3.5mm TRS connector (labeled as INPUT). This is if you have a media player with a 3.5mm TRS connector as well. The tip is connected to the left audio input, the ring is connected to the right audio input, and the sleeve is connected to ground.
Audio Input Screw Terminals
The other method is to connect an audio signal to the audio in left (AUD IN, L) and right (AUD IN, R) pins that are broken out on the screw terminals. Just make sure to connect ground.
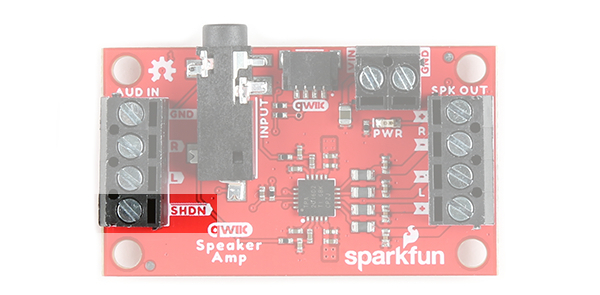
Shutdown
We broke out the shutdown pin (labeled as SHDN) by the audio input pins. This pin is active low. Connecting this pin with a wire to the ground pin will manually shutdown the Qwiic Speaker Amp.
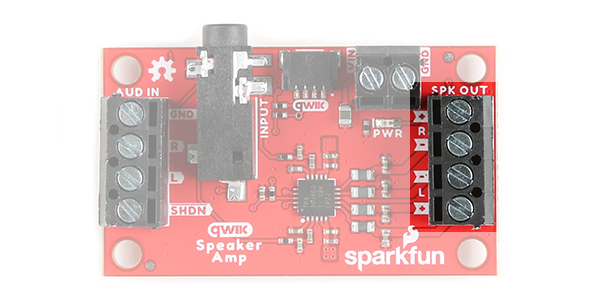
Speaker Output
The board includes differential stereo outputs for a left and right speaker. Below are some specifications from the datasheet that show what you may expect from each channel based on the speaker's impedance and voltage input.
- 1.7W per Channel into 8Ω at 5V
- 750mW per Channel into 8Ω at 3.6V
- 2.8W per Channel into 4Ω at 5V
- 1.5W per Channel into 4Ω at 3.6V
For an analog input on the left (AUD IN, L), make sure to place a speaker on the left "SPK OUT, +" and "SPK OUT,-" pins. For an analog input on the right (AUD IN, R), make sure to place a speaker on the right "SPK OUT, +" and "SPK OUT,-" pins.
LED
There is one LED to indicate when power is applied to the Qwiic Speaker Amp. This is labeled as PWR. When power is applied to the board's VIN, the LED will light up. If jumper JP1 is closed, the LED will light up when the board is connected to a board through a Qwiic cable.

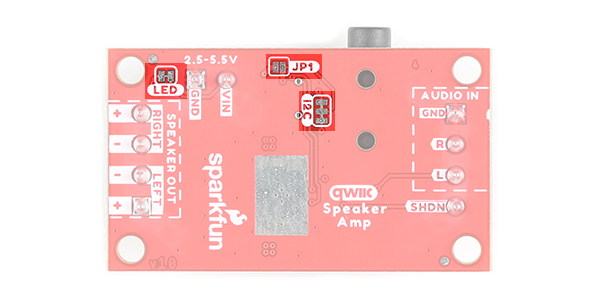
Jumpers
The following three jumpers are included.
- LED - By default, this jumper is closed and located on the bottom of the board. Cut this trace to disable the power LED that is connected to 3.3V.
- I2C - The I2C jumpers are closed by default. By cutting the traces between the jumper pads, it will disconnect to the 2.2kΩ pull-up resistors for the I2C bus. Most of the time you can leave these alone unless your project requires you to connect the pull-up resistors.
- JP1 - This jumper is open by default. For users that just want to provide power to the TPA2016D2 via the Qwiic cable's 3.3V line, add a solder jumper to the pads. Depending on the 3.3V voltage regulator that you are using, you may not have enough power to drive the speakers at their full potential as stated earlier.
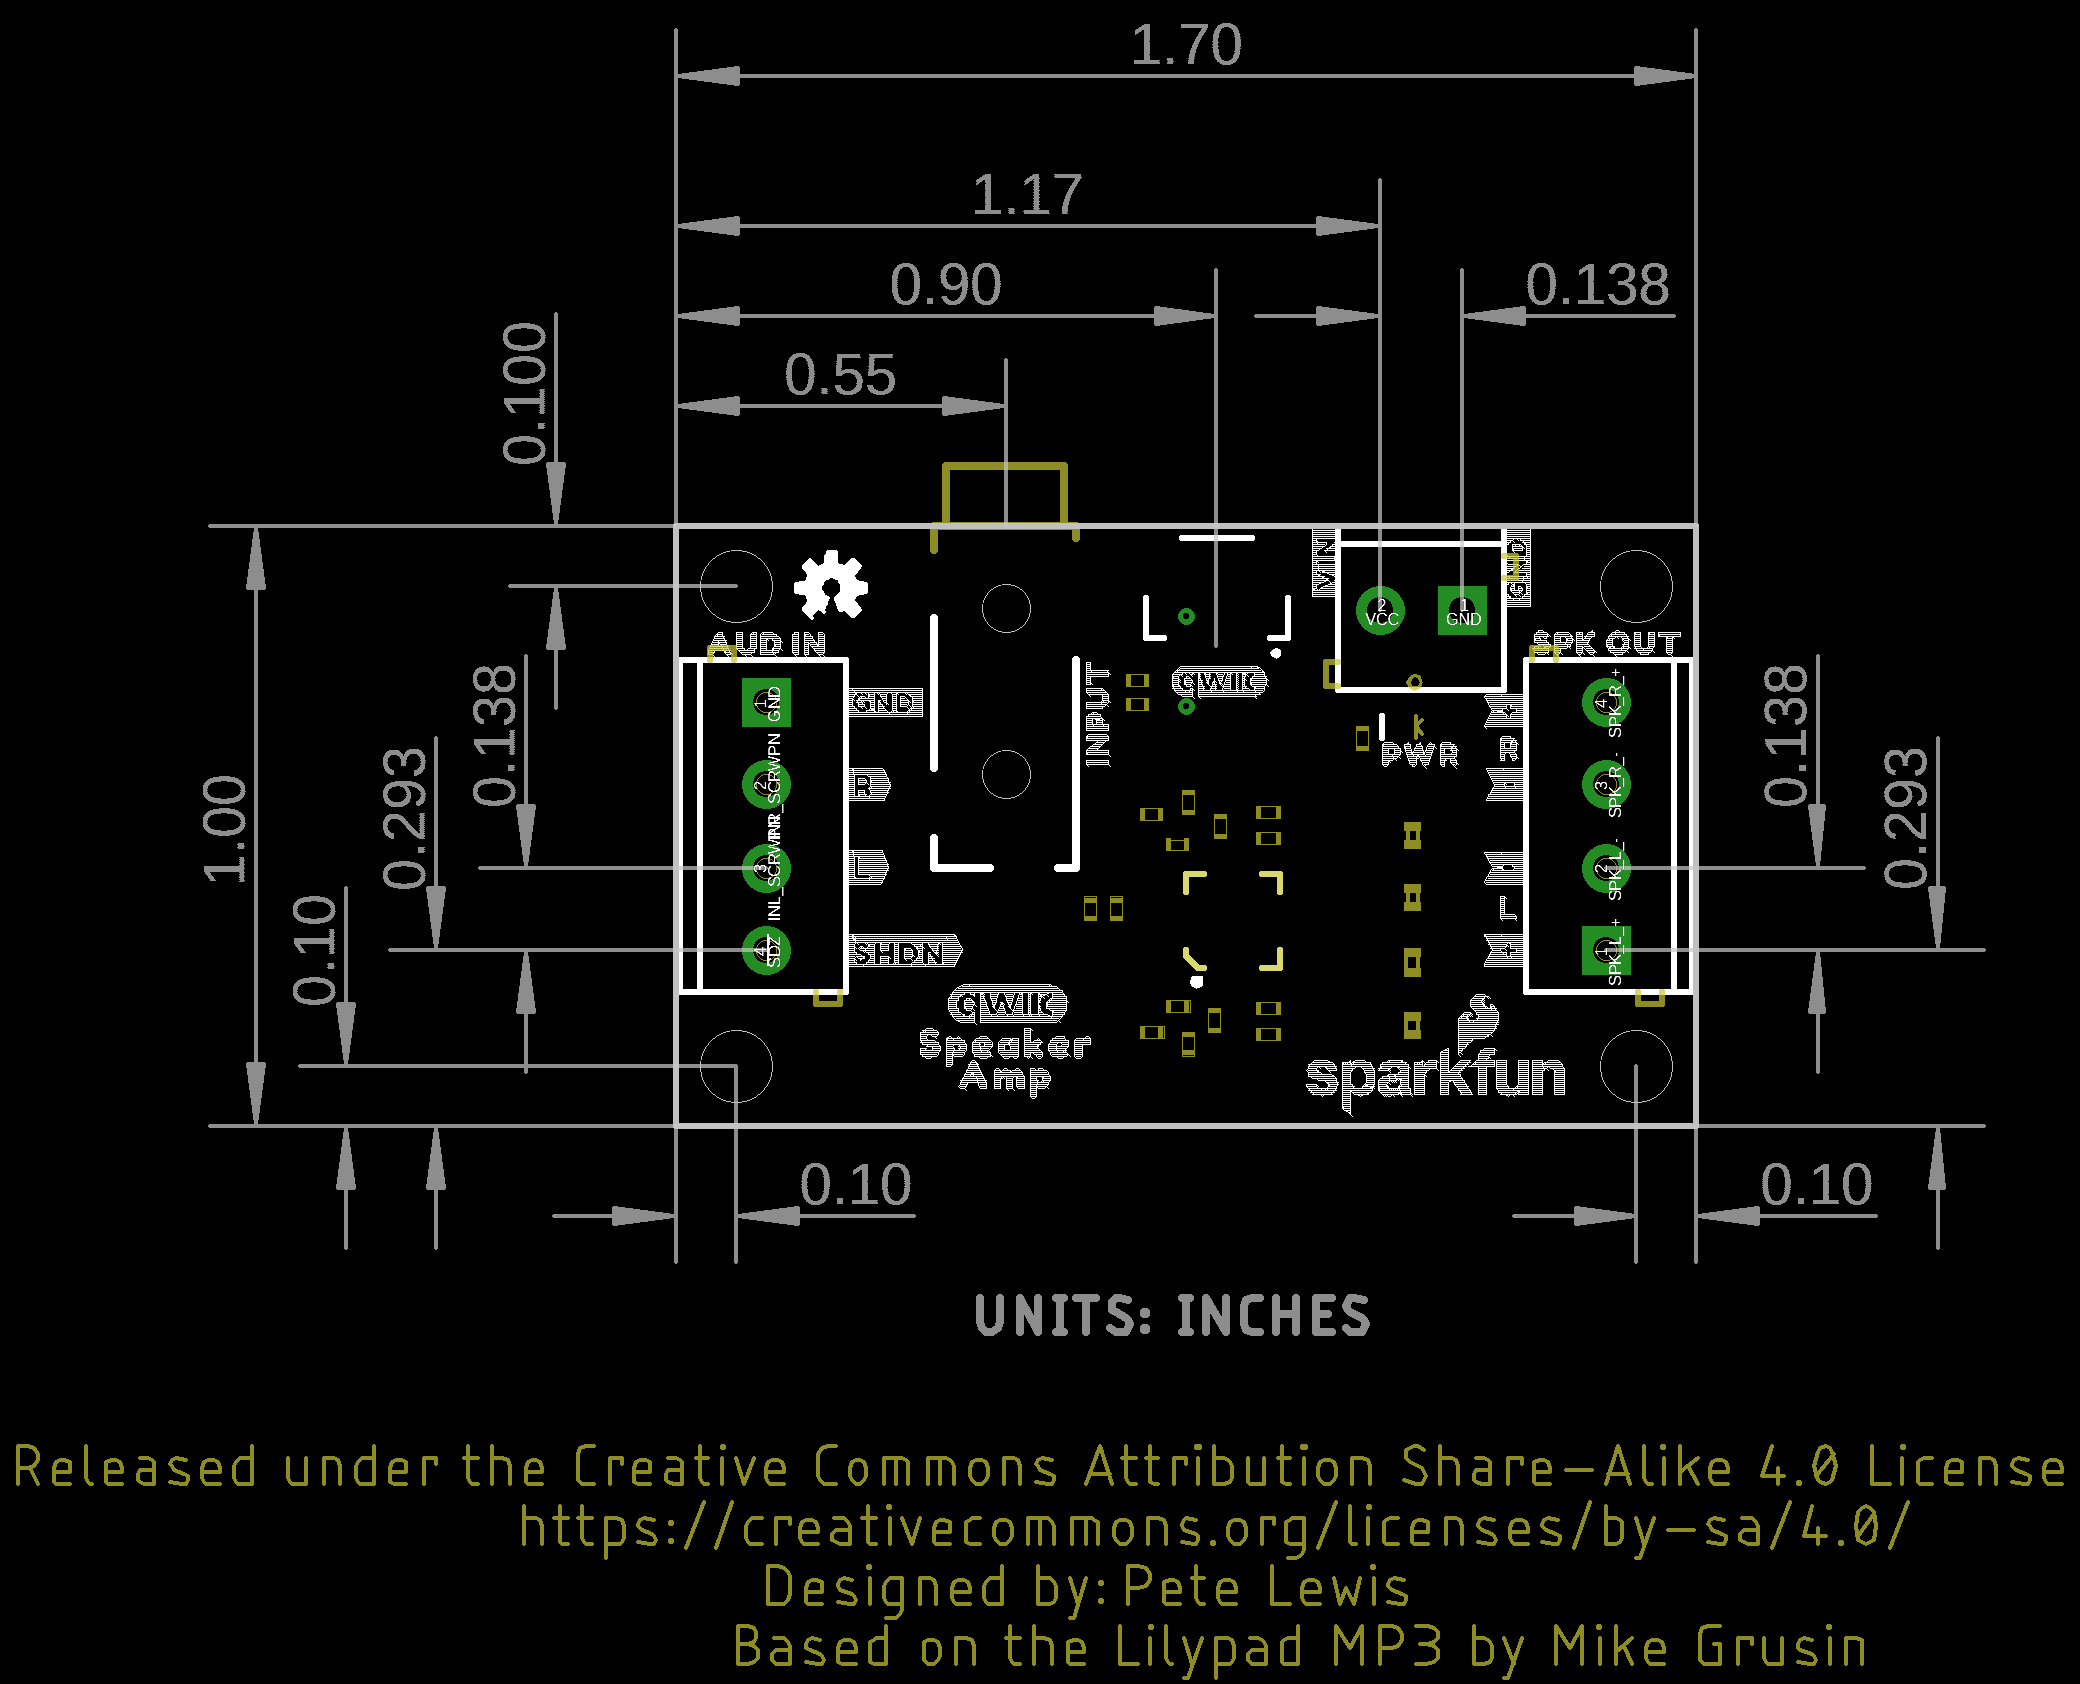
Board Dimensions
The overall length and width is about 1.70" x 1.00". This does not include the length of the 3.5mm TRS connector that is sticking slight out of the board. The board includes 4x mounting holes on the edge of the board.
Hardware Hookup
This board is great for projects that require you to amplify an audio signal for small, differential speakers. This breakout is also great when pairing it with your smartphone, computer, portable digital player, or any audio boards (such as the MP3 Trigger, Tsunami Super WAV Trigger, MP3 Player Shield, or Music Instrument Shield to name a few)! In this section, we will show you a few ways to connect to the Qwiic Speaker Amp.
Soldering Wire vs Quick Disconnects
Depending on your setup, you may need to strip some wire and solder the ends to terminals before connecting your speakers or power supply to the Qwiic Speaker Amp. You can also use jumper wires with male pins.
How to Solder: Through-Hole Soldering
September 19, 2013
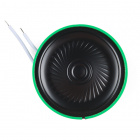
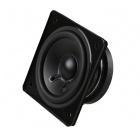
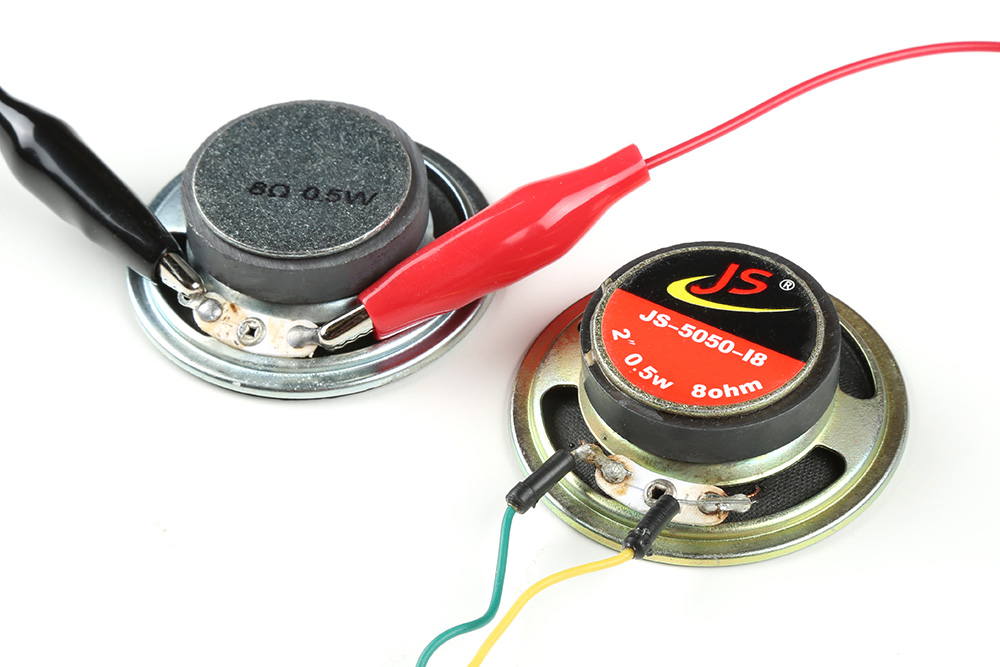
One example are the 8Ω small, cone speakers. These do not have wires connected to the tabs. The best method of connecting the cone speaker would be to solder wires to the tabs. In this case, jumper wires with male pins were soldered the ends. You could also connect to the tabs using alligator clips for a temporary connection. However, you need to ensure that the alligator clips are not touching the speaker frame as this will short the speaker pins and blow out the Qwiic Speaker Amp.
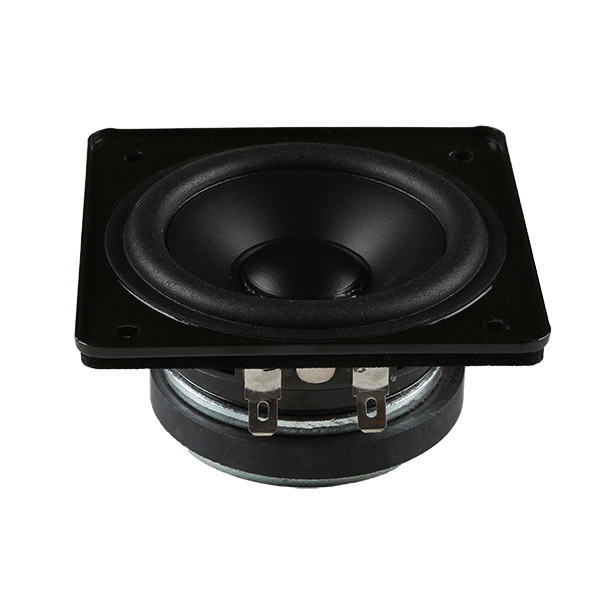
For larger speakers (like the Wide Frequency Range Speaker - 3in) have 1/4" tabs. You could use 1/4" spade quick disconnects with crimped wire for a secure connection or crimp them yourself.
 |
 |
| Wide Frequency Range Speaker - 3in [ COM-18379 ] |
Spade Connector Wire - Female [ COM-14166 ] |
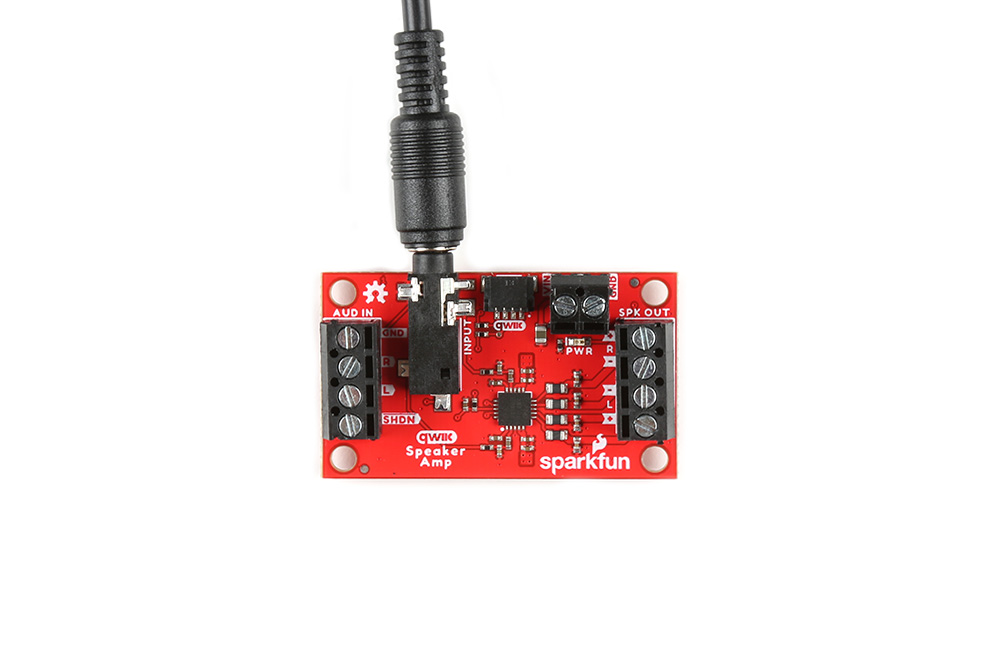
Audio In via 3.5mm TRS Audio Jack
For a quick connection to audio boards and portable digital players with a 3.5mm TRS audio jack, you can connect a TRS cable between the two.
Audio In via Screw Terminals
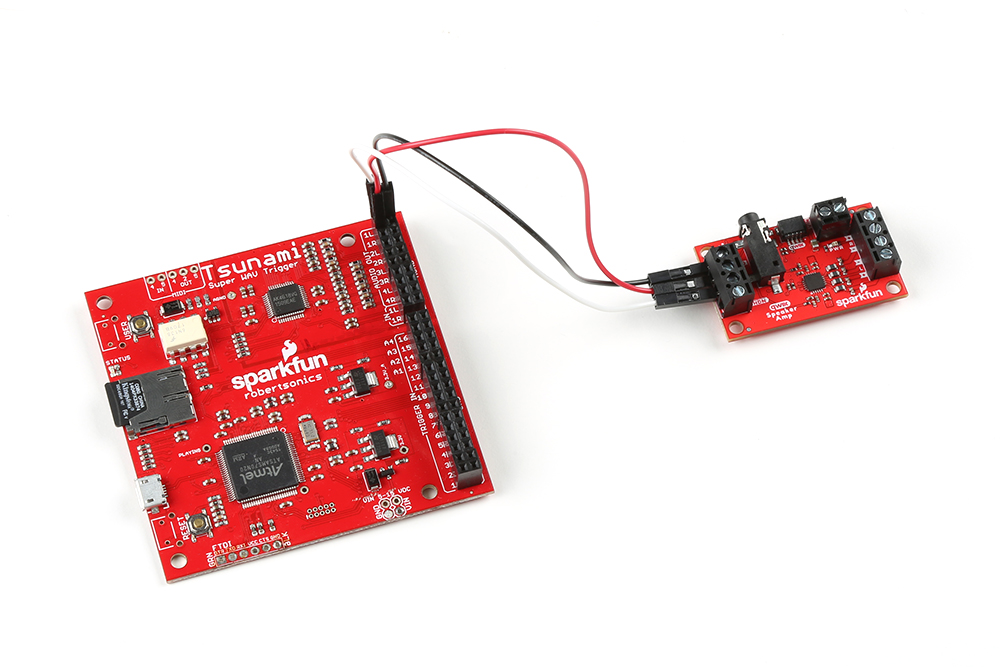
You can also insert a jumper wire to the R, L, and GND from your audio board. In this case, we used an old Tsunami Super WAV Trigger to connect to the Qwiic Speaker Amp. Depending the audio board that you use, additional soldering may be required. Just make sure to connect your stereo output between both boards (i.e. R to R, L to L, and GND to GND between the boards).
Power In via Screw Terminals
For the a louder output, you will want to go this route with a separate power supply as shown below. Insert power into the "VIN" and "GND" terminals between the power supply and the Qwiic Speaker Amp. Make sure that the voltage that you are applying to the "VIN" terminal is between 2.5V and 5V. In this case, we used a 5V wall adapter with barrel jack, female barrel jack adapter. We then connected some stripped wire from "+" to "VIN" and "-" to "GND".

Power In via Qwiic Cable
If you would like to power the board with your Arduino using Qwiic cable, you can simply insert a Qwiic cable between the two connectors. In this case we used a RedBoard Plus to power the Qwiic Spaker Amp.

As stated in the Hardware Overview, make sure that the JP1 jumper is soldered if you decide to power the Qwiic Speaker Amp through the Qwiic cable.
Speaker Out
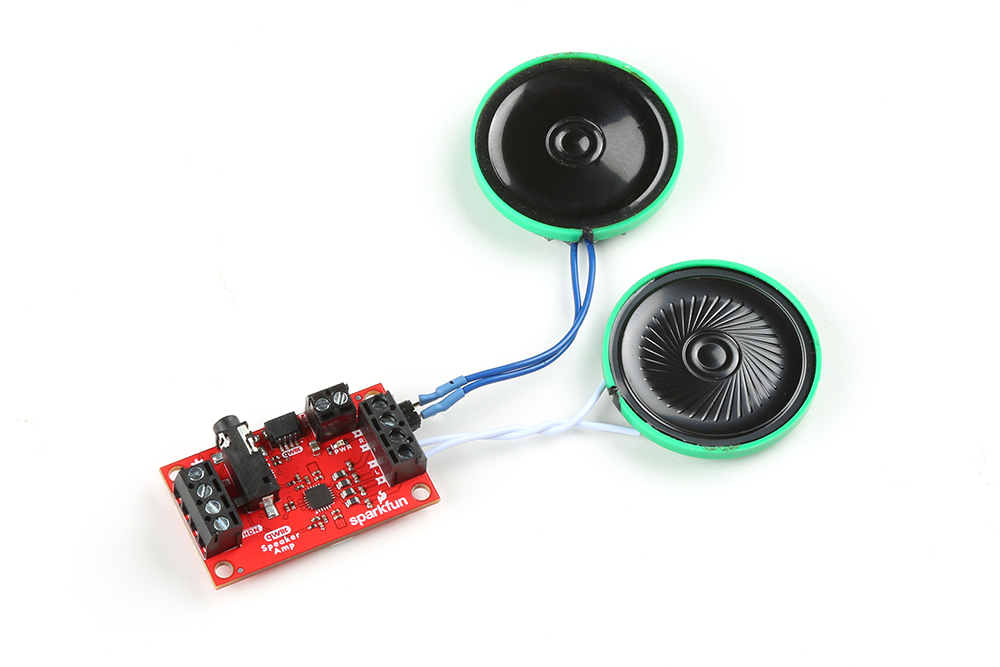
Attach the speaker of your choice to the outputs. For the scope of this tutorial, we will use the 8Ω thin speakers with wires already attached. Connect "+" to "+" and "-" to "-" for both channel. Then tighten down the screws to secure.
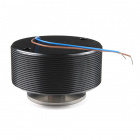
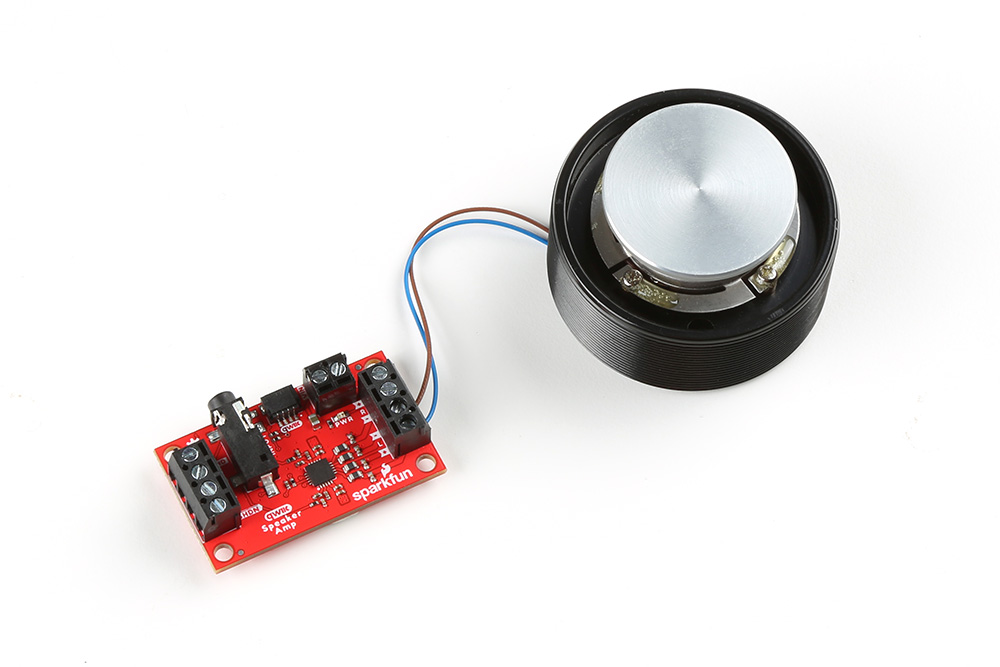
The Qwiic Speaker Amp can also power the 4Ω large surface transducer. While the large surface transducer is rated for 10W, it was still able to make a decent amount of sound when applying it to a surface. The example shown below shows one surface transducer connected to one channel. If you decide to only connect one speaker, make sure to match the connection on the input side as well (i.e. left audio in and left speaker out).
Connecting an Audio Device
The Qwiic Speaker Amp can operate without an Arduino microcontroller. Simply connect a media player through the TRS connector, speakers, and a power supply to the board. Power up the board and hit play on your favorite track. The Qwiic Speaker Amp will amplify the signal and output it to the speakers using its default settings. Of course, you could also connect an audio board through the screw terminals as explained earlier.

Connecting an Audio Device and Arduino
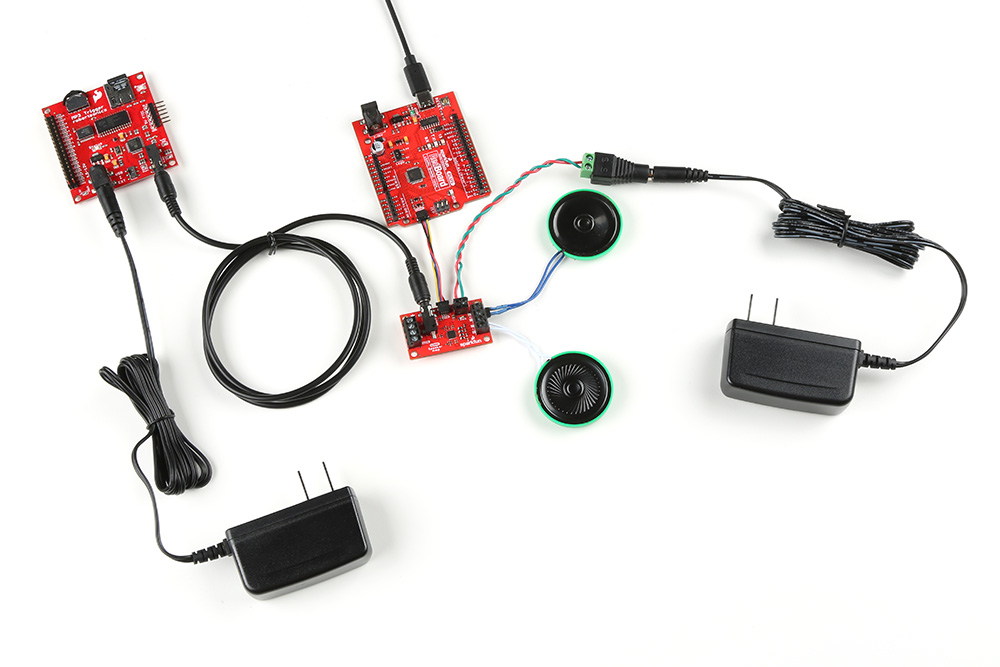
To control the gain and configure the Qwiic Speaker Amp, you will need an Arduino microcontroller. The setup is pretty much the same as the previous section. However, we connect an Arduino's I2C pins to the Qwiic Speaker Amp's Qwiic connector. You will also need to power the Arduino with a separate power supply. You could use a computer's USB port for programming and power. When you are finished writing your program based on the example code, you could use a 5V USB wall adapter for power.

Depending on your setup, you may need additional power adapter. The example shown below shows the MP3 Trigger with an additional power supply.
Example 0: Without an Arduino
As stated at the end of the hardware hookup, you could simply power the board up and send an audio signal to the Qwiic Speaker Amp. When everything is connected and secure, power the Qwiic Speaker Amp up and start playing the your favorite track!
Installing Drivers
We will be using the RedBoard Plus to control and configure the Qwiic Speaker Amp. You may need to install drivers to upload code. If necessary, check out the tutorial below. If you are using a different USB-to-Serial converter, you will need to install a different driver. Check out the tutorial associated with your Arduino microcontroller for more information.
How to Install CH340 Drivers
August 6, 2019
Software Installation
The Qwiic Speaker Amp's Arduino library can be downloaded with the Arduino library manager by searching 'SparkFun Qwiic Speaker Amp (TPA2016D2)' or you can grab the zip here from the GitHub repository to manually install.
Example 1: Gain Control
Let's upload the sketch to control the gain for the Qwiic Speaker Amp using an Arduino microcontroller.
From the menu, select the following: File > Examples > Examples from Custom Libraries | SparkFun TPA2016D2 Arduino Library > Example_01_Gain.
Or you can copy and paste the following code in the Arduino IDE. Select the correct board definition from the menu (in this case, Tools > Boards > Arduino Uno). Then select the correct COM port that the board enumerated to (in this case, it was COM13). Hit the upload button.
language:c
/******************************************************************************
Example _01_Gain.ino
Sets a few different gain values on the TPA2016D2 speaker amp.
Note, when gain is "0", it still passes sound through.
To turn the sound off, use shutdown or enable/disable examples.
Note, you can't REALLY turn off the AGC on the TPA2016D2,
But if you disable the limiter, noisegate, and set fast release/attack
times, then it only minimally effects gain changes.
SparkFun TPA2016D2 Arduino Library
Pete Lewis @ SparkFun Electronics
September 8, 2022
https://github.com/sparkfun/SparkFun_TPA2016D2_Arduino_Library
This code was originally created by Mike Grusin at SparkFun Electronics
Included with the LilyPad MP3 example code found here:
Revision history: version 1.0 2012/07/24 MDG Initial release
https://github.com/sparkfun/LilyPad_MP3_Player
Do you like this library? Help support SparkFun. Buy a board!
SparkFun Qwiic Speaker Amp - TPA2016D2
https://www.sparkfun.com/products/20690
Development environment specifics:
IDE: Arduino 1.8.19
Hardware Platform: SparkFun Redboard Qwiic
SparkFun Qwiic Speaker Amp - TPA2016D2 Version: 1.0
Hardware Connections:
Use a qwiic cable to connect from the Redboard Qwiic to the Qwiic Speaker Amp.
Connect audio-in, speakers, and power to the Qwiic Speaker Amp.
For information on the data sent to and received from the amplifier,
refer to the TPA2016D2 datasheet at:
http://www.ti.com/lit/ds/symlink/tpa2016d2.pdf
This program is distributed in the hope that it will be useful,
but WITHOUT ANY WARRANTY; without even the implied warranty of
MERCHANTABILITY or FITNESS FOR A PARTICULAR PURPOSE. See the
GNU General Public License for more details.
You should have received a copy of the GNU General Public License
along with this program. If not, see <http://www.gnu.org/licenses/>.
******************************************************************************/
#include <Wire.h>
#include <SparkFun_TPA2016D2_Arduino_Library.h> //Click here to get the library: http://librarymanager/All#SparkFun_TPA2016D2
TPA2016D2 amp;
void setup()
{
Serial.begin(115200);
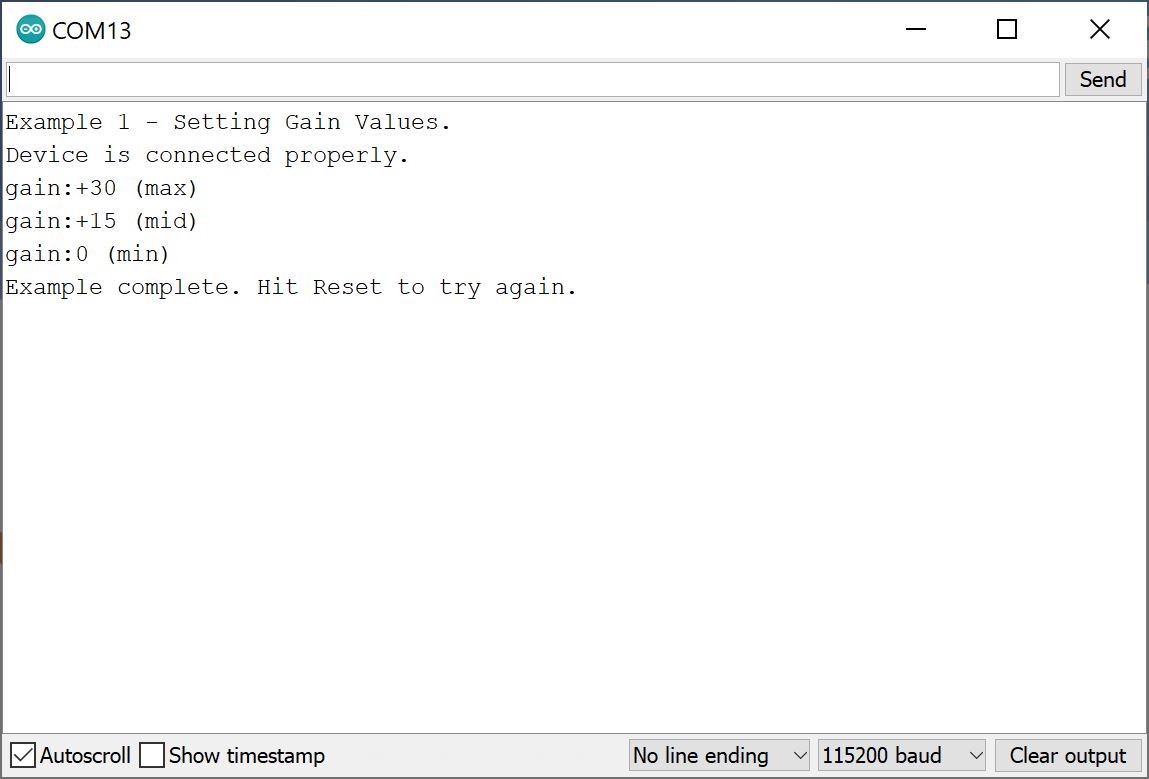
Serial.println("Example 1 - Setting Gain Values.");
Wire.begin();
if (amp.begin() == false) //Begin communication over I2C
{
Serial.println("The device did not respond. Please check wiring.");
while (1); //Freeze
}
Serial.println("Device is connected properly.");
// for gain control to react to changes quickly, we need to adjust some of the AGC settings as so...
amp.disableLimiter(); // note this also changes compression ratio to 1:1, then disables limiter.
amp.disableNoiseGate(); // disabling the noisegate allows us to always change the gain, even with very little sound at the source.
amp.writeRelease(1); // 1-63 are valid values. 1 being the shortest (aka fastest) release setting, this allows gain increases to happen quickly.
amp.writeAttack(1); // 1-63 are valid values. 1 being the shortest (aka fastest) attack setting, this allows gain decreases to happen quickly.
Serial.println("gain:+30 (max)");
amp.writeFixedGain(30); // aka "full gain at +30dB", accepts values from 0 to 30
delay(5000);
Serial.println("gain:+15 (mid)");
amp.writeFixedGain(15);
delay(5000);
Serial.println("gain:0 (min)");
amp.writeFixedGain(0);
delay(5000);
Serial.println("Example complete. Hit Reset to try again.");
}
void loop()
{
// nothing to see here.
}
Hit the play button on your portable digital player to begin sending audio to amplifier and speakers. Make sure that the volume on your device is turned up as well. Open the Arduino Serial Monitor at 115200 if you need to see the serial output when the gain adjusts. You should see the example adjust the gain once based on the settings and the audio getting quieter every 5 seconds.
Note that a gain of "0" will still pass the audio signal to the speakers. If you are looking to turn the speakers fully off (i.e. "0" volume), try adding code from example 2 to disable the channel or example 3 to shutdown the amplifier.
 // for gain control to react to changes quickly, we need to adjust some of the AGC settings as so...
  amp.disableLimiter(); // note this also changes compression ratio to 1:1, then disables limiter.
  amp.disableNoiseGate(); // disabling the noisegate allows us to always change the gain, even with very little sound at the source.
  amp.writeRelease(1); // 1-63 are valid values. 1 being the shortest (aka fastest) release setting, this allows gain increases to happen quickly.
  amp.writeAttack(1); // 1-63 are valid values. 1 being the shortest (aka fastest) attack setting, this allows gain decreases to happen quickly.
Example 2: Enable Channel
Let's upload the sketch to control the channels of the Qwiic Speaker Amp using an Arduino microcontroller.
From the menu, select the following: File > Examples > Examples from Custom Libraries | SparkFun TPA2016D2 Arduino Library > Example_02_Enable_Channel.
Or you can copy and paste the following code in the Arduino IDE. Select the correct board definition from the menu (in this case, Tools > Boards > Arduino Uno). Then select the correct COM port that the board enumerated to (in this case, it was COM13). Hit the upload button.
language:c
/******************************************************************************
Example _02_Enable_Channel.ino
Enables and Disables each channel individually on the TPA2016D2 speaker amp.
SparkFun TPA2016D2 Arduino Library
Pete Lewis @ SparkFun Electronics
September 8, 2022
https://github.com/sparkfun/SparkFun_TPA2016D2_Arduino_Library
This code was originally created by Mike Grusin at SparkFun Electronics
Included with the LilyPad MP3 example code found here:
Revision history: version 1.0 2012/07/24 MDG Initial release
https://github.com/sparkfun/LilyPad_MP3_Player
Do you like this library? Help support SparkFun. Buy a board!
SparkFun Qwiic Speaker Amp - TPA2016D2
https://www.sparkfun.com/products/20690
Development environment specifics:
IDE: Arduino 1.8.19
Hardware Platform: SparkFun Redboard Qwiic
SparkFun Qwiic Speaker Amp - TPA2016D2 Version: 1.0
Hardware Connections:
Use a qwiic cable to connect from the Redboard Qwiic to the Qwiic Speaker Amp.
Connect audio-in, speakers, and power to the Qwiic Speaker Amp.
For information on the data sent to and received from the amplifier,
refer to the TPA2016D2 datasheet at:
http://www.ti.com/lit/ds/symlink/tpa2016d2.pdf
This program is distributed in the hope that it will be useful,
but WITHOUT ANY WARRANTY; without even the implied warranty of
MERCHANTABILITY or FITNESS FOR A PARTICULAR PURPOSE. See the
GNU General Public License for more details.
You should have received a copy of the GNU General Public License
along with this program. If not, see <http://www.gnu.org/licenses/>.
******************************************************************************/
#include <Wire.h>
#include <SparkFun_TPA2016D2_Arduino_Library.h> //Click here to get the library: http://librarymanager/All#SparkFun_TPA2016D2
TPA2016D2 amp;
void setup()
{
Serial.begin(115200);
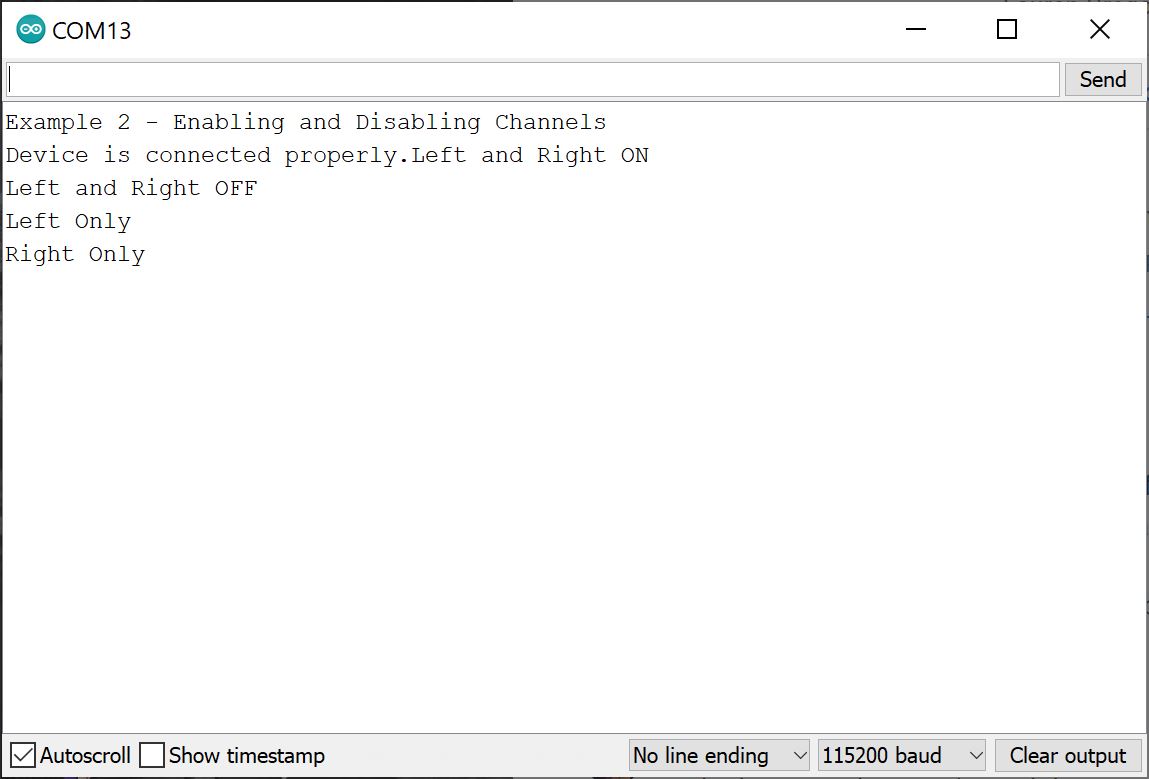
Serial.println("Example 2 - Enabling and Disabling Channels");
Wire.begin();
if (amp.begin() == false) //Begin communication over I2C
{
Serial.println("The device did not respond. Please check wiring.");
while(1); //Freeze
}
Serial.print("Device is connected properly.");
}
void loop()
{
Serial.println("Left and Right ON");
amp.enableRightSpeaker();
amp.enableLeftSpeaker();
delay(3000);
Serial.println("Left and Right OFF");
amp.disableRightSpeaker();
amp.disableLeftSpeaker();
delay(3000);
Serial.println("Left Only");
amp.disableRightSpeaker();
amp.enableLeftSpeaker();
delay(3000);
Serial.println("Right Only");
amp.enableRightSpeaker();
amp.disableLeftSpeaker();
delay(3000);
}
Hit the play button on your audio device to begin sending audio to amplifier and speakers. Make sure that the volume on your device is turned up as well. The example turn on and off each channel every 3 seconds. Open the Arduino Serial Monitor at 115200 if you need to see the serial output when the channels are enabled/disabled.
Example 3: Shutdown
Let's upload the sketch to shutdown the Qwiic Speaker Amp using an Arduino microcontroller.
From the menu, select the following: File > Examples > Examples from Custom Libraries | SparkFun TPA2016D2 Arduino Library > Example_03_Shutdown.
Or you can copy and paste the following code in the Arduino IDE. Select the correct board definition from the menu (in this case, Tools > Boards > Arduino Uno). Then select the correct COM port that the board enumerated to (in this case, it was COM15). Hit the upload button.
language:c
/******************************************************************************
Example _03_Shutdown.ino
Demonstrates how to shutdown the TPA2016D2 via software command.
Enables and disables shutdown once every 5 seconds. "blinks" the sound :)
SparkFun TPA2016D2 Arduino Library
Pete Lewis @ SparkFun Electronics
September 8, 2022
https://github.com/sparkfun/SparkFun_TPA2016D2_Arduino_Library
This code was originally created by Mike Grusin at SparkFun Electronics
Included with the LilyPad MP3 example code found here:
Revision history: version 1.0 2012/07/24 MDG Initial release
https://github.com/sparkfun/LilyPad_MP3_Player
Do you like this library? Help support SparkFun. Buy a board!
SparkFun Qwiic Speaker Amp - TPA2016D2
https://www.sparkfun.com/products/20690
Development environment specifics:
IDE: Arduino 1.8.19
Hardware Platform: SparkFun Redboard Qwiic
SparkFun Qwiic Speaker Amp - TPA2016D2 Version: 1.0
Hardware Connections:
Use a qwiic cable to connect from the Redboard Qwiic to the Qwiic Speaker Amp.
Connect audio-in, speakers, and power to the Qwiic Speaker Amp.
For information on the data sent to and received from the amplifier,
refer to the TPA2016D2 datasheet at:
http://www.ti.com/lit/ds/symlink/tpa2016d2.pdf
This program is distributed in the hope that it will be useful,
but WITHOUT ANY WARRANTY; without even the implied warranty of
MERCHANTABILITY or FITNESS FOR A PARTICULAR PURPOSE. See the
GNU General Public License for more details.
You should have received a copy of the GNU General Public License
along with this program. If not, see <http://www.gnu.org/licenses/>.
******************************************************************************/
#include <Wire.h>
#include <SparkFun_TPA2016D2_Arduino_Library.h> //Click here to get the library: http://librarymanager/All#SparkFun_TPA2016D2
TPA2016D2 amp;
void setup()
{
Serial.begin(115200);
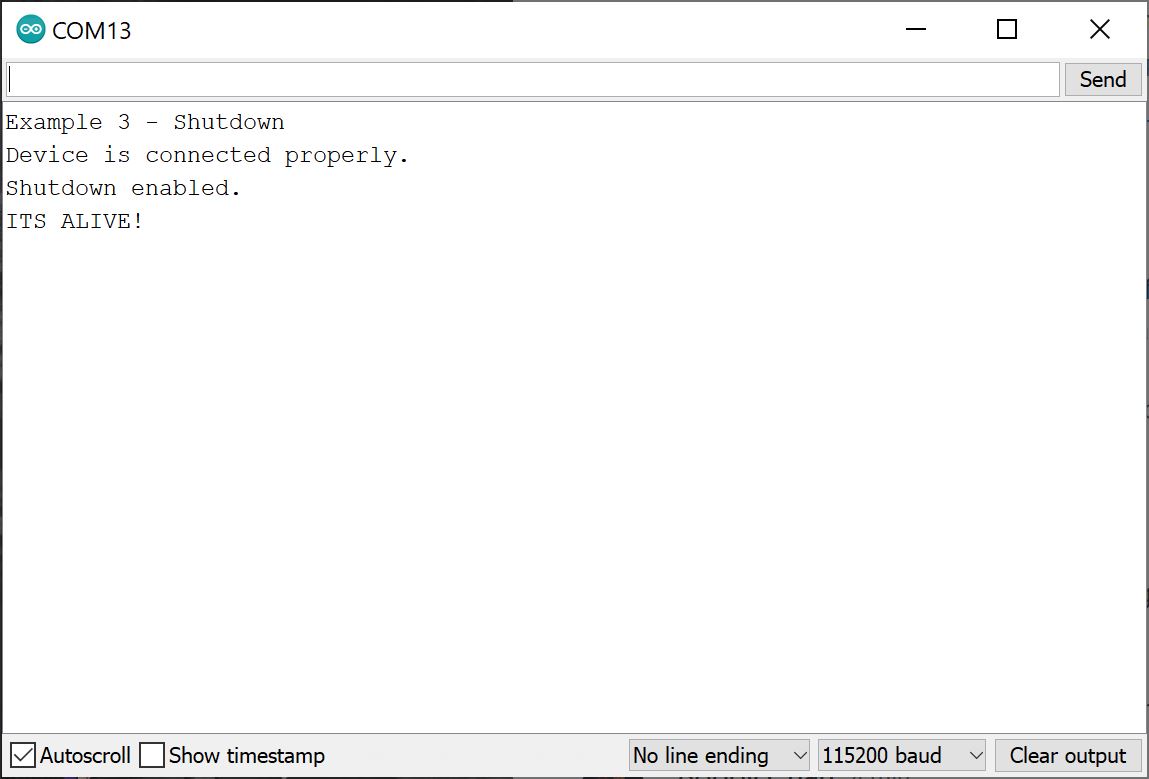
Serial.println("Example 3 - Shutdown");
Wire.begin();
if (amp.begin() == false) //Begin communication over I2C
{
Serial.println("The device did not respond. Please check wiring.");
while (1); //Freeze
}
Serial.println("Device is connected properly.");
}
void loop()
{
amp.enableShutdown();
Serial.println("Shutdown enabled.");
delay(5000);
amp.disableShutdown();
Serial.println("ITS ALIVE!");
delay(5000);
}
Hit the play button on your audio device to begin sending audio to amplifier and speakers. Make sure that the volume on your device is turned up as well. The example shuts down the TPA2016D2 every 5 seconds. Open the Arduino Serial Monitor at 115200 if you need to see the serial output when the TPA2016D2 is shutdown.
More Examples!
Make sure to check out the other examples that are listed in the SparkFun TPA2016D2 Arduino Library to detect faults (i.e. shorts on the speaker channels or excessive heat), control limiter, and/or control the automatic gain control (AGC).
While there is short circuit protection, we recommend removing power when connecting the boards and components together. We still managed to blow out the IC by shorting the speaker output terminals during our stress tests.
Troubleshooting
If you need technical assistance and more information on a product that is not working as you expected, we recommend heading on over to the SparkFun Technical Assistance page for some initial troubleshooting.
If you don't find what you need there, our SparkFun Forums are a great place to find and ask for help.
Qwiic Speaker Amp Responding Slow
By default, the TPA2016D2 can take a few seconds before changes to its configuration are applied. Try following the application note in example 1 to disable the limiter, disable the noise gate, and adjust the release/attach values to 1. The changes are not saved upon every power cycle. If power is removed from the Qwiic Speaker Amp, you will need to send the configuration again.
No Sound from Speakers
Not hearing any sound from either speaker? Try checking your connections and ensuring that the are secure.
- The thin wires attached on the thin speakers might not be fully in the screw terminals.
- If you are using alligator clips, make sure that they are not touching the speaker's frame. The 8Ω small, cone speakers do not have a lot of space between the tabs and its frame. A small bump may cause the alligator clips to touch the metal frame, cause a short, and damage the amplifier.
- Make sure that there is a sufficient power supply connected to the board and the PWR LED is lighting up (assuming that the jumper is still closed).
- Make sure that the TRS cable or wires are fully connected to the audio source.
- Check the volume and ensure that it is not set to 0 on your audio source.
- Make sure that there is power applied on the audio board.
Resources and Going Further
Now that you've successfully got your Qwiic Speaker Amp (TPA2016D2) up and running, it's time to incorporate it into your own project! For more information, check out the resources below:
- Schematic (PDF)
- Eagle Files (ZIP)
- Board Dimension (PNG)
- Fritzing Part (FZPZ)
- Datasheet (PDF) (TPA2016D2)
- Arduino Library
- GitHub Hardware Repo
- SFE Showcase
Need some inspiration for your next project? Check out some of these related tutorials for ideas. Add the Qwiic Speaker Amp in your next portable projects such as sound effects for your spooky Halloween pumpkin, wearable costumes, props, talking greeting cards, or USB speakers.